
Best Aftermarket Back Up Cameras Made Simple: A Clear Buying Guide for 2026
Disclosure: We may earn a commission when you buy through links on this page, at no extra cost to you. As an Amazon Associate I earn from qualifying purchases. Learn more
Shopping for the best aftermarket back up cameras for the first time? Learn the terms, compare options, and avoid rookie mistakes with this easy guide.
Adding a camera to a car that never had one sounds technical, but the idea is simple. A small camera mounts at the rear of your vehicle, and a screen up front shows what is behind you every time you shift into reverse. This guide walks you through the best aftermarket back up cameras in plain language, starting with the basics and ending with setup.
You do not need to know car electronics to follow along. We explain each term the moment it appears, show you which specs actually change the picture you see, and flag the mistakes first time buyers tend to make. Start with the comparison table below to see how the main kit styles differ, then read on for the details behind each row.


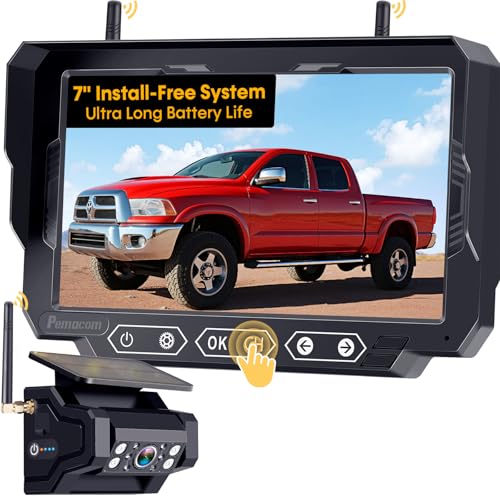

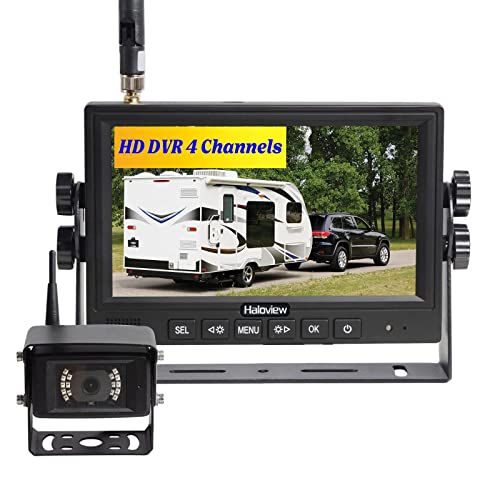
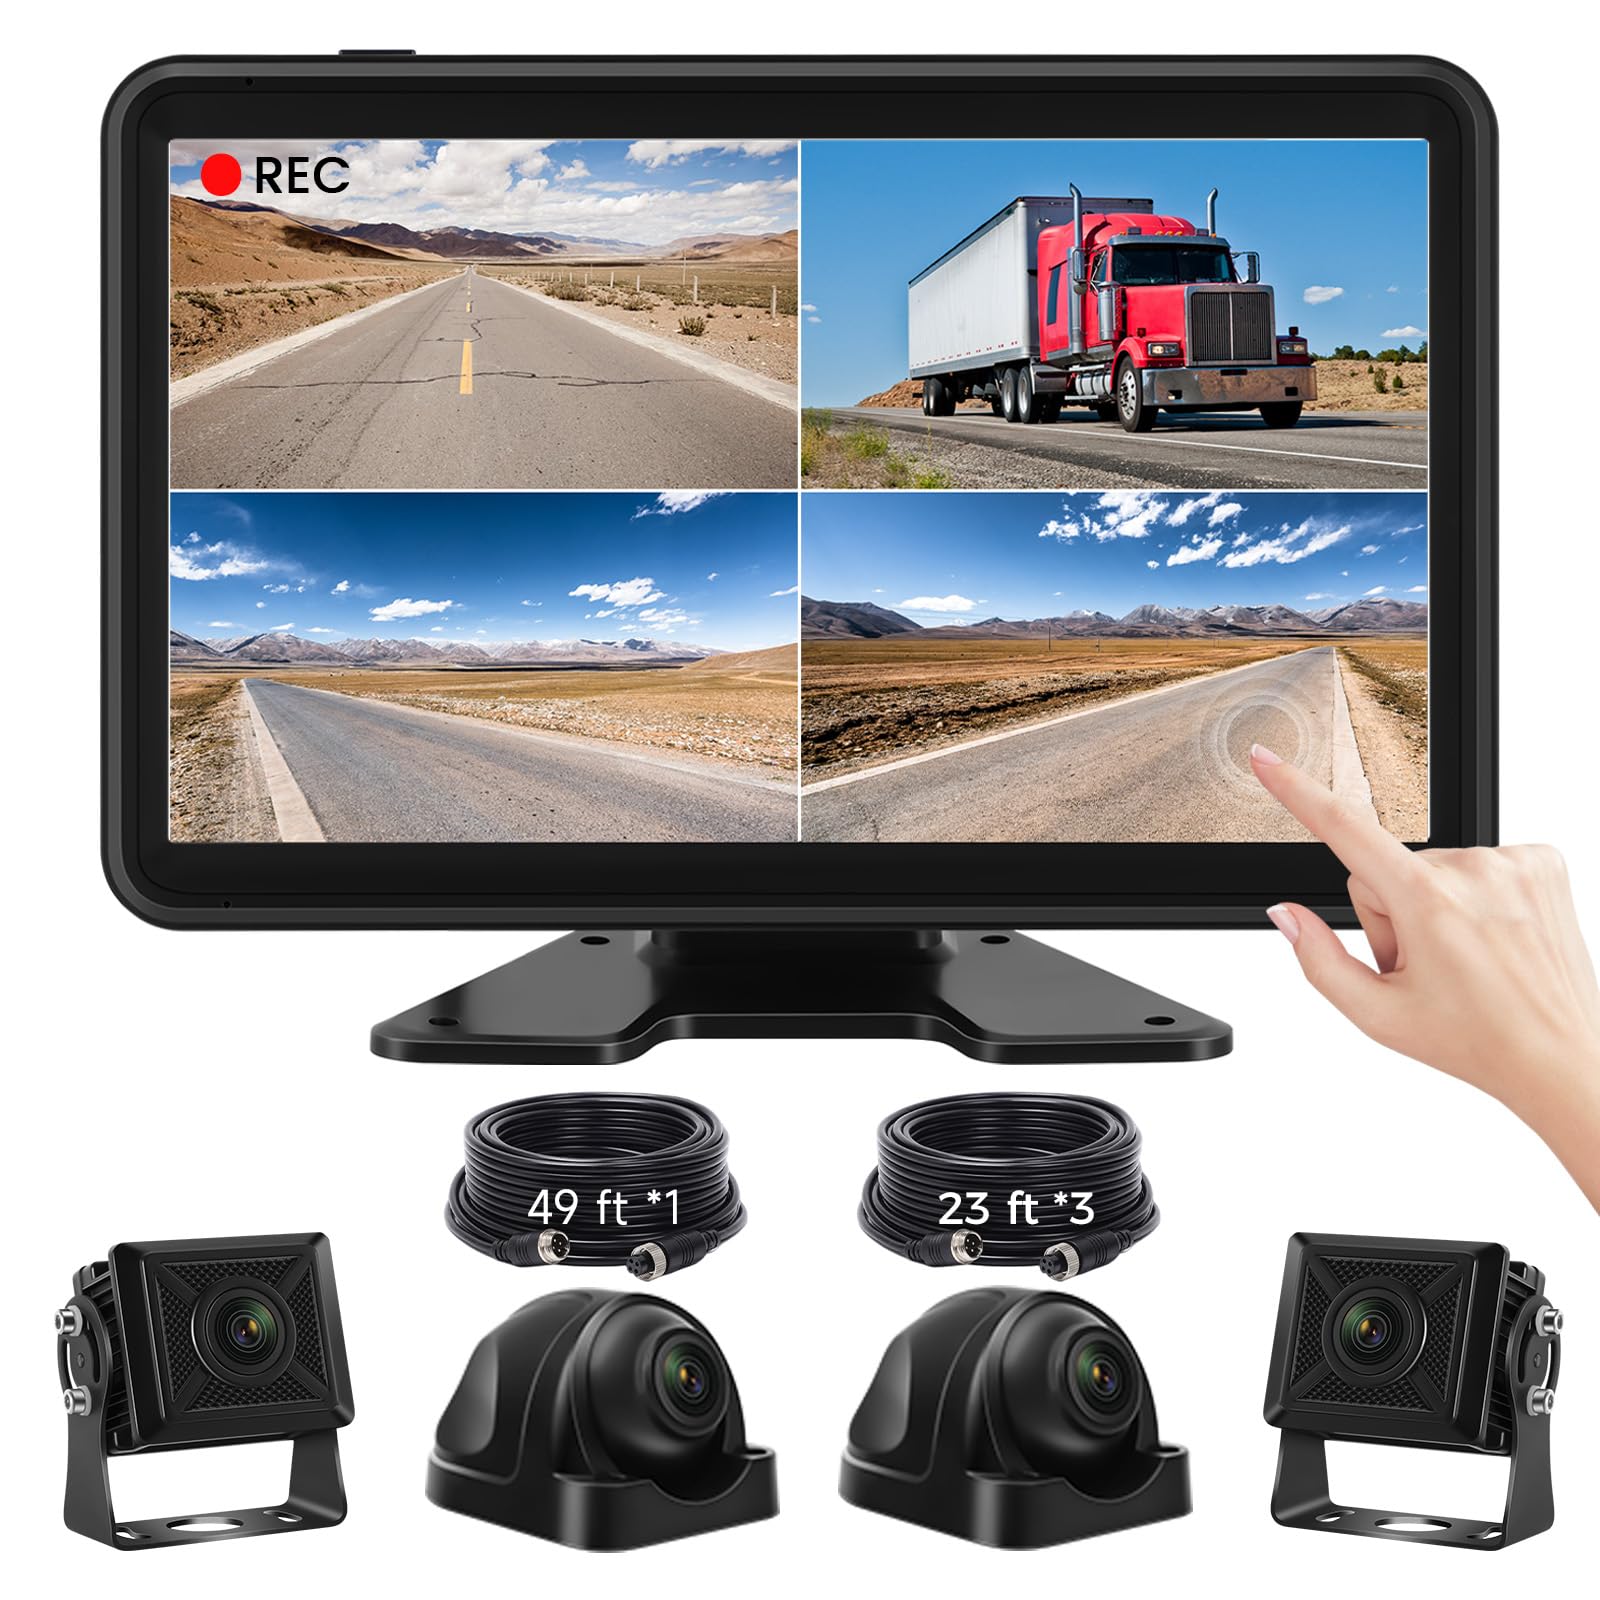
Aftermarket Back Up Cameras 101: The Basics
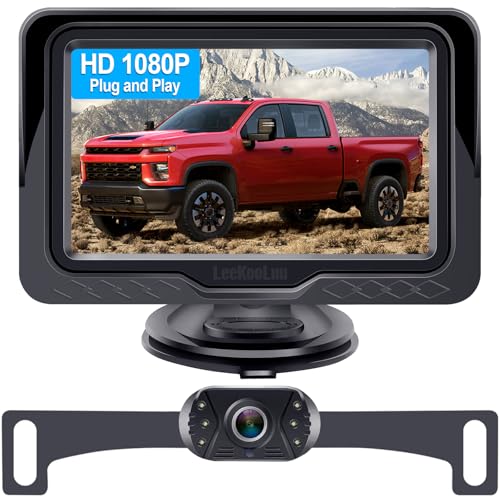
An aftermarket back up camera is a camera kit you add to a vehicle that did not leave the factory with one, or that has a factory camera too poor to trust. The kit has three parts. A weatherproof camera mounts near the license plate or above it. A cable or a small transmitter carries the video signal forward. A display in the cabin, either a small monitor, a screen built into a replacement rear view mirror, or your existing stereo screen, shows the image.
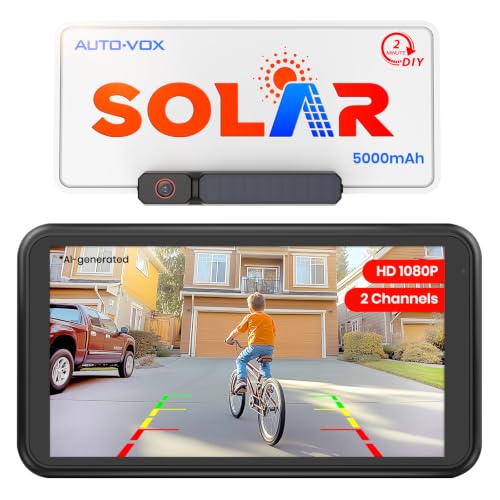
The system switches on automatically. The camera draws power from the reverse light circuit, so it wakes up the moment you select reverse and sleeps when you drive forward. Most kits also draw colored parking lines over the picture to help you judge distance. Because the wording overlaps, you will also see this same category sold under the label best aftermarket backup cameras, which simply uses the one word spelling of backup.
Three groups of drivers gain the most. Owners of older cars and trucks get a safety feature their vehicle predates. Drivers of tall SUVs, vans, and pickups lose the blind zone directly behind the tailgate, where a child, a bike, or a low wall can hide from the mirrors. People who hitch a trailer alone gain a view of the coupler, so one person can line up the ball without repeated trips out of the cab. If you are still deciding whether any camera is worth adding, see our guide to the best back up cameras for the wider picture before you narrow down kit types here.
Key Specs Explained in Plain English
Listings throw numbers at you, but only a handful decide whether the picture is clear, wide, and easy to read at a glance. Work through the six factors below and you can judge any kit in the product table above without guessing.
Display Options: Monitor, Mirror, or Stereo Screen
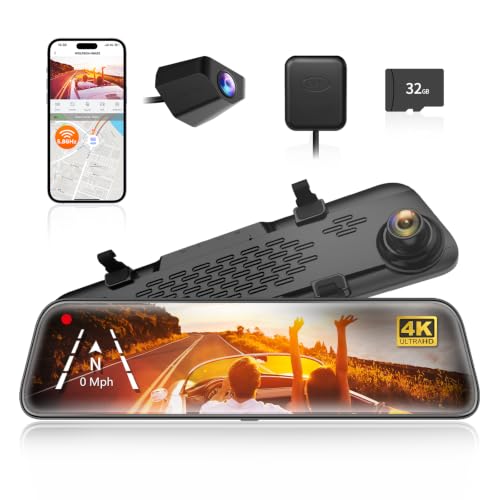
The display decides how natural the system feels every day. A small dash or windshield monitor, usually about 4.3 to 7 inches, is the simplest route and works in any car. A mirror display hides the screen inside a replacement rear view mirror, so the picture appears where you already look, and the cabin stays uncluttered. Feeding the image into an existing touch screen stereo looks cleanest, but only works if that stereo has a camera input and the right adapter for your car. Pick the display first, because it limits which cameras and cables pair with it. Also check screen brightness, since a dim monitor washes out in bright sun.
Camera Resolution and Image Clarity
Backup cameras use a small CMOS image sensor, and listings describe it either in TV lines, such as 600 TVL, or in video terms like 720p and 1080p. Higher numbers do give a sharper picture, which helps you read a curb edge or spot a thin parking post. Still, resolution is not everything. A clean lens, a decent sensor, and a screen that matches the camera matter just as much, because a 1080p camera feeding a dim, low quality monitor still looks soft. For most cars, a clear 720p image is plenty, and paying extra only for a bigger number rarely changes what you can see.
Field of View: How Much the Camera Sees
Field of view is the width of the scene the lens captures, stated in degrees. Most kits fall between 120 and 170 degrees. Around 130 to 150 degrees is the sweet spot for a typical car, wide enough to show the full lane behind you and both rear corners of the bumper. Very wide lenses near 170 degrees reveal more at the edges, but they bend straight lines and stretch objects near the edges, which makes judging distance harder. A narrow lens near 110 degrees looks natural but leaves blind corners. Match the angle to your vehicle width rather than chasing the largest number.
Night Vision and Low Light Performance
Most backing up at night happens in dim driveways and parking lots, so low light performance matters more than daylight sharpness. Most cameras handle this with a ring of small infrared LEDs around the lens that light the scene invisibly, letting the sensor show a black and white image in near darkness. Listings may quote an illumination range of about 20 to 30 feet, which comfortably covers the area you reverse through. Your reverse lights add real light too, so a camera that looks fine in a bright store demo can still disappoint at home if its LEDs are few or weak. Favor kits that state a clear night range over kits that only say night vision with no number.
Wired or Wireless Signal
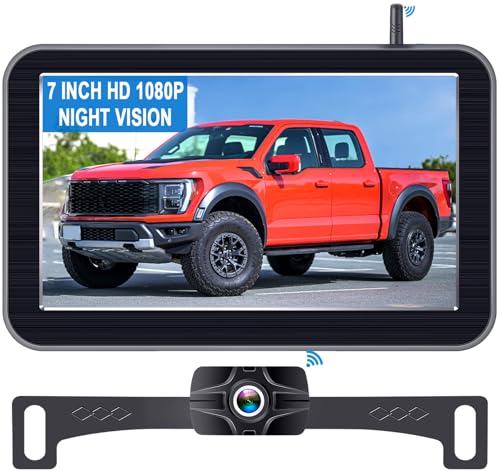
A wired kit runs a video cable from the camera to the screen along the car. The picture is stable and free of delay, but routing that cable through trim panels takes the most installation effort. A wireless kit replaces the long cable with a transmitter at the rear and a receiver up front, so you only wire each end into nearby power. Wireless installs are far easier, though cheap analog sets can flicker or pick up interference. Digital wireless systems cost more and hold a steadier picture. If the easier install tempts you, see our guide to the best wireless back up cameras for how the two wireless types compare.
Weatherproofing and Build Quality
The camera lives outside in rain, road spray, heat, and freezing cold, so sealing is a core spec, not a bonus. Look for an IP67 or IP68 rating, which means the housing keeps out dust and survives immersion in water for a limited time. A lower rating like IP65 resists spray but can fog internally after repeated storms. Fog inside the lens is the most common early failure on cheap kits, and it cannot be wiped away. Metal housings shrug off stone chips better than thin plastic, and a camera rated for a wide temperature range keeps working through winter starts and hot summer afternoons alike.
Rookie Mistakes to Avoid
Most disappointment with the best aftermarket back up cameras traces back to a short list of avoidable errors rather than to the camera itself.
- Judging a kit by resolution alone, then discovering the picture turns grainy and useless after dark because the night lighting is weak.
- Mounting the camera off center, which shifts the parking lines so they no longer line up with the true path of the car.
- Choosing the widest lens available, then finding that edge distortion makes close objects look farther away than they are.
- Ignoring the weatherproof rating, which lets moisture fog the lens from the inside within the first wet season.
- Wiring the camera to a constant power source instead of the reverse light circuit, so the screen stays live and can slowly drain the battery.
Getting Started: Setup and First Use
A typical install follows the same order. Start by choosing the mounting spot, most often on the license plate frame or the trim just above the plate, centered on the car. Route the cable or fit the wireless transmitter next, keeping wires clear of exhaust parts and moving hinges. Connect the camera power lead to the reverse light wire so the system wakes in reverse, then mount the display and plug in the receiver or video cable.
Test everything before you push the trim panels back into place. Shift into reverse with the engine running and a helper standing behind the car, and confirm the image is level, the parking lines sit evenly, and the picture stays stable. Aim the camera so the very edge of your rear bumper shows at the bottom of the frame, which gives you a fixed reference point for distance. Check the view again after dark to confirm the night picture is usable in your own driveway, not just in daylight.
Early care is simple. Wipe the lens with a soft, damp cloth whenever you wash the car, since road film dulls the image long before the camera fails. Once a season, glance at the cable entry point and the lens for cracks or fogging, and clear any dirt packed around the housing.
Aftermarket Back Up Cameras: Your Questions Answered
How Much Should You Spend on Your First Aftermarket Backup Camera?
Most first time buyers do well in the range of about $100 to $250 for the kit itself. Basic wired kits with a small monitor often cost under $100 and still give a clear daytime picture. Spending more mainly buys a better screen, a steadier digital wireless signal, and stronger weather sealing. Budget separately for professional installation if you plan to hire it out, since labor can cost as much as a basic kit.
Are Wireless Aftermarket Backup Cameras as Reliable as Wired Ones?
Digital wireless cameras are reliable enough for most cars and small SUVs, with a picture that stays steady in normal use. Very long vehicles, such as large RVs and long trailers, stretch the signal over a greater distance and through more metal, so a wired run or a boosted transmitter suits them better. One extra tip is to keep the transmitter mounted away from thick metal panels, which can weaken the signal before it reaches the cab.
What Specs Matter Most on an Aftermarket Backup Camera for Beginners?
Field of view, night performance, and weather sealing matter most, in that order. A view around 130 to 150 degrees shows your corners without heavy distortion, infrared lighting keeps the picture readable after dark, and an IP67 or IP68 rating keeps the lens clear through wet seasons. One factor beginners often miss is screen placement. A display you can glance at without looking down at the console keeps your attention closer to the road.
Can You Install an Aftermarket Backup Camera Yourself?
Yes, most plate mounted kits are within reach of a patient beginner with basic hand tools and about an hour or two of spare time. The fiddly parts are routing the cable neatly and finding the correct reverse light wire, and the kit instructions usually identify wire colors for common vehicles. If your car needs the image fed into a factory touch screen, a shop install is the safer route, because that job can involve adapters and software settings.
Will an Aftermarket Backup Camera Work in a Car With No Screen?
Yes, because complete kits include their own display, so your car does not need any screen to start with. You choose between a small monitor and a mirror display as part of the kit. Some newer systems instead send the picture to a phone app over WiFi, which saves hardware but takes a few seconds to open each time. For daily reversing, a dedicated screen that wakes instantly in reverse is the more practical choice.
Wrapping Up
Choosing well comes down to three things. Match the display to your car and your habits, pick a field of view around 130 to 150 degrees so distances read honestly, and insist on real night lighting plus an IP67 or IP68 seal. Get those right and the best aftermarket back up cameras stop being a spec sheet puzzle and become a tool you trust every day. Compare your finalists against the product table above, and you will back up with a clear view from the first drive.


