Best 3D Printers for Jewelry Making 2026: A Complete Buying Guide
Disclosure: We may earn a commission when you buy through links on this page, at no extra cost to you. As an Amazon Associate I earn from qualifying purchases. Learn more

Resin detail, castable materials, and finishing compared to help you choose the best 3d printers for jewelry making.
Shopping for best 3d printers for jewelry making rewards a little homework, because the right printer depends on what you will print, how often, and how much finishing you accept. The product table below gathers the main options, and this guide explains the trade offs in plain language.
Jewellery printing lives or dies on detail, because a ring or pendant shows every flaw that a functional bracket hides. This guide focuses on resin printers, castable materials, and the finishing steps that turn a print into a piece worth casting or wearing.
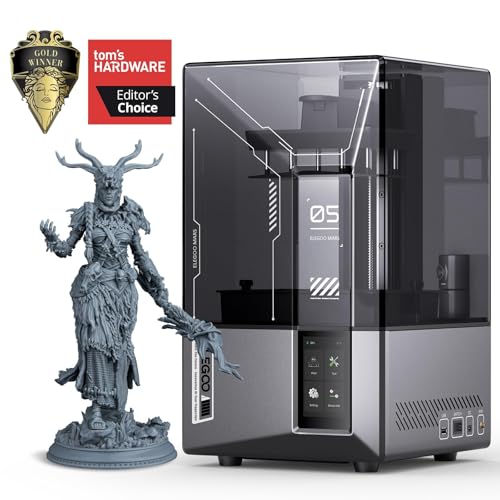


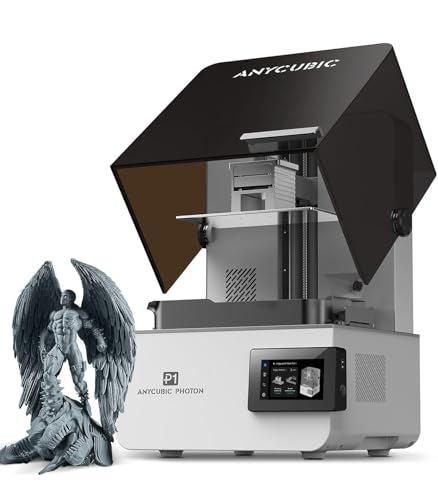
The Basics
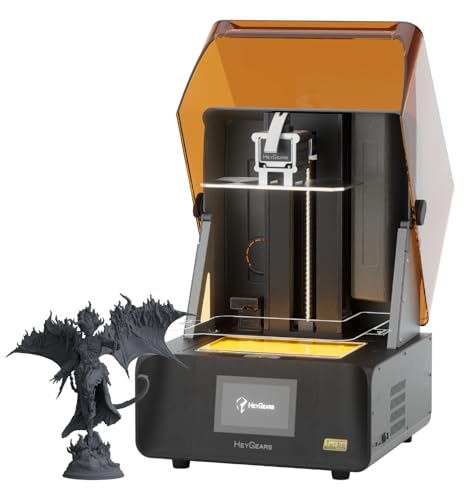
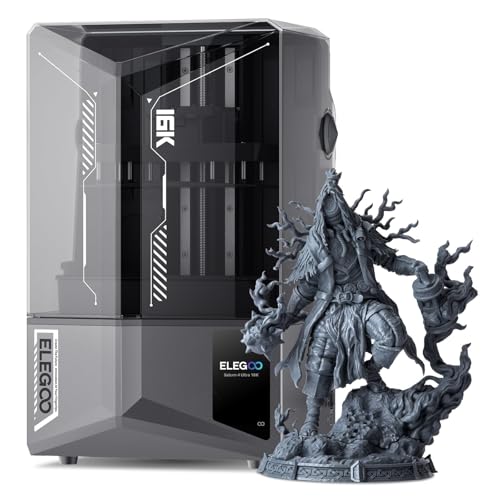
Jewellery models need fine features, smooth surfaces, and accurate dimensions, so detail matters more than build volume. Most jewellery makers use resin printers, because they capture prongs, filigree, and textures that filament printers blur.
Also plan the path after printing: some makers print masters for moulding, others print castable patterns for lost wax casting, and a few print wearable pieces directly. Each path needs different resin and finishing, so decide your path before choosing a machine.
Types Compared
There is no single type that suits every home, so start by matching the type to the job you actually need done. Printer types differ in materials, detail, speed, and mess, so match the type to your projects first.
Resin Printers for Jewellery
Resin printers dominate jewellery work because they resolve fine detail and smooth curves, and small build volumes keep costs down. They need washing, curing, and careful handling, but the detail justifies the extra steps for most jewellery makers.
Castable Resin Printing
Castable resins burn out cleanly for lost wax casting, letting you turn a print into metal. Follow the resin maker burnout schedule closely, because a poor burnout ruins an otherwise perfect casting.
FDM for Large Display Pieces
FDM suits large display models, stands, and prototypes where fine detail matters less. It rarely suits wearable jewellery, because layer lines show on small pieces and finishing takes far longer than resin.
Key Features to Compare in 3D Printers for Jewelry Making
Once you know the type, the features below decide how happy you will be after the first month. These features decide print quality, running cost, and how much time you spend fixing failed prints. Use these points to judge any of the best 3d printers for jewelry making.
Resolution and Detail
Look for fine layer capability and a small pixel or laser spot size, because both shape the smallest feature you can print. Test with a ring or pendant file, not a generic cube, since jewellery detail reveals weaknesses that simple shapes hide.
Castable and Mould Materials
Check which castable resins the printer supports and whether your caster or casting service accepts them. Some resins need specific burnout cycles, so confirm the full chain from print to metal before you commit.
Build Plate and Supports
Small jewellery pieces need thoughtful support placement, because supports can scar visible surfaces. A printer with good slicing support controls and a small, stable build plate makes delicate removal easier and reduces breakage.
Washing and Curing
Budget for a wash and cure station, because consistent washing and curing decide final strength and surface quality. Inconsistent curing leaves pieces tacky or brittle, so treat post processing as part of the printer, not an afterthought.
Size, Fit, and Compatibility
A jewellery printer needs a small, clean, well ventilated corner with space for washing and curing beside it. Keep resin, wash fluid, and curing equipment together, away from food areas and children, and store finished pieces where supports and dust cannot damage them. Good lighting helps enormously when inspecting tiny details.
Who Should Buy, and Who Should Wait
The most common jewellery mistake is printing at too coarse a layer height, which blurs fine detail. Another mistake is placing supports on visible faces, which leaves marks that are hard to polish away. Finally, do not skip test casts, because a resin that prints beautifully may still fail in burnout.
Budget and Long Term Value
A jewellery printer suits jewellers, students, and hobbyists making rings, pendants, and mould masters. It is a weaker choice if you only need occasional pieces, because a printing service may be cheaper. If you sell pieces, factor post processing and casting time into your prices honestly.
Setup and Everyday Care
Jewellery resin printers range from about $200 to $2,000, with wash and cure equipment adding roughly $100 to $300. Resin costs more per litre than filament, but jewellery pieces use little material, so per piece costs stay modest. Casting, metal, and finishing usually cost more than printing itself.
Mistakes to Avoid
Wear gloves, ventilate the room, and cure prints fully before handling them as finished pieces. Clean the build plate and resin tank gently, filter resin when returning it to the bottle, and dispose of waste as the maker and local rules direct. Never pour resin or wash fluid down a drain.
A Final Check Before You Order
Before you order, revisit the types covered above and match one to your main use. Resin Printers for Jewellery, Castable Resin Printing, and FDM for Large Display Pieces each suit a different routine, so pick the type that fits the job you will do most often, not the type that sounds most impressive. Write down your measurements, your power or connection needs, and your budget ceiling, then compare those notes with the product table above before you commit. If two types both seem plausible, favour the simpler one, because simpler setup usually means faster satisfaction and fewer returns.
Next, run through the features that matter most: Resolution and Detail, Castable and Mould Materials, Build Plate and Supports, and Washing and Curing. Score each option briefly on those points, and let the scores guide you rather than a single eye catching specification. A balanced option that scores well across the list usually beats a flashy option that excels in one area and fails in another. Keep your notes beside you while you compare, and do not let a discount rush you past a mismatch in size, power, or compatibility.
Living With Your Choice
In the first weeks, give your new choice a fair trial in your real routine. Use it at normal settings, in your normal room, and with your usual sources, and note anything that annoys you while the return window is still open. Small adjustments to placement, settings, or accessories often fix early disappointments, and a short note of what you changed helps you judge fairly. Resist the urge to judge on the first day alone, because unfamiliar controls and settings always feel awkward at first.
Over the longer term, simple care keeps performance steady. Follow the care notes above, keep accessories and spares together in one place, and revisit the settings after a month, when you know your habits better. A choice that still pleases you after a month is usually a choice worth keeping, while a choice that still frustrates you after fair adjustments deserves a second look. Share what you learned with anyone else who will use it daily, so the whole household gets the benefit.
Related Guides Worth Reading
For a neighbouring use or budget, see our guide to best 3d printers for jewelry, which compares how that option handles materials, detail, and running costs.
For a neighbouring use or budget, see our guide to best hobby 3d printers, which compares how that option handles materials, detail, and running costs.
For a neighbouring use or budget, see our guide to best 3d printers, which compares how that option handles materials, detail, and running costs.
For a neighbouring use or budget, see our guide to best inexpensive 3d printers, which compares how that option handles materials, detail, and running costs.
For a neighbouring use or budget, see our guide to best starter 3d printers, which compares how that option handles materials, detail, and running costs.
Frequently Asked Questions
Is resin better than FDM for jewellery?
Yes, for wearable jewellery resin is far better, because it captures fine detail and smooth surfaces that FDM layer lines ruin. FDM still suits large display pieces and prototypes. If jewellery is your goal, start with resin, and keep this point in mind for your own space, budget, and daily routine before you order.
Can I cast directly from a resin print?
Yes, with castable resin and a correct burnout schedule, you can use the print as a lost wax pattern. Confirm that your caster accepts your resin type, and run a test cast before committing to a valuable design. Poor burnout causes porosity and rough surfaces, and keep this point in mind for your own space, budget, and daily routine before you order.
How do I avoid support marks on jewellery?
Orient the piece so supports touch hidden areas such as the inside of a ring or the back of a pendant. Use light supports where possible, and remove them carefully before final curing. A little planning in orientation saves hours of polishing, and keep this point in mind for your own space, budget, and daily routine before you order.
What safety steps matter for jewellery resin?
Wear nitrile gloves, avoid skin contact with uncured resin, ventilate the room, and cure waste before disposal. Keep resin away from children, pets, and food areas. Read the safety data sheet for your exact resin, because guidance varies by product, and keep this point in mind for your own space, budget, and daily routine before you order.
How much does jewellery printing cost per piece?
Material cost per small piece is usually low, often only a few dollars, but time for design, printing, washing, curing, casting, and finishing dominates the real cost. Price your work by total time, not by resin volume alone, or you will undercharge, and keep this point in mind for your own space, budget, and daily routine before you order.
Final Thoughts
The best printer is the one that matches your projects, your space, and your patience for setup and finishing.
Compare the types above, check the product table above, and choose best 3d printers for jewelry making that you will actually use week after week.