Best 3D Printers for Cosplay 2026 Guide
Disclosure: We may earn a commission when you buy through links on this page, at no extra cost to you. As an Amazon Associate I earn from qualifying purchases. Learn more

The best 3d printers for cosplay suit large helmets and armor: build size, filament choice and finishing tips.
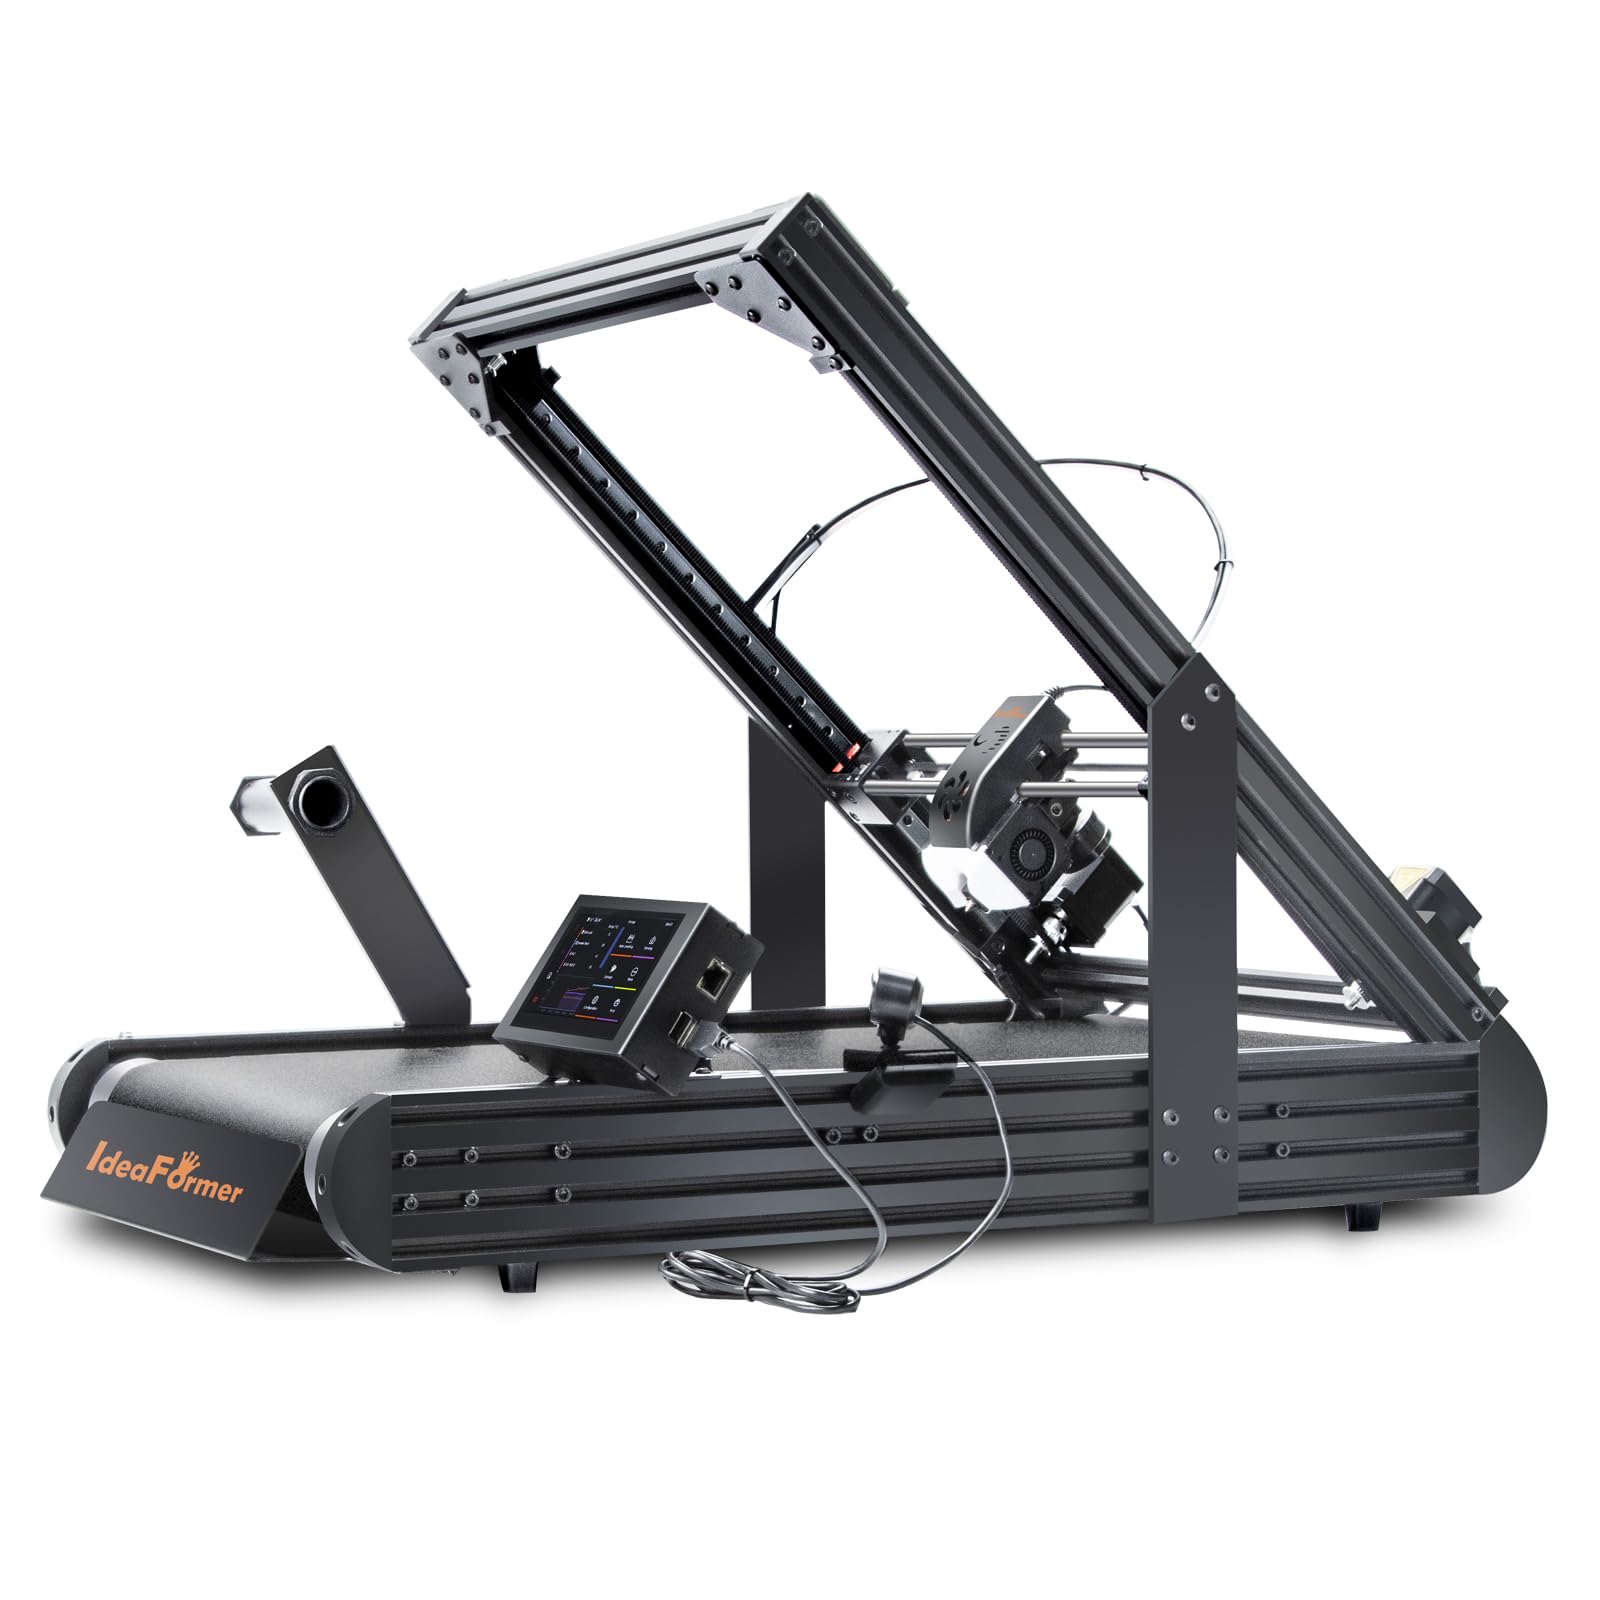
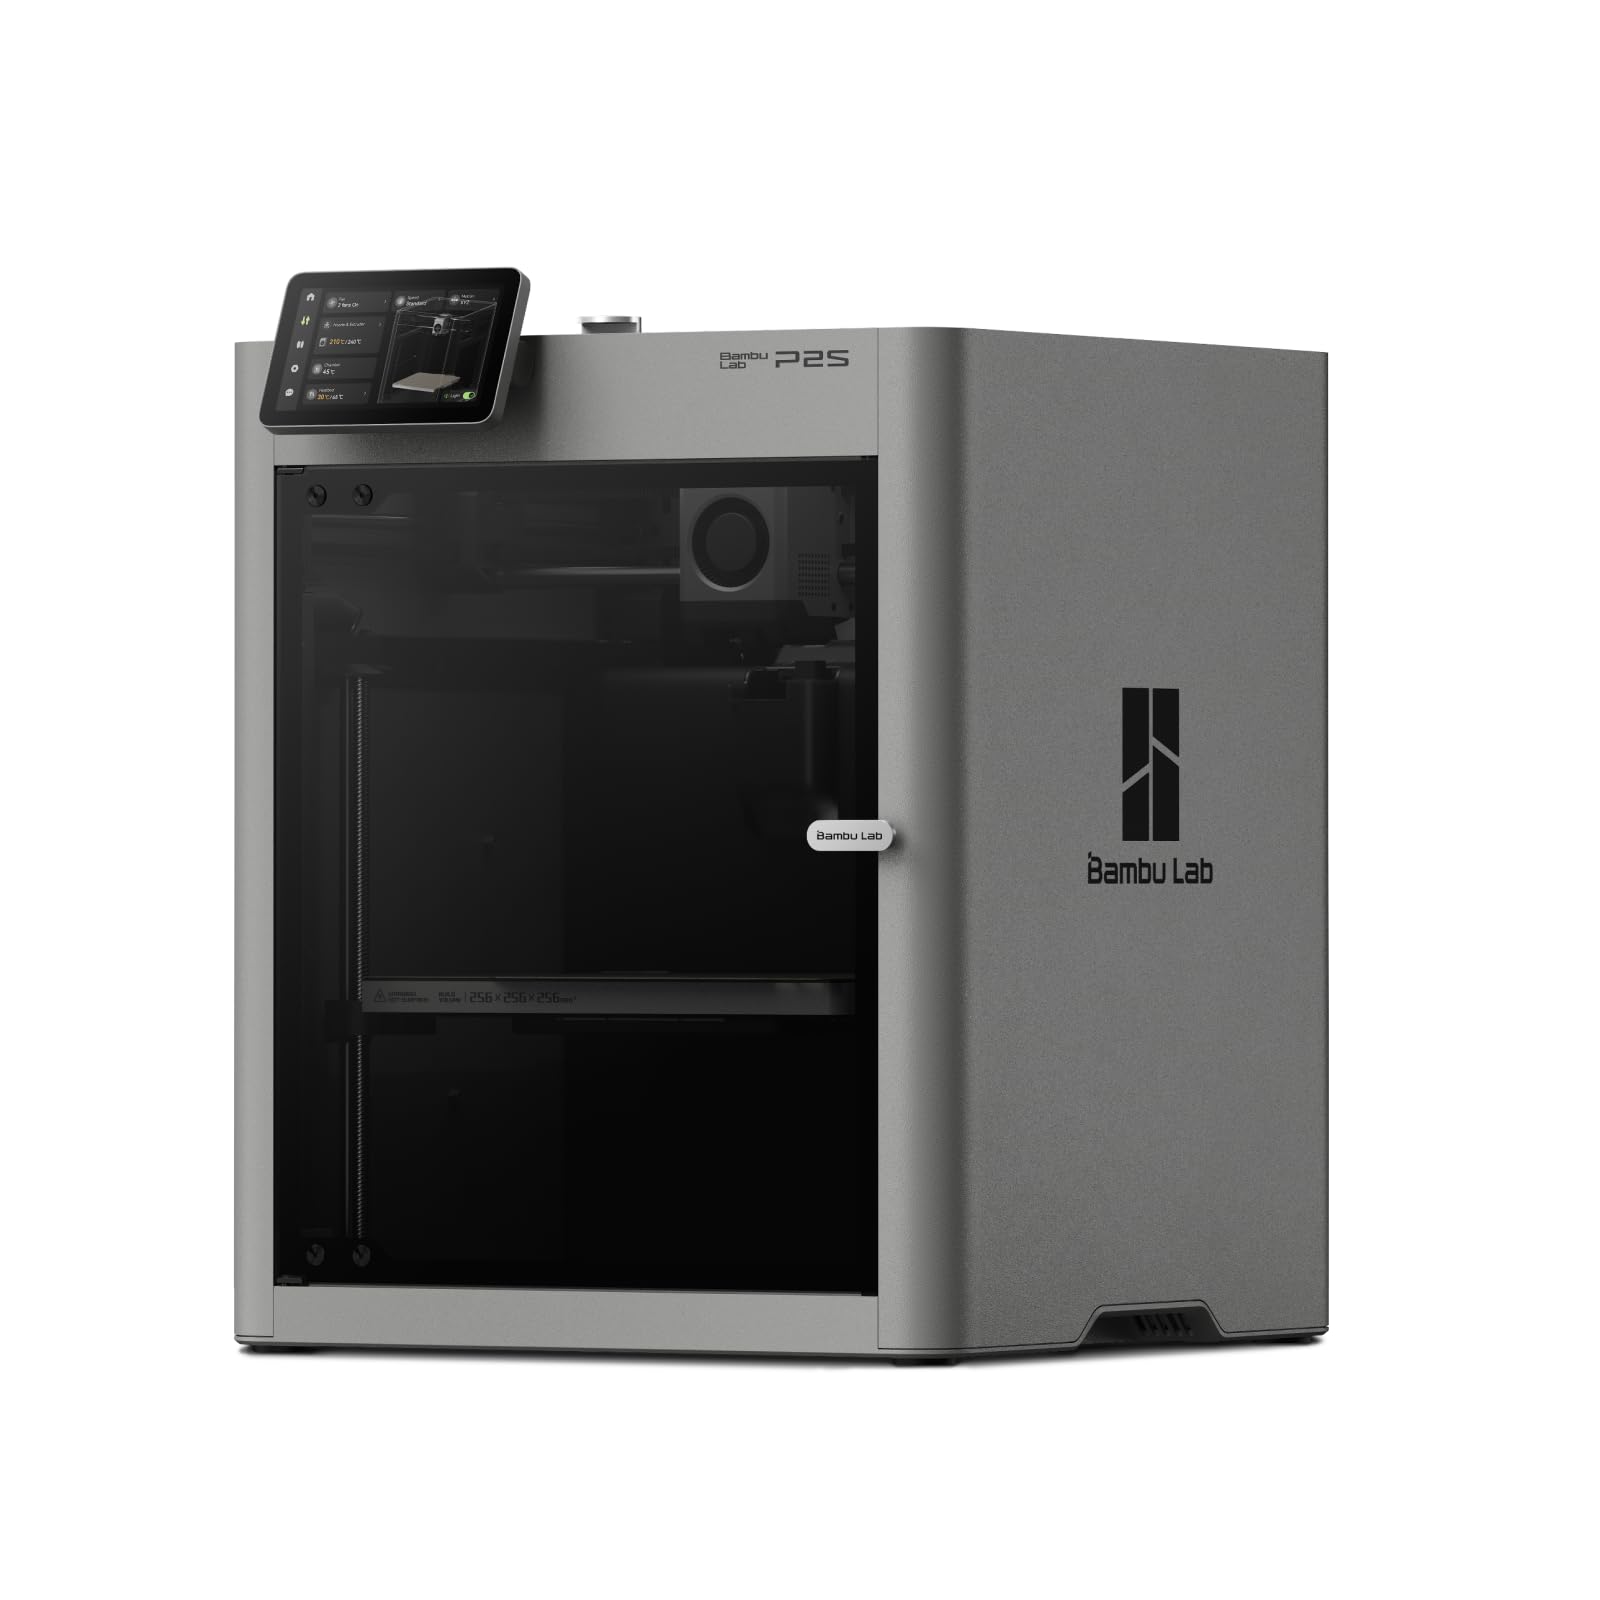
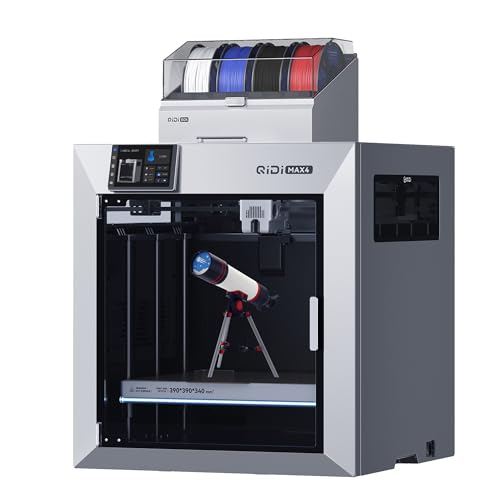
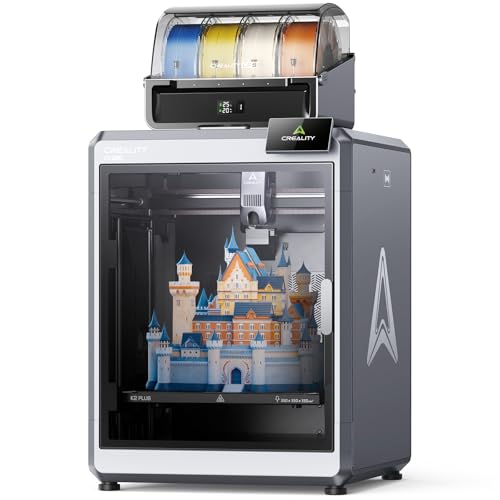
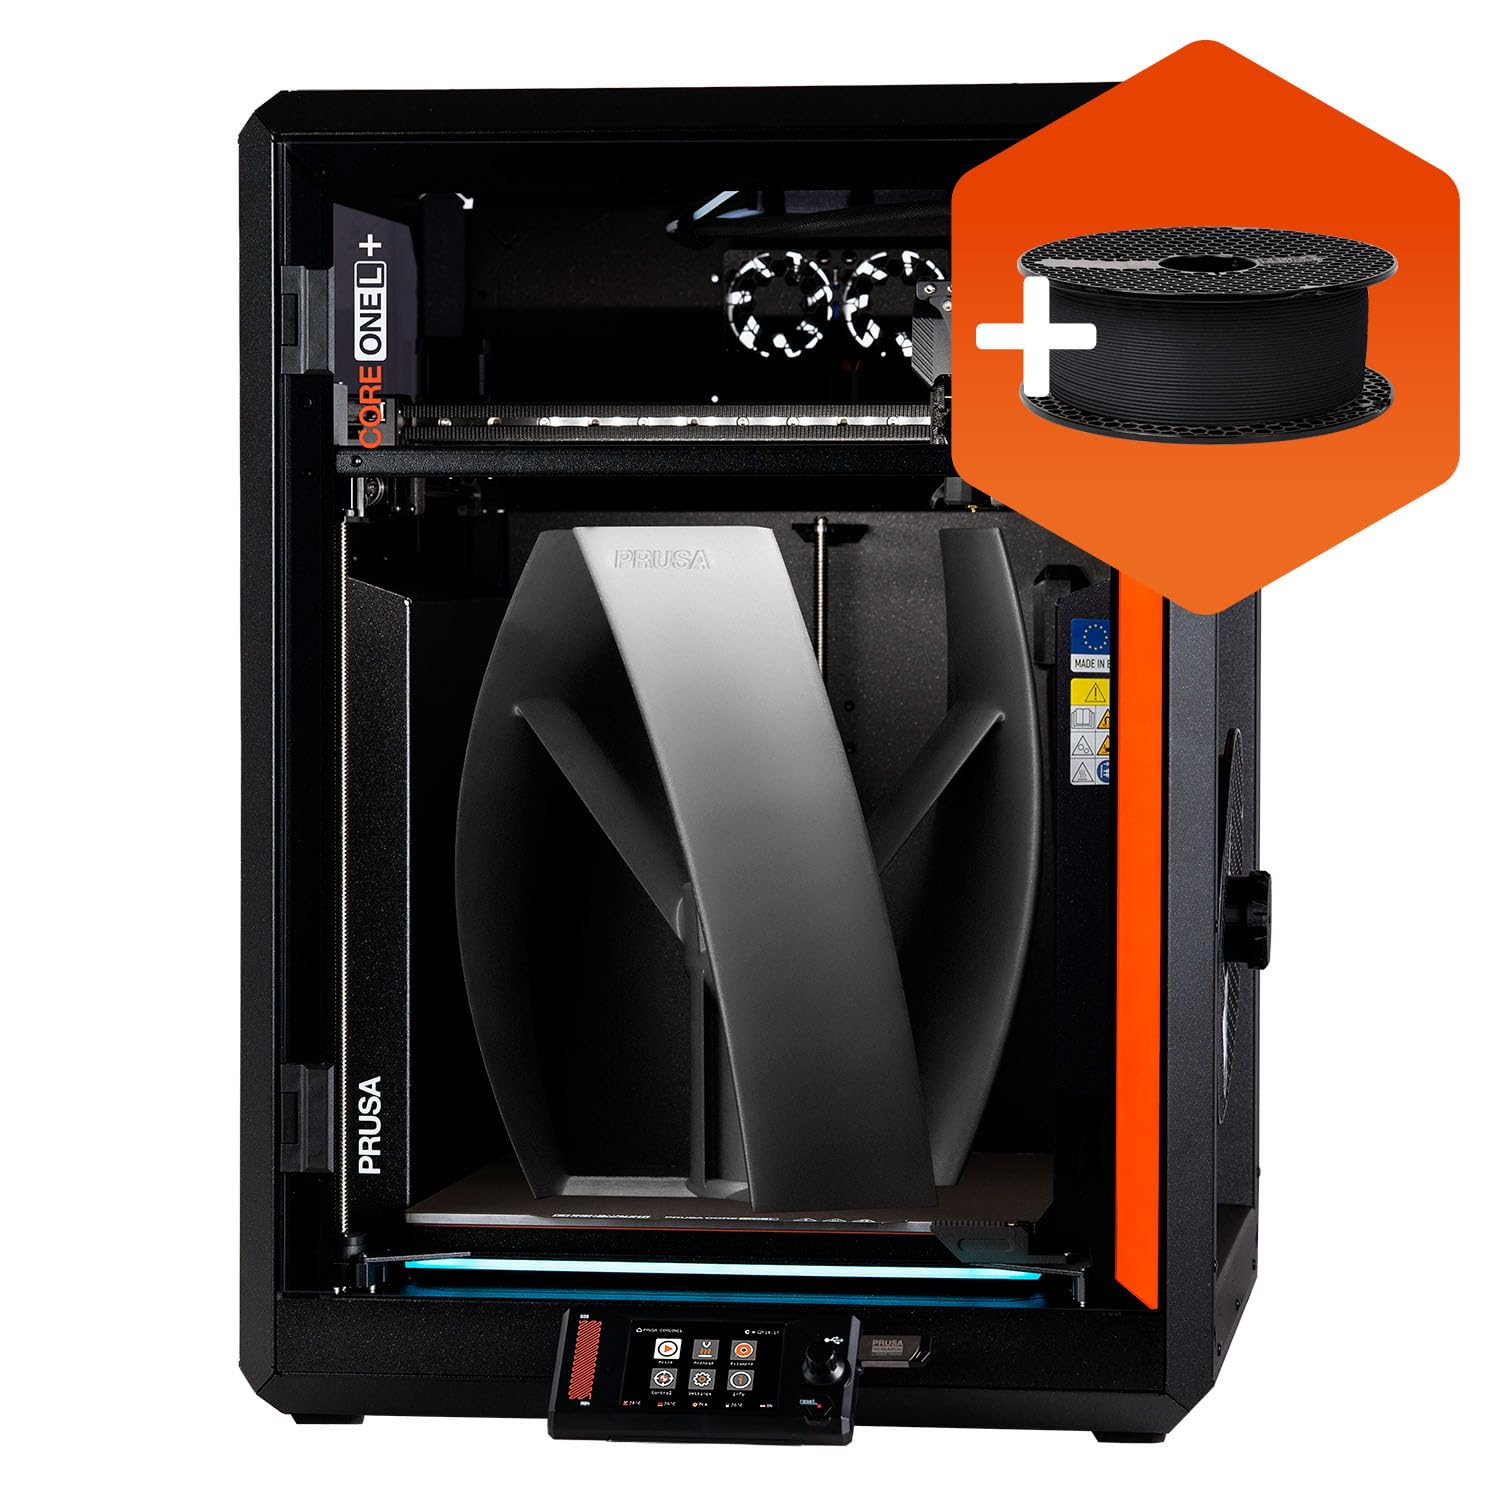
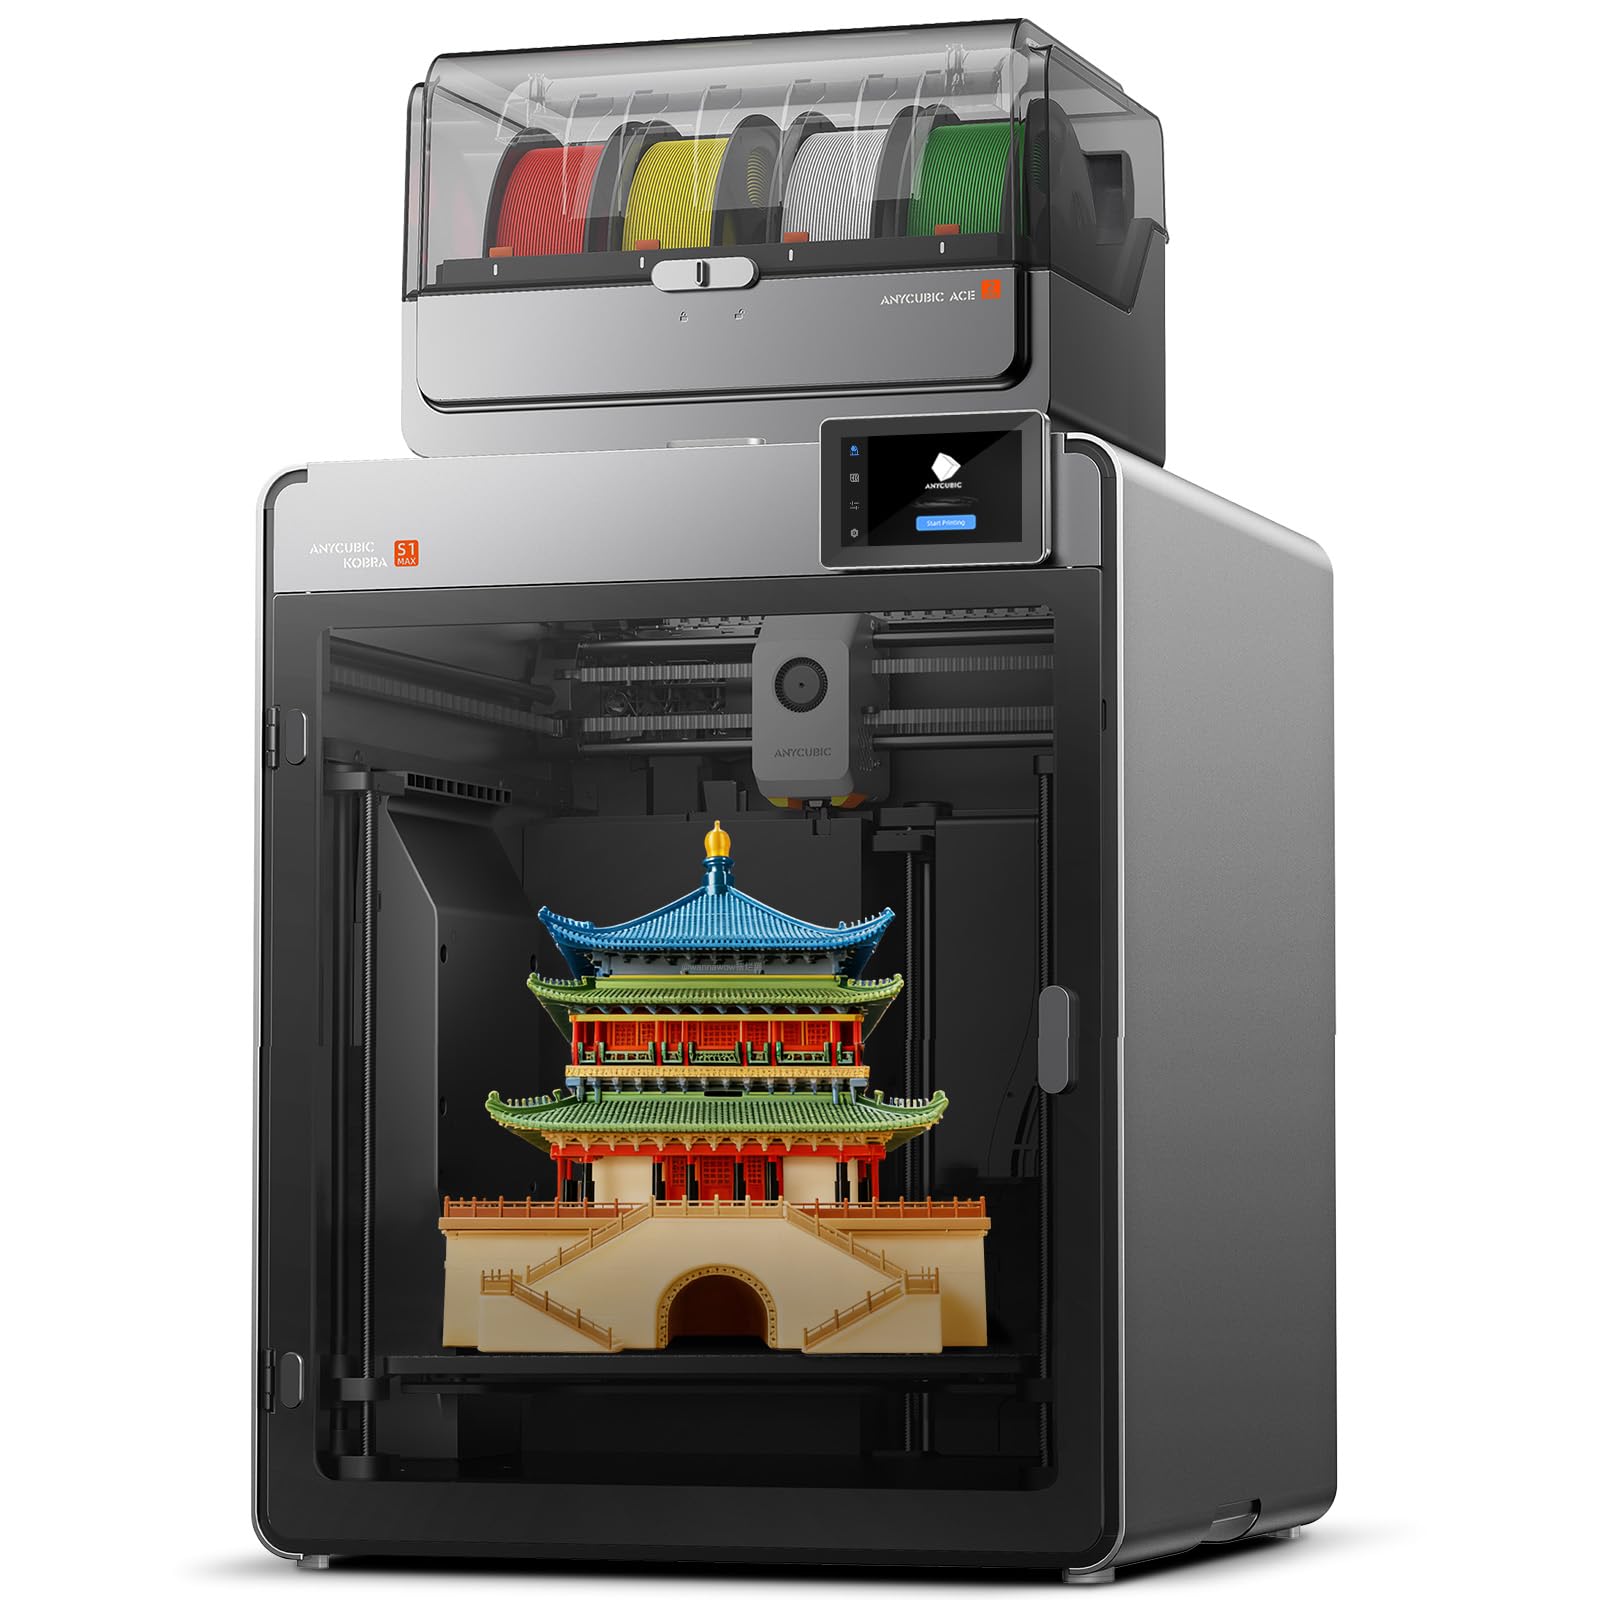
Choosing the best 3d printers for cosplay means thinking about helmets, armor plates, and props that are far larger than a typical desk print. A printer with a generous build volume saves you from splitting a helmet into many small pieces and gluing seams that later show through paint. The product table lays out the main options, so you can compare build size, material support, and ease of use.
Cosplay printing is a craft project as much as a technical one, because most prints need sanding, filling, priming, and painting before they look convincing on stage or at a convention. Plan for that finishing time in your schedule, and pick a printer whose material choices suit the finish you want. A machine that prints reliably for long hours matters more than raw speed alone.

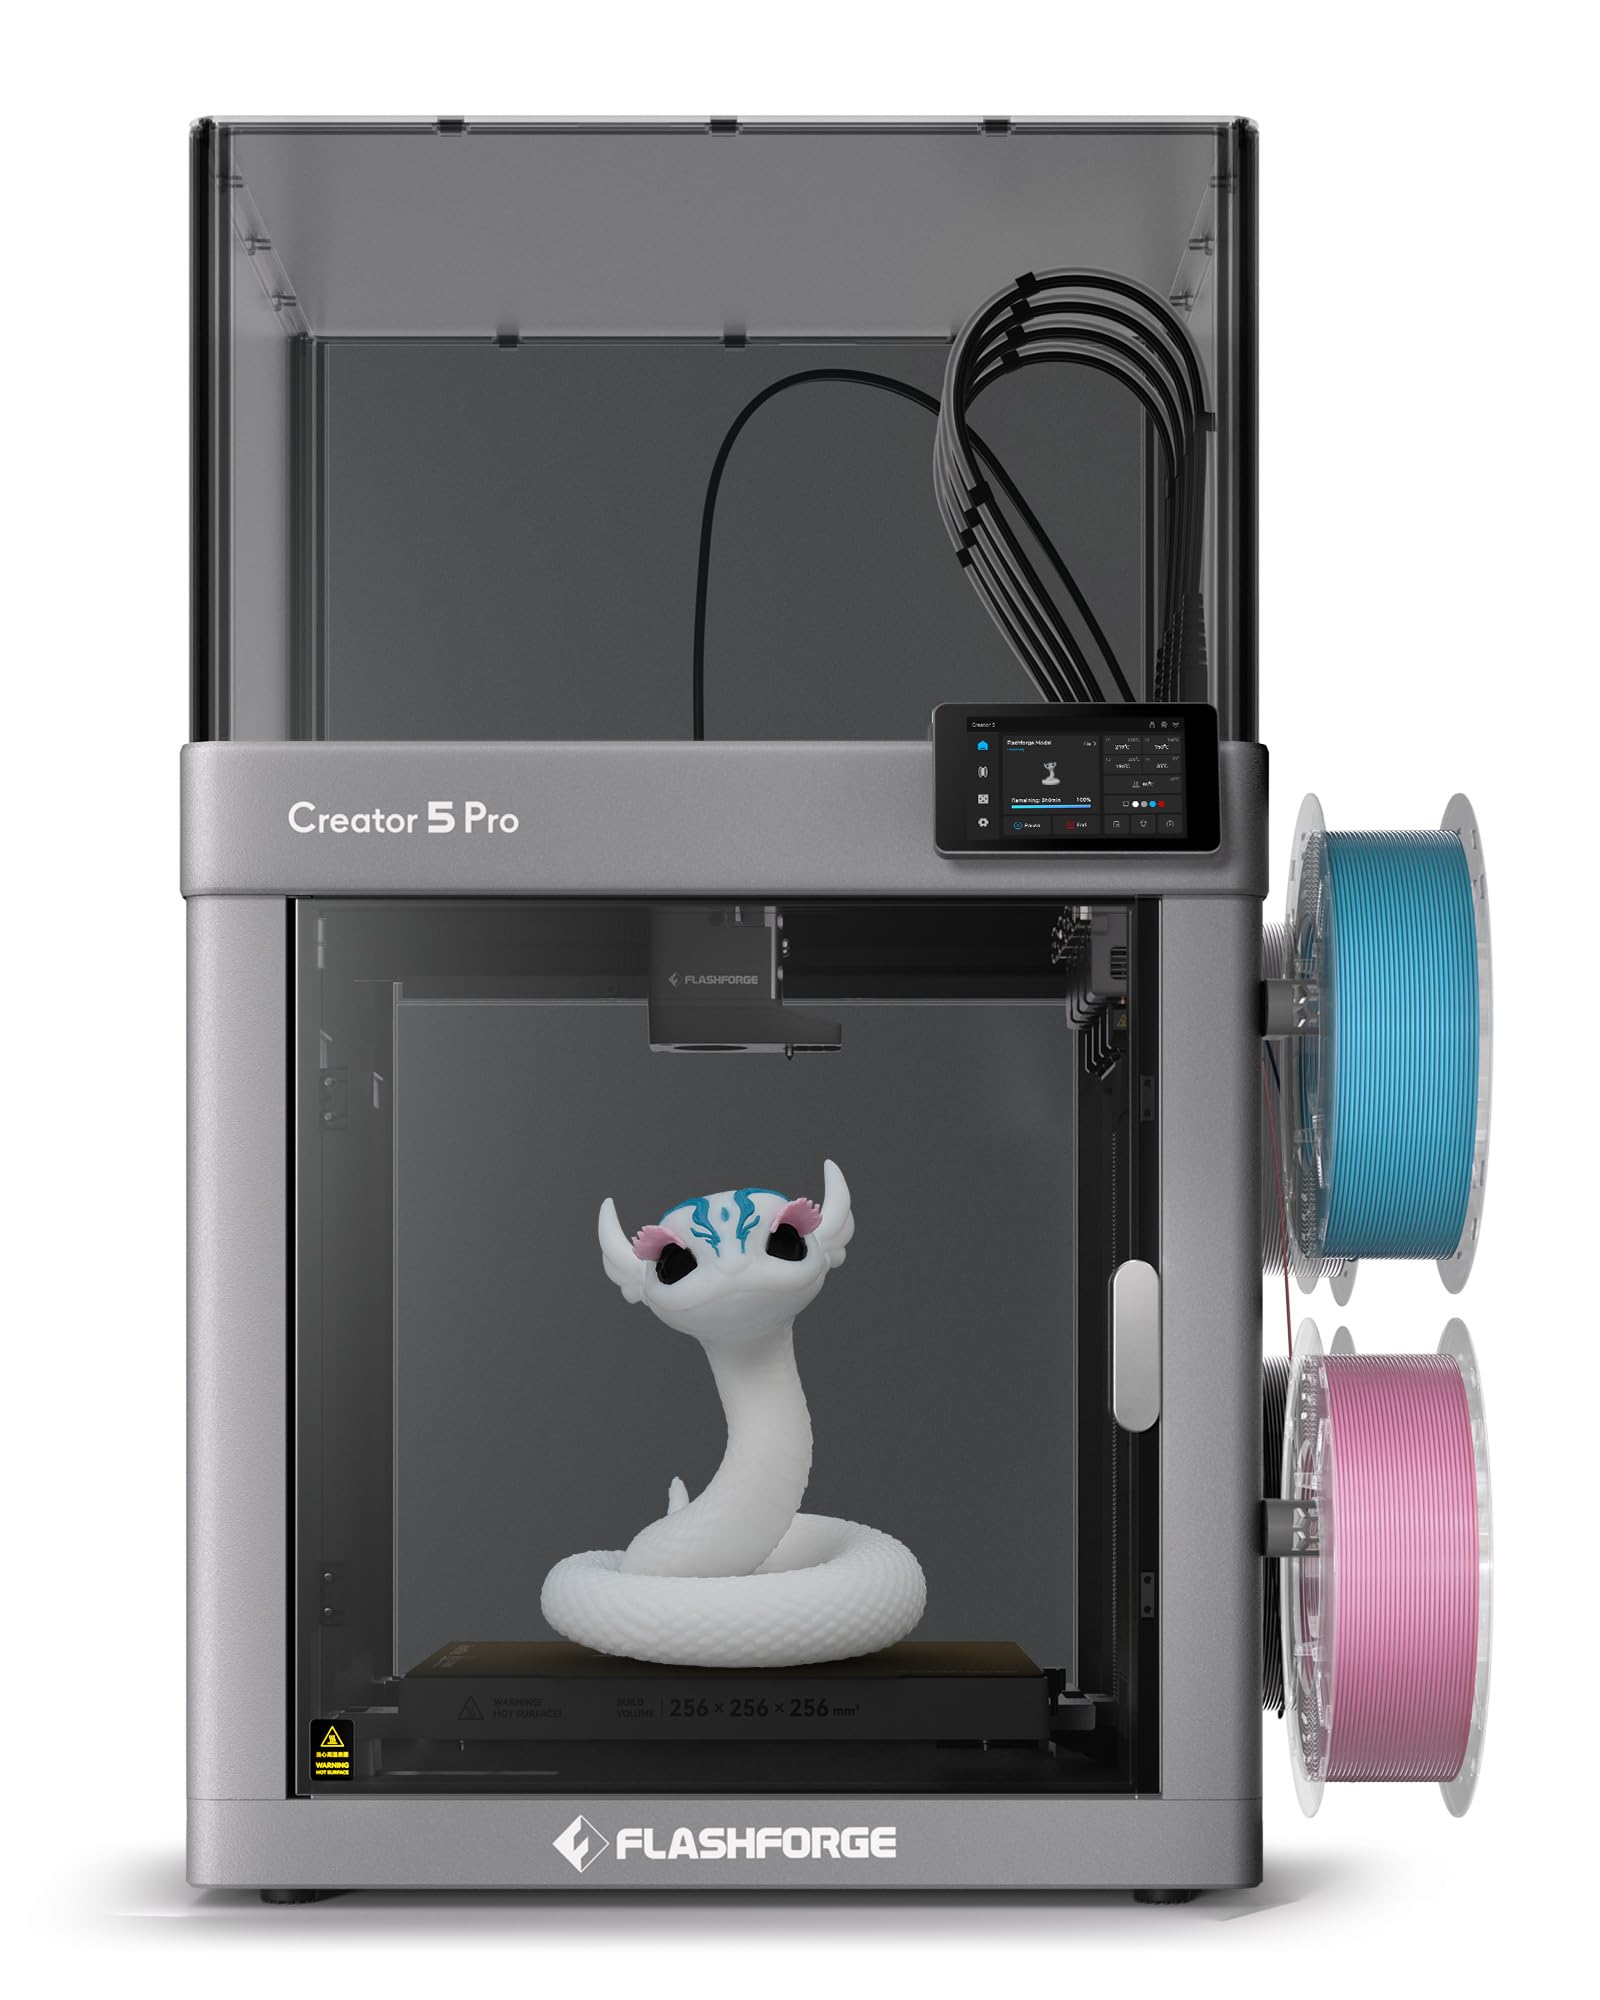


Who Should Buy a Cosplay Printer
Cosplay printers suit makers who build armor, helmets, masks, swords, and large props, and who enjoy sanding and painting as part of the hobby. They also suit costume groups that share a machine for a convention season. If you only print small figures or jewellery, a smaller and cheaper printer will do the same job with less fuss.
- Armor and helmet builders
- Prop makers and costume groups
- Convention regulars with workshop space
- Makers who enjoy finishing work
Key Features That Matter Most
Build volume is the first filter, since a helmet in one piece needs height and width that a small printer cannot offer. Look for a heated bed and a stable frame, because tall prints warp or wobble when the frame flexes. An enclosed chamber helps with materials that crack in draughts, while a direct drive extruder handles flexible filaments better for straps and gaskets.
Nozzle size is a trade off: a larger nozzle prints faster but leaves rougher layers, while a smaller nozzle gives finer detail at the cost of time. Many cosplayers keep two nozzle sizes and swap them by project. Check filament compatibility too, since PLA is easy to finish, PETG is tougher, and ABS needs ventilation and an enclosure.
Filament Types Compared
PLA is the easiest starting point, prints with little smell, and sands and paints well, but it can soften in a hot car or under stage lights. PETG resists knocks and heat better and suits armor that will be worn all day. TPU adds flexible parts such as straps, seals, and grips. ABS and ASA are strong and heat resistant, but they need ventilation and careful settings.
Choose filament by the part, not by habit: rigid PLA or PETG for armor shells, TPU for flexible joints, and a tougher material for load bearing brackets. Store filament dry, because damp filament prints rough and weak. A dry box or sealed bag with desiccant keeps spools ready for a long build.
Budget and Long Term Value
Cosplay capable printers range from about $200 to over $800, and the extra money usually buys build volume, a sturdier frame, and better bed levelling. Budget for filament, sandpaper, filler, primer, and paint, because finishing supplies can rival the printer cost over a season. Spare nozzles, a spare build plate, and a basic tool kit are cheap insurance against a failed weekend print.
Running costs stay modest if you print at sensible infill levels and avoid reprinting whole parts for small errors. Learn to pause and repair a print, and keep test prints small before committing to a 30 hour helmet. A reliable printer that finishes long jobs without drama is worth more than a fast printer that fails halfway.
Common Mistakes to Avoid
The most common mistake is choosing a printer too small for helmets and then fighting seams on every build. Another is skipping ventilation for strong smelling materials. A third is underestimating finishing time, so a costume is still wet with primer the night before a convention. Start your largest pieces first, and leave a full week for sanding and paint.
Planning for Everyday Use
Keep the printer on a stable bench away from draughts, and level the bed before long prints. Slice a test piece at full scale for helmets, checking fit against your head measurements before printing the whole shell. Label filament spools with material and colour, and keep a simple log of settings that worked, so the next costume starts faster.
Related Guides Worth Reading Next
For more on a related option, see our guide to best 3d printers for detail that complements this guide.
For more on a related option, see our guide to best hobby 3d printers for detail that complements this guide.
For more on a related option, see our guide to best inexpensive 3d printers for detail that complements this guide.
For more on a related option, see our guide to best starter 3d printers for detail that complements this guide.
For more on a related option, see our guide to best resin 3d printers for detail that complements this guide.
A Final Check Before You Order
Before you order, confirm the build volume against your largest planned piece, such as a helmet or chest plate, by comparing model dimensions with the printer specifications. If your largest piece exceeds the volume, decide whether you are happy splitting and joining parts, since that adds finishing time to every build. A printer that fits your biggest piece in one go simplifies the whole costume.
Check the materials you plan to use and whether the printer handles them well with its stock hot end and bed. Some printers need upgrades for high temperature materials, which adds cost and setup time. Also confirm spare parts availability for nozzles, build plates, and belts, since a broken part mid season can stall a costume.
Finally, think about where the printer will live and how much noise and smell your household will tolerate. A garage or workshop suits strong smelling materials better than a bedroom. Plan ventilation, a stable bench, and dry filament storage before the printer arrives, so your first large print starts smoothly.
Caring for Your Printer Over Time
Clean the build plate between prints, check belt tension monthly, and keep nozzles clean for consistent extrusion. A small maintenance routine prevents most failed prints, and it takes only a few minutes per week. Keep a log of successful settings for each filament, since that record saves hours of trial and error on the next costume.
Store filament in sealed bags with desiccant, and dry any spool that starts printing rough or stringy. Replace worn build plates and nozzles promptly, since worn parts cause adhesion problems that look like slicing errors. With steady care, a cosplay printer can produce costume after costume across many convention seasons.
Frequently Asked Questions
What build size do I need for a helmet?
A build volume of about 300 mm in each direction handles many helmets in one piece, while smaller printers force you to split the model and join seams. Measure your own head and the model dimensions before choosing. Splitting is workable, but it adds gluing, filling, and sanding time.
Is PLA good enough for cosplay armor?
PLA is good enough for display armor and light convention wear, and it finishes beautifully with filler and paint. For armor that takes knocks or sits in heat, PETG or a tougher material will last longer. Match the material to how hard the costume will be used.
How long does a helmet print take?
A full helmet can take 20 to 40 hours depending on size, layer height, and infill, so plan prints across several days. Faster settings save time but leave rougher layers that need more sanding. Start large pieces early in your build schedule.
Do I need an enclosed printer?
An enclosure helps with ABS and ASA and with draughty rooms, because it keeps temperatures steady and reduces warping. For PLA and PETG in a stable room, an open printer works well. Add an enclosure later if you move to materials that need it.
How much finishing work should I expect?
Expect sanding, filler primer, more sanding, and several paint coats for a smooth costume finish. Fine layer heights reduce sanding but lengthen print time. Budget at least a few evenings of finishing for a helmet, and more for a full armor set.
How do I scale a helmet model to fit my head?
Measure your head circumference and height, then scale the model in your slicer to match those measurements plus a small margin for padding. Print a thin test ring at the scaled size and check the fit before printing the full helmet. Scaling by head measurements avoids a helmet that looks right but cannot be worn comfortably.
Should I print armor in one piece or parts?
Printing in one piece gives cleaner seams but needs a large build volume and longer print times. Printing in parts suits smaller printers and makes painting easier, but adds gluing and filling work. Choose by your printer size and how much finishing time you accept.
What infill should cosplay armor use?
Infill of 10 to 20 percent with several wall layers suits most display armor, balancing weight and strength. Load bearing brackets benefit from higher infill and more walls. Very high infill adds weight and time without much benefit for costume pieces that are not structural.
Final Thoughts
When you compare the best 3d printers for cosplay, build volume, reliability, and material choice matter more than headline speed. Pick a machine that fits your largest piece, learn its settings on small tests, and leave generous time for finishing. The product table above is a helpful starting point for narrowing the field. Take time with this final check, since a careful choice now avoids returns and disappointment later, and it ensures the option you buy genuinely fits your room, routine, and budget.