Best 3D Printers for Architects: A Buyer Checklist for 2026
Disclosure: We may earn a commission when you buy through links on this page, at no extra cost to you. As an Amazon Associate I earn from qualifying purchases. Learn more

Use this buyer checklist for the best 3d printers for architects to compare build volume, detail, setup, materials, and running costs before you buy.
Architects ask more of a printer than most buyers, because the output has to persuade clients, test massing ideas, and survive being handled in meetings. This checklist helps you judge the best 3d printers for architects by the points that matter in studio life, from build volume at common model scales to the true cost of a finished presentation model.
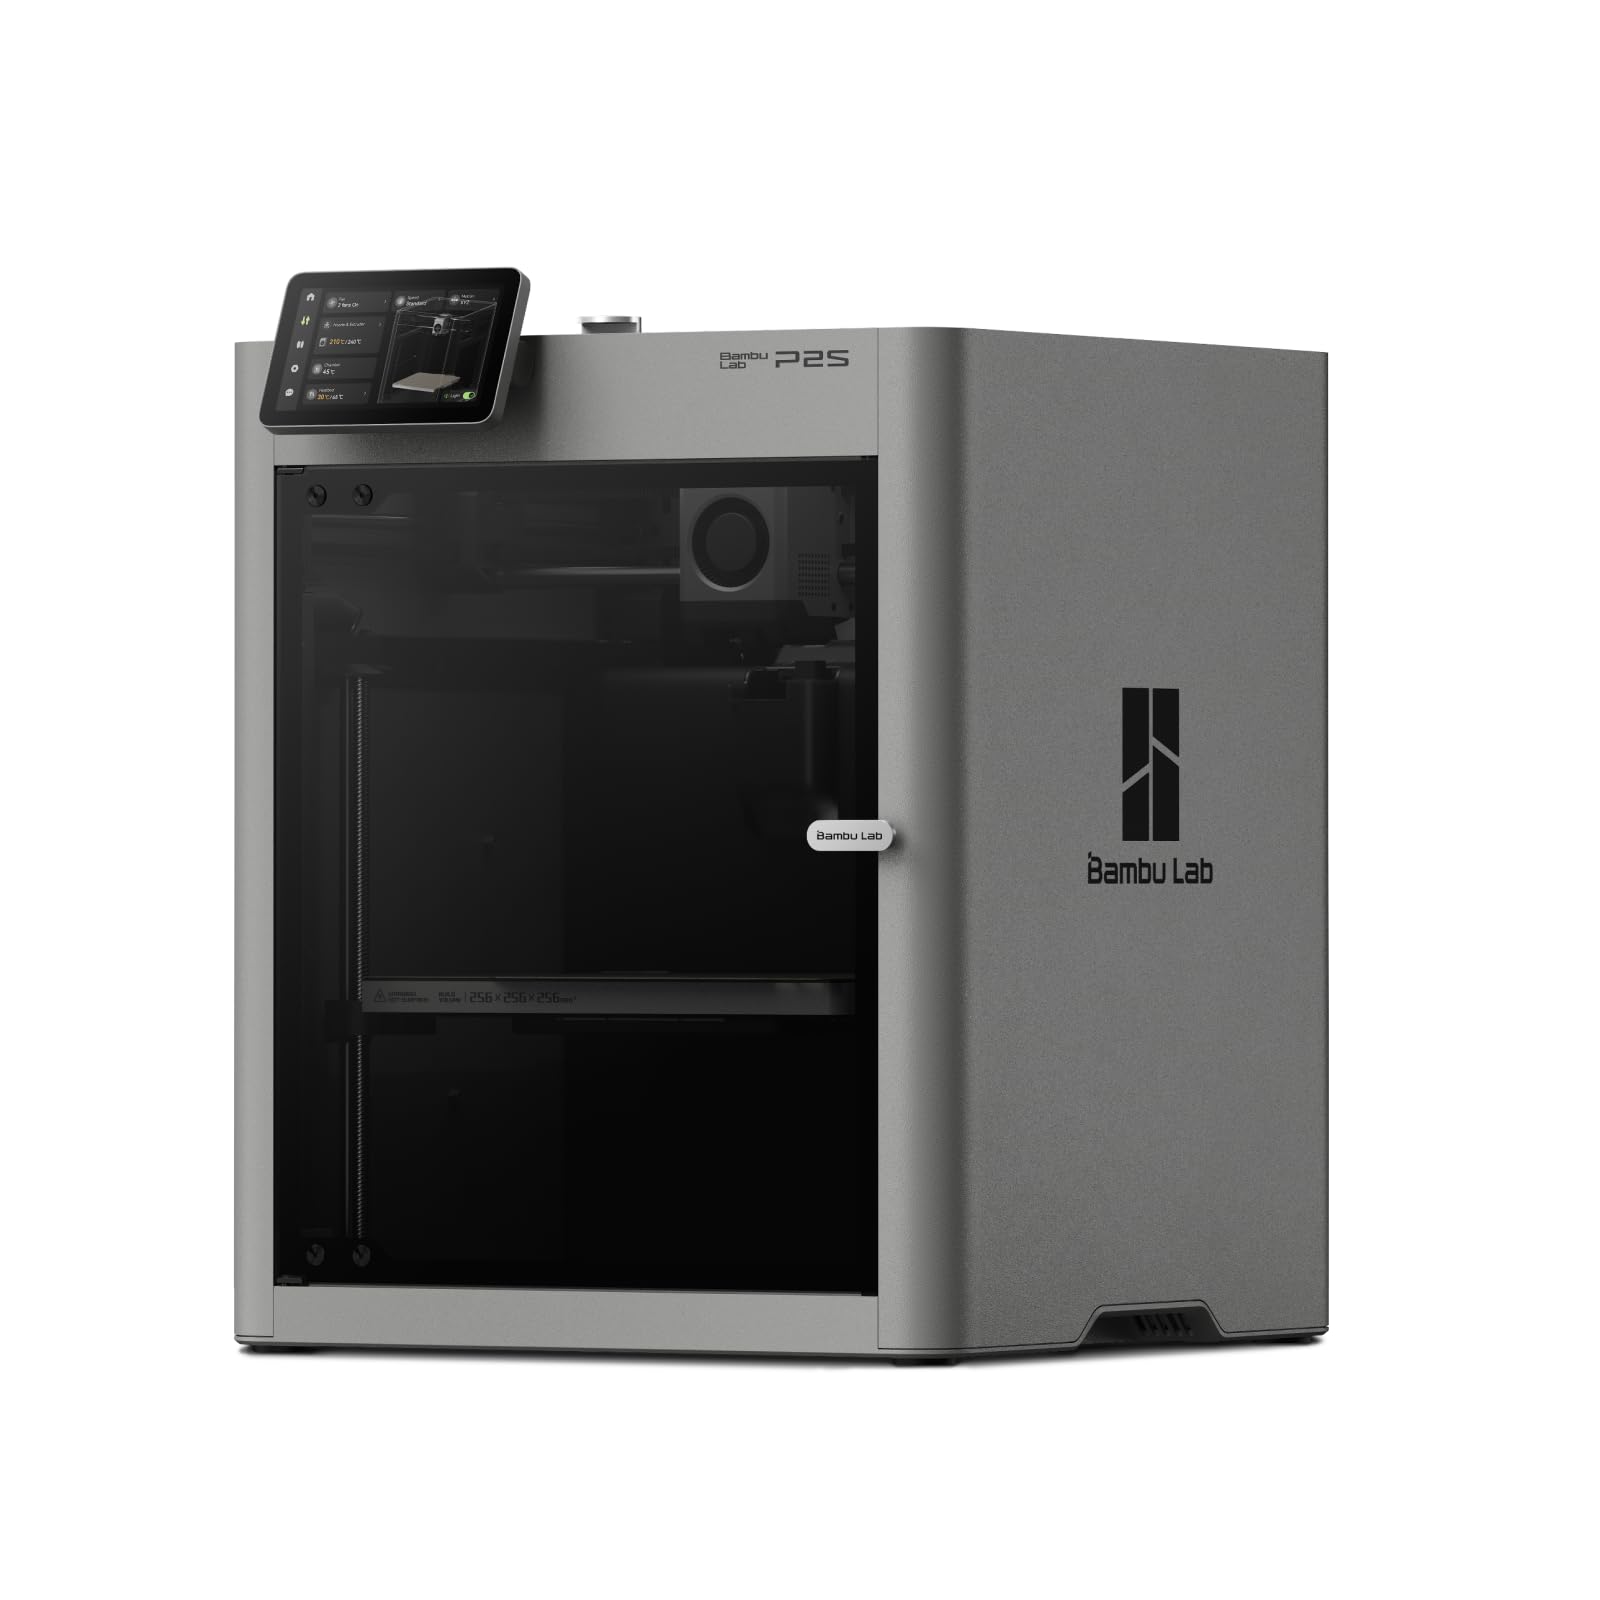
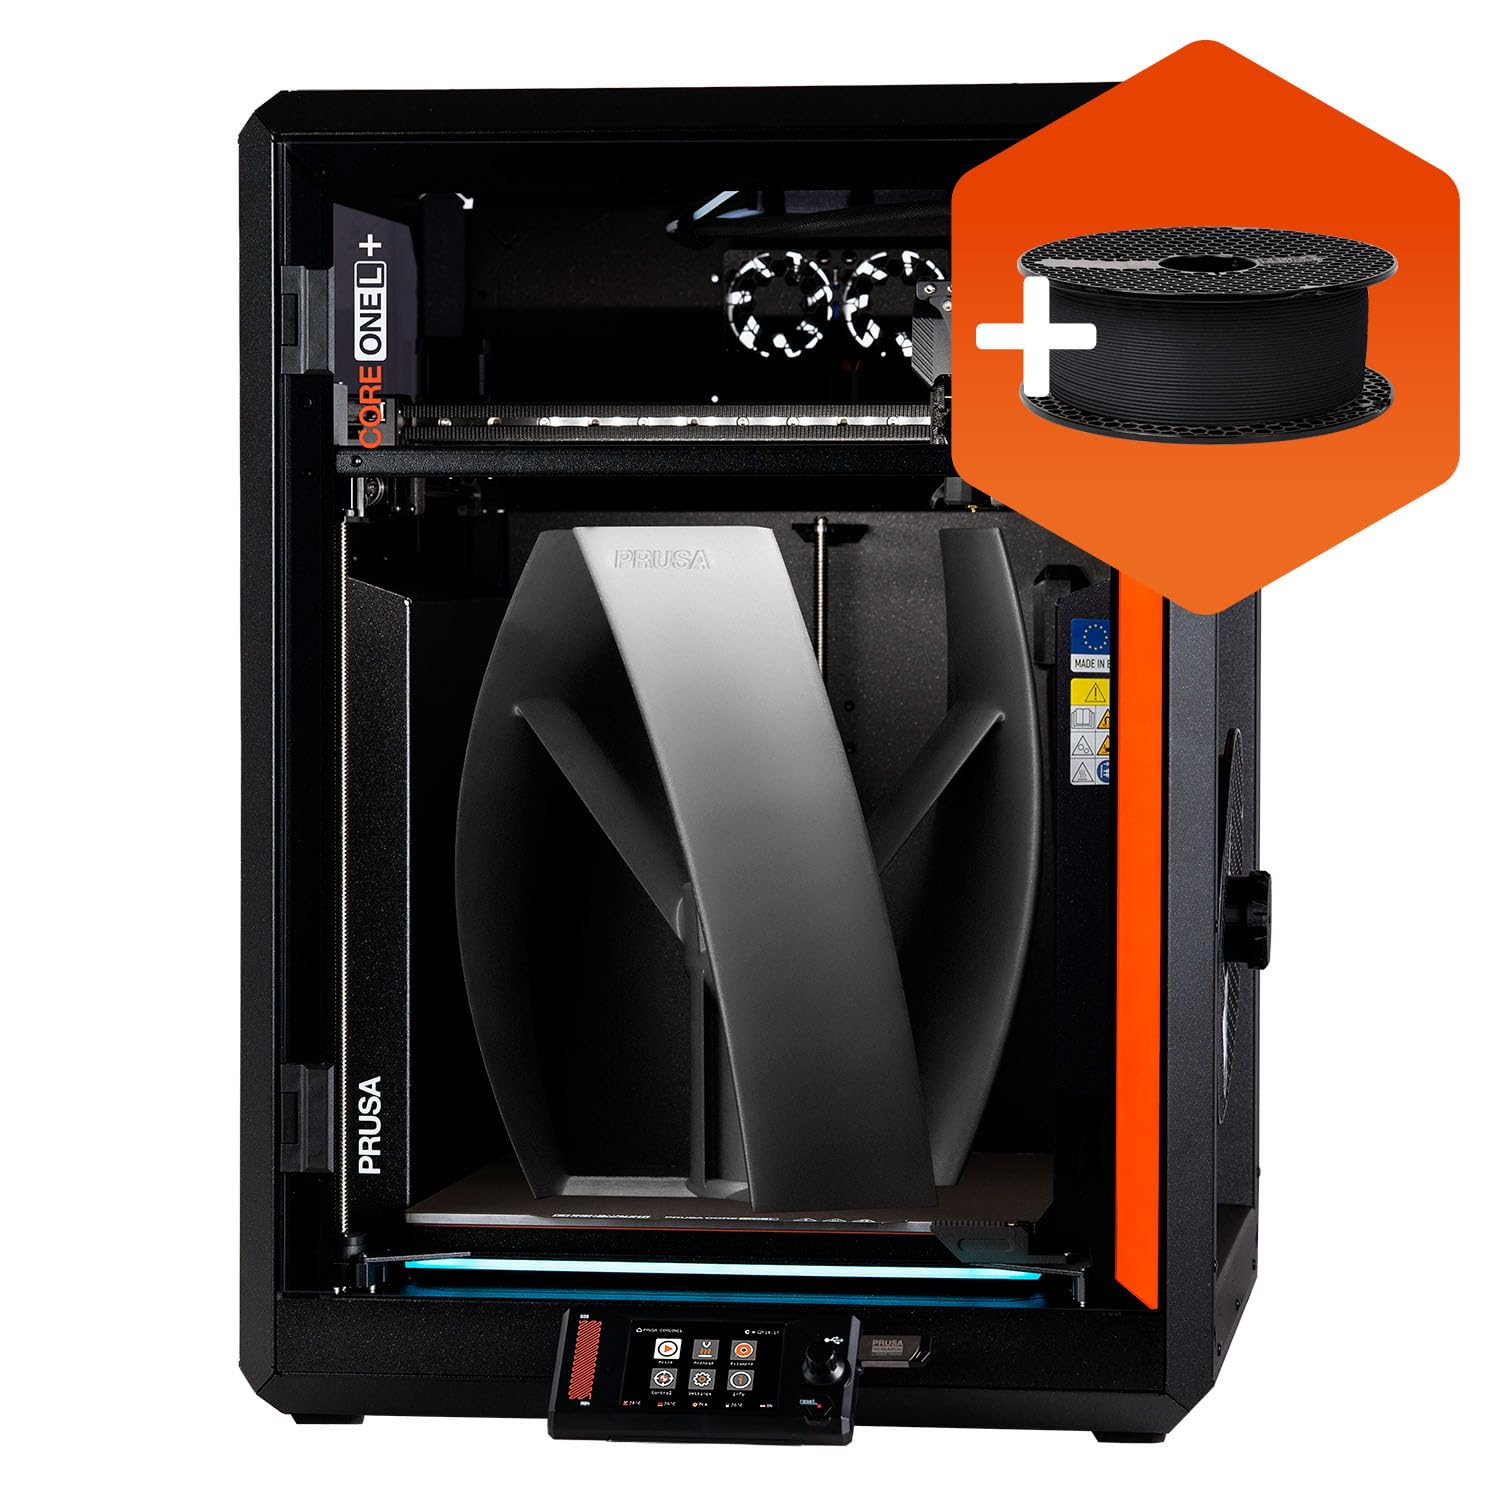
Start with the product table to scan build sizes, printer types, and prices. Then test each finalist against the criteria that follow, since a machine that looks strong on paper can still fail your workflow on detail, reliability, or the time it takes to produce a clean model.

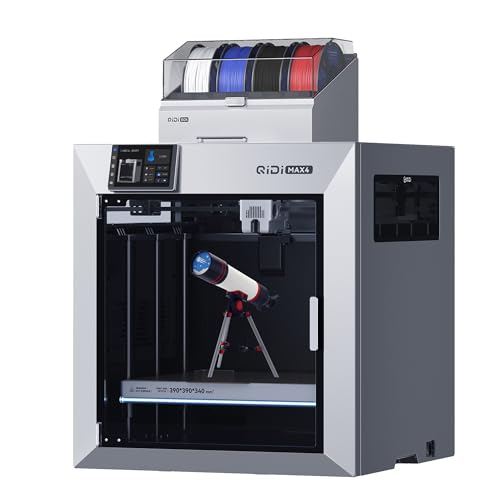
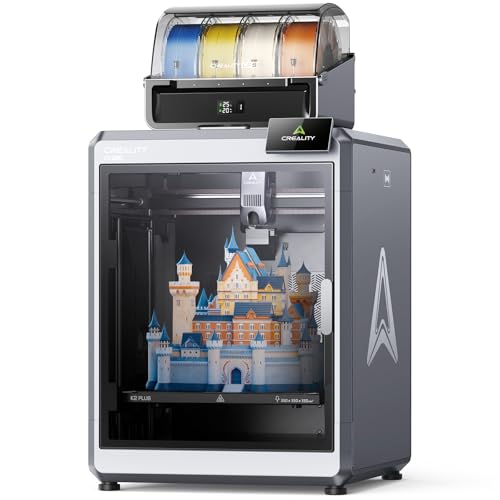
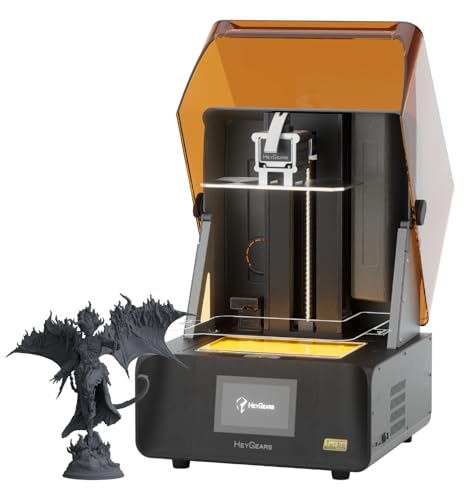


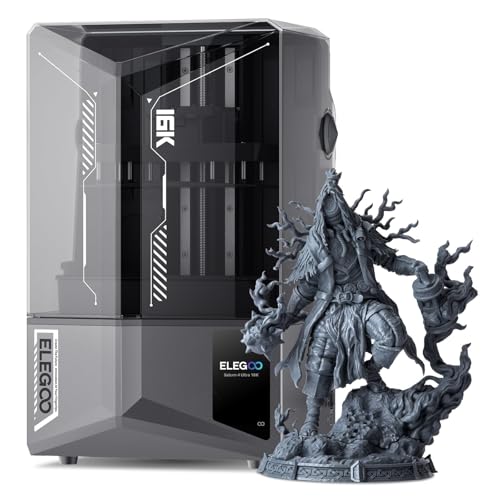
How We Evaluate 3D Printers
Each criterion below states what good looks like for architectural work. Our broader guide to the best 3d printers covers the general market, while the points here stay focused on models, drawings, and studio routines.
Features That Matter for Architects
Architectural printing splits into two jobs. Massing and site models need volume, speed, and cheap material, because you will print, revise, and print again. Presentation models need fine detail, clean edges, and a neutral finish that photographs well and takes paint evenly. A good studio machine handles both, with a build area large enough for a city block at a scale of 1 to 500 and layer control fine enough for window mullions, railings, and thin roof planes at larger scales.
Printer Type (Inkjet, Laser, Tank, 3D FDM/Resin)
For objects, the choice is between filament FDM and resin. FDM melts plastic strand and builds larger models at low material cost, which suits massing studies and sectional models you can cut, pin, and revise. Resin hardens liquid with light and captures much finer detail, which suits small presentation pieces, but it adds washing and curing steps and higher material costs. Inkjet, laser, and tank machines belong to the drawing side of the office and cannot build models, so budget for them separately.
Print Quality and Resolution
Judge quality by the thinnest detail your models need. A layer height range from about 0.08 to 0.2 mm covers both fast massing drafts and smooth presentation surfaces. Thin walls around 0.8 to 1.2 mm must print as solid, clean lines rather than broken strands, so nozzle control and cooling matter. Dimensional accuracy matters just as much, because large site models are often printed in sections that must join without steps or gaps along the seams.
Ease of Setup and Calibration
In a studio, the printer is shared equipment, so ease of use is a real productivity feature. Automatic bed leveling, a simple screen menu, and saved profiles for your standard materials let any team member start a print with confidence. Quick nozzle changes help when you switch between a large nozzle for fast massing work and a fine nozzle for detail pieces. Avoid machines that need expert tuning before every job, because they quietly stop being used when deadlines tighten.
Footprint and Noise
Studio space is expensive and usually open plan. Measure the full working footprint, including bed travel, spool position, and door swing on enclosed models, before you assign a corner. An enclosure cuts fan and motor noise, contains plastic smell during long prints, and keeps dust off the build plate between jobs. Place the machine away from meeting tables if possible, since a ten hour print will otherwise become background noise for client calls and design reviews held nearby.
Cost per Page and Ink/Filament Costs
Cost per page is a drawing office measure, and its model making equivalent is cost per finished model. Filament for a mid size massing model often costs only a few dollars, but staff time for slicing, removing supports, sanding, and painting usually costs far more than the plastic. Resin raises material cost and adds washing fluid and curing time. When you compare machines, count the full path from file to finished model, because a faster, cleaner printer often wins on labor alone.
Paper Handling and Duplex / Build Volume
On the 3D side, build volume decides whether a site model prints in one piece or in joined sections. A volume around 300 mm per side covers many urban blocks at small scales, while larger volumes help with single building models at a scale of 1 to 100. On the paper side, drawing sets still matter, and tray capacity plus automatic two sided printing save real time on large issues. Our guide to the best printers for architects covers that drawing workflow in full.
Three Buyer Profiles and What to Prioritize
Studios buy at three clear levels. Match the machine to how often you print and how finished the models must be, rather than to the largest build volume on offer.
Overall Balance Tier
Most small and mid size practices belong here, at roughly about $400 to $900 for an enclosed filament machine. Expect automatic leveling, a build volume near 250 to 300 mm per side, quiet running, and reliable results in PLA and PETG with little tuning. This tier produces client ready massing and concept models and handles weekly studio use well. Its limit is fine detail, where resin still wins, and very large site models, which will need printing in sections and careful joining.
Value Tier
Value machines, often under $400, suit students, sole practitioners, and studios testing whether model printing fits their process. You still get useful build volume and good massing quality in PLA, which covers most early design studies. The savings show up as more manual setup, louder running, and less consistent results across long prints. If budget is the barrier, our guide to the best inexpensive 3d printers explains which corners can be cut safely for study models and which ones cause failed prints.
Heavy Use Tier
Studios that print daily should look at roughly about $1,000 to $2,500, or at buying two balance tier machines instead of one costly unit. Heavy use value comes from uptime, spare parts on the shelf, fast service, and a second machine that keeps work moving when one is down or busy with a long job. Enclosed construction, filtration, and network job management also start to matter at this level. The limit is diminishing returns, since print quality gains slow while purchase and upkeep costs keep rising.
Quick Buyer Checklist
Run through these questions with your most common project in mind, and answer for that project rather than for a rare best case.
- Does the build volume fit your typical site or building model at your usual scale?
- Can it print thin walls and fine detail cleanly at your presentation scale?
- Does it offer automatic bed leveling and saved material profiles for shared studio use?
- Is it enclosed and quiet enough for your office layout and meeting spaces?
- Have you counted labor, finishing, and failed prints in the cost per model?
- Are spare nozzles, plates, and parts easy to buy with short delivery times?
- Does your CAD or BIM software export clean files the slicer accepts without repair?
Red Flags to Watch For
Pause the purchase when you meet any of these signs, however attractive the price looks.
- Build volume stated without usable dimensions. Some listings quote the outer frame or a diagonal figure. Insist on the true printable width, depth, and height.
- No stated accuracy or repeatability figures. Sectioned models expose sloppy machines at every seam, so vague quality claims are a warning.
- Closed materials with costly refills. A studio that prints weekly will feel locked in pricing within months.
- Weak parts supply. If nozzles and build plates are hard to source, a small failure can idle the machine for weeks.
- Short warranty with no local service route. Shared studio equipment works hard, and cover matters more than a small price saving.
Setup and Care Tips
Keep the build plate clean, since skin oil ruins first layer grip. Wipe the plate with isopropyl alcohol between prints and wash it with warm water and mild soap when adhesion fades. Store filament sealed and dry, level check the bed monthly, and use reputable filament so nozzle clogs stay rare. If new team members will run the machine, our guide to the best starter 3d printers offers a gentle learning path before they handle studio deadlines.
Frequently Asked Questions
What features matter most in 3d printers for architects?
Build volume at your working scale, fine layer control, and accuracy for joined sections matter most. One factor buyers often miss is file workflow, because hours vanish when exports from design software arrive in the wrong scale or with broken surfaces. Test the full path with one real project file before you buy if you can, and time it. A machine that accepts your files cleanly at the right scale will save more time than a small speed advantage ever will.
Are ink tank printers worth it?
For drawing sets, yes, when the office prints in volume, because refill ink costs far less per page than cartridges and large tanks cut refill stops during big issues. That logic applies only to paper, though, and it tells you nothing about model costs. Treat the two budgets separately in your studio accounts. Practices that issue drawings weekly usually recover a tank machine price within the first year, while occasional issuers may never print enough to see the saving.
Inkjet or laser: which is cheaper long term?
For black line drawings at volume, laser and LED machines are usually cheaper long term, with toner covering far more pages per unit. Inkjet earns its place when color renders and shaded presentation sheets matter, because its color quality on coated media is stronger. Neither answer affects model making, so choose paper technology by your issue mix. A mixed office often runs a fast mono laser for drawing sets and a smaller inkjet for color boards and proofs.
Which 3D printer is easiest for beginners?
An enclosed filament printer with automatic bed leveling, a clear touch menu, and ready made profiles for PLA is the easiest start for an architect new to printing. It lets you learn scale, supports, and orientation without fighting calibration at the same time. Resin can wait until you need its detail, because its washing and curing routine adds an hour of process learning to every print. Choose a popular model as well, since shared studio knowledge and online fixes shorten every problem.
What does cost per page mean?
Cost per page is the paper printing habit of dividing ink or toner cost by the pages produced. For model making, build the equivalent figure honestly. Add filament or resin, washing and finishing supplies, electricity, and the staff minutes spent slicing, cleaning, sanding, and joining, then divide by finished models. On presentation work, labor is usually the largest line by far, which is why a printer that needs less cleanup can be the cheaper machine even at a higher purchase price.
Our Verdict
For architectural work, build volume at your scale, clean fine detail, and shared ease of use decide whether a printer earns its studio space. Count cost per finished model, labor included, and revisit the product table above to compare finalists on those terms. Chosen that way, the best 3d printers for architects are the machines your whole team can run with confidence, week after week, from first massing study to final client model.