
Best Milk Frothing Pitchers for Home Baristas
Disclosure: We may earn a commission when you buy through links on this page, at no extra cost to you. As an Amazon Associate I earn from qualifying purchases. Learn more

A cheap frothing jug fights you the whole way. The milk spins unevenly, the pour dribbles instead of flowing, and every attempt at a heart or rosetta ends up looking like a splatter. The right pitcher will not turn anyone into a competition barista overnight, but it removes most of the friction between steaming milk and getting it onto a cup with any kind of control.
This guide breaks down what actually separates the best milk frothing pitchers from the ones that end up in a drawer after a week, based on how spout design, size, and build quality affect real steaming and pouring results.
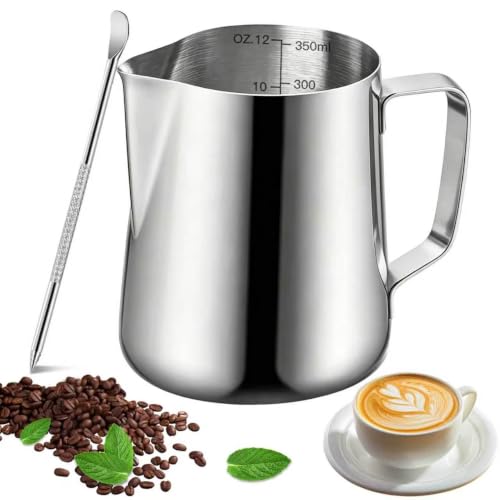
What Makes a Frothing Pitcher Work Well
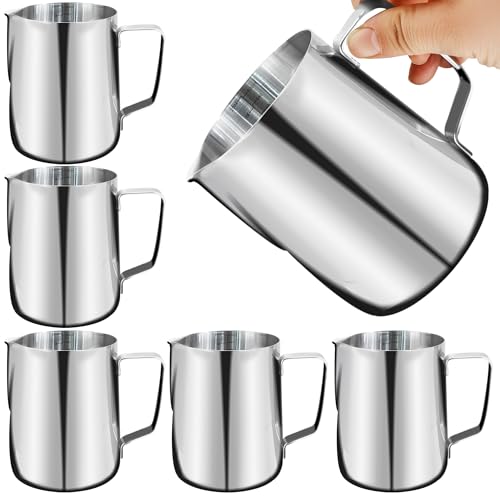
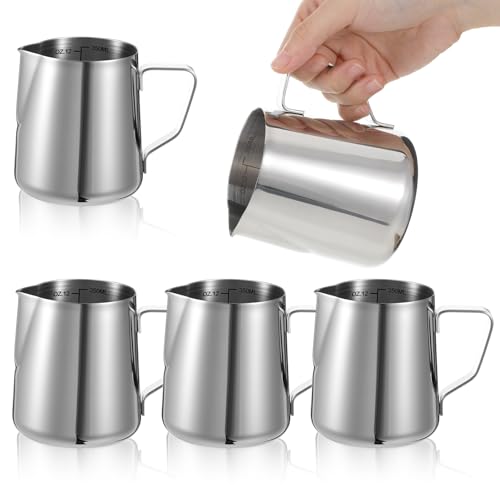
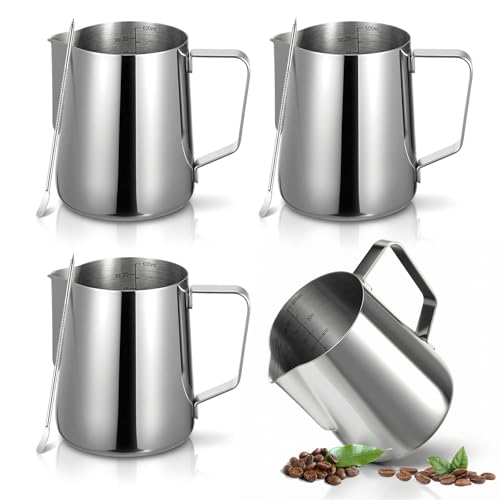
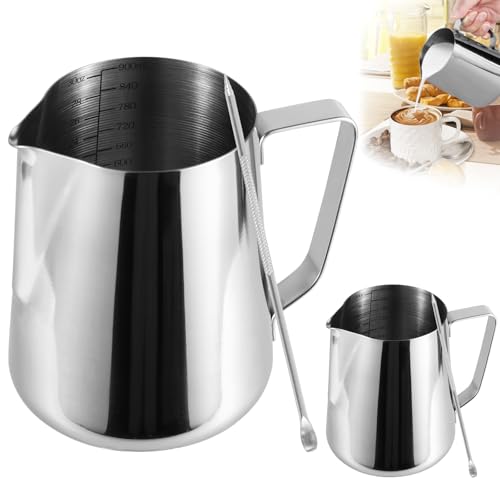
A frothing pitcher has one job: hold milk steady while it heats and aerates, then let it out in a controlled stream. Three things determine how well it does that. The body shape needs a gentle taper that lets milk swirl into a consistent vortex while steaming, since an uneven vortex creates patchy microfoam with big and small bubbles mixed together.
Wall thickness matters more than most buyers expect. Thin metal heats up fast, which sounds convenient until the pitcher gets too hot to hold near the end of steaming. A slightly thicker wall gives more warning before the milk reaches the right temperature, which is a small but real safety and timing advantage for anyone still learning to judge milk by feel.
The base also plays a role. A flat, slightly wider base sits more securely under a steam wand and resists tipping when milk is swirling hard inside.
Picking the Right Size for What Gets Poured
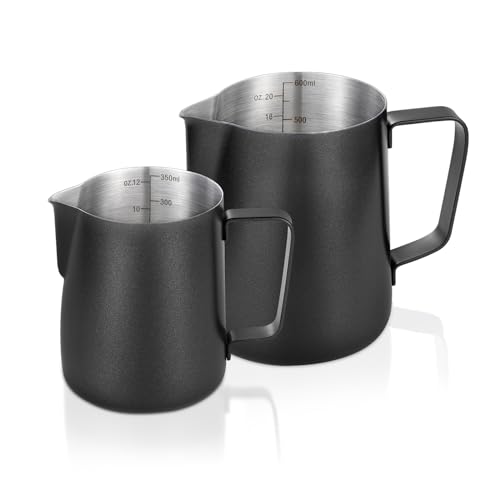
Pitcher size should match the drink, not the other way around. A 12 to 14 ounce pitcher works well for single cappuccinos or flat whites, where less milk is needed, and precise control over a smaller pour matters more. A 20-ounce or larger pitcher suits lattes or multiple drinks steamed at once, since it gives enough room for the milk to develop a proper vortex without overflowing.
Filling a pitcher only about a third to halfway with cold milk before steaming leaves room for expansion. Anyone regularly making both small and large drinks is usually better off owning two sizes rather than trying to force one pitcher to do both jobs well.
Material and Build Quality
Stainless steel is the standard for a reason. It resists rust, does not react with milk, and holds up to daily use far better than aluminum or coated alternatives. Look for a finish that is smooth on the inside, since seams or rough spots can trap milk residue and become harder to clean over time.
The handle deserves attention too. A handle set too close to the body can trap heat and become uncomfortable to hold once the pitcher warms up, while one set too far out can feel unstable during a fast pour. A slight gap with a rounded grip tends to work best across different hand sizes.
Spout Shape and Pour Control
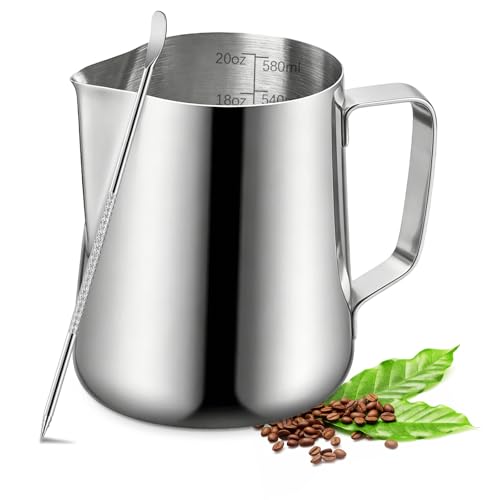
Spout shape has the biggest direct impact on latte art. A rounded spout produces a wider, more forgiving stream that works well for simple patterns like hearts and basic rosettas, making it a solid starting point for anyone new to pouring. A sharper, more pointed spout narrows the stream and gives finer control, which experienced pourers rely on for detailed patterns and layered designs.
Neither shape is objectively better. It is worth matching the spout to the kind of pours being attempted rather than assuming a sharper spout is automatically the upgrade choice.
Caring for a Frothing Pitcher
Rinsing a pitcher with hot water immediately after use prevents milk residue from drying and sticking to the inside walls. A soft sponge is enough for daily cleaning, since abrasive scrubbers can scratch the interior finish and create rough spots that are harder to keep clean.
Storing the pitcher upside down or with the spout uncovered helps it dry fully and avoids trapping moisture that can lead to a stale smell. Dropping a stainless pitcher on a hard floor can dent the spout tip just enough to throw off the pour, so keeping it away from cluttered counter edges is a simple way to protect the shape that makes it work in the first place.
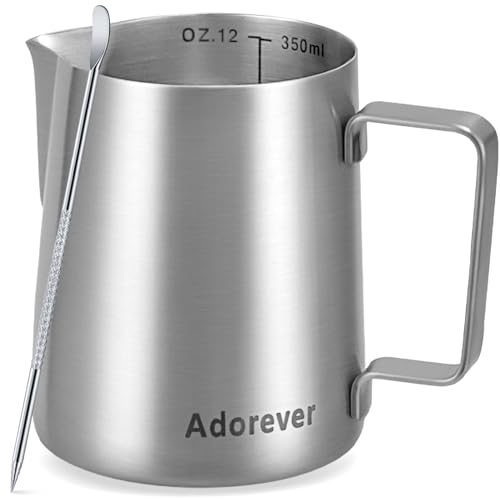
Common Mistakes When Choosing a Pitcher
- Buying the largest size available without considering how much milk is actually used per drink
- Choosing a very thin pitcher for the lowest price, then finding it uncomfortably hot to hold within seconds
- Ignoring the base shape and ending up with a pitcher that tips during aggressive steaming
- Assuming a sharp spout will instantly improve latte art without practicing pour technique first
Frequently Asked Questions
What size milk frothing pitcher is best for beginners?
A 12 to 20 ounce pitcher is a practical starting point, since it holds enough milk for most home drinks while still being easy to control during a first attempt at pouring.
Does the spout shape really change the latte art result?
Yes. A rounder spout spreads the pour wider and is more forgiving, while a pointed spout narrows the stream for finer, more controlled designs.
Is a thicker stainless steel pitcher worth the extra cost?
Usually yes, since thicker walls stay comfortable to hold longer during steaming and tend to hold their shape better over years of daily use.
How should a milk pitcher be cleaned after each use?
A quick rinse with hot water right after steaming, followed by a wipe with a soft sponge, is enough to keep milk residue from building up inside.


