
Best Home Power Racks: A Buying Guide for Your Space
Disclosure: We may earn a commission when you buy through links on this page, at no extra cost to you. As an Amazon Associate I earn from qualifying purchases. Learn more
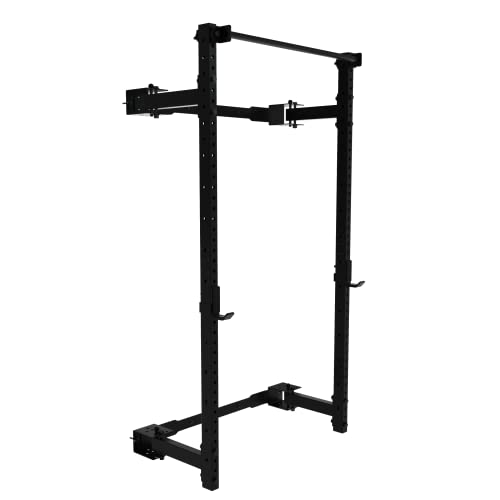
A wobbly squat rack is more than annoying, it's the kind of thing that makes you second-guess a heavy set right when you need to trust the equipment most. Anyone shopping for the best home power racks quickly discovers that the specs sheet is full of numbers that sound impressive but don't always translate into a rack that actually feels solid under a loaded bar. This guide walks through what really separates a dependable rack from one that flexes, wobbles, or simply doesn't fit your space, plus how to think about attachments before you spend more than you need to.
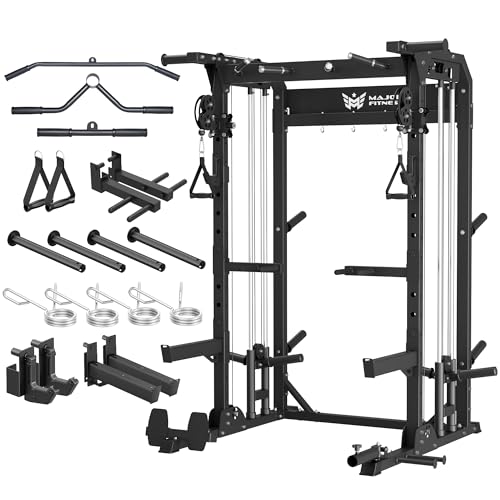
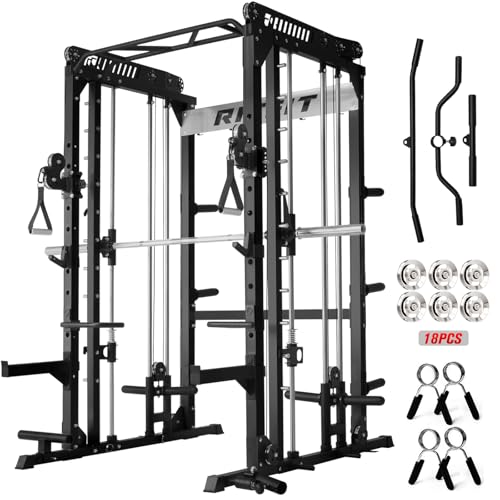
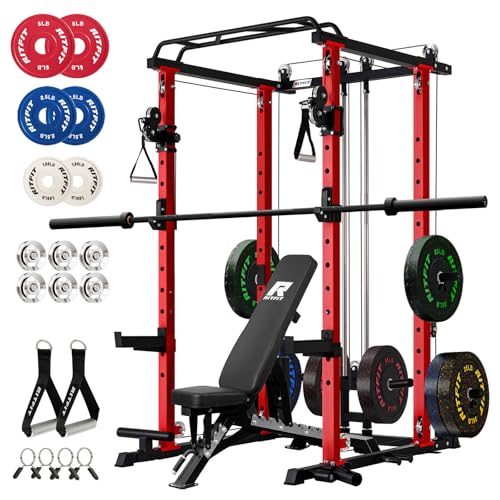
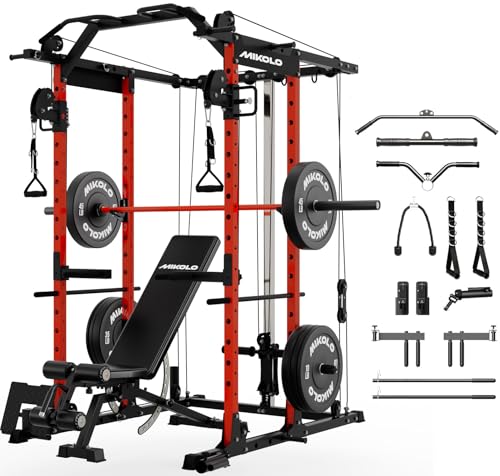
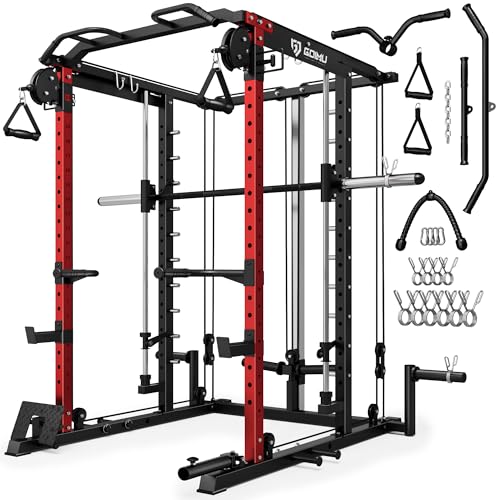
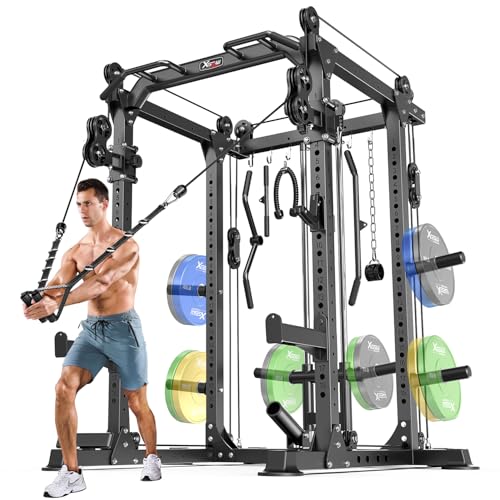
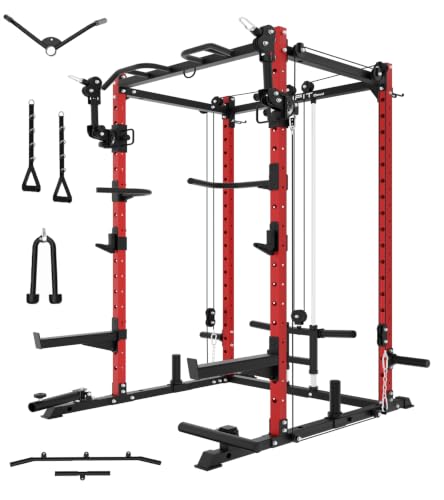
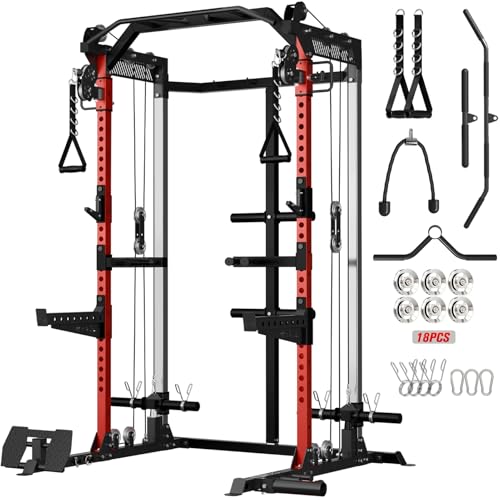
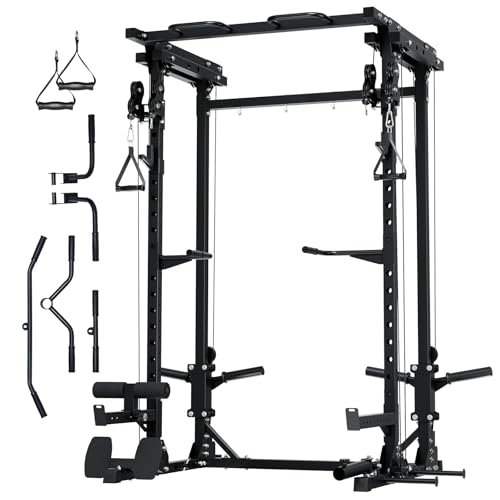
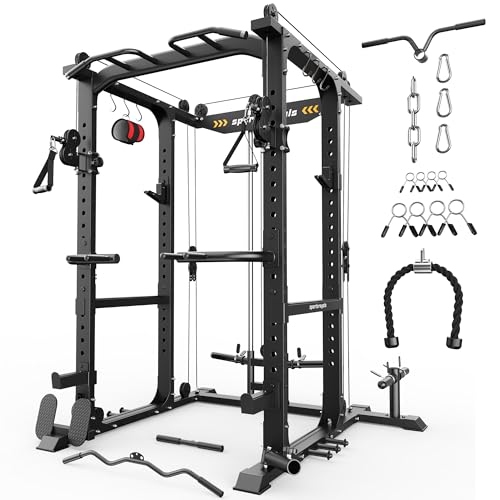
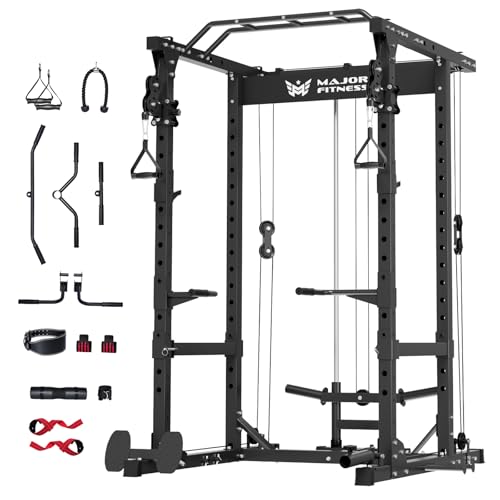
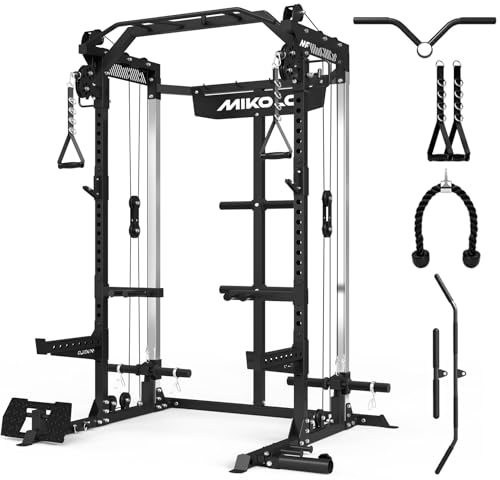
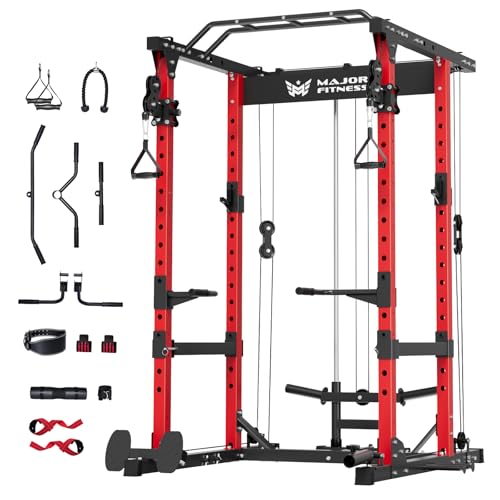
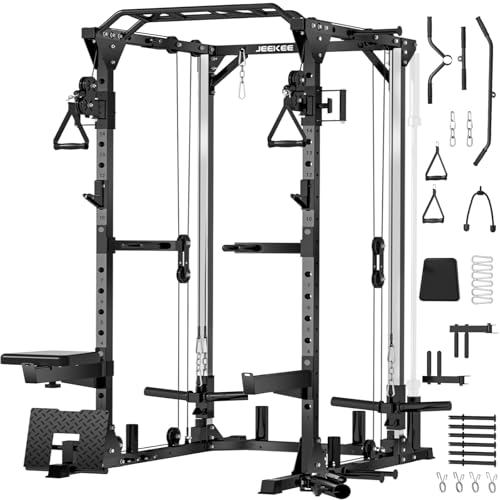
Weight Capacity, Steel Gauge, and Hole Spacing: The Specs That Actually Decide How the Rack Feels
Every listing leads with a weight capacity number, but that figure only tells part of the story. Two racks rated for the same load can feel completely different once a bar is loaded and moving.
Why the Weight Rating Alone Can Be Misleading
A stated capacity is usually a static or maximum rating, measured under ideal, controlled conditions rather than the dynamic stress of a fast rep or a missed lift. For most home lifters, a rack rated well above your actual working weight leaves a comfortable safety margin instead of one that's just barely enough on paper. It also helps to think ahead a year or two, since strength tends to climb faster than people expect once training becomes consistent, and buying a rack with headroom now avoids an upgrade later.
What "Steel Gauge" Actually Means for Stability
Steel gauge describes how thick the metal in the uprights is, and confusingly, a lower gauge number means thicker steel. Thicker posts resist flex and twisting far better than thin ones, which is usually the real reason a budget rack feels shaky while a slightly pricier one with the same footprint feels planted. Post thickness matters just as much as the gauge number, since a wider post distributes load more evenly than a thin one even at the same wall thickness.
Hole Spacing and Westside Spacing: Why It Matters for J-Cups and Safeties
Standard hole spacing on most racks is around two inches apart, which works fine for most exercises but can leave an awkward gap between the ideal bar height and the nearest hole. Racks with tighter "Westside" spacing near the bench and pull-up zones let you fine-tune J-cup and safety bar height in smaller increments, which matters more than it sounds like the first time a standard hole leaves the bar sitting an inch too high or too low.
Full Rack, Half Rack, or Squat Stand: Matching the Frame to Your Space
Before comparing individual models, it helps to settle which category actually fits your training style and your room, since the three options aren't just different price points, they're genuinely different pieces of equipment.
What Makes a Full Rack Different
A full power rack uses four upright posts arranged in a box, and you typically lift from inside the frame rather than in front of it. That enclosed design is what allows front and rear safety bars on every lift, plus room to mount pull-up bars, dip attachments, and cable pulleys without running out of connection points.
Half Racks: The Middle Ground for Most Home Setups
A half rack keeps two of those four posts but drops the rear pair, trading some safety-bar coverage and attachment space for a noticeably smaller footprint. For a lot of home gym builders working with a single-car garage or a basement corner, this middle ground covers squats, bench, and overhead work without eating the whole room.
When a Squat Stand Is Actually the Smarter Choice
A squat stand strips things down to two independent uprights with J-cups, no enclosing frame at all. It's the lightest, most portable, and least expensive option of the three, and it's genuinely the better call for someone who mostly trains alone with moderate weight and values being able to move or fold the setup away. The tradeoff is less built-in fall protection, so solo heavy lifting on a stand usually means leaning more on good technique and spotter arms than on the rack itself.
Ceiling Height, Footprint, and Whether You Actually Need to Bolt It Down
Space planning trips up more first-time buyers shopping for the best home power racks than any single spec on the sheet, mostly because the numbers that matter aren't always obvious until the rack is already sitting in the room.
How Much Overhead and Side Clearance You Really Need
Beyond the rack's own height, you need enough overhead room for a pull-up or an overhead press without grazing the ceiling, and roughly two feet of clear space on each side for safely loading and unloading plates. Skimping on side clearance is one of the most common regrets among first-time buyers, since it turns simple plate changes into an awkward squeeze every session.
What a Rack Actually Takes Up on Your Floor
Most home-sized racks occupy somewhere around 12 to 16 square feet before you factor in clearance, which sounds small until you add the space needed to actually move around it during a workout. It's worth measuring your intended spot with tape on the floor before ordering, rather than trusting a listing's dimensions alone to feel right in person.
Bolting Down vs. Staying Flat-Footed
Bolting a rack to the floor is the single best thing you can do to eliminate wobble and tipping risk, especially once you're loading it with serious weight. If the floor is a finished or rented garage slab, sealing or painting the concrete before you drill can make the eventual bolt holes look far less obvious, which is worth planning ahead if you're weighing a concrete floor coating at the same time. Flat-footed racks with a wider stance skip the drilling entirely and trade a bit of stability for the ability to relocate the rack later.
Which Attachments Are Worth Adding First
Attachments can turn a basic rack into something closer to a full home gym, but not every add-on earns its shelf space equally.
Lat Pulldown and Low Row Pulleys
A pulley attachment is usually the single most requested upgrade, since it opens up lat pulldowns, seated rows, and cable curls using plates you already own instead of buying a separate machine. It's a genuinely space-efficient way to add pulling movements that a barbell alone doesn't cover well.
Dip Bars, Landmine Sleeves, and Storage
Dip attachments and landmine sleeves are inexpensive add-ons that slot into existing holes without needing extra floor space, making them easy first additions. Weight plate storage pegs mounted on the rack itself also keep loose plates off the floor, which matters more than it sounds like once you're regularly swapping loads mid-session. A pull-up bar is usually built into the top of the frame already, but it's worth checking grip options before you buy, since a single straight bar is more limiting than one with a few angled or neutral-grip positions.
Safety Arms vs. Safety Straps
Rigid safety arms catch a failed rep instantly and don't require any setup, while safety straps are cheaper and adjust in smaller increments but flex slightly under a dropped bar. Either works, but whichever you choose, good visibility in the room matters just as much, since fumbling to find a pin in dim light is its own small hazard; upgrading the space with better garage lighting is a cheap fix that pays off every session.
Frequently Asked Questions
How much weight can a home power rack hold?
Entry-level racks are commonly rated in the 300 to 700 pound range, while sturdier home models often reach 1,000 pounds or more of static capacity. Match the rating to your realistic working weight plus a comfortable margin rather than chasing the highest number available.
Do I need to bolt a power rack to the floor?
It isn't always mandatory, but it's strongly recommended once you're lifting anything close to the rack's rated capacity. Bolting removes nearly all wobble and tipping risk, while flat-footed designs are the more practical option only if drilling into the floor genuinely isn't possible.
What's the difference between a power rack and a squat stand?
A power rack has four connected posts forming an enclosed frame you lift inside of, while a squat stand uses two independent uprights with no connecting frame. Racks generally offer more safety coverage and attachment points, while stands are lighter, cheaper, and easier to move.
What steel gauge should I look for in a power rack?
Look for 11-gauge steel or thicker in the main uprights for most home use, remembering that a lower gauge number means thicker, sturdier metal. Post width also matters, so compare both figures rather than gauge alone.
Is a lat pulldown attachment worth adding to a power rack?
For most buyers, yes, since it adds a genuinely useful category of pulling exercises without requiring a separate machine or extra floor space. It's usually the first attachment worth budgeting for after the rack itself.
How much ceiling height do I need for a power rack?
Add at least a foot of clearance above the rack's own height to comfortably clear pull-ups and overhead presses. A rack around seven and a half feet tall typically needs close to nine and a half feet of ceiling height to avoid feeling cramped overhead.
Settling on the Right Setup for You
The right choice among the best home power racks comes down to matching real specs, not marketing numbers, to the space and lifts you'll actually use it for. Get the capacity, steel gauge, and clearance right first, then treat attachments as a second decision once the frame itself is solid.