
Best Cement for Making Planters: Every Type Explained Side by Side for 2026
Disclosure: We may earn a commission when you buy through links on this page, at no extra cost to you. As an Amazon Associate I earn from qualifying purchases. Learn more

Confused by all the options? We compare every type of cement side by side so you can choose the best cement for making planters for your space and budget.
Casting your own planter starts with a bag choice that looks simpler than it is. The best cement for making planters pours into your mold without voids, gives you enough working time to finish the rim, and cures hard enough to hold wet soil through a few winters. Pure Portland cement, white cement, stepping stone mix, sand mix and rapid-setting blends all do this differently.
The product table above lists casting-ready bags you can compare. This guide explains how each type behaves, so you can match it to your mold, your skill and the place the finished pot will live.



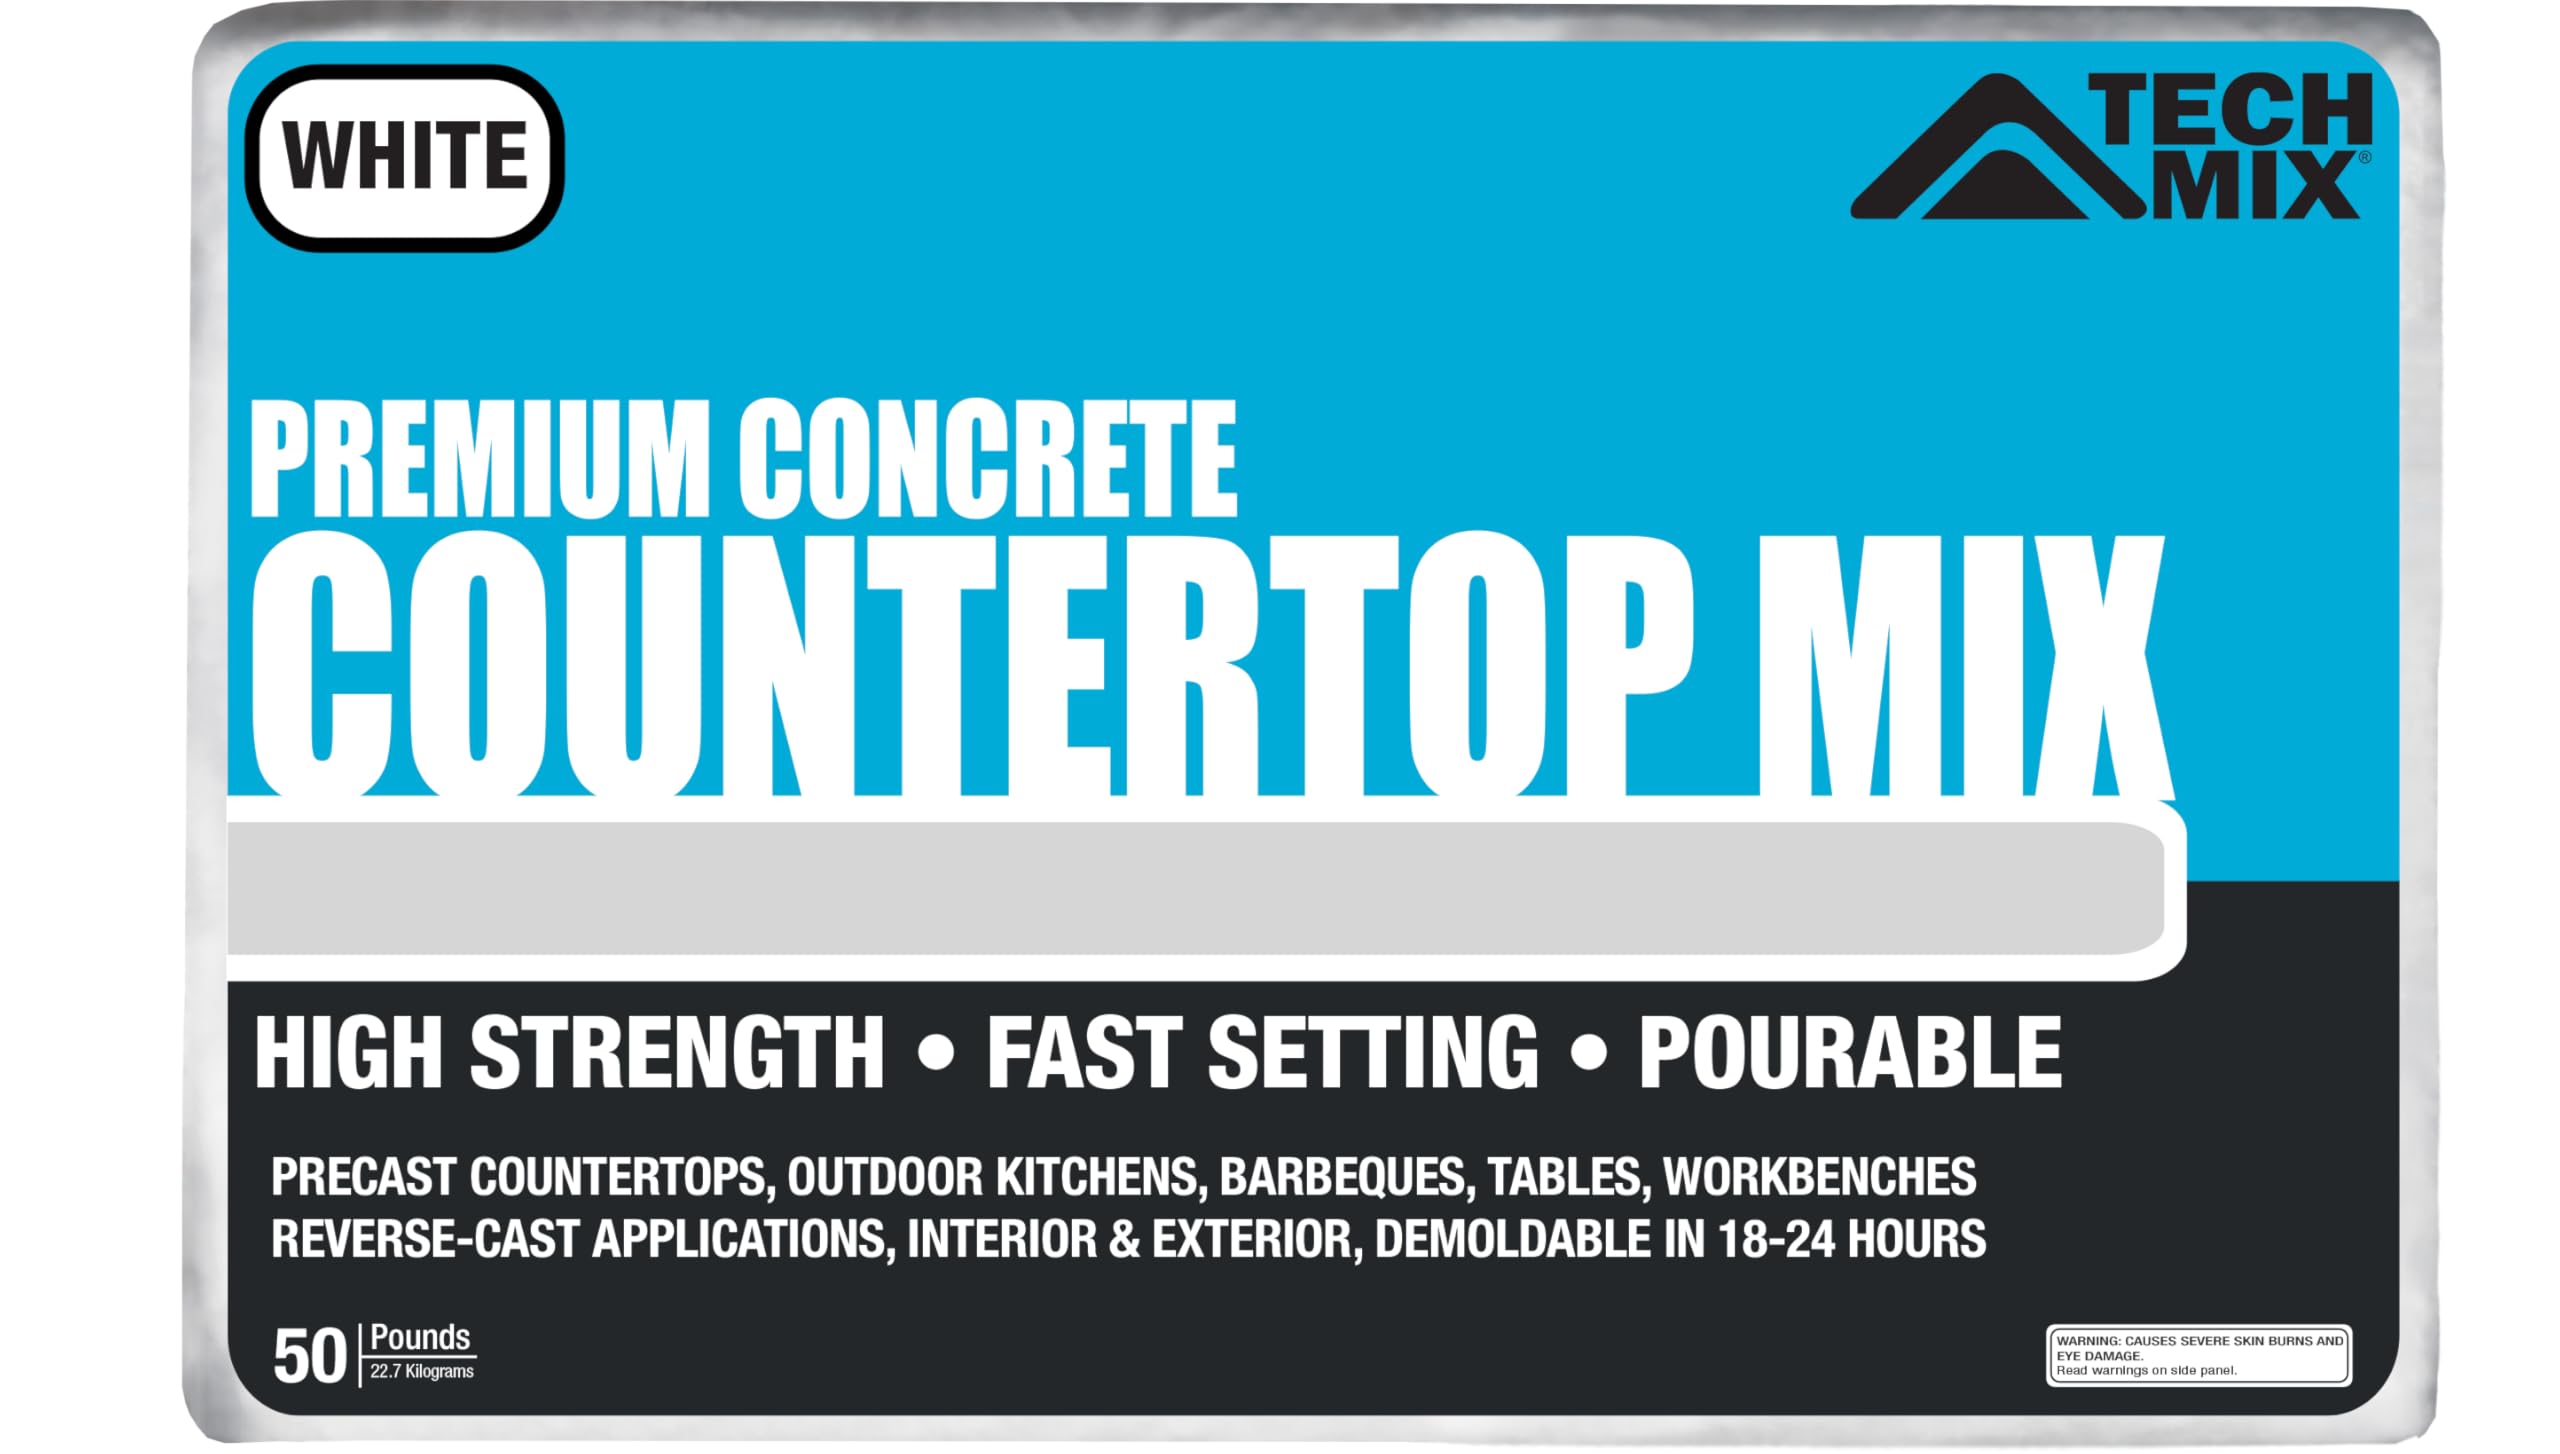
Types of Cement for Making Planters
Portland Cement and White Portland Cement
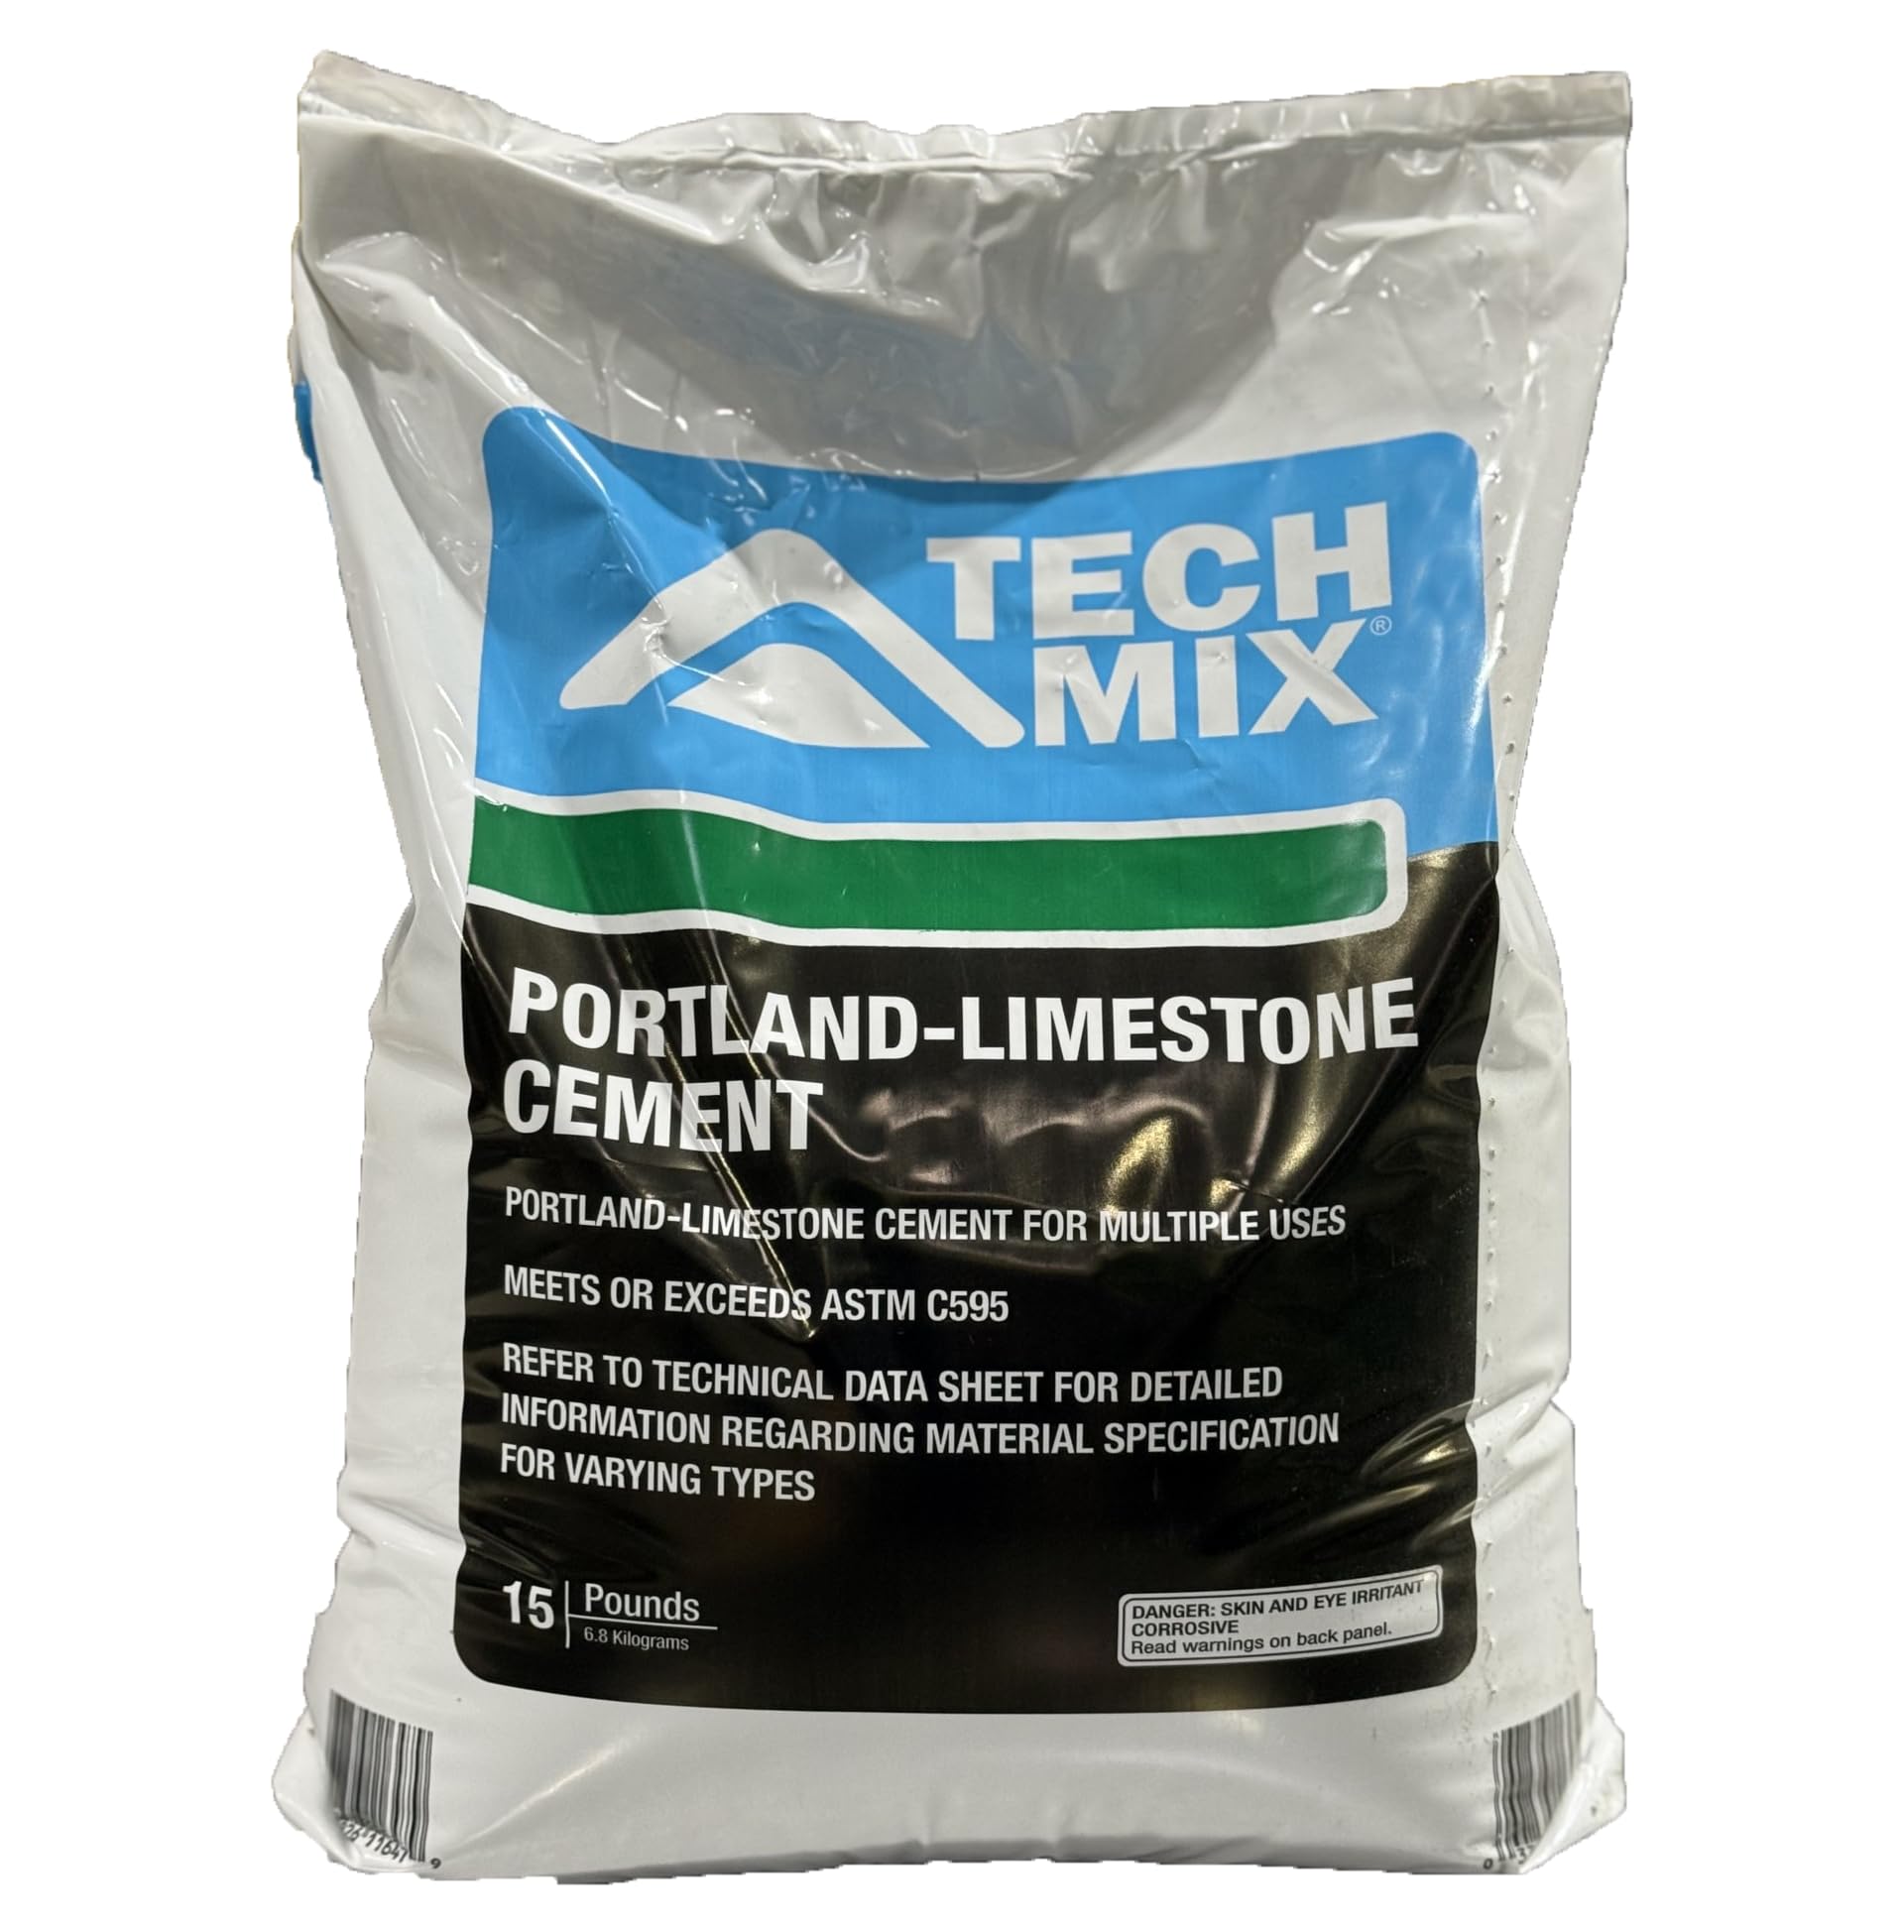
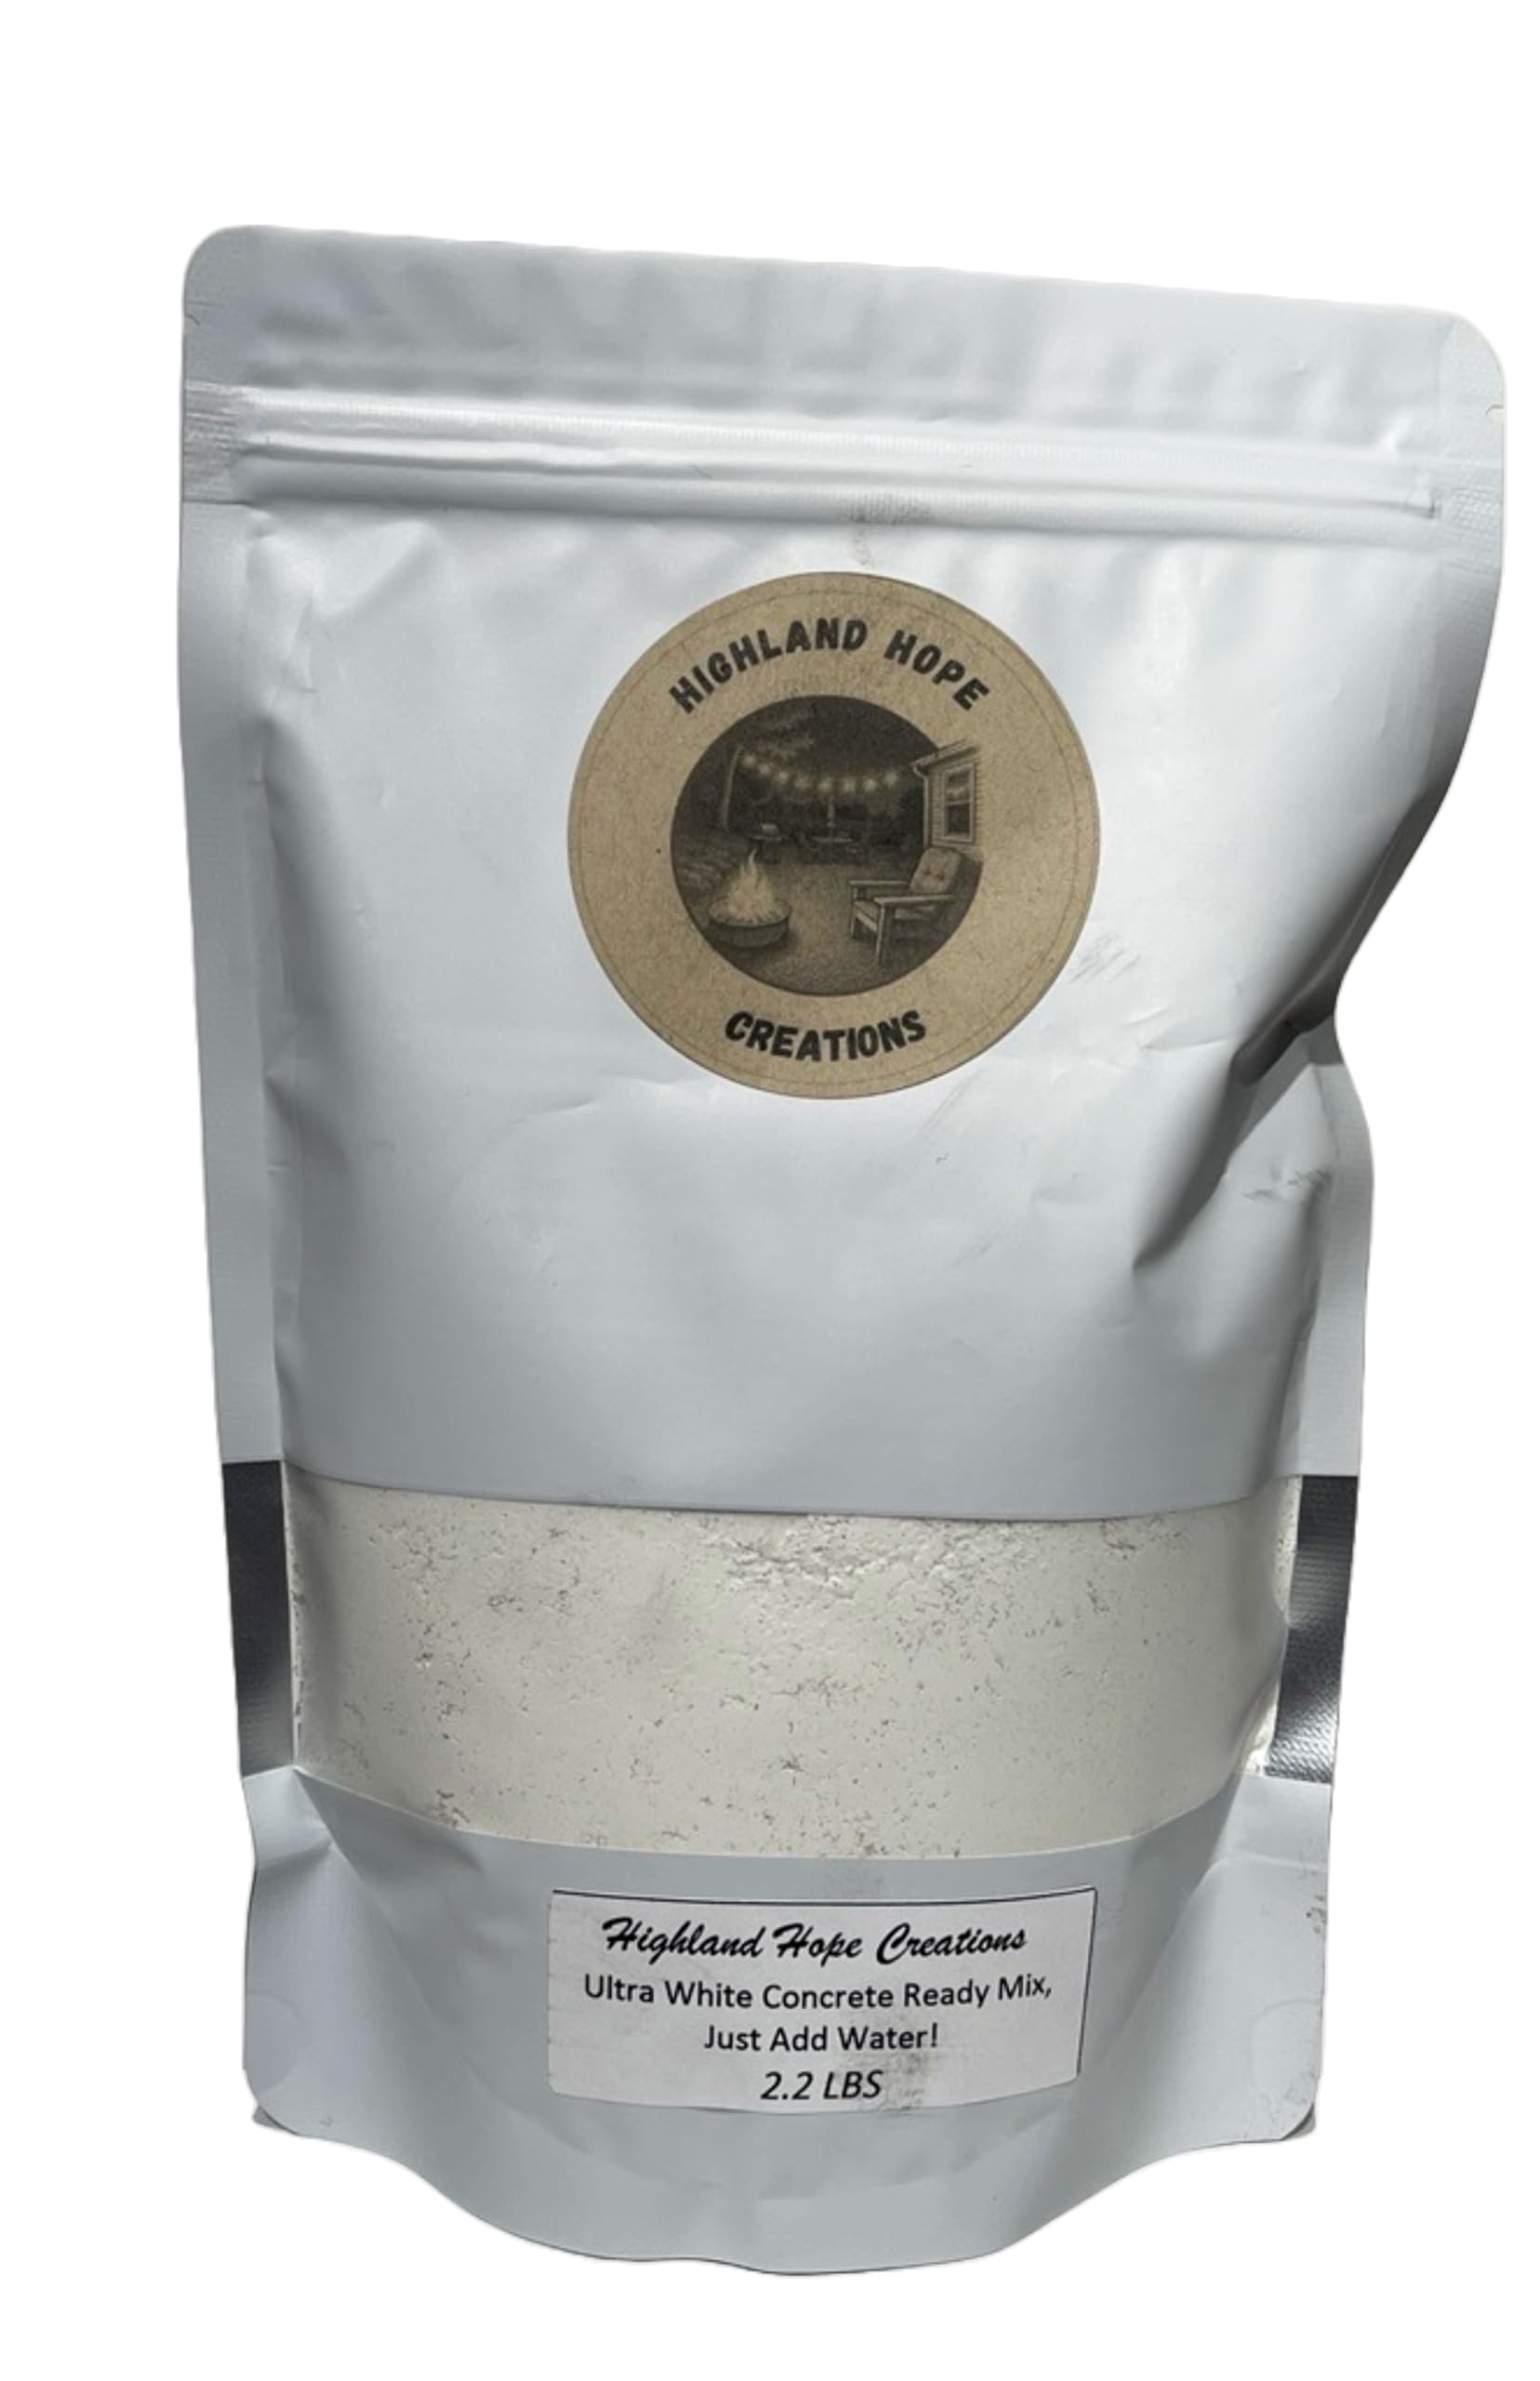
Pure Portland cement is the binder, not a ready mix. Many makers blend it with fine sand or perlite for their own recipe, which gives full control over weight and texture. White Portland cement costs more but produces a bright, smooth surface that takes pigment well. Choose either when you want to design the recipe, and expect to experiment with ratios on small test pieces before a large mold.
Sand Mix and Stepping Stone Mix
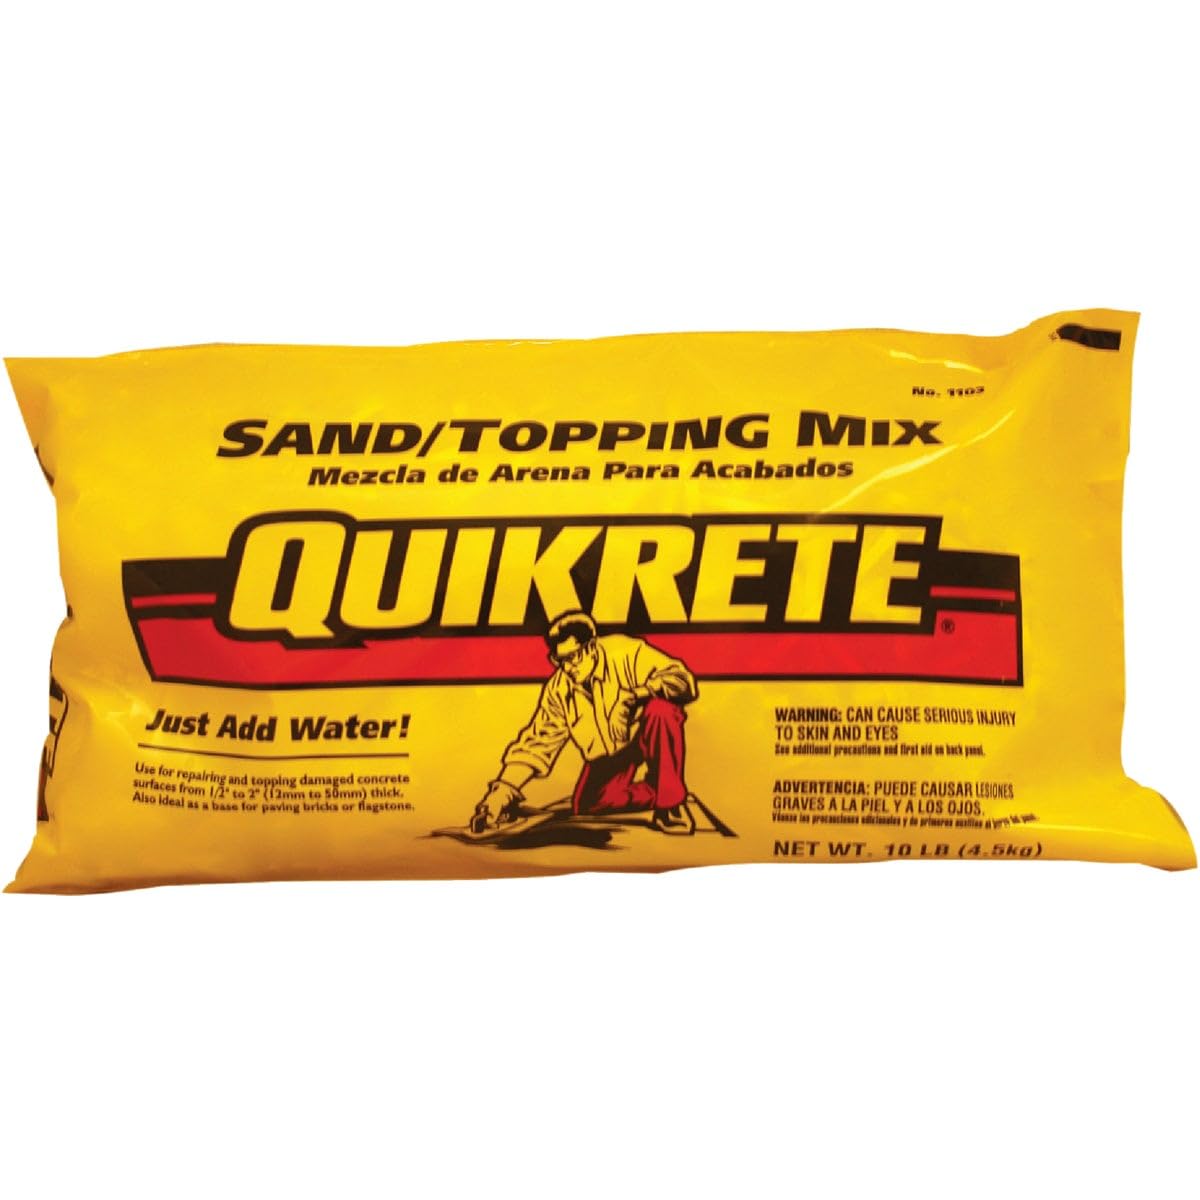
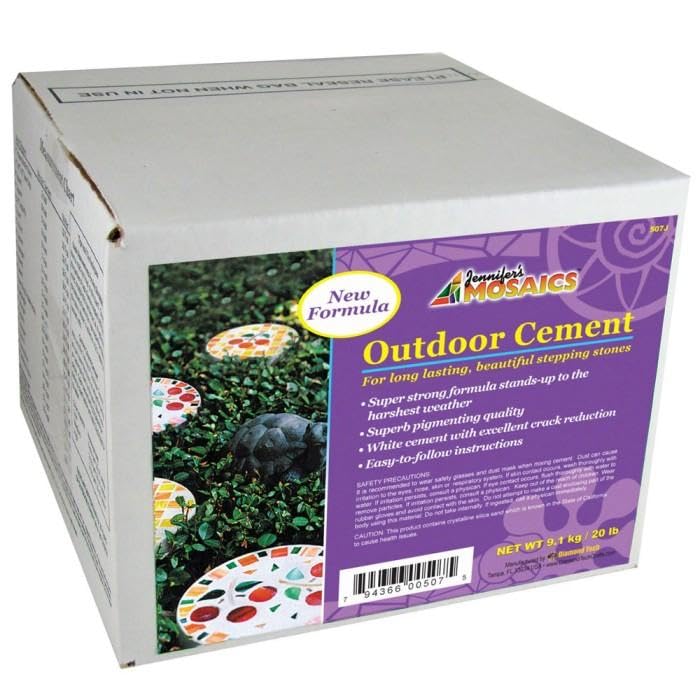
Sand mix combines cement with fine sand and no large stone, so it flows into narrow molds and gives walls a clean face. Stepping stone and craft mixes are blended for the same reason: fine, smooth and easy to pour in small batches. These are the easiest start for a first planter, and the bag already holds the right proportions.
Rapid-Setting and Expansion Cements
Rapid-setting casting cements stiffen within minutes and release from the mold in under an hour, which suits small pots and quick production. The short working window is the catch. You need to mix, pour and tap out air bubbles without pausing, so they suit people who have already made a planter or two.
Which Type Suits Your Planter
For small desktop succulent pots, a fine craft or stepping stone mix gives the most detail. For a large floor planter, a sand mix with fiber reinforcement carries the weight of soil and survives knocks. For lightweight pieces you can carry or hang, mix Portland cement with perlite or peat in a recipe you adjust over a few practice casts. For matching sets, buy enough from one batch so colors stay consistent.
Casting Basics That Matter More Than the Brand
Coat the mold lightly and evenly with release oil, since missed patches tear the surface.
Add water gradually until the mix looks like thick oatmeal. Extra water weakens the cure.
Tap the filled mold on the bench for a minute to bring air bubbles up and out.
Keep the cast damp and covered for several days, then let it cure fully before planting.
Cast the drainage hole with a greased dowel instead of drilling later.
Safety and Plant Health
Wet cement is strongly alkaline. Wear gloves, eye protection and a dust mask when mixing powder, and keep children and pets away from the work area. Once a planter has cured, soak and rinse it before adding plants, and line or seal the inside if you plan to grow herbs or vegetables. Follow the maker's instructions on the bag for curing and handling.
Buying Tips
Choose a bag you can lift and store dry, because powder that takes in moisture goes lumpy and weak. Work out the mold volume first, add a little for spills and compare cost per planter rather than cost per bag. Small bags suit one-off pots, while large sacks reward batch casting. If you are still deciding between materials, the guide to the best wood for making planters covers a lighter alternative.
Related Guides to Compare
Search terms overlap here, so the guide to the best cement for planters and the guide to the best concrete for making planters compare the same materials from slightly different angles. Once the pots are cured, best plants for cement planters suggests what to grow in them.
Mixing Your Own Lightweight Recipe
Many makers blend Portland cement with a lightweight filler such as perlite or peat to make planters they can carry. The mix uses less cement than a standard pot, and the surface is more porous, which some plants like. A common starting point is equal parts cement, sand and filler by volume, adjusted over a few small practice casts until the batter holds together without slumping.
Lightweight pots are weaker than dense ones. They suit shelves, balcony rails and tabletops, and they should be handled gently. Keep large floor planters on the denser sand mix so they hold wet soil without flexing.
Finishing the Surface
Once the cast has hardened, remove it from the mold carefully and look over the surface. Small air holes can be filled with a thin slurry of the same mix brushed on with a stiff brush. A light sanding with wet sandpaper smooths the rim and any mold seams. Concrete pigment mixed into the dry powder gives a consistent color all the way through, while a masonry stain applied later changes only the surface.
A clear masonry sealer slows water loss and stains, and it makes the pot easier to wipe clean. Seal the outside for decorative pots and both sides for pots that will hold herbs or vegetables. Allow the sealer to dry fully before adding soil.
Planters by Size
Thumb-sized succulent pots need a very fine mix and a thin mold, and they set quickly in a small batch. Medium indoor planters are the easiest first project, since they fill in one pour and release cleanly. Large patio planters are a different job: walls need real thickness, the mold needs bracing so it does not bulge, and the finished piece may weigh more than you can lift alone, so cast it close to where it will stand.
Frequently Asked Questions
Can I use ordinary concrete mix for planters?
You can, for thick-walled planters. Coarse gravel in standard concrete makes thin walls hard to fill, so most makers prefer sand mix or a fine craft blend for detail work.
How long before I can plant in a cement pot?
Let the pot cure for the time on the bag, often several days to a few weeks, then soak and rinse it. Rushing the cure leaves the surface more alkaline.
Do cement planters need drainage holes?
Yes. Standing water rots roots and can crack the pot when it freezes, so cast at least one drainage hole into the base.
How much cement do I need for one planter?
Estimate the space between the outer and inner molds, then add a little extra. Small pots use only a few cups of dry mix, and large floor planters can use most of a bag.
Is a cement planter safe for vegetables?
A fully cured, rinsed planter with a sealed or lined interior is commonly used for edible plants. Follow the product instructions and keep wet cement away from skin.
Final Thoughts
Pick a fine, easy-to-pour mix for small molds and a reinforced sand mix for large ones, then give every cast time to cure. Use the table above to compare bags, and the best cement for making planters will be the one that fits your mold, your patience and your budget.


