
Best Cement to Make Planters: Which One Fits the Way You Use It for 2026
Disclosure: We may earn a commission when you buy through links on this page, at no extra cost to you. As an Amazon Associate I earn from qualifying purchases. Learn more

Discover the best cement to make planters for your needs. We match features to real use cases so you avoid overpaying and get the right fit the first time.
No single bag suits every planter project. A tiny succulent pot, a tall patio planter that lives outside all winter and a set of matching herb pots each ask something different of the material. The best cement to make planters depends on how you will use the pots, so the sections below start with the use and work back to the bag.
The product table above lists casting-ready bags for comparison. Match your project to one of the groups here, then compare the models in the table.


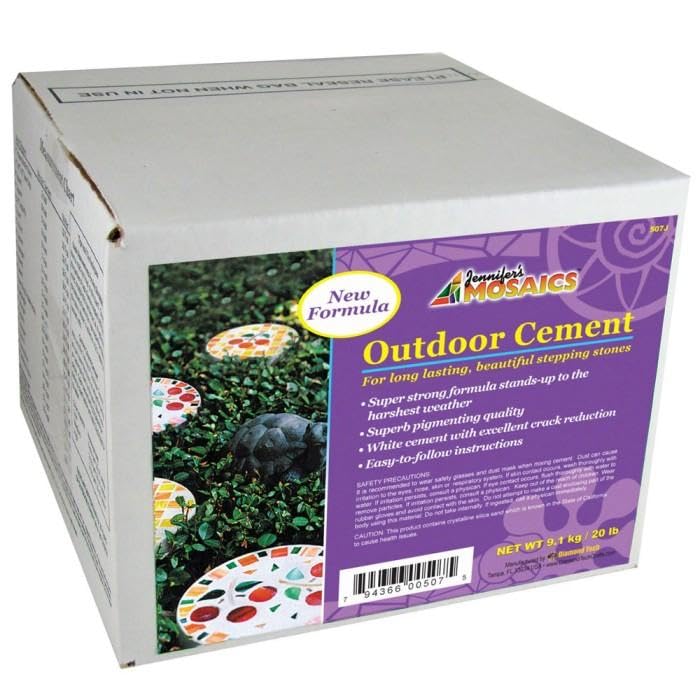
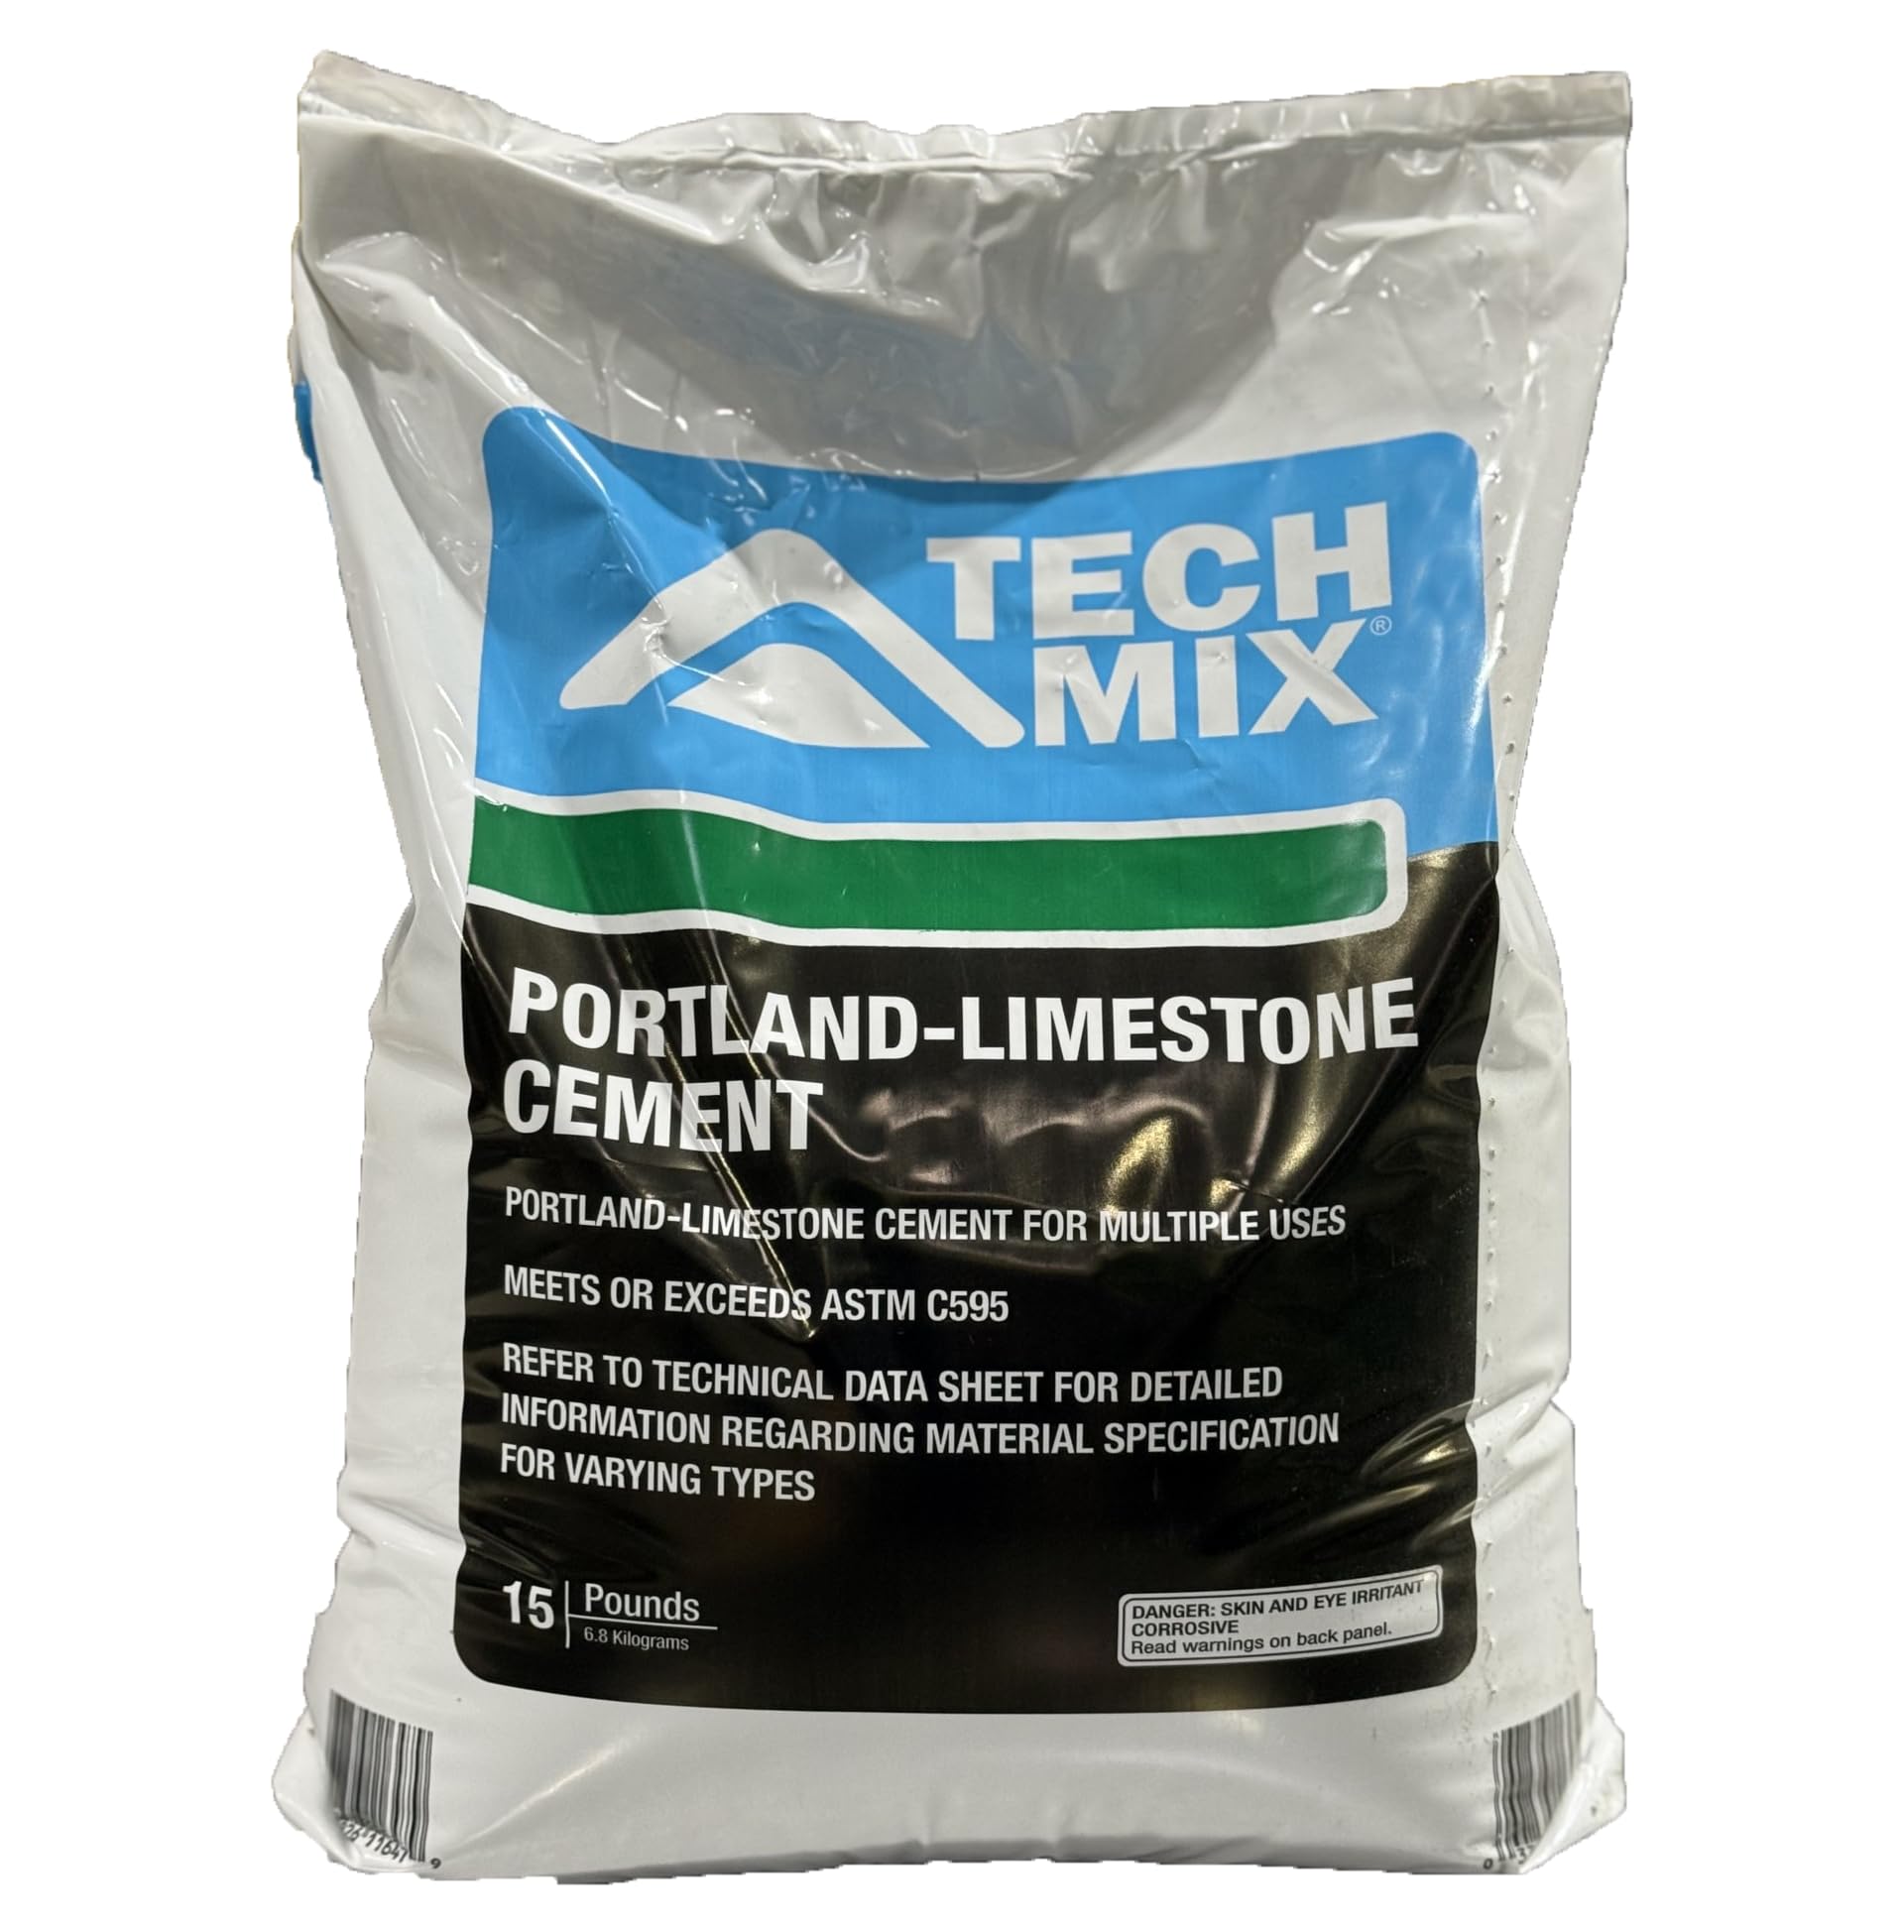
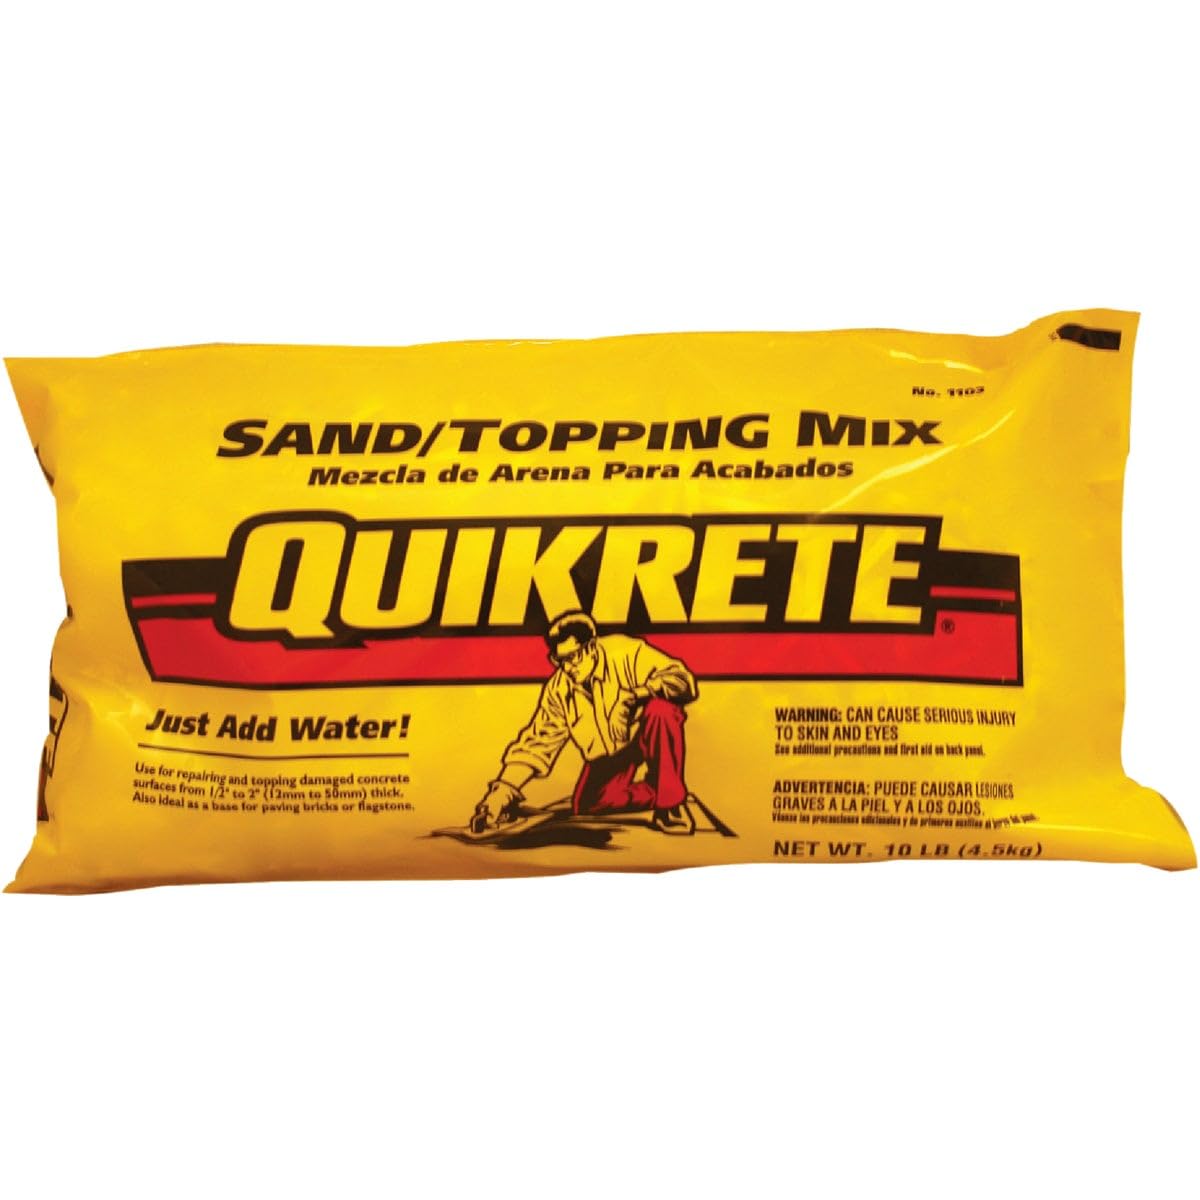

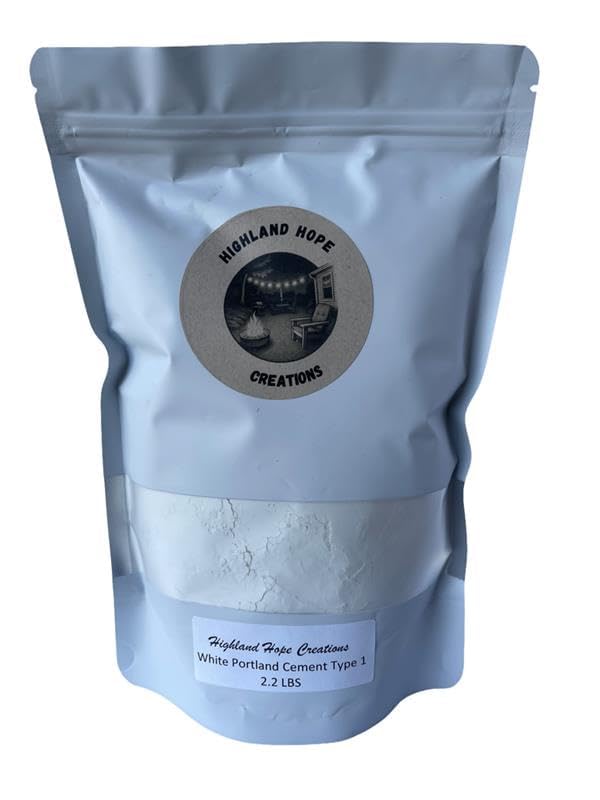
Which Cement Suits Which Maker
Outdoor Planters in Hard Weather
Pots that sit out through rain, sun and freezing nights need a dense cure. Choose a sand mix or reinforced blend, plan to seal the pot inside and out and cast generous drainage holes. Water that freezes inside the pot or the soil will split even a strong wall.
Frequent Casters and Sellers
If you cast pots often, consistency beats the lowest bag price. A mix with a clear water ratio and steady working time lets you repeat the same result across a set. Buy enough from one batch to finish matching pieces, because tone shifts slightly between production runs.
Weekend Beginners
Start with a forgiving, fine craft or stepping stone mix and small, thick-walled molds that hide minor flaws. Avoid rapid-setting cement on a first attempt, since you will not have time to settle the mix. Treat the first pot as practice.
Small Spaces
On a balcony or kitchen table, small bags are practical. They store in a closet, mix in one bucket and leave little waste. The cost per pound is higher, but a half-used large bag that has absorbed moisture is wasted money.
Features That Change the Result
Fine aggregate: gives a smooth surface and fills thin walls and detailed molds.
Open time: enough minutes to pour, tap and finish the rim without rushing.
Demold time: respect the stated handling time, because pulling a cast early chips rims.
Stated strength and thickness guidance: useful for large pots carrying wet soil.
Powder condition: dry and free flowing, never lumpy.
Mistakes to Avoid
Buying a coarse mix that cannot fill a detailed mold.
Rushing the pour and trapping air against the mold wall.
Running out of mix halfway through a matching set.
Planting before the pot has cured and been rinsed.
Skipping sealer and drainage on an outdoor pot.
After Casting
Soak new planters in plain water for a few days, changing the water once, to draw out surface alkalinity. Water plants in the morning, keep the drainage holes clear and empty small pots before hard frost. Handle wet cement with gloves and eye protection, and follow the maker's instructions on the bag. If you are also weighing timber, the best wood to make planters guide covers the same weather questions for wood.
Related Guides to Compare
For the same job described another way, see the best cement for planters guide, and best plants for cement planters for what to put in the finished pots.
Planning the Batch
Whatever your group, plan the batch before you open the bag. Check the volume of each mold, set up a flat, level place for the cast to rest and have your gloves, mixing tub, release oil and a damp cloth within reach. Mix a little less than you think you need and make a second batch if required, because an overfilled bucket starts to stiffen before the last pot is poured.
Weigh or measure the water so that every batch behaves the same way, and add it a little at a time. The batter should be thick enough to hold a ridge but loose enough to flow into the mold when it is tapped. If it slumps like soup, the finished pot will be weak and powdery.
Sealing and Finishing
A masonry sealer protects the surface from stains and slows water loss, which helps plants and the pot alike. Apply it only after the cast has cured and dried, and give it the full drying time before adding soil. Pots meant for herbs or vegetables should be sealed or lined on the inside as well, following the maker's instructions. A light coat of outdoor wax on the outside brings out the color and gives a soft, matte sheen.
Casting for a Set
Matching pots are easiest when you measure everything. Use the same bag, the same water amount and the same curing routine for every pot, and cast them close together so that conditions match. Label each mold with the date and batch, and keep notes on what worked. A few notes from your first set will save a lot of guessing on the second.
Tools and Setup for a First Cast
You do not need much equipment: a mixing tub or bucket, a stiff spoon or margin trowel, a measuring cup, gloves, eye protection, a dust mask, mold release and a flat surface that you can leave undisturbed for a few days. A kitchen scale helps keep batches consistent, and an old paintbrush makes it easy to coat the mold. Silicone molds release more easily than rigid plastic, while a pair of nested plastic buckets or bowls works well for simple rounds.
Work outdoors or in a ventilated space, away from food and pets, and wipe up spills before they harden. Choose a day without direct sun on the cast, because rapid drying causes cracks, and keep a damp towel or plastic sheet ready to cover the mold afterward.
Frequently Asked Questions
Is fiber-reinforced mix worth it?
For large or thin-walled planters, yes. The fibers bridge tiny cracks as the cement cures. For small, thick pots a plain fine mix works well.
What is the difference between cement and concrete for planters?
Cement-based mixes use fine sand and pour smoothly into small molds, while concrete adds larger stone for strength in thick sections. The best concrete to make planters guide explains the thicker case.
How long will a handmade cement planter last?
With full curing, working drainage and dry winter storage for small pots, a decade or more is realistic.
How much do I need?
Estimate the volume of walls and base for each mold and add a little for spills. Small pots use only a few cups, while big patio planters can use most of a large bag.
Wrapping Up
Start with how you will use the pot, then check the working time, finish and weather durability of the mix. Compare bags in the table above, and the best cement to make planters will be the one that fits the way you actually work.


