
Best Ceiling Light for Kitchen 2026: Buying Guide
Disclosure: We may earn a commission when you buy through links on this page, at no extra cost to you. As an Amazon Associate I earn from qualifying purchases. Learn more

Aim for 20 to 30 lumens per square foot at about 4000K: how to choose the best ceiling light for kitchen work areas.
A dim kitchen makes every job harder, from reading a recipe to spotting crumbs on a counter. Choosing the best ceiling light for kitchen use means matching brightness and color to cooking tasks, covering steam and splashes, and sizing the fixture to the room. The product table below sums up the main types and specs so you can compare them at a glance.
You will learn which mount suits your ceiling height, how many lumens a kitchen needs, which color temperature keeps food looking natural, and what to check before you order. Those points matter more than finish alone.


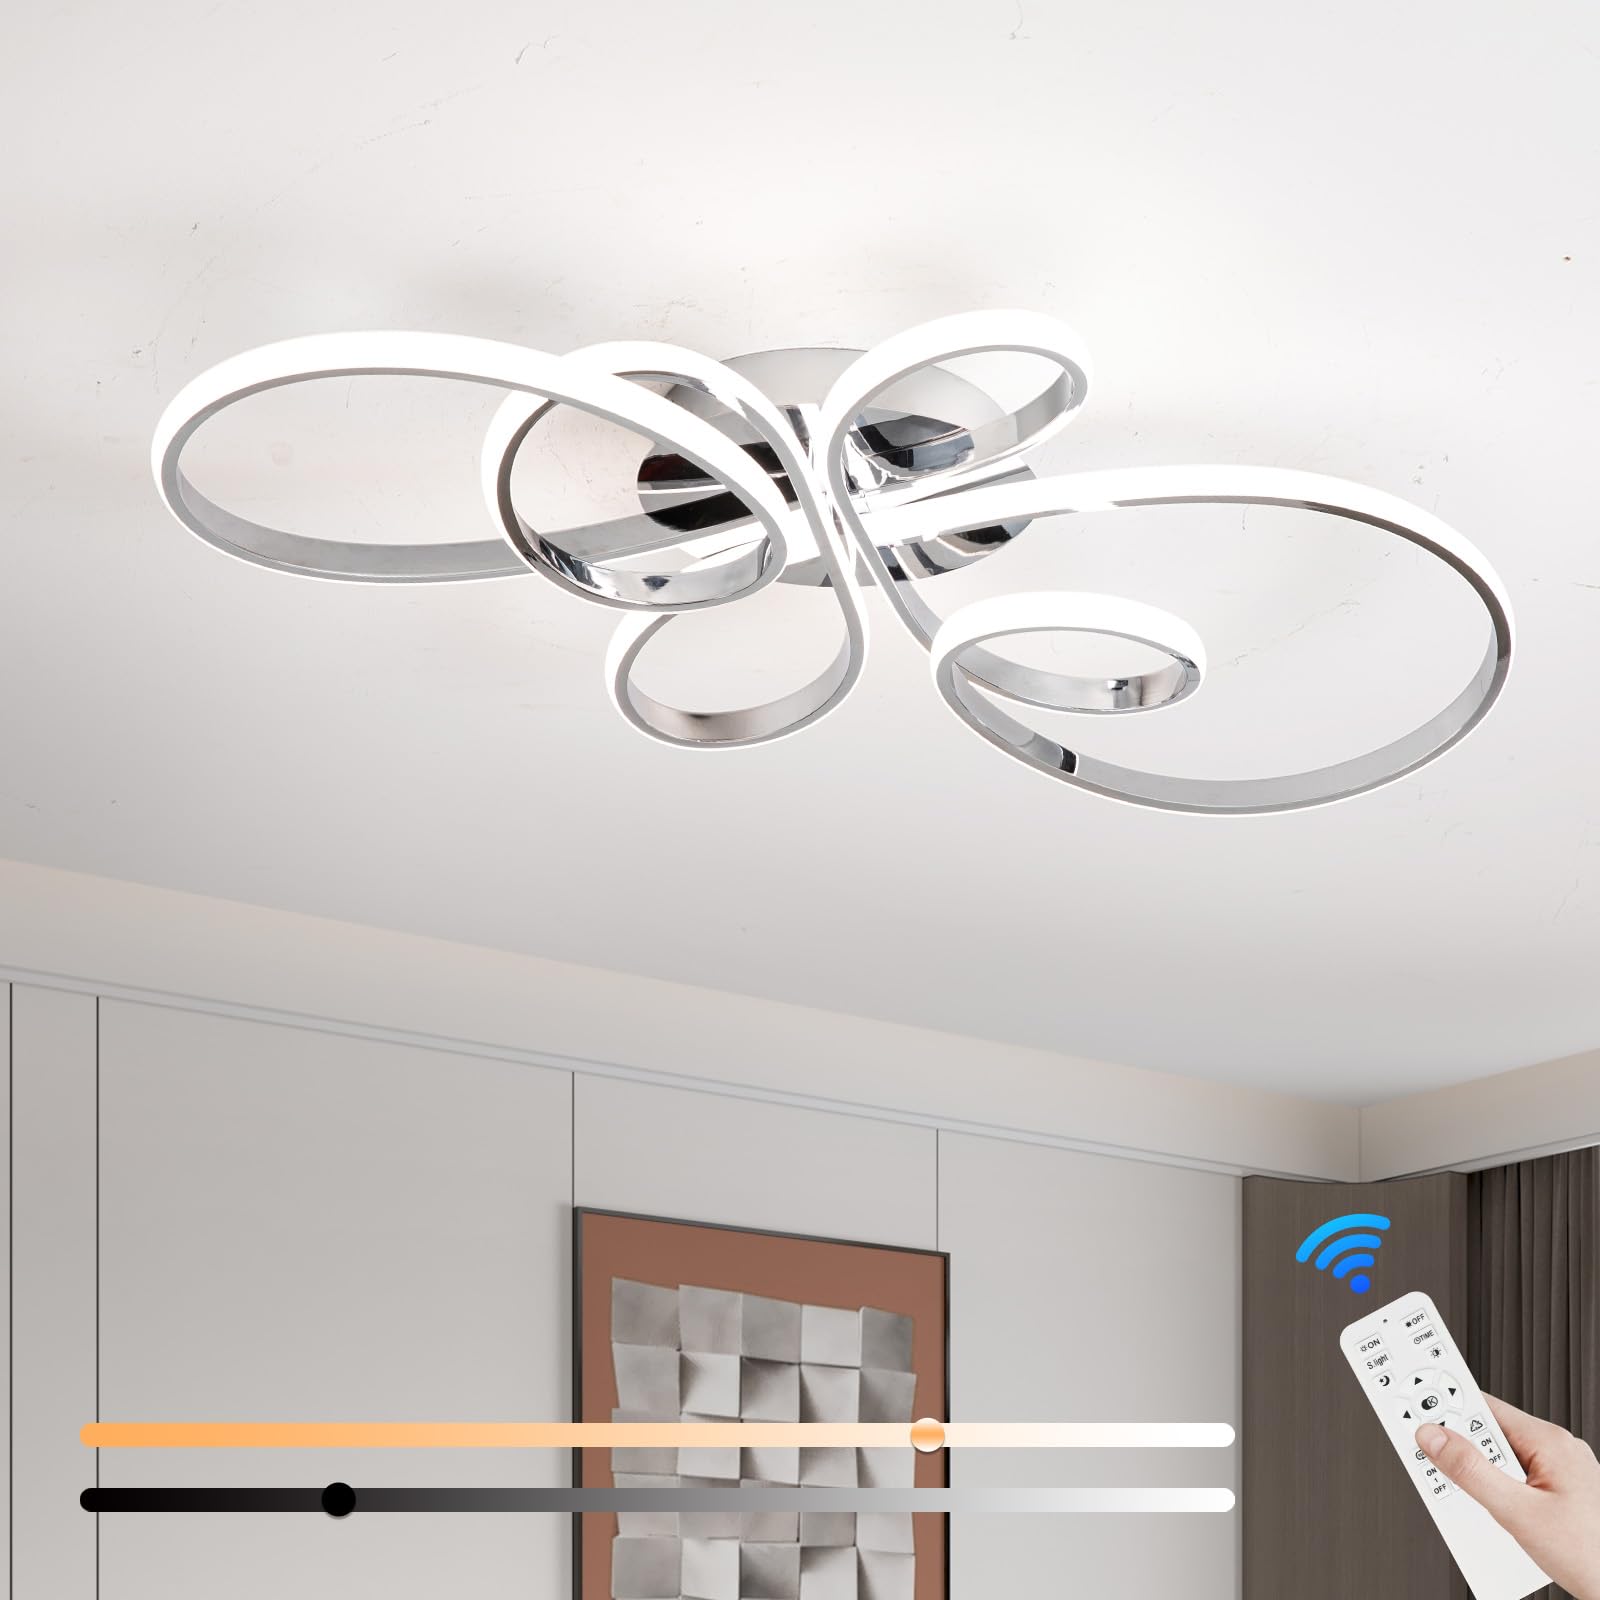


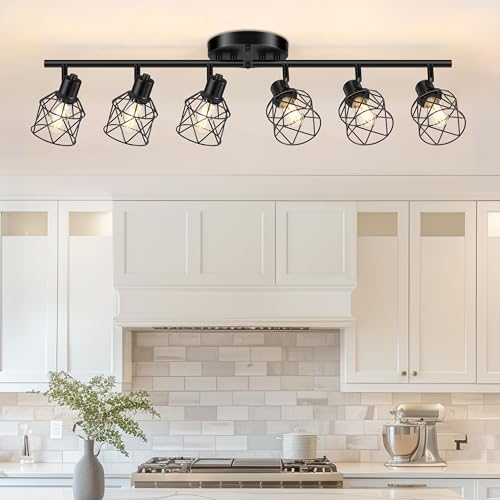

Buying Profiles at a Glance
Most kitchens fall into one of three profiles, and each profile points to a different set of specs. A balanced everyday profile suits a medium size room where one central fixture must handle cooking, eating, and cleaning. A budget conscious profile suits rentals and quick refreshes where you want honest brightness for little money. An upgrade profile suits large or open plan kitchens where you want dimming, selectable color, and a fixture that becomes part of the decor.
Start by naming your profile, then use it to set your lumen target and budget. A small galley kitchen rarely needs the output of a large family kitchen, and paying for output you will dim every evening wastes money. Ceiling height matters just as much, because it decides whether a close fitting mount keeps enough headroom.
Three Buying Profiles and What to Prioritise
Balanced Everyday Profile for Most Kitchens
Prioritise a flush mount or low profile LED fixture that spreads light evenly across counters and the floor. Aim for the middle of the lumen ranges in this guide, a color temperature near 4000K, and a color rendering index of 90 or above so meat, herbs, and sauces show true colors. A frosted diffuser softens glare while you look up from a cutting board. This profile fits most homes because it balances brightness, price, and simple installation.
Budget Conscious Profile for Rentals and Quick Refreshes
Prioritise simple dome or drum shapes with an integrated LED panel, since there are no bulbs to buy later. Keep the fixture size modest, choose a fixed 4000K output, and accept a plain finish in white or brushed metal. Listings often start under $30, and many simple options sit under $50, so measure your ceiling box and room size carefully before ordering. This profile also suits landlords who want a sealed cover that tenants can wipe clean without tools.
Upgrade Profile for Large and Open Plan Kitchens
Prioritise higher lumen output, dimming, and selectable color temperature so one fixture can shift from bright prep light to softer evening light. Larger drum, semi flush, or statement fixtures cover wider rooms and match islands or dining areas nearby. Expect to pay about $100 to $200 for stronger drivers, better diffusers, and metal construction. If your kitchen opens into a living space, read our guide to the best ceiling light for ideas on matching styles across rooms.
How to Evaluate a Kitchen Ceiling Light
Judge every fixture on the same five points so listings are easy to compare. Check brightness in lumens and color temperature first, because those decide how well you can cook. Next check style and finish against cabinets and appliances, then installation type and whether your ceiling box and switch can support it. Finish with energy use in watts and the warranty length, since a kitchen light runs for hours each day and a short warranty on an integrated LED is a real risk.
Use manufacturer spec sheets and verified buyer comments about brightness and fit rather than styled photos, which often make a room look brighter than one fixture can manage. Look for a safety listing such as UL or ETL, and note whether the fixture is rated for damp locations. Kitchens produce steam daily, so that rating matters more here than in a dry hallway.
How to Choose the Right Ceiling Light for Your Kitchen
Fixture Type and Mount Style
Flush mount fixtures sit tight to the ceiling and suit rooms with ceilings around 8 feet high, where headroom above tall cooks and cabinet doors is limited. Semi flush fixtures drop a few inches on a short stem, giving a more decorative look and a little more air around the shade in rooms with higher ceilings. Our explainer on flush vs semi flush mount walks through the height math in detail. Drum and simple modern shapes spread soft general light, farmhouse styles add exposed metal and glass, and smart fixtures add app or voice control.
Features Worth Paying For
Selectable color temperature is worth paying for because you can set the light once during installation and avoid returning a fixture that looks too warm or too cold. A remote control helps in kitchens where the wall switch sits far from the dining end of the room. Motion sensing suits pantries and utility corners more than a main kitchen, where it can switch off while you stand still washing dishes. Skip novelty color changing modes for a main cooking light, since accurate white light is what you will use daily.
Lumens and Color Temperature
Plan on about 20 to 30 lumens per square foot for general kitchen light, then add focused light over the sink and stove if you cook often. A 100 square foot kitchen therefore needs roughly 2000 to 3000 lumens from the ceiling fixture, while a 200 square foot room may need 4000 lumens or a second fixture. Color temperature near 3000K feels warm and relaxed, 4000K looks neutral and shows food colors well, and 5000K can feel stark at night. Most cooks settle on 3500K to 4000K for the main light.
Fixture Size and Placement
Match fixture diameter to room width so the light looks balanced and reaches the counters. A room about 10 feet across usually suits a fixture about 12 to 16 inches wide, while a room about 15 feet across can carry one about 20 to 24 inches wide or two smaller fixtures spaced evenly. Center the fixture over the main work area rather than the exact center of the floor when cabinets line one wall. Leave enough clearance so tall cabinet doors and the refrigerator door swing without striking a dropped shade.
Dimmable and Smart Options
Dimming lets one fixture serve bright morning prep and calmer evening meals, but the fixture and the wall dimmer must be compatible. Check the fixture listing for approved dimmer types, and check at low settings where cheap drivers can flicker or buzz. If you prefer LED types across the home, our guide to the best led ceiling light explains driver quality and flicker in more depth. Smart controls add scheduling and voice commands, yet a plain wall switch should always override them so guests are never stuck in the dark.
Installation: Hardwired or Plug In
Most kitchen ceiling lights are hardwired into a ceiling junction box, and that is the right choice for a permanent main light. Turn off power at the breaker, confirm the box is rated for the fixture weight, and match wire colors exactly as the instructions state. Our step by step guide on how to install a ceiling light covers tools and safety checks before you begin. Hire a licensed electrician if the box is loose, the wiring is old, or you need a new switch, and check local rules when your project adds new wiring.
Plug in fixtures suit renters but leave visible cords and rarely give enough output for a whole kitchen. For a main cooking space, a hardwired fixture almost always looks cleaner and performs better.
How Much Should You Spend?
Simple integrated LED domes often cost under $30 and cover small kitchens with basic, fixed color light. The middle range, about $50 to $100, usually buys better diffusers, higher color rendering, dimming, and sturdier metal parts. Spending about $100 to $200 adds larger sizes, selectable color, remote or smart controls, and finishes that match higher end cabinets. Let room size and dimming needs set your tier rather than looks alone, because a small bright fixture beats a large dim one at the stove.
Our broader walkthrough on how to choose a ceiling light can help you set a budget for other rooms too. Keep a little of the budget aside for a compatible dimmer if your current switch is old.
What Matters Most in a Kitchen Ceiling Light
Task visibility comes first, because the main ceiling light supports chopping, reading labels, and checking whether meat is cooked through. Even spread matters almost as much, since a bright center with dark corners forces your eyes to adjust each time you turn from the island to the sink. A good ceiling light for kitchen use therefore pairs enough total lumens with a wide beam and a diffuser that hides individual diodes. Compared with a bedroom fixture, a kitchen fixture also needs a sealed or easy wipe cover, because cooking grease settles on upward facing surfaces.
Heat, steam, and cleaning shape the second set of needs. Choose materials that tolerate warm, damp air without yellowing, and avoid deep fabric shades that trap odors above the stove. Smooth glass, acrylic, and powder coated metal wipe clean with a damp cloth, which keeps output from fading as grease builds up. Think about bulb access as well, because a fixture that needs full removal for a simple bulb change will annoy you for years.
FAQ
What is the best ceiling light for kitchen use?
The best choice is a flush or semi flush LED fixture with about 20 to 30 lumens per square foot, a color temperature near 4000K, and a color rendering index of 90 or above. That mix gives clear task light without harsh glare. Add one practical extra many buyers miss: choose a model with a removable diffuser, because you will clean cooking grease from it several times a year and tool free access makes that job far more likely to happen.
What should I look for in a ceiling light for a kitchen?
Look for enough lumens for your room size, a damp location rating, dimming that matches your switch, and a cover shape that will not block cabinet doors. Those four checks rule out most poor fits before style enters the decision. Also check the ceiling box depth listed in the instructions, since shallow pancake boxes in older homes can reject deep mounting brackets. Measuring that box before ordering saves a return trip.
How long does a kitchen ceiling light last?
An integrated LED kitchen ceiling light typically lasts about 25,000 to 50,000 hours, which can mean well over a decade of normal daily use. Fixtures that use replaceable bulbs last as long as their sockets and wiring stay sound, and you simply swap the bulb. Lifespan drops when heat builds up inside a sealed shade, so leave any vents clear and avoid fitting a bulb above the rated wattage. Note the purchase date on the box so warranty claims stay simple.
Is a new ceiling light worth it for a kitchen?
Yes, a new ceiling light is worth it when your current fixture leaves counters in shadow or uses far more power for the same brightness. Better spread and color rendering make cooking safer and cleaning easier every single day. The upgrade also pays off at resale or rental viewings, where a bright kitchen photographs well. If your wiring and switch are already sound, the swap is usually a short job, so most of the cost sits in the fixture itself rather than labor.
How do you clean a kitchen ceiling light?
Turn off the light and let it cool, then remove the diffuser and wash it in warm soapy water, dry it fully, and refit it before restoring power. Wipe metal parts with a damp cloth only, and never spray cleaner directly onto wiring or the LED panel. Kitchen covers collect grease faster than covers in other rooms, so add this job to your range hood filter cleaning routine. Cleaning twice a year often restores a surprising amount of lost brightness.
What is the most reliable ceiling light brand for a kitchen?
No single brand is the most reliable choice for every kitchen, so judge reliability by build and support instead of a name. Look for a recognized safety listing, a warranty of at least three years, a metal mounting plate, and spare diffusers that the maker still sells. Makers who publish full lumen, wattage, and driver data are easier to trust than makers who list wattage alone. Keeping the receipt and model number in a kitchen drawer makes any later warranty claim much faster.
Final Thoughts
Start with your room size and ceiling height, set a lumen target and a color temperature near 4000K, and then pick the mount and finish that fit your cabinets. The product table above can help you compare types side by side once those basics are fixed. When you choose the best ceiling light for kitchen needs this way, you get clear prep light, easier cleaning, and a fixture that still suits the room at dinner time.


