
Best Cameras for Imovie in 2026: Which One Fits How You Film
Disclosure: We may earn a commission when you buy through links on this page, at no extra cost to you. As an Amazon Associate I earn from qualifying purchases. Learn more

Compare cameras for iMovie by file format, frame rate, autofocus and sound, with a use case checklist to match a camera to family, travel or solo work.
There is no single camera that suits every iMovie project. A solo talk recorded at a desk, a school play filmed from the back row, and a family trip all place different demands on a camera. The best cameras for imovie are the ones whose files import cleanly to your Mac, whose sound you can actually use, and whose size fits the way you film. Start from your most common project, then check it against the comparison table below.
This guide works by use case first. It explains which file formats iMovie accepts without extra conversion, how resolution and frame rate should match your timeline, and where sensor size, autofocus, and audio matter more than headline numbers.


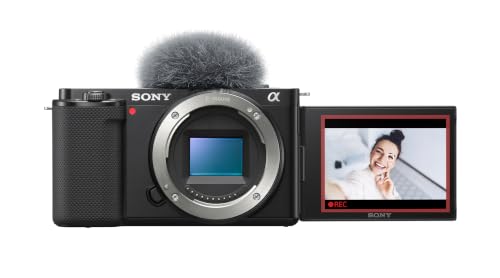

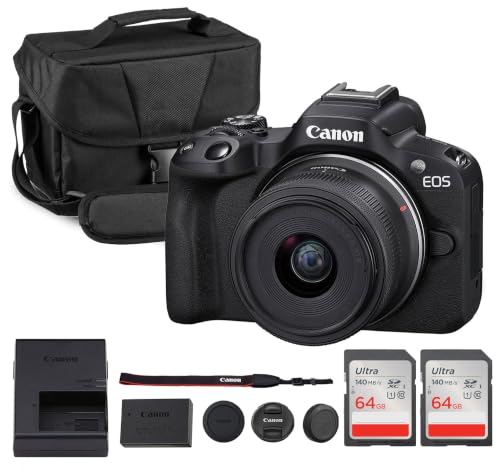


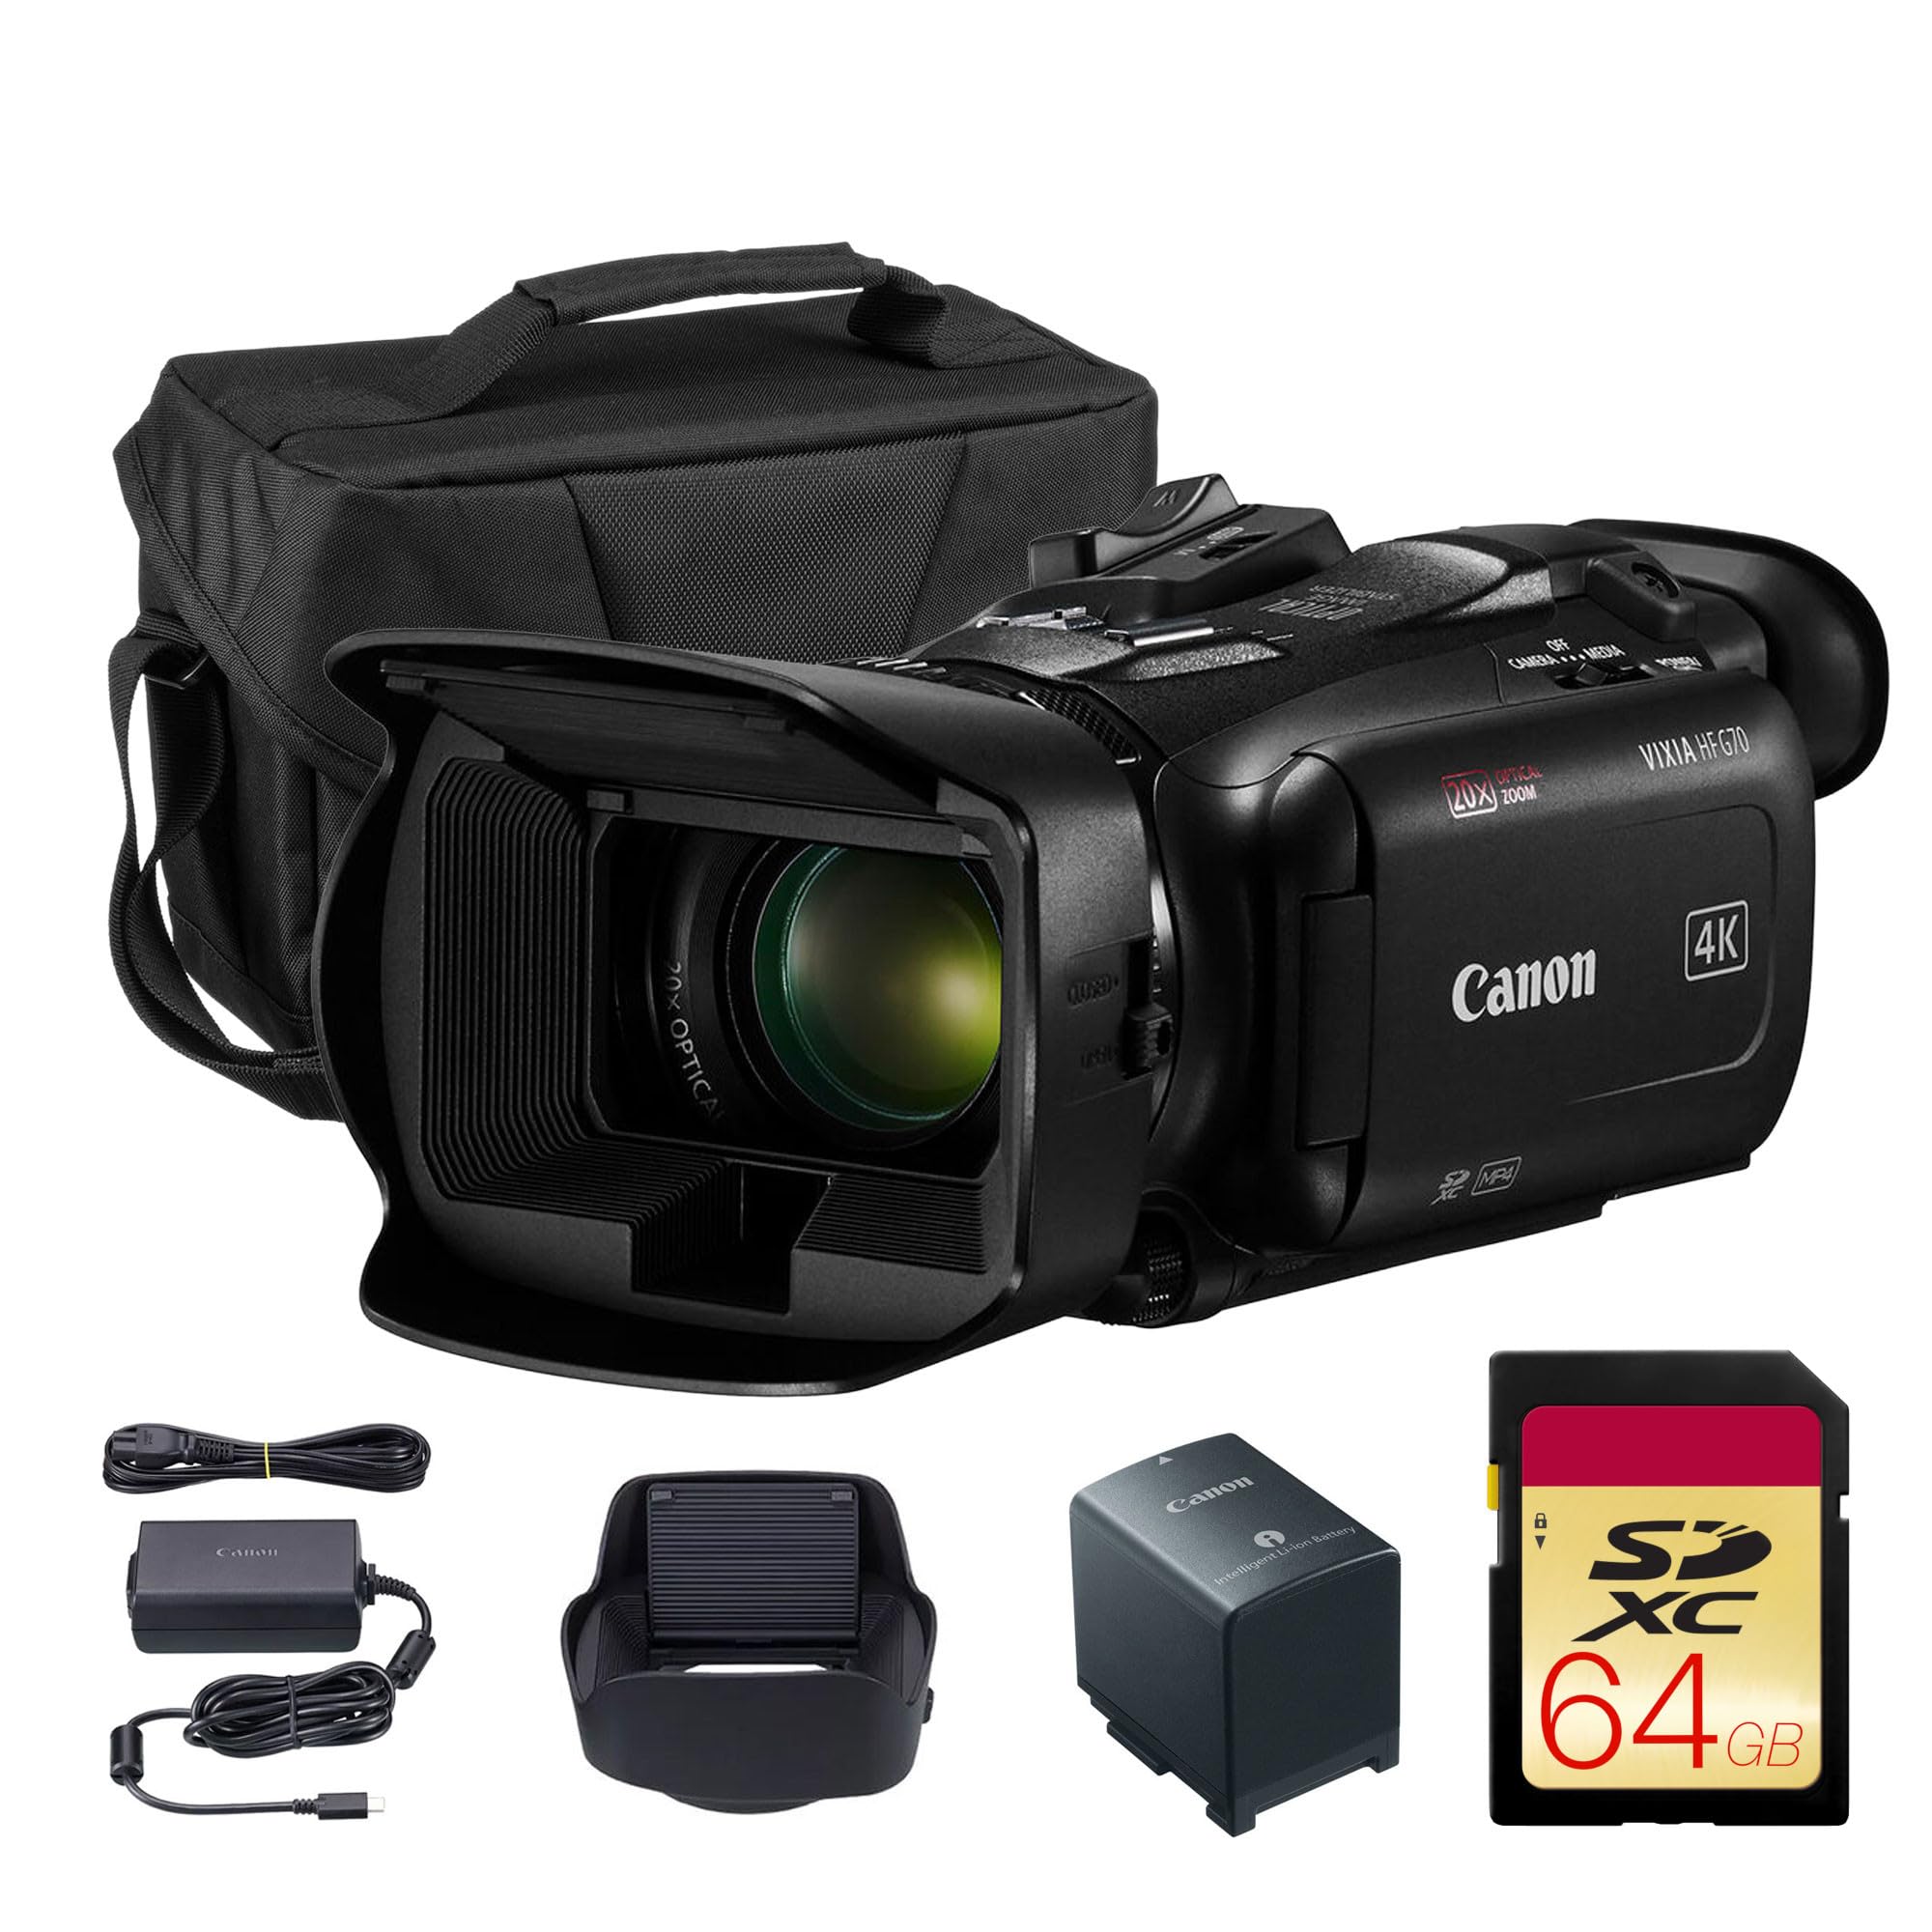
Who Should Buy Which Cameras for iMovie Use?
Your usual subject and filming position should decide the camera type. A camera that is perfect at a desk can be awkward on a trail.
Remote Workers and Creators Who Film Themselves
You record talks, lessons, and product updates alone, often in the same room. Prioritize a flip screen you can see while recording, reliable face autofocus, and a microphone input for clear speech. A compact mirrorless body or an advanced compact camera suits this work, because you can leave it on a small tripod and start quickly.
Travelers and Family Video Makers
You film moving children, street scenes, and days out where you cannot repeat a moment. Prioritize image stabilization, a useful optical zoom, and a body small enough to carry all day. Weatherproof sealing helps in light rain and dust, but weight and battery life help on every trip. If build quality matters most for rough travel, see our guide to the best quality cameras alongside this one.
Students and Everyday Users on a Mac
You make short films, class projects, and event clips and you edit on a shared or personal Mac. Prioritize simple menus, standard file formats, and a price that leaves room for a card, a bag, and a basic microphone. If this is your first dedicated camera, see our guide to the best starter cameras for a simpler shortlist. A modest camera you understand will give cleaner projects than a complex body you leave on full auto.
Key Features to Compare
Compare these factors in order. The first two decide whether editing feels smooth, while the rest decide how good your footage looks and sounds.
File Formats and the Import Flow to iMovie
iMovie works best with common formats such as MP4 and MOV using H.264 or HEVC encoding. Choose a camera that records in one of those formats at its normal quality settings, so you can copy clips from a card reader to your Mac and import them directly. Some cameras split long recordings into many small files or use a folder structure that must be copied whole. That import flow is what separates the best cameras for imovie from models that look similar on a spec sheet, because conversion steps add time and can lower quality before you edit.
Resolution and Frame Rates That Match Your Timeline
An iMovie project takes its frame rate from the first clip you add, so record most clips at one rate. For general use, 4K video at 30 frames per second gives sharp results and room to crop, while 60 frames per second suits sports and lets you slow motion in the edit. Recording at 1080p is still sensible for long events, because the files are smaller and older Macs edit them more smoothly.
A Step Up From Phone Footage in Dim Rooms
Sensor size shapes how a camera handles dim rooms and evening scenes. A 1 inch sensor in a compact camera is a clear step up from a phone in low light, while APS C and full frame sensors in mirrorless cameras gather more light and give cleaner video at higher ISO settings. More megapixels do not guarantee better video, because iMovie output uses only part of that detail. If you also take stills seriously, see our guide to the best cameras for photography for photo led priorities.
Keeping Children, Pets and Speakers in Focus
Continuous autofocus matters when children, pets, or a speaker move toward and away from the camera. Look for face and eye detection that holds focus without hunting, and test how the camera behaves when a subject turns sideways. Image stabilization in the body or the lens smooths walking shots and handheld pans, which saves clips you cannot film again.
Audio Inputs, Screen, and Battery Life
Viewers forgive soft video sooner than poor sound. A microphone input lets you place a mic near the speaker, and a headphone output, where fitted, lets you check for hum before a long session. A touch screen that flips forward helps solo creators frame a take. Check battery life in video terms, because continuous recording drains a battery far faster than stills, and look for charging by USB so a power bank can top up the camera.
From Camera to Timeline: Setup Steps That Prevent Import Problems
Set the camera before an important shoot, not during it. Choose your main format, resolution, and frame rate, format the memory card in the camera, and record a ten second sample clip. Import that sample clip to iMovie and play it with sound before the real event. This short check confirms the format and audio level work together.
During filming, keep each project on one card where you can. After filming, copy the whole card to a dated folder on your Mac before you import, so the original clips stay safe if an import is interrupted. If you are still comparing broader camera types, see our guide to the best digital cameras for an overview beyond video led models.
Buying Errors That Add Cost and Editing Time
These errors add cost or editing time without improving the finished video.
- Buying for the highest resolution alone leaves you with huge files your Mac handles slowly and no better sound or light.
- Ignoring the recording format means some clips need conversion before iMovie will import them at all.
- Relying only on a built in microphone in a large room gives echoing speech that is hard to fix in iMovie.
- Choosing a camera with no forward facing screen makes solo framing a cycle of guessing and reshooting.
- Underestimating storage means a single day of 4K filming can fill a small card and stop recording mid event.
Care and Maintenance for Cameras You Edit With
Clean the lens with a lens cloth, not your shirt, because shirt fabric can hold grit that scratches the coating. Keep lens caps on during travel. Carry a spare battery and a spare card, since both fail at the worst moments and neither can be improvised on location.
Store the camera in a dry, padded bag away from direct sun and damp rooms. Charge batteries before storage and top them up every few months, because a battery left flat for a long time loses capacity. Copy cards promptly and then format them in the camera, rather than deleting clips one by one on a computer.
Cameras for iMovie: Your Questions Answered
What features matter most in cameras for iMovie editing?
Clean import, usable sound, and reliable autofocus matter most for iMovie editing. A camera that records standard MP4 or MOV files, accepts an external microphone, and holds focus on a moving face will save more time than one with a longer feature list. Also check the import speed of the card and reader you own, because slow transfers shape how often you actually finish projects.
Is a smartphone enough instead of a camera for iMovie projects?
Yes, a smartphone is enough for iMovie projects when light is good and your subjects stay fairly close. iMovie imports phone clips with no fuss, and recent phones handle 4K well. A dedicated camera earns its cost when you need real optical zoom from the back of a hall, better sound through a microphone input, or longer recording without filling your phone or draining its battery during an event.
What camera specs matter most for beginners using iMovie?
For beginners using iMovie, simple menus, a standard recording format, and dependable auto exposure matter most. Start with 1080p or 4K at 30 frames per second, a kit zoom that covers wide and medium views, and a screen you can tilt. Skip advanced color profiles at first, because they need extra correction work in the edit and iMovie offers only basic tools for that job.
Which camera type is better for low light iMovie video?
A mirrorless camera with a larger sensor and a bright lens is better for low light iMovie video. It keeps faces cleaner at higher ISO settings than a small sensor compact, and you can open the lens aperture to gather more light. Add light where you control the room, because even a modest lamp placed near your subject improves color and focus more than any menu setting.
Do cameras for iMovie need 4K video or is 1080p enough?
1080p is enough for iMovie projects that are viewed on phones, classroom screens, and most shared links. Choose 4K when you plan to crop into a wide shot, film detail you may enlarge later, or deliver to a large television. Remember that 4K clips need faster cards, more drive space, and a Mac that can play several clips smoothly in the timeline preview.
How much should you spend on a first camera for iMovie?
Plan to spend about $300 to $700 on a first camera body or advanced compact for iMovie, then reserve money for a card, a spare battery, and a basic microphone. Spending the whole budget on the body alone often leaves the weakest link, sound, unfixed. If your projects are mostly talks at a desk, put the microphone first and choose the simpler camera, because clear speech holds viewers longer than extra resolution.
The Bottom Line
Match the camera to the project you repeat most. Confirm the recording format imports directly, keep one frame rate per project, and give sound and autofocus as much weight as resolution. Then use the product table above to compare size, price, and the features that fit your routine.
Chosen that way, the best cameras for imovie become a short and honest list, and your time goes to filming and finishing videos rather than fixing files.


