
Best Cameras for Dental Photography in 2026: Which Type Is Right for You?
Disclosure: We may earn a commission when you buy through links on this page, at no extra cost to you. As an Amazon Associate I earn from qualifying purchases. Learn more

Compare the best cameras for dental photography by type, from macro lens setups to intraoral cameras, with typical prices and who each type suits best.
Dental teams face a confusing spread of camera options, from full macro setups to small wands that plug into a computer. Each type records teeth and treatment areas differently, and the wrong choice slows down daily case documentation. This guide compares the main types clearly, so you can pick the best cameras for dental photography for your clinic based on the photos you actually take.
We look at what each type does well, where it falls short, and what it typically costs. The comparison table below summarizes the four types side by side, and the sections after it explain the features that separate a reliable clinical camera from a frustrating one.



Types of Cameras Compared
Four camera types cover nearly every dental use, from detailed before and after records to quick patient education shots. Start with the type that matches your most common photo, then check the feature sections below.
| Type | Best For | Pros | Cons | Typical Price |
|---|---|---|---|---|
| Macro lens camera setup | Detailed case records and lab communication | True 1:1 magnification, accurate color, full manual control | Bulky, steepest learning curve | about $900 to $2,500 |
| Compact camera with macro mode | Small practices and quick documentation | Light, simple, built in flash | Limited magnification, less control | about $300 to $700 |
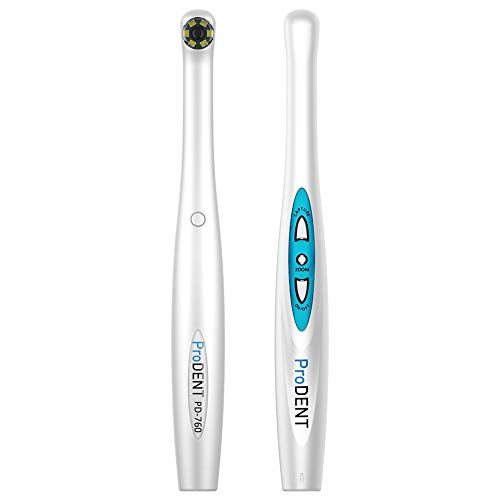
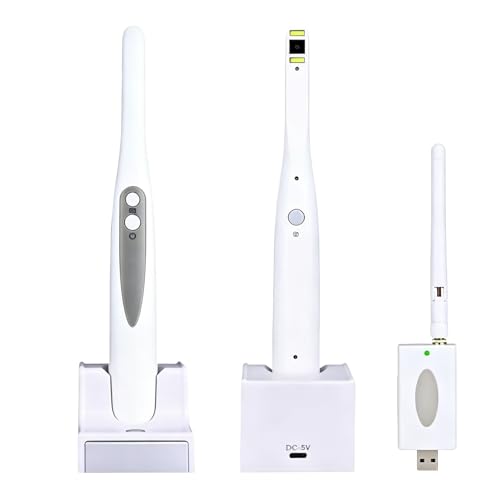
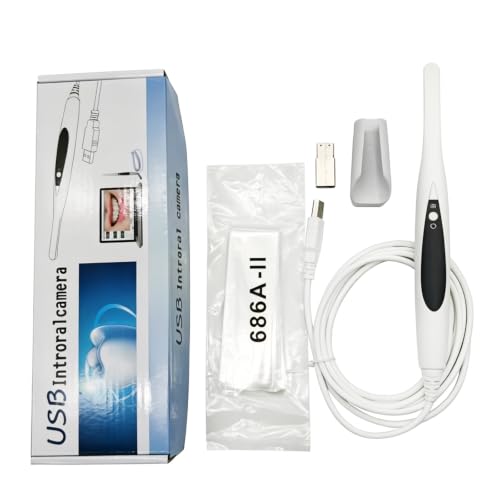
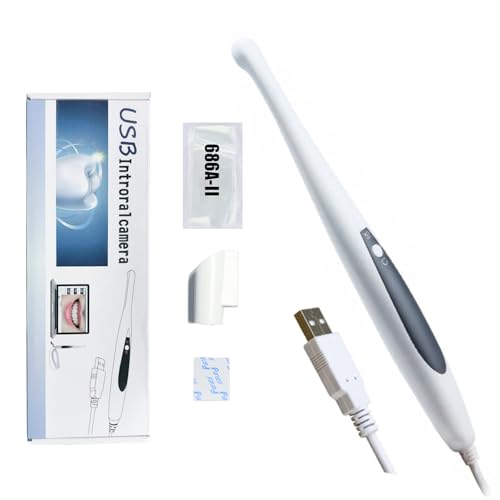
| Intraoral camera | Patient education and screening | Reaches tight spots, live view on screen | Lower resolution, not for case records | about $200 to $1,500 |
| Smartphone with dental kit | Quick shares and remote consults | Uses a phone you own, fast sharing | Uneven lighting, consent and storage care needed | about $50 to $250 |
DSLR and Mirrorless Setups With a Macro Lens
This is the reference setup for clinical records: a camera body, a macro lens around 100 mm, and a ring flash or twin flash. It reaches true 1:1 magnification, so a tooth fills the frame at life size and fine detail stays sharp. Manual exposure and fixed white balance keep colors consistent across visits, which matters when comparing shade over time, though the trade off is size, cost, and training. For a broader look at camera styles, see our guide to the best cameras for photography.
Compact Cameras With a Strong Macro Mode
A compact camera with a macro mode and a small sensor handles everyday documentation with far less fuss, focusing close and firing its built in flash automatically while fitting in a drawer between patients. Image quality suits progress notes, insurance attachments, and quick referrals. It cannot match the magnification or color control of a full setup, and the flash can cast harsh shadows in the back of the mouth. Small practices that photograph a few cases a week often find this type is enough.
Intraoral Cameras
Intraoral cameras are slim wands with a tiny lens and built in lights that show a live view on a monitor. Their strength is patient communication: a cracked cusp or stained margin on a big screen explains treatment far better than words. They reach molars and tight angles that a normal camera cannot. Resolution is lower than a still camera, so these images support explanations and screening rather than formal records, and many clinics pair one with a main camera; our guide to the best dental cameras covers this category in more depth.
Smartphone Kits for Quick Records
A smartphone kit adds a clip on light, cheek retractors, and sometimes a small macro attachment to a phone you already own. It shines for quick shares, remote opinions, and practices testing whether dedicated gear is worth it. Results vary with the phone model and room lighting, and autofocus can hunt at close range. Because images live on a personal device, clinics need a clear consent and transfer process that moves photos into the patient record and deletes local copies.
Compact Cameras vs Full Camera Setups: Which Should You Choose?
Compare the two main routes on five points. First, detail: a macro setup records fine cracks and margins that a compact softens. Second, speed: a compact is ready in seconds, while a full setup needs settings checked per view. Third, consistency: manual control keeps framing and color identical across appointments, which compacts in auto mode cannot promise.
Fourth, cost: the full setup costs several times more once lens and flash are counted. Choose the compact for volume and simplicity, and the full setup when records guide lab work or document complex cases.
How to Choose the Right Camera
Hygiene, Sealing, and Daily Handling
Clinical gear gets wiped down many times a day, so surfaces must tolerate your clinic disinfectant without cracking or fogging. Follow the maker guidance for cleaning each device, and use disposable barrier sleeves on intraoral wands and any part that enters the mouth. Sealed buttons and smooth housings clean faster than deep dials and textured grips. Store cameras in a closed cabinet, not on an open counter, so dust and aerosols settle elsewhere between patients.
Features That Matter for Dental Photography
Dental work happens at close range in a small, shadowed space, so features differ from general photography. True macro magnification up to 1:1, a ring flash or twin flash for even light, and manual focus control matter most. Fixed white balance keeps tooth shade readings consistent, and a depth of field preview helps keep a full arch sharp. Always follow your clinic consent process before photographing a patient, and store images only in the patient record system.
Low Light Performance
The mouth is a low light environment, but flash does most of the work, not sensor sensitivity. A well aimed ring flash delivers short, bright bursts that freeze detail at low ISO, so even modest sensors stay clean. High ISO ability still helps for ambient shots of the operatory or team photos. Judge a camera by its flash options and sync reliability first, and treat headline ISO numbers as a secondary point for this specialty.
Sensor Size and Image Quality
APS C sensors are the common choice in dental setups because they balance detail, depth of field, and cost. Full frame sensors gather more light and crop less, but their shallower depth of field can soften the back teeth in an arch shot. Megapixel counts above about 24 rarely change clinical usefulness, since records are viewed on screens and printed small. Sharpness from the macro lens and correct focus matter more than sensor bragging rights, and new buyers can also read our guide to the best beginning photography cameras for general handling basics.
How to Make Your Camera Last Longer
Clean lenses with a microfiber lens cloth, not gauze or a shirt, and cap the lens between patients. Charge batteries on a schedule and keep a spare set, because a flat battery mid appointment means retakes. Store the kit in a dry, padded case away from direct sunlight, and never look at the sun through an optical viewfinder when testing a camera near a window. Recheck focus accuracy and flash output every few months, since small drifts quietly degrade records.
Frequently Asked Questions
What features matter most in cameras for dental photography?
Macro magnification, dedicated flash, and manual control matter most for dental cameras. A lens that reaches 1:1 magnification records teeth at life size, while a ring flash lights the mouth evenly without harsh shadows. Manual focus and exposure keep every view consistent, which makes before and after comparisons trustworthy. Comfortable handling matters too, because staff repeat the same shots many times a day and awkward gear gets left in the drawer.
How much should I spend on my first dental camera setup?
Most clinics spend about $400 to $1,200 on a first setup, depending on the type chosen. A compact camera with a macro mode starts near the low end, while a used body with a macro lens and ring flash lands higher. Budget for retractors, mirrors, barrier sleeves, and spare batteries as well, since accessories are part of the real cost. Starting mid range and upgrading the flash later is a common, sensible path.
Which camera type is better for low light in dental photography?
A macro lens setup with a ring flash handles the dark oral cavity best, because the flash supplies its own controlled light. The burst is short and close, so images stay sharp and evenly lit even though the mouth itself is shadowed. Intraoral cameras also cope well since their built in lights sit millimeters from the tooth. Plain compact cameras struggle most, because their small flash fires from one side and leaves deep shadows behind molars.
What specs matter most for beginners in dental photography?
Beginners should look for a true macro mode or lens, simple manual controls, and a flash designed for close work. A tilting screen helps when composing awkward angles without contorting, and a lightweight body reduces hand shake during long appointments. Preset modes for intraoral and extraoral views shorten the learning curve. Staff training time is a real spec too: the easiest camera to teach consistently across a team often beats a complex one.
Is a smartphone enough for dental photography?
A smartphone is enough for quick documentation, patient explanations, and remote consults when paired with a light kit and retractors. It is not enough for shade critical records or detailed lab communication, where controlled flash and true macro magnification matter. Clinics using phones must also manage consent carefully, transferring images into the record system promptly and removing them from personal devices. Many practices start with phones, then add a dedicated camera as case volume grows.
Final Thoughts
Pick the type first: macro setup for records, compact for simple documentation, intraoral wand for patient education, or phone kit for quick shares. Then judge by flash, magnification, and how the camera handles daily cleaning, using the product table above to compare your shortlist. Matched to your case load this way, the best cameras for dental photography become the ones your team uses confidently every day. This guide covers camera selection only, so follow your clinic protocols and professional judgment for all treatment decisions.


