Best Bridge Cameras for Wildlife at Every Price: What Your Money Really Gets You for 2026
Disclosure: We may earn a commission when you buy through links on this page, at no extra cost to you. As an Amazon Associate I earn from qualifying purchases. Learn more

Compare the best bridge cameras for wildlife at every price point and learn what budget, midrange, and premium models give you for reach, focus, and video.
Bridge cameras span a wide price range, and the gap between cheap and pricey models can leave you unsure where money matters. For distant animals, reach is only part of the story, because focus speed, stabilization, and low light performance decide how many shots you keep. This guide to the best bridge cameras for wildlife breaks down each price tier so you spend on features that help in the field.
Use the comparison table below to compare zoom range, sensor size, and video options. Then read on to learn which tier fits your outings and which extras you can skip.



Who Should Buy a Bridge Camera for Wildlife?
A bridge camera gives you a long fixed lens in one body, so you carry no extra lenses. That simplicity suits some wildlife watchers far better than others.
Park and Garden Watchers Who Shoot Close to Home
If you photograph squirrels, backyard birds, and deer at a local park, a modest zoom and simple controls cover most needs. Subjects are often fairly close and active in decent light, so a budget or midrange model works well. You will value light weight more than extreme reach. A tilting screen also helps when you shoot insects and low nests without kneeling.
Travelers Who Want Long Reach Without Extra Lenses
On safari drives, boat trips, and park visits, you often get one brief chance at a distant animal and no time to swap lenses. A bridge camera keeps the whole kit in one bag and stays ready in your hands. Travelers should favor strong image stabilization, a bright viewfinder, and a secure grip in a moving vehicle. Compact size also leaves luggage room for binoculars.
Dedicated Birders Who Spend Long Hours Waiting
Birders ask the most of this format, because small birds move fast, sit far away, and often appear at dawn or dusk. You need the longest optical zoom you can afford, autofocus that tracks a moving subject, and burst shooting for wing beats. An eye level viewfinder matters during long waits, since holding a screen at arm length tires your arms. Weather sealing earns its cost in drizzle at a marsh.
What Your Money Gets You at Each Price Tier
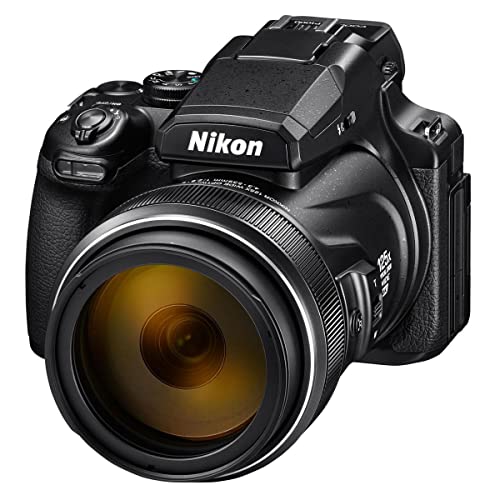
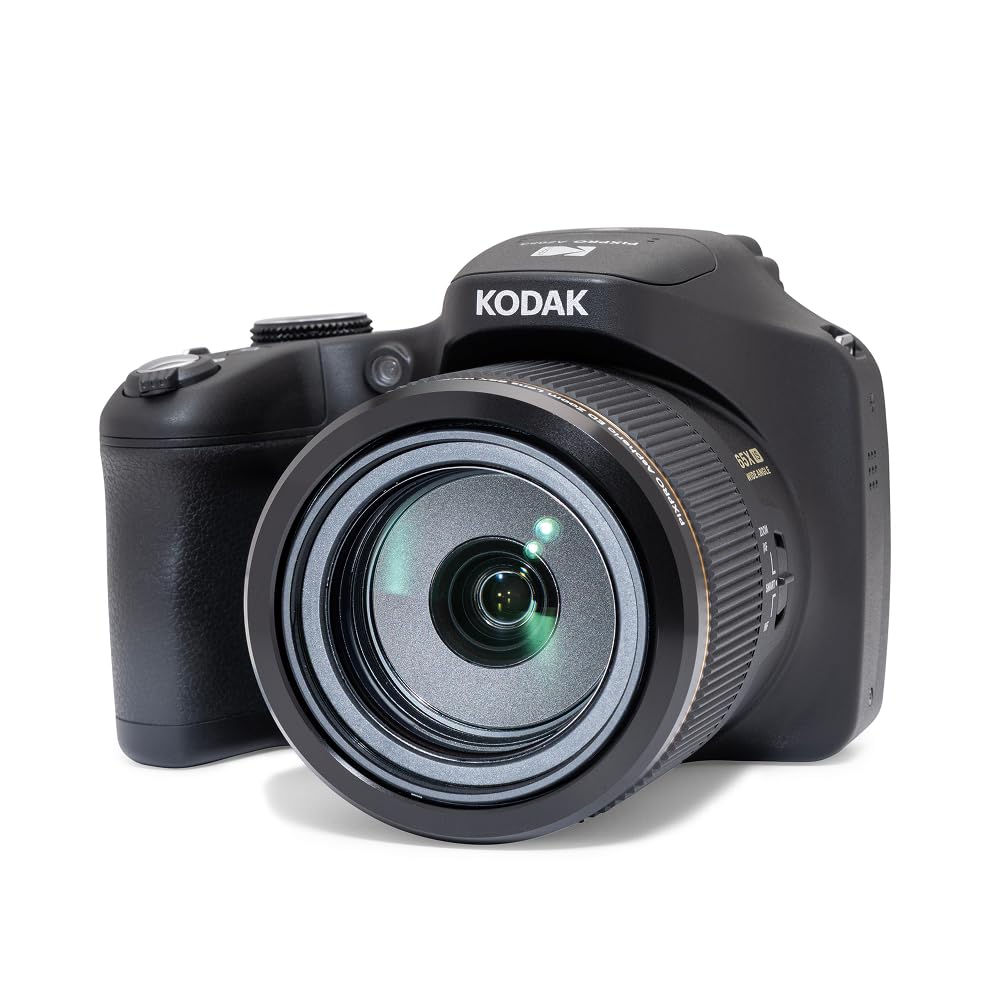
Prices on Amazon in the US fall into broad bands, and each step up buys specific gains rather than vague quality. The product table above shows where current models sit, and the tiers below explain the trade offs. Match the tier to how often you go out and how far your subjects are.
Budget Tier: What to Expect
Budget models, often around $300 to $500, give you a generous zoom and full auto modes that handle exposure for you. The trade offs are a smaller sensor, slower autofocus, and screens that are hard to read in bright sun. Image quality is fine for sharing online and for small prints in good light. This tier suits casual outings and learners testing whether wildlife photography holds their interest.
Midrange Tier: Strong Value for Most Buyers
Midrange models, often about $500 to $900, add a larger sensor, faster focus, and better stabilization, and those gains show up in more keeper shots. You also get raw file support and 4K video on many models. For most regular park visitors, this tier balances price, reach, and image quality best.
Premium Tier: When Spending More Pays Off
Premium models, often about $900 to $1,500 or more, pair a one inch sensor with a long, bright objective lens and the fastest tracking in the category. You gain cleaner images at dawn and dusk, stronger burst depth, and build quality that tolerates rough weather. The cameras grow larger and heavier, though. This tier pays off if you go out weekly, shoot birds in flight, or print large.
Features Worth Paying For (and Ones to Skip)
Spec sheets list dozens of features, but only a handful change your results with animals. Spend first on the items below. If you are still learning the category, see our guide to the best bridge cameras for how this format compares with other camera types.
Optical Zoom and Real Magnification
Optical zoom describes how much the lens itself can magnify a scene, and for wildlife it is the headline spec. Look at the longest focal length in full frame terms, where around 600 mm frames birds at a feeder and 1200 mm or more reaches shy animals across a field. Digital zoom only crops pixels, so it adds no new detail. Pay for optical reach, and ignore big digital zoom numbers.
Sensor Size and Image Quality
Sensor size shapes low light quality more than megapixel count does. Most bridge cameras use a small sensor or a larger one inch sensor, and the one inch type holds detail and color better as light fades. More megapixels on a tiny sensor can add noise rather than sharpness. If you shoot at sunrise or under tree cover, a larger sensor is worth real money. At midday, the gap shrinks.
Image Stabilization and Autofocus Tracking
Image stabilization steadies the lens so you can hand hold at long zoom without blur from hand movements. At 1000 mm and beyond, even a steady stance shakes the frame, so strong stabilization turns soft frames into usable ones. Autofocus tracking matters just as much, because animals rarely sit still. Look for subject detection and a focus system that holds a moving bird instead of drifting to branches behind it.
Video Capabilities and Ease of Use
4K video lets you record animal behavior with fine detail, and a microphone input and a flip screen help if you narrate or film yourself. For stills focused buyers, basic 4K is enough and costly video extras can be skipped. Ease of use matters too, since auto modes, clear menus, and app transfer decide whether the camera leaves the house. Beginners should value simple controls as much as specs.
Skip built in filters, novelty scene modes, and very high digital zoom ratings. Touch focus and WiFi transfer are handy but rarely worth a price jump. Spend the difference on reach, sensor size, or a spare battery instead.
How to Check Reach, Focus, and Handling Before You Buy
Start by picturing your most common subject and distance, then work backward to the zoom you need. A heron at a pond edge needs far less reach than a warbler in a treetop. Listings in the product table above state each model zoom range, so compare that figure against your typical outing.
Next, think about how you will hold the camera. A deep grip, an eye level viewfinder, and controls you can reach with gloves on matter during cold outings. Weight matters too, because a heavy camera left in the car takes no photos. If you wear glasses, check that the viewfinder shows the full frame without dark corners.
Finally, plan for the light you shoot in most. Dawn outings call for a brighter lens and a larger sensor, while midday visits forgive a slower lens. For technique help once you own a camera, see our guide to the best bridge cameras for wildlife photography, which covers field settings.
Long Term Costs to Factor In
The camera price is only the start. Budget for a spare battery, since long zooms and cold weather drain power quickly, plus fast memory cards that keep up with burst shooting and 4K video. A padded bag, a cleaning kit, and a sturdy strap protect the camera on trails.
Over several years, you may also pay for a warranty, replacement eyecups, and a tripod for long waits. Adding about 10 to 20 percent of the camera price for essentials gives a truer picture of ownership.
Common Mistakes to Avoid
- Choosing by digital zoom numbers, which only crop the image and leave you with soft, noisy photos of distant animals.
- Buying the longest zoom on a tiny sensor for dawn outings, so low light images fall apart even though the reach looks impressive.
- Ignoring viewfinder quality, then struggling to follow fast birds on a dim screen in bright sunlight.
- Skipping a spare battery, so a full morning at a refuge ends when the single battery dies.
- Carrying the camera by its lens barrel or without a strap, which risks a drop that can misalign the fixed lens.
- Expecting phone style processing, then judging raw files as flat before learning simple edits.
How to Make Your Bridge Camera Last Longer
Care for the fixed lens first, because it cannot be swapped if damaged. Keep the cap on between sightings, remove grit with a blower before using a cloth, and never force the zoom if sand makes it grind. Store the camera in a dry case after wet outings so moisture leaves the body slowly.
Look after the battery and moving parts as well. Charge batteries before they sit empty for months, and keep contacts clean and dry. Once a season, check the strap lugs, clean the viewfinder, and update the camera software if the maker offers an update, since updates can improve focus behavior.
If you also enjoy wider scenes on the same trips, see our guide to the best digital cameras for options that pair well with a long zoom bridge model.
Frequently Asked Questions
What features matter most in bridge cameras for wildlife?
Optical zoom, stabilization, and autofocus tracking matter most, because they decide whether a distant moving animal is sharp at all. After those, sensor size shapes low light results. One point buyers overlook is focus speed at the longest zoom setting, which can slow even on capable models. Check sample galleries for that setting, since a lens that hunts for focus at full reach will cost you brief sightings.
Which bridge camera sensor handles low light best for wildlife?
A one inch sensor handles low light best in this category, gathering more light per pixel than smaller sensors. It keeps feathers and fur cleaner at the high sensitivity settings dawn and dusk demand. Lens brightness helps too, since a wider aperture at full zoom lets in more light. Favor sensor size and lens brightness over extra megapixels.
What specs matter most for beginners buying a bridge camera for wildlife?
Beginners should start with zoom range, a clear viewfinder, and simple auto modes that still allow manual control later. A lighter body helps, because you will carry it more while learning. Growth room matters most, so choose a model with raw support and manual exposure for when your skills catch up.
Is a smartphone enough instead of a bridge camera for wildlife?
A smartphone is not enough for most wildlife, because its lenses offer little true optical reach for distant animals. Phone photos of birds rely on heavy cropping, which turns detail into a blur. A bridge camera fills the frame from where you stand, so you keep distance from the animal as well. Phones still win for wide landscapes, so many owners carry both.
How much should I spend on my first bridge camera for wildlife?
Most first time buyers do well in the midrange band, about $500 to $900, where focus speed and sensor size step up clearly. Spending less works if you shoot in bright light close to home. Spending more makes sense only when you go out often. Hold back part of the budget for a spare battery and a fast card.
What does magnification mean on a bridge camera for wildlife?
Magnification describes the zoom ratio between the widest and longest lens settings. The ratio alone does not tell you how close a subject will appear, because the starting point matters. Check the longest focal length in full frame terms instead. Higher numbers help with small or shy subjects, but they also amplify hand shake.
Final Thoughts
The right choice comes down to three things: enough optical reach for your subjects, a sensor that suits your light, and handling you enjoy. Budget models serve casual visits, midrange models suit most watchers, and premium models reward dedicated birders. Whichever tier fits you, the best bridge cameras for wildlife are the ones you will actually carry. Compare your shortlist in the product table above, and for more ideas, see our guide to the best cameras for wildlife photos.