Best Bridge Cameras: A First Time Buyer's Guide for 2026
Disclosure: We may earn a commission when you buy through links on this page, at no extra cost to you. As an Amazon Associate I earn from qualifying purchases. Learn more
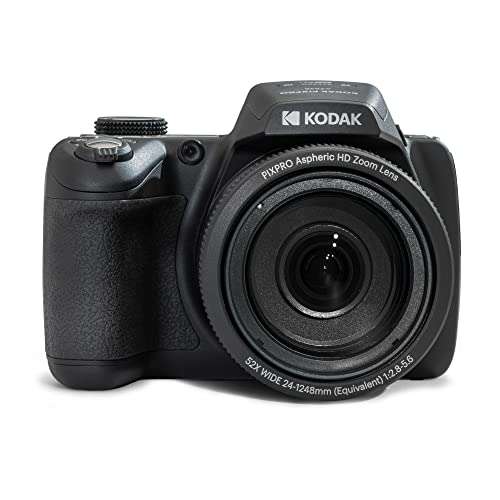
A first time buyer guide to bridge cameras covering zoom, sensor size, autofocus, video, and budget choices with plain English buying advice.
Buying a first real camera can feel like walking into a wall of new words. Zoom figures, sensor names, and video numbers all shout at once, and none of them explain what a school concert or a day at the lake will actually look like. If you want one camera that covers family days, travel, and distant wildlife without a bag of separate lenses, the best bridge cameras deserve a close look before anything else.
This guide is written for a first time buyer, so it starts with the basics and builds up in a calm order. You will learn what this class is, which specs change your pictures, and which numbers you can safely ignore. Keep the product table open as you read, because each section maps to a figure you will see there.




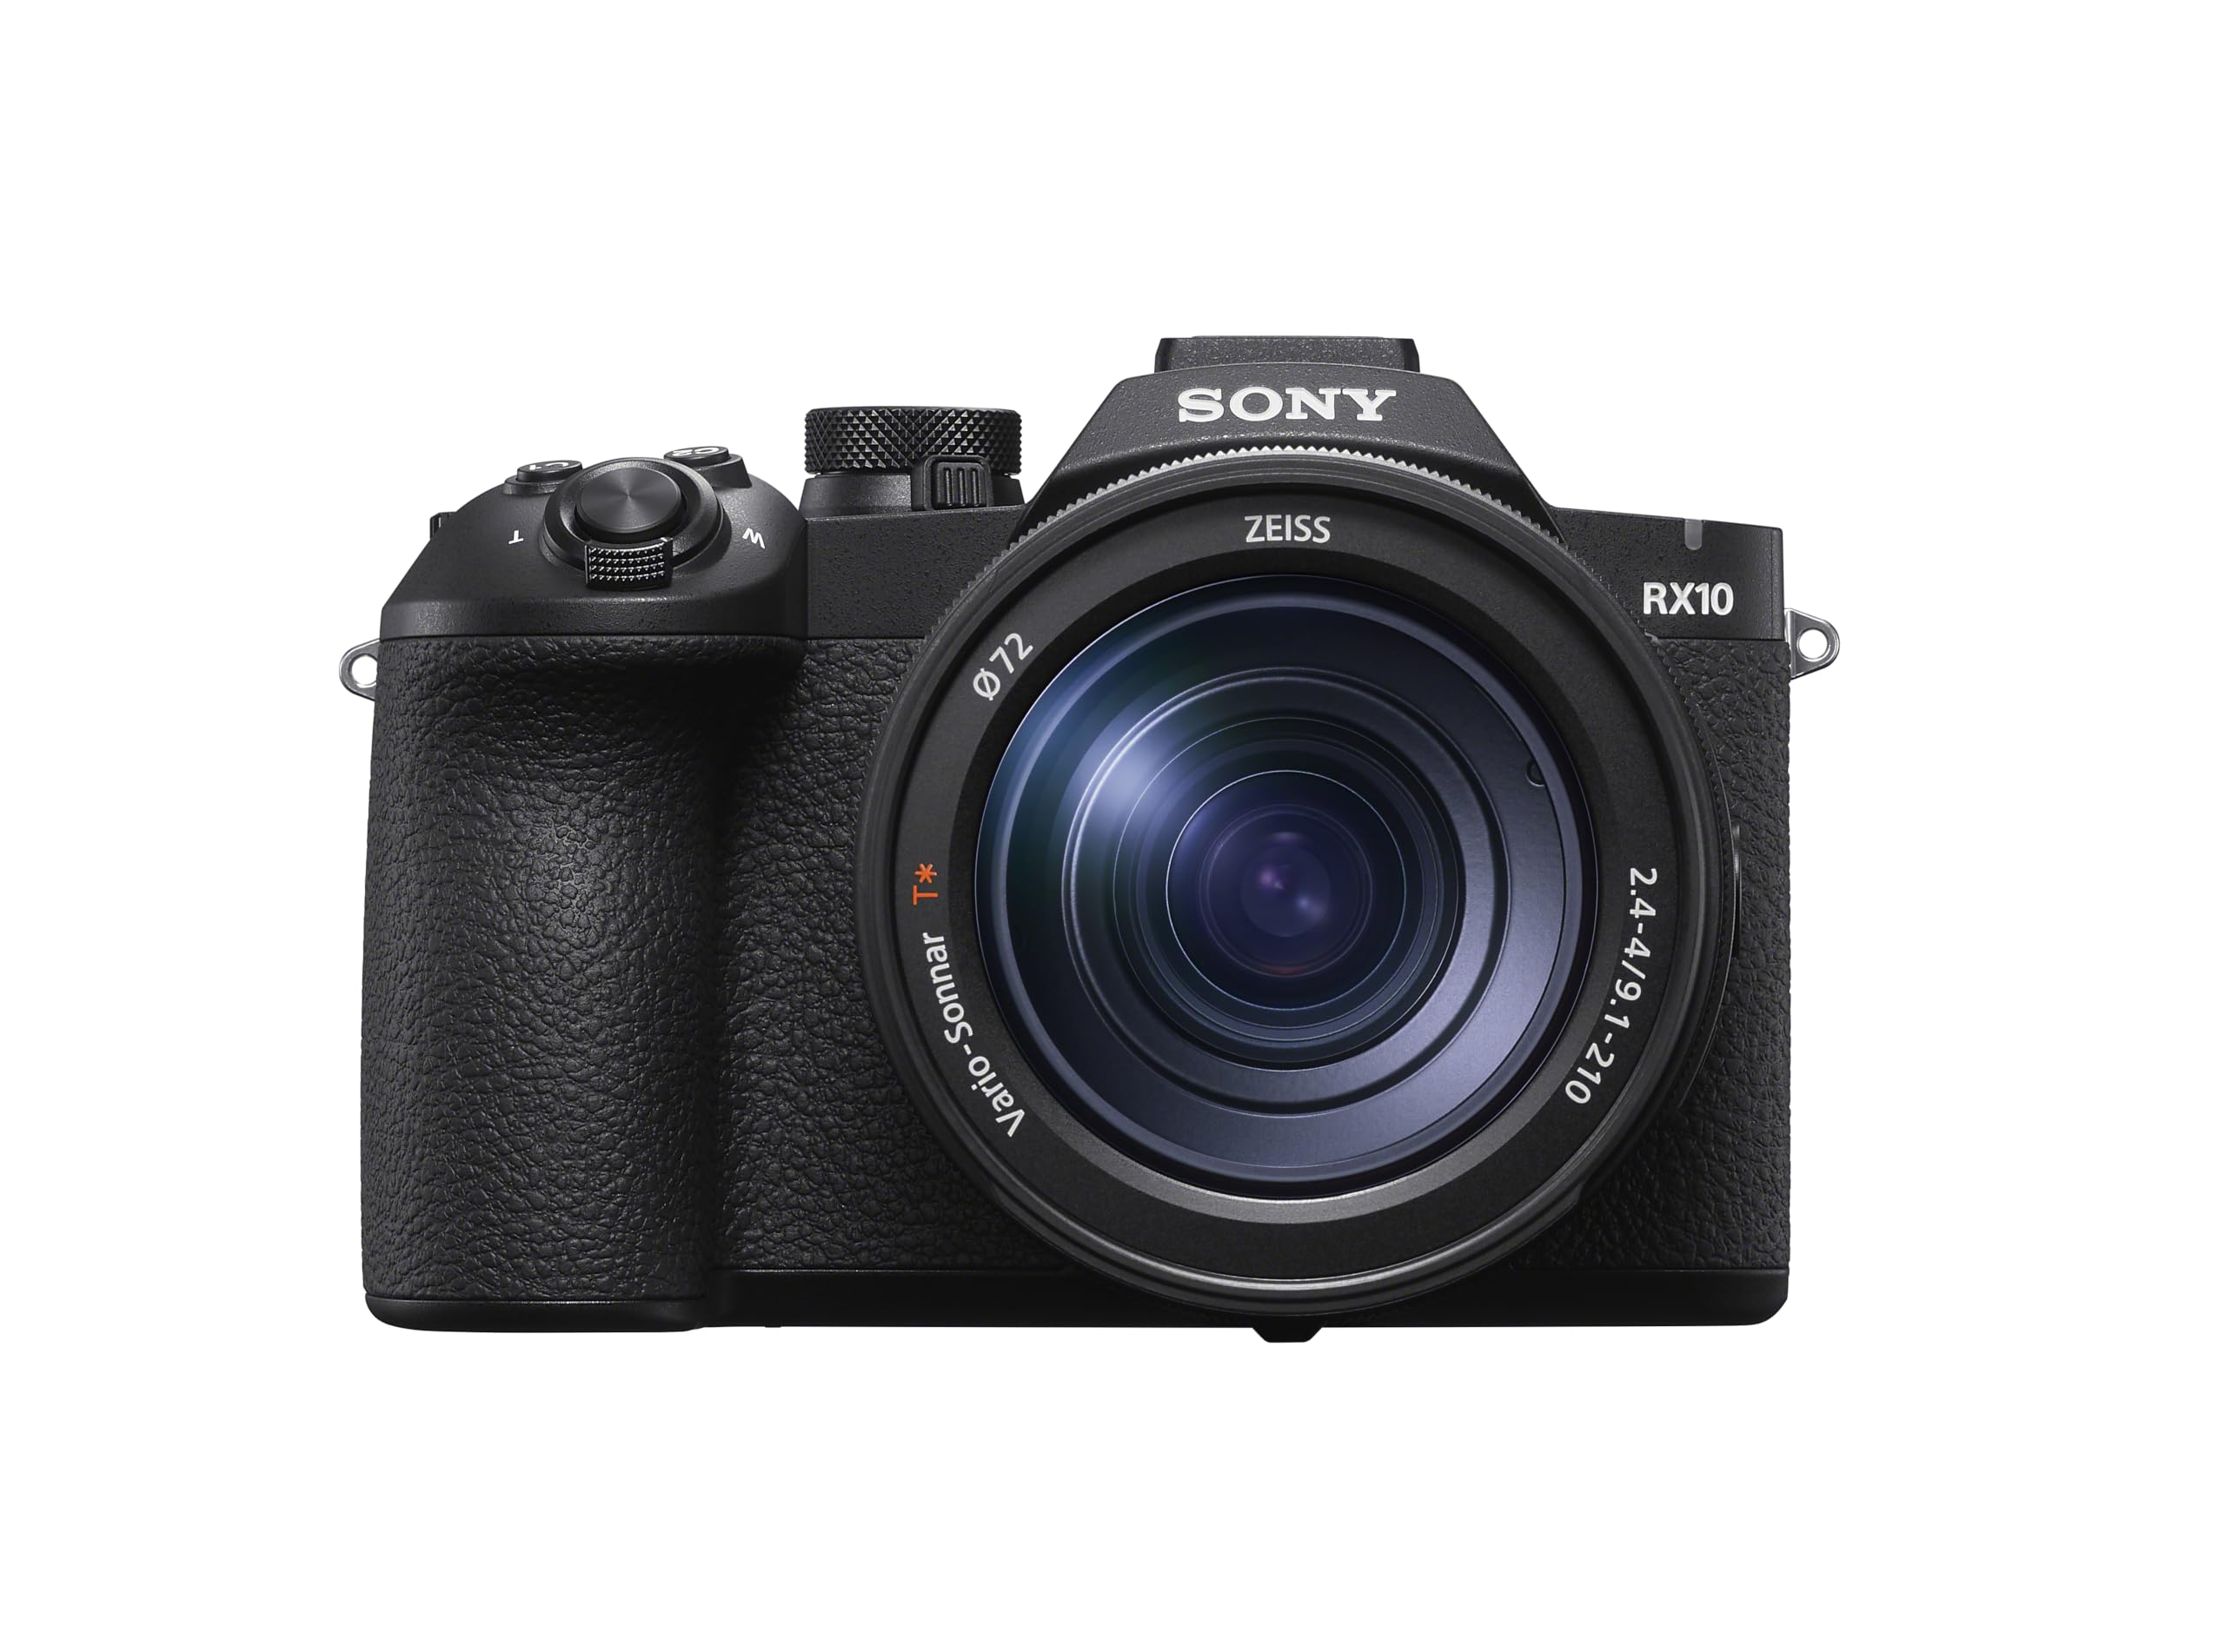
Bridge Cameras 101: The Basics
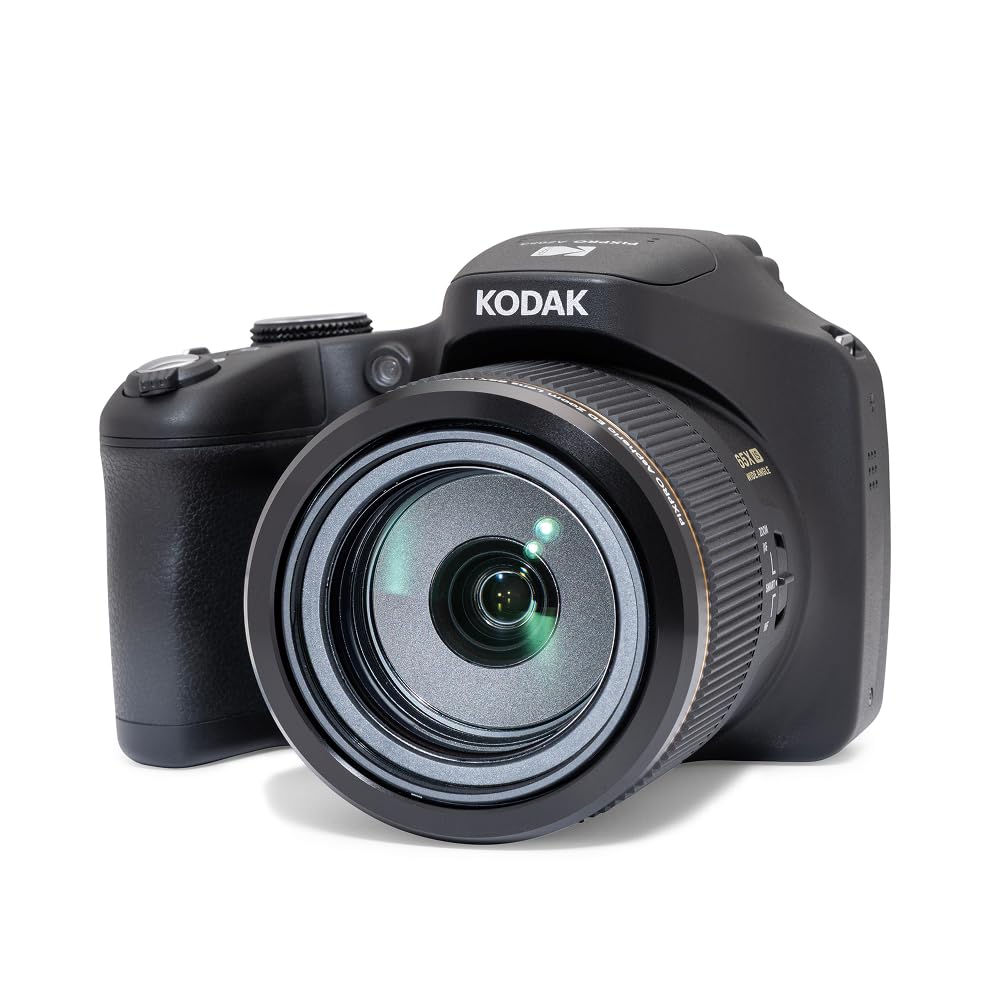
Start with the one body fact, stated plainly. A bridge camera is one body with one fixed lens, and that lens never comes off. The zoom range is the product you are buying, because there is no second lens to buy later when you want more reach or a wider view. For a first time buyer this is the honest appeal of the class, since your whole kit is the camera, a strap, a card, and a small bag, and readers chasing extreme reach can compare the longest designs in our guide to best superzoom bridge cameras.
Next comes the sensor fact, also stated plainly. Most long zoom models in this class use a small sensor, far smaller than the sensors in system cameras. That small sensor is what lets the lens reach so far in a body you can carry all day. The tradeoff is real, and it shows up in low light, where images grow softer and grain becomes easier to see, and reach is bought with low light softness, so every buyer in this class accepts that bargain.
Handling is the third fact, and it explains the name of the class. These cameras are held like system cameras, with a deep grip, a dial or two, and an electronic viewfinder you press to your eye. The viewfinder matters most at full zoom, because bracing the camera against your face steadies a picture that would shake badly on a rear screen alone. At long reach, tiny hand movements become large movements in the frame, so a steady hold is a picture quality feature in itself.
Modes are the last basic to understand before specs. Every model offers a full auto mode that handles exposure for you on day one, plus scene modes for portraits, landscapes, and action. Manual controls sit on the same body for later, when you want to choose shutter speed or aperture yourself. That growth path is why this class suits learners, since the camera you buy first can stay useful while your skills catch up.
Key Specs Explained in Plain English
Spec sheets look hard only because each line is written for engineers. Read the product table with the five plain English translations below, and the numbers start to sort themselves. Focus on what each spec does to your pictures, not on which figure is biggest.
Sensor Size and Image Quality
Sensor size decides how much light the camera can gather for each picture. The long zoom end of this class mostly uses small sensors, often about 1/2.3 inch, while a shorter zoom group uses the larger 1 inch class for cleaner files. You will also see APS C and full frame named in camera talk generally, but those belong to system cameras and explain why this class stays compact, and megapixels matter less than sensor size, because large pixels gather light better than crowded small ones. In daylight, nearly every model here looks sharp, so judge this spec by how much shade and indoor shooting you plan.
Autofocus and Stabilization
Autofocus is the system that locks onto your subject before you press the shutter. Look for subject tracking that follows a moving child, pet, or player across the frame, and for eye detection that finds a face and holds focus on the eye. Stabilization is the partner feature, and it counters small hand shakes so long zoom shots stay usable, and optical stabilization inside the lens is the norm in this class, helping most at full zoom and in video. Together, these two systems decide how many distant shots come home sharp instead of blurred.
Size, Weight, and Ergonomics
Weight in this class ranges from light travel friendly bodies to larger models that feel close to a system camera in the hand. A heavier body can actually help at full zoom, because mass resists shake, but it will tire your neck on a long walk. Check how the grip fills your hand, whether the main dial falls under your finger, and whether the zoom control feels smooth rather than jumpy. Think about your real carrying plan, such as a small shoulder bag, a backpack side pocket, or a strap alone, because the camera you enjoy carrying is the one that gets used.
Video Capabilities
Video in this class starts with 4K recording, which gives you four times the detail of older full HD clips for cropping and large screens. Frame rate is the second figure to read, since higher rates make motion look smoother and allow gentle slow motion of sports or splashing water. A screen that flips forward helps if you plan to record yourself talking, and a microphone input, found on some models, lifts voice quality far above any built in microphone. Ask how long a single clip can run, because some bodies limit recording time per clip, although for casual family video nearly any current model is enough.
Battery Life and Charging
Battery ratings in this class are quoted as shots per charge, and those figures come from standard lab routines with modest zoom and screen use. Real days out drain a battery faster, because long zoom work, video clips, and bright screens all draw more power. Expect to charge more often than the headline figure suggests, and treat the rating as a comparison tool between models rather than a promise. USB C charging is worth seeking, since it lets you top up from a car, a laptop, or a small power bank between stops, and a camera that charges easily is a camera that rarely dies at the wrong moment.
Matching a Bridge Camera to Specific Needs
First time buyers rarely want the same thing, even when they buy the same class of camera. One person cares about a grandchild on a soccer field, while another cares about recording a trip in rich detail. If the fork itself is still unclear, our guide to best bridge cameras for beginners sorts the same classes by buyer type in plain terms. The two needs below cover the most common forks in the road.
Best Bridge Cameras for Sports: Tips for First Time Buyers
Sports work asks three things of this class, starting with a fast burst rate, so the camera can fire a run of frames while a play unfolds and give you one sharp moment to keep. Second, autofocus tracking must hold a runner or a rider as distance changes, not just lock once and drift. Third, the zoom must reach the far side of a field while stabilization keeps that reach steady in your hands. Prefer models that pair strong tracking with a viewfinder you like, because school gyms and evening games also push the small sensor hard.
Best 4K Bridge Cameras: Tips for First Time Buyers
Video first buyers should judge a different trio of points. Check the top frame rate at 4K, because that decides whether motion looks fluid and whether slow motion is possible at all. Look for a microphone input and a screen that turns toward the front if you plan to present to the camera, since voice quality shapes how watchable a clip feels. Finally, confirm how stabilization behaves while walking, because smooth movement matters more to viewers than a small edge in sharpness, and a modest zoom with calm video often beats a giant zoom with shaky clips.
Rookie Mistakes to Avoid
Most first purchase regrets in this class come from the same short list of errors. Each one is easy to dodge once you have seen it named.
- Chasing the largest zoom number alone, because extreme reach is useless if the pictures shake or the lens is slow to focus, and because any figure past the optical range is digital cropping rather than real reach.
- Judging image quality by megapixels, because pixel count says little about light gathering, and a crowded small sensor can look worse in shade than a modest count on a larger sensor.
- Skipping a hands on hold before buying, because grip shape, dial placement, and viewfinder comfort decide whether the camera feels like a tool or a burden after an hour.
- Forgetting the extras in the budget, because a memory card, a spare battery, a strap, and a padded bag add real cost, and a cheaper body with a full kit often serves better than a bare flagship class body.
- Expecting phone bright night pictures, because phones blend many frames with heavy software help, while this class gives you a single honest exposure that will look softer after dark.
Getting Started: Setup and First Use
Your first hour with the camera sets habits that protect your pictures for years. Work through these steps in order before your first real outing.
- Charge the battery fully, insert a fast memory card, and format the card inside the camera so the file system matches what the body expects.
- Set the date, time, and your language, then leave the mode dial on full auto while you learn where the zoom, shutter, and playback controls sit.
- Practice at home by zooming from wide to full reach on a fixed object, watching how much steadier the viewfinder feels than the rear screen at long range.
- Clean the front glass only with a lens cloth, not your shirt, because shirt fabric can carry grit that scratches coatings over time.
- Pack a spare battery and the cloth in your bag, attach the strap, and take a short walk to shoot twenty frames you are allowed to delete.
FAQ: Questions Answered for First Time Buyers
What specs matter most for beginners buying a bridge camera?
Zoom range, autofocus tracking, and stabilization matter most for a beginner. Those three decide whether distant subjects are reachable and sharp, which is the whole reason to choose this class, and sensor size comes next if you shoot indoors often. One point the spec sheet hides is menu guidance, so favor a body whose auto modes explain each setting on screen in plain words. Clear guidance shortens the learning curve more than any extra dial, and it keeps early outings fun instead of frustrating.
Is a smartphone enough instead of a bridge camera?
A smartphone is enough for near subjects, quick sharing, and everyday snapshots. It falls short when your subject sits far away, because digital zoom on a phone crops a small file and detail falls apart fast. A bridge camera answers with true optical zoom, a viewfinder for bright sun, and controls your fingers can learn. Phones also apply strong software sharpening and blending that you cannot switch off, which some buyers love and others dislike, and if your subjects are mostly distant, the camera earns its place.
How much should I spend on a first bridge camera?
Spending about $300 to $500 covers a sound first purchase in this class, and that band buys honest zoom reach, working stabilization, and a viewfinder, which are the features a learner actually feels. Budgets of about $500 to $900 add a larger 1 inch class sensor or stronger video tools on some models, which helps if indoor or video work matters to you. Keep about $50 to $80 aside for a card, a spare battery, and a bag. Spending past that band as a beginner mostly buys reach you may never use.
How far can a bridge camera zoom in plain terms?
A bridge camera zoom figure tells you how much larger a distant subject can fill the frame compared with the widest view. In plain terms, a mid range zoom can make a bird on a far fence post fill the frame the way a nearby portrait does. Very long zoom models can bring a moon crater or a distant lighthouse into clear view from the same spot. A useful home test is to frame a street sign at the widest setting, then zoom until the letters fill the screen, and that single test teaches reach faster than any chart.
Which bridge camera traits help most in low light?
A larger sensor, a brighter lens at the zoom you use, and strong stabilization help most in low light. Those traits gather more light and keep slower shutter speeds sharp, which is where this class struggles. For still scenes such as a lit building at dusk, a small travel tripod helps more than any setting, because the camera can use a slow shutter without hand shake. Raising sensitivity is the last resort, since it adds grain, so plan night shooting around support and steady subjects, and results will please you.
Final Thoughts
Come back to three checks before you order. Confirm the zoom range covers your real subjects, accept the sensor tradeoff with open eyes, and hold the body long enough to know the grip and viewfinder suit you. When those three line up, the best bridge cameras stop being a spec sheet and become a simple, single kit you can learn on for years. Compare your shortlist against the product table, pick the body that fits your hands and your budget, and start shooting the same week it arrives.