
Best Boots on Ice and Snow: A First Time Buyer's Guide for 2026
Disclosure: We may earn a commission when you buy through links on this page, at no extra cost to you. As an Amazon Associate I earn from qualifying purchases. Learn more

New to winter boots? Learn outsole grip, insulation, fit, and waterproofing in plain English, plus rookie mistakes to avoid before your first icy walk.
If you are shopping for best boots on ice and snow for the first time, the choices can look confusing: tall shafts, short shafts, insulation ratings, lug patterns, and waterproof membranes all compete for attention. The good news is that only a few features decide whether a boot keeps you steady and warm on icy paths. The comparison table below gives a quick overview, and the rest of this guide explains each feature in plain English.
This guide is written for first time buyers. It starts with the basics, explains specs without jargon, lists the mistakes new buyers make most often, and ends with simple first use steps. Use it to build a short list of features that matter for your winter, then compare boots against that list.


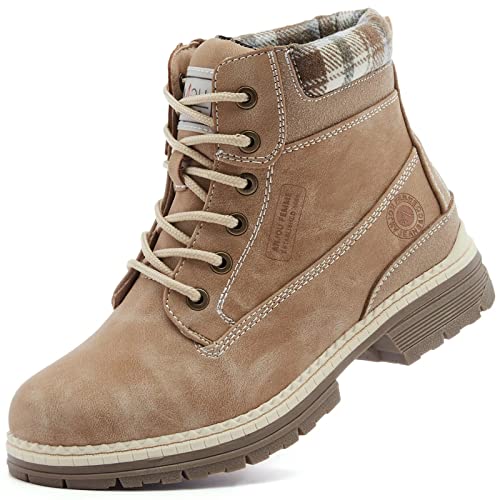

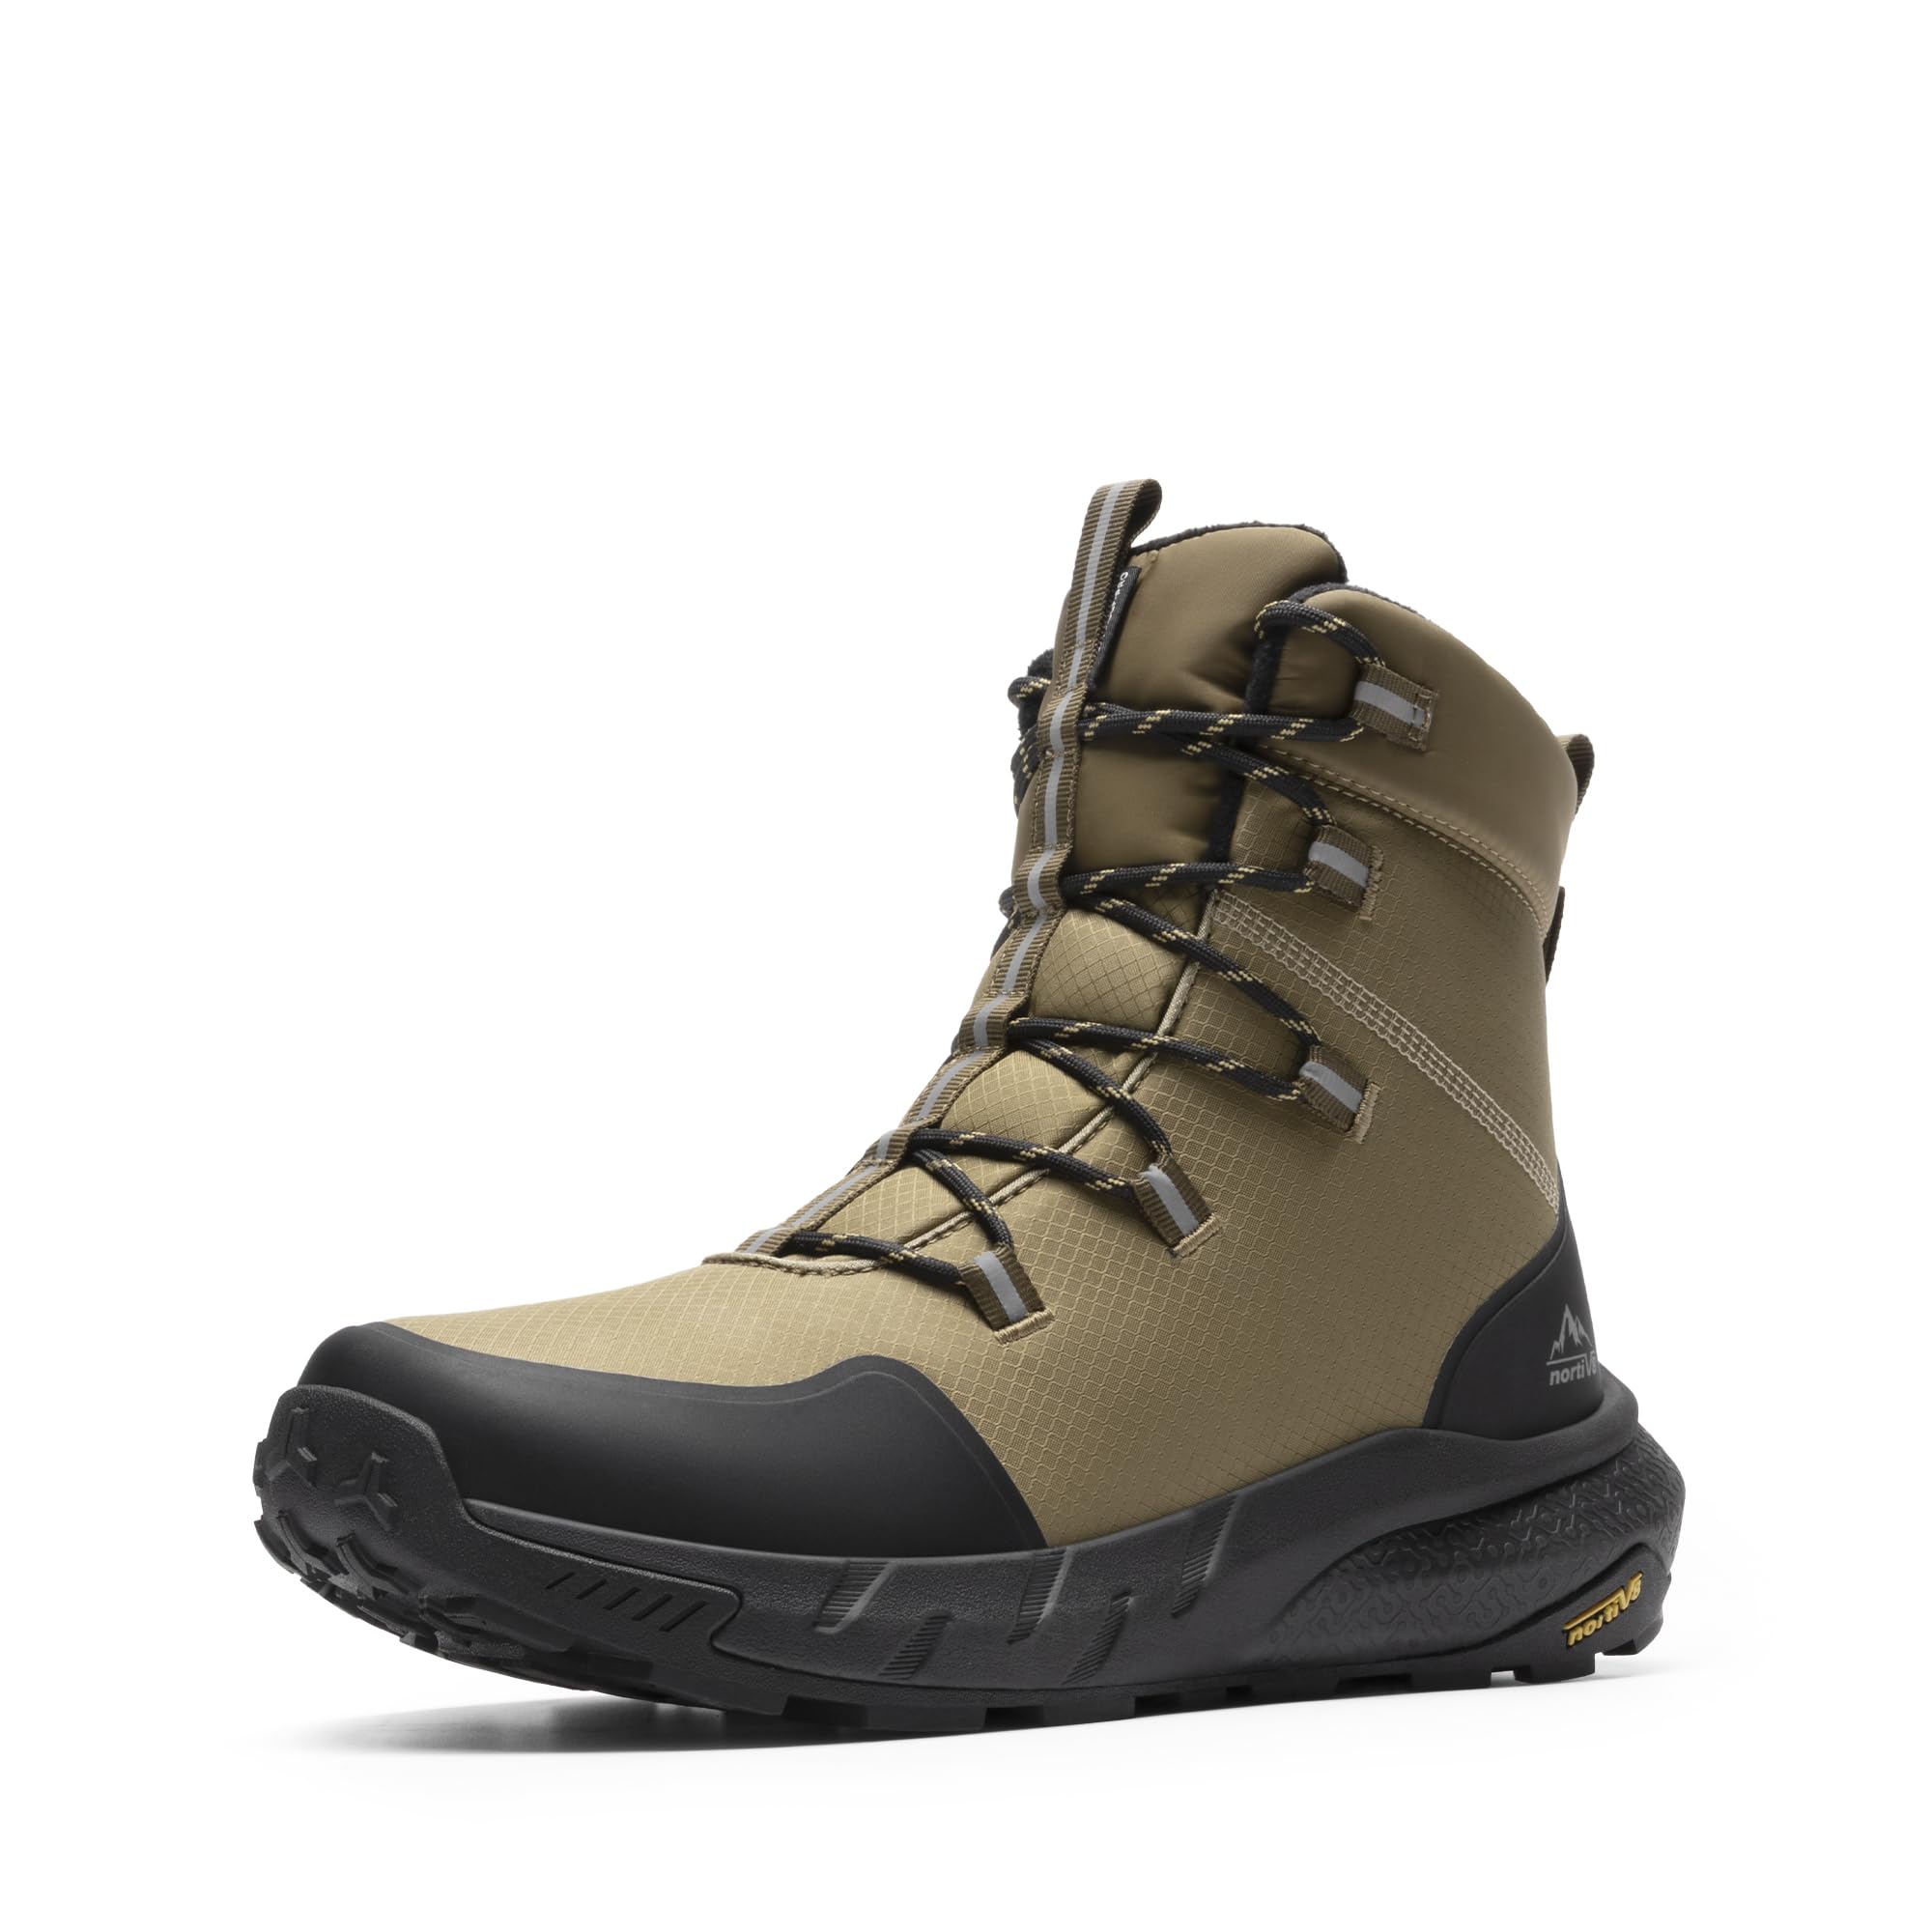
Boots on Ice and Snow 101: The Basics
A winter boot for ice and snow does three jobs: it grips slippery surfaces, it keeps cold and wet out, and it supports your foot on uneven ground. Grip comes from the outsole, the bottom layer of the boot, which uses deep lugs and a rubber compound that stays flexible in cold weather. Warmth comes from insulation inside the boot and from a sealed lower section that blocks slush. Support comes from a firm heel counter, a stable midsole, and a shaft height that suits your stride.
First time buyers often focus on looks first, but fit and grip matter more on ice. A boot that slips at the heel or squeezes the toes will feel unsafe on a frozen path, no matter how warm it claims to be. Try boots with the socks you will wear in winter, walk on a hard floor, and pay attention to heel hold and toe room before you judge warmth or style.
Key Specs Explained in Plain English
The specs below sound technical, but each one answers a simple question: will this boot grip, fit, and last through winter? Read each section, note the level that suits your daily walks, and use those notes as your shopping list. The product table above can help you compare options once you know which specs matter most to you.
Fit, Sizing, and Toe Box
Fit starts with measuring your feet in the afternoon, when feet tend to be slightly larger, and using the larger foot as your guide. A roomy toe box lets your toes spread and wiggle, which helps balance on ice and keeps toes warmer by allowing blood to flow freely. Your heel should stay put with each step, and your longest toe needs a small gap from the front of the boot. If you plan to wear thick winter socks, try boots while wearing those socks, since they change the fit inside the boot.
Arch Support and Foot Type
Arch support is the shape under the middle of your foot, and it should match your foot type. Flat feet often feel better with a supportive footbed that keeps the arch from collapsing inward, while high arches often feel better with extra cushioning under the midfoot. Overpronation, where the foot rolls inward as you walk, calls for a stable boot with a firm heel counter. If you are unsure of your foot type, look at the wear pattern on an old pair of shoes: wear on the inner edge often points to inward rolling.
Outsole Traction and Terrain
Outsole traction is the grip between boot and ground, and it matters most on ice. Deep lugs, the raised blocks on the sole, bite into packed snow, while a softer rubber compound stays flexible in freezing weather instead of turning hard and slick. Some soles use a special winter rubber blend designed for ice, and those tend to grip better on smooth frozen surfaces than standard soles. For walking focused options, see our guide to best boots for walking on ice and snow. For a broader winter comparison, our guide to best boots for snow and ice covers snow focused styles.
Weight and Flexibility
Weight and flexibility pull in opposite directions: a lighter boot feels easier on long walks, while a stiffer boot gives more protection on rough ground. For icy sidewalks and short commutes, a lighter and more flexible boot is usually the better pick, since it lets your foot react quickly to a slip. For deep snow and uneven trails, a stiffer boot with a thicker sole gives more support. Try walking up and down stairs in the boot, since stairs reveal stiffness and weight faster than a flat floor does.
Durability and Expected Lifespan
Durability depends on materials, stitching, and how often you wear the boots. A well made winter boot with a stitched welt and a quality outsole can last several winters of regular use, while a lightly made boot may wear through at the sole or seams in a single season. Check the sole for even wear each spring, and look at stitching around the toe and heel for loose threads. With steady winter use, plan to replace boots when grip fades or the waterproof layer no longer keeps slush out. For women specific traction options, see our guide to best women's snow boots for traction on ice, and for general winter styles, see our guide to best winter boots for snow and ice.
Rookie Mistakes to Avoid
- Buying for looks alone: a stylish boot with a smooth sole will slide on ice, so check lug depth and rubber softness first.
- Skipping the sock test: trying boots in thin socks gives a false fit, so always try them with your winter socks.
- Ignoring heel slip: a heel that lifts on each step causes blisters and feels unstable, so walk indoors for several minutes before deciding.
- Choosing the warmest boot by default: heavy insulation can make feet sweat, and damp feet feel colder, so match insulation to your climate and activity.
- Forgetting to check the shaft: a shaft that is too tall can pinch behind the knee, while a shaft that is too short can let snow in at the top.
Getting Started: Setup and First Use
When your boots arrive, start by wearing them indoors for short periods to check fit and break in the upper. Lace or zip them as you would outdoors, and walk on hard floors and stairs to test heel hold and flexibility. Treat the upper with a water resistant spray if the maker recommends it, and let the treatment dry fully before your first outdoor walk. Air dry wet boots away from direct heat after each use, since heat can stiffen leather and warp soles, and stuff them lightly with paper to hold their shape while they dry.
For your first outdoor walk, pick a short and familiar route in daylight, and take smaller steps than usual while you learn how the soles grip. Keep your hands free where you can, and avoid rushing across parking lots or shaded paths, since shade keeps ice frozen longer than sunny ground. After the walk, check for damp socks, sore spots, or loose laces, and adjust your sock thickness or lacing before the next outing. Those small checks turn a first walk into useful knowledge about how your boots behave in real winter conditions.
Frequently Asked Questions
How long is the break in period for winter boots?
The break in period for winter boots is usually a few short walks over one to two weeks. Stiff leather and thick insulation soften gradually, and indoor walks reveal rubbing early, before a long outdoor trip. If a boot hurts sharply at the heel or toes during the first hour, the fit is likely wrong, since break in softens stiffness but does not fix a boot that is too narrow or too short.
How often should I replace my boots for ice and snow?
You should replace boots for ice and snow when grip fades, the waterproof layer fails, or the footbed no longer supports your stride. For most people, that point comes after several winters of regular use, though daily commuters on rough surfaces may reach it sooner. Check the outsole each spring: shallow lugs and smooth worn patches mean the boot will slide more on the next icy path.
Are expensive winter boots worth it?
Expensive winter boots are worth it when the extra cost buys better grip, a more accurate fit, or a repairable sole. A quality winter rubber outsole, a sealed lower section, and a stitched welt often last longer than cheaper alternatives, which can make the cost per winter lower over time. They are not worth it if the fit is wrong, since no material can fix a heel that slips or a toe box that squeezes.
How should winter boots fit?
Winter boots should fit snugly at the heel, roomy at the toes, and even around the ankle or calf for taller styles. Your longest toe needs a small gap from the front, and your heel should not lift with each step. Try boots in the afternoon with your winter socks, and walk on a hard floor for several minutes, including up and down stairs, before deciding.
Can I wear winter boots all day?
Yes, you can wear winter boots all day if the fit is right and the weight suits your routine. A cushioned footbed, a stable heel, and a breathable upper all help, since damp feet feel colder and tire faster. If your feet ache by midday, check whether the boot is too heavy for your stride or the arch support is too high or too low for your foot type.
Wrapping Up
For a first purchase, focus on three things: grip, fit, and insulation matched to your climate. A deep lugged outsole keeps you steady, a roomy toe box and firm heel keep you comfortable, and insulation that suits your activity keeps feet warm without overheating. The product table above recaps the main options, and the links in this guide point to walking, snow, and women specific traction options for a closer look. With those three features right, best boots on ice and snow should feel safe and comfortable from your first icy walk onward.


