
Best Boots for Snow and Ice for 2026
Disclosure: We may earn a commission when you buy through links on this page, at no extra cost to you. As an Amazon Associate I earn from qualifying purchases. Learn more
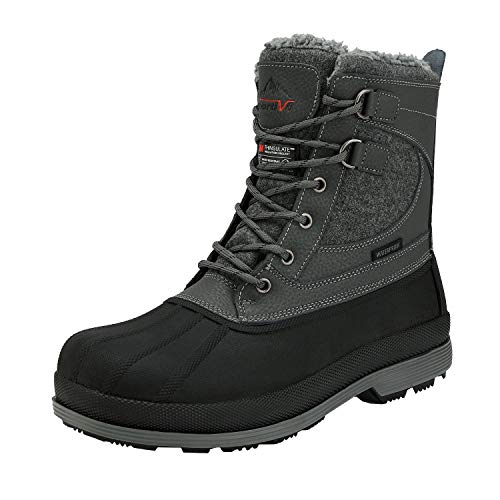
A first time buyer guide to boots for snow and ice, covering insulation, waterproofing, grip, sizing with winter socks and common beginner mistakes.
Buying winter boots for the first time can feel confusing, because the boots that look warmest are not always the ones that keep you comfortable on a real winter walk. Snow, ice, slush and cold pavement each ask something different from a boot, and a good choice balances warmth, dryness and grip without making every step feel clumsy. The best boots for snow and ice keep your feet warm and steady while still letting you walk naturally.
This guide starts with the basics, explains each key specification in plain language, and points out the mistakes new buyers make most often. Use the comparison table below to see how different winter boot designs compare, then use the sections that follow to narrow your choice by weather, surface and sock thickness.

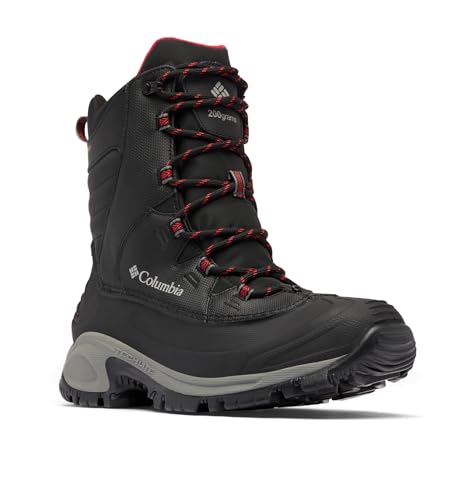
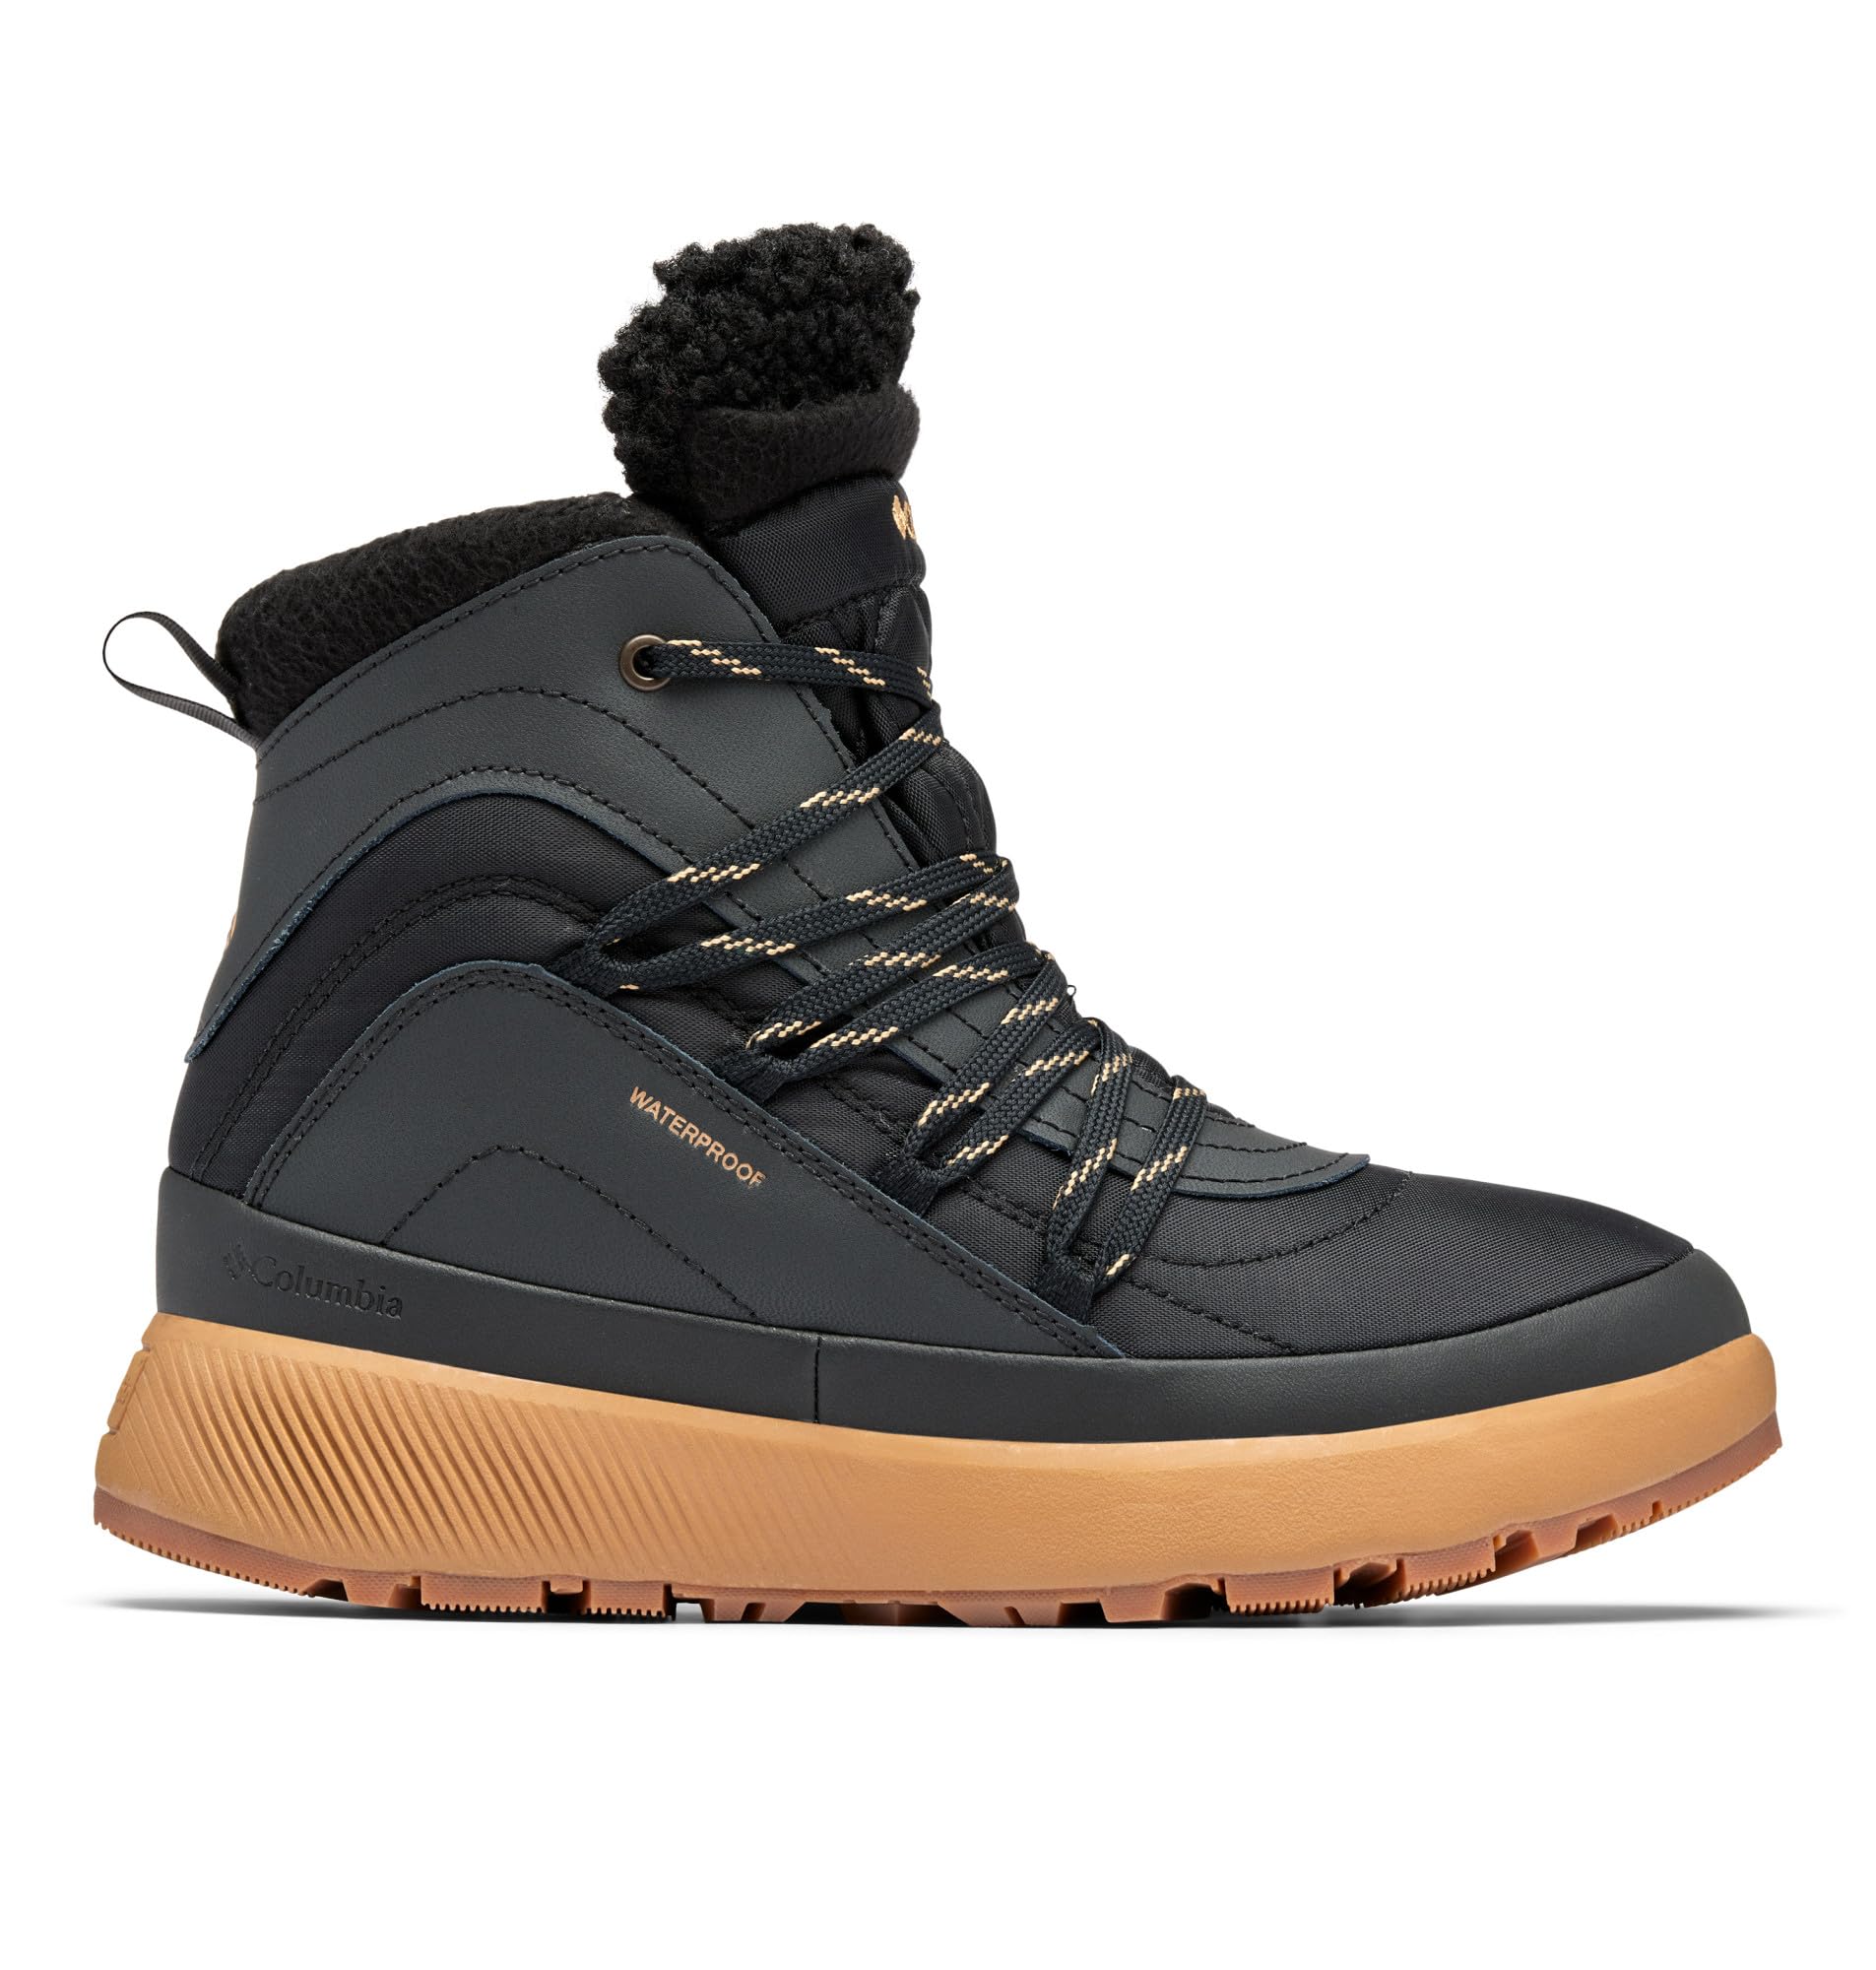


Winter Boot Basics for New Buyers
A winter boot is a closed, insulated boot designed to protect your feet from cold, wet snow and slippery surfaces. It usually has a waterproof or water resistant upper, an insulating layer that traps warmth, and an outsole with a tread pattern made to grip ice and packed snow. Unlike a regular walking boot, it is built to handle standing in snow, stepping through slush and walking on frozen pavement without letting cold soak through quickly.
Three ideas explain most winter boot differences. Insulation slows heat loss, waterproofing keeps meltwater out, and tread design controls grip. A boot can be strong in one area and weak in another, so a heavily insulated boot with a smooth sole may feel warm indoors but slip on ice, while a grippy boot with thin insulation may feel cold on a long, still walk. Your job as a buyer is to match those three strengths to the winters you actually face.
Key Specifications Explained in Plain English
Winter boot specifications sound technical, but each one answers a simple question about warmth, dryness or safety. Read the explanations below before you compare boots, and note which factors matter most for your daily walks, your climate and the surfaces you cross.
Features That Matter on Snow and Ice
Snow and ice demand a boot that stays warm when you stand still, stays dry in slush and grips when the surface turns slick. Insulation matters most on cold, calm days, while waterproofing matters most when snow melts underfoot or rain falls on frozen ground. A tall collar helps keep snow out of the boot, and a gusseted tongue, which is a tongue joined to the upper along its sides, blocks snow and slush from entering through the lacing area.
Warmth ratings can help you compare boots, but they are only a rough guide, since activity level, socks and wind change how warm a boot feels. A boot rated for very cold weather may feel too warm for an active walk in milder winter weather, so treat ratings as a starting point rather than a promise. For a related winter option, see our guide to the best winter boots for snow and ice, which covers insulated designs for cold season walking.
Sizing, Socks and Toe Space
Winter boots should be fitted with the socks you will wear outdoors, because thick winter socks take up noticeably more space than thin indoor socks. Measure your feet in the afternoon and leave room for your toes to move, since cramped toes get cold faster and blister more easily. Your heel should stay settled without lifting, and the boot should close comfortably over the thickest sock you plan to use.
If you wear two sock layers, test that exact combination before you buy, since a boot that fits one thick sock may pinch with two. Women shopping for winter boots may also want to check width options, and our guide to the best women's boots for snow and ice covers sizing and fit for that range. Remember that general fit and comfort guidance is not medical advice, so see a doctor for persistent or worsening foot pain.
Weight and Flex on Slippery Ground
Winter boots are usually heavier than summer walking boots, because insulation, waterproof layers and rugged soles add weight. A heavier boot can feel tiring on a long walk, but a very light boot may lack the insulation and sole depth needed for ice and deep snow. Look for a boot that flexes near the ball of the foot and rolls forward smoothly, rather than one that forces a flat, stomping stride.
Stiffness also affects safety. A sole that is too rigid can reduce ground feel on ice, while a sole that is too soft may twist on uneven frozen ground. Try walking on a hard floor and turning sharply in the shop, and notice whether the boot feels planted or whether your foot slides inside it. A planted feel with a natural rolling motion is a good sign for winter walking.
Outsole Grip and Winter Terrain
Outsole grip is the most important safety feature on ice, and it depends on tread depth, tread pattern and rubber softness. Deep lugs bite into snow, while many small edges and sipes, which are thin cuts across the tread, help the sole grip smooth ice. Softer rubber compounds tend to grip cold surfaces better than hard rubber, though they may wear faster on dry pavement.
No boot grips perfectly on glare ice, so walk with shorter steps and keep your weight over your feet on the slickest patches. If you often cross frozen lakes, icy driveways or polished sidewalks, prioritize an outsole designed for ice over one made mainly for deep snow. A guide to the best boots on ice and snow offers more detail on traction focused designs for icy surfaces.
Break In Comfort from the First Wear
Many winter boots feel comfortable from the first wear, especially synthetic and insulated pac style boots with soft linings. Leather winter boots may need a few short walks to soften around the ankle and forefoot, but they should not cause sharp pain from the start. Walk indoors on carpet for a day or two before wearing new boots on a long outdoor route, so you can spot pressure points early.
Pay attention to the collar, the tongue and the toe box during those first walks. A collar that rubs the ankle bone, a tongue that slides sideways or a toe box that squeezes the little toe will usually feel worse, not better, after more miles. If discomfort stays in one spot after several short walks, a different size, width or boot shape is a better fix than simply enduring it.
Beginner Errors That Waste Money
New winter boot buyers often make the same few mistakes, and most of them come from judging a boot by looks or by a single feature. Avoid the errors below and you will be far more likely to end up with a boot you actually enjoy wearing all winter.
- Buying for extreme cold you rarely face: an overly warm boot feels sweaty and clumsy on mild winter days, so match insulation to your usual temperature, not the coldest day on record.
- Ignoring slush and meltwater: a warm but non waterproof boot soaks through quickly in slush, so check waterproofing if you walk where snow melts and refreezes.
- Choosing a smooth fashion sole: a stylish sole with shallow tread may look neat but slips on ice, so look for deep lugs and ice focused tread patterns.
- Fitting boots with thin socks: winter socks change fit a lot, so always test boots with the socks you will wear outside.
- Skipping a test walk on hard floors: carpet hides stiffness and heel slip, so walk on a hard surface and turn sharply before you decide.
Getting Started: First Days in New Winter Boots
Start with short walks close to home, and wear the socks and layers you will use on longer outings. Walk on snow, slush and dry pavement if you can, since each surface reveals something different about grip, warmth and fit. Keep your first walks under an hour, and check your feet afterward for red spots or sore areas that signal a fit problem.
After each walk, knock off snow, wipe away road salt and let the boots air dry away from direct heat. Remove the liners or insoles if they come out, since damp liners stay cold on the next walk and can develop odor. Judge winter boots by tread wear, waterproofing and insulation condition rather than by mileage.
Winter Boot Questions Answered
How do you choose insulation for snow and ice boots?
Choose insulation by your usual winter temperature and how active you are on a walk. Still, slow walks in very cold weather need more insulation than brisk walks in milder weather, because movement generates warmth. Thicker insulation suits standing, waiting and slow strolling, while moderate insulation suits active walking and commuting. A new point to consider is wind: a windy route feels colder than the same temperature on a sheltered path, so a taller boot with a snug collar helps when wind drives snow against your legs.
Can snow boots handle bare pavement well?
Most snow boots handle bare pavement, but soft ice grip rubber wears faster on dry concrete and asphalt. If you walk long stretches of cleared pavement, look for a boot with a durable outsole compound and a tread pattern that balances ice grip with pavement wear. Very deep, soft lugs may feel squishy on hard surfaces and wear unevenly over a season. An extra tip is to keep a second, lighter pair for dry days, which preserves the winter tread for the icy days when you need it most.
What socks work best inside winter boots?
Moisture wicking wool or synthetic blend socks work best inside winter boots, because they keep feet drier than cotton, which holds sweat and cools quickly. Choose a thickness that matches your boot fit, and avoid doubling up on two thick pairs unless the boot was fitted that way. A thin liner sock under a thicker outer sock can reduce friction and blisters on long walks. One fresh detail is sock height: a sock that rises above the boot collar prevents the collar from rubbing bare skin and adds a little extra warmth around the ankle.
Are expensive winter boots worth the extra cost?
Expensive winter boots are worth the extra cost when the higher price buys better waterproofing, longer lasting tread or insulation that suits your climate. For occasional light snow, a mid priced boot often performs just as well, and spending more mainly buys durability and refinement. Compare boots by waterproof construction, sole design and lining quality rather than by brand prestige alone. A useful extra check is the warranty and repair policy, since a boot that can be resoled or relined may cost less over several winters than a cheaper pair replaced every year.
How long should winter boots last before replacement?
Winter boots should be replaced when the tread wears smooth, the waterproofing fails in slush, or the insulation feels flat and cold. For seasonal use, many pairs last several winters, though daily commuting on salted pavement shortens that life. Inspect the sole bond, the seams and the collar each autumn before the first snow, so you are not caught out by a failure in bad weather. A new sign to watch is uneven wear: if one boot leans or the tread wears heavily on one side, support has faded and replacement is due.
Our Verdict
For a first winter boot purchase, keep the decision simple: match insulation to your climate, insist on real waterproofing for slush, and choose an outsole built for ice rather than looks. Fit the boot with your winter socks, test it on a hard floor, and walk short routes first so any pressure points show up early. Review the product table above one last time, weigh warmth, dryness and grip for the winters you actually walk in, and choose the best boots for snow and ice for your daily routes rather than the warmest looking pair on the shelf.


