Best Boots for Snowshoeing: A Type by Type Guide for 2026
Disclosure: We may earn a commission when you buy through links on this page, at no extra cost to you. As an Amazon Associate I earn from qualifying purchases. Learn more

Compare boots for snowshoeing by type, fit, waterproofing and traction, and learn how to choose a pair for packed trails, deep snow and long winter days.
Choosing the best boots for snowshoeing can feel confusing because the boots on the shelf look similar while the trails they suit are very different. Some pairs are built to stay warm and dry in deep snow, others are built to feel light and steady on a packed path, and a few are meant mainly for short trips near a lodge. This guide compares the main types side by side so you can match a pair to the snow, the distance, and the way you like to move.
The comparison table below gives a quick view of each type, including who it suits and what it usually costs.



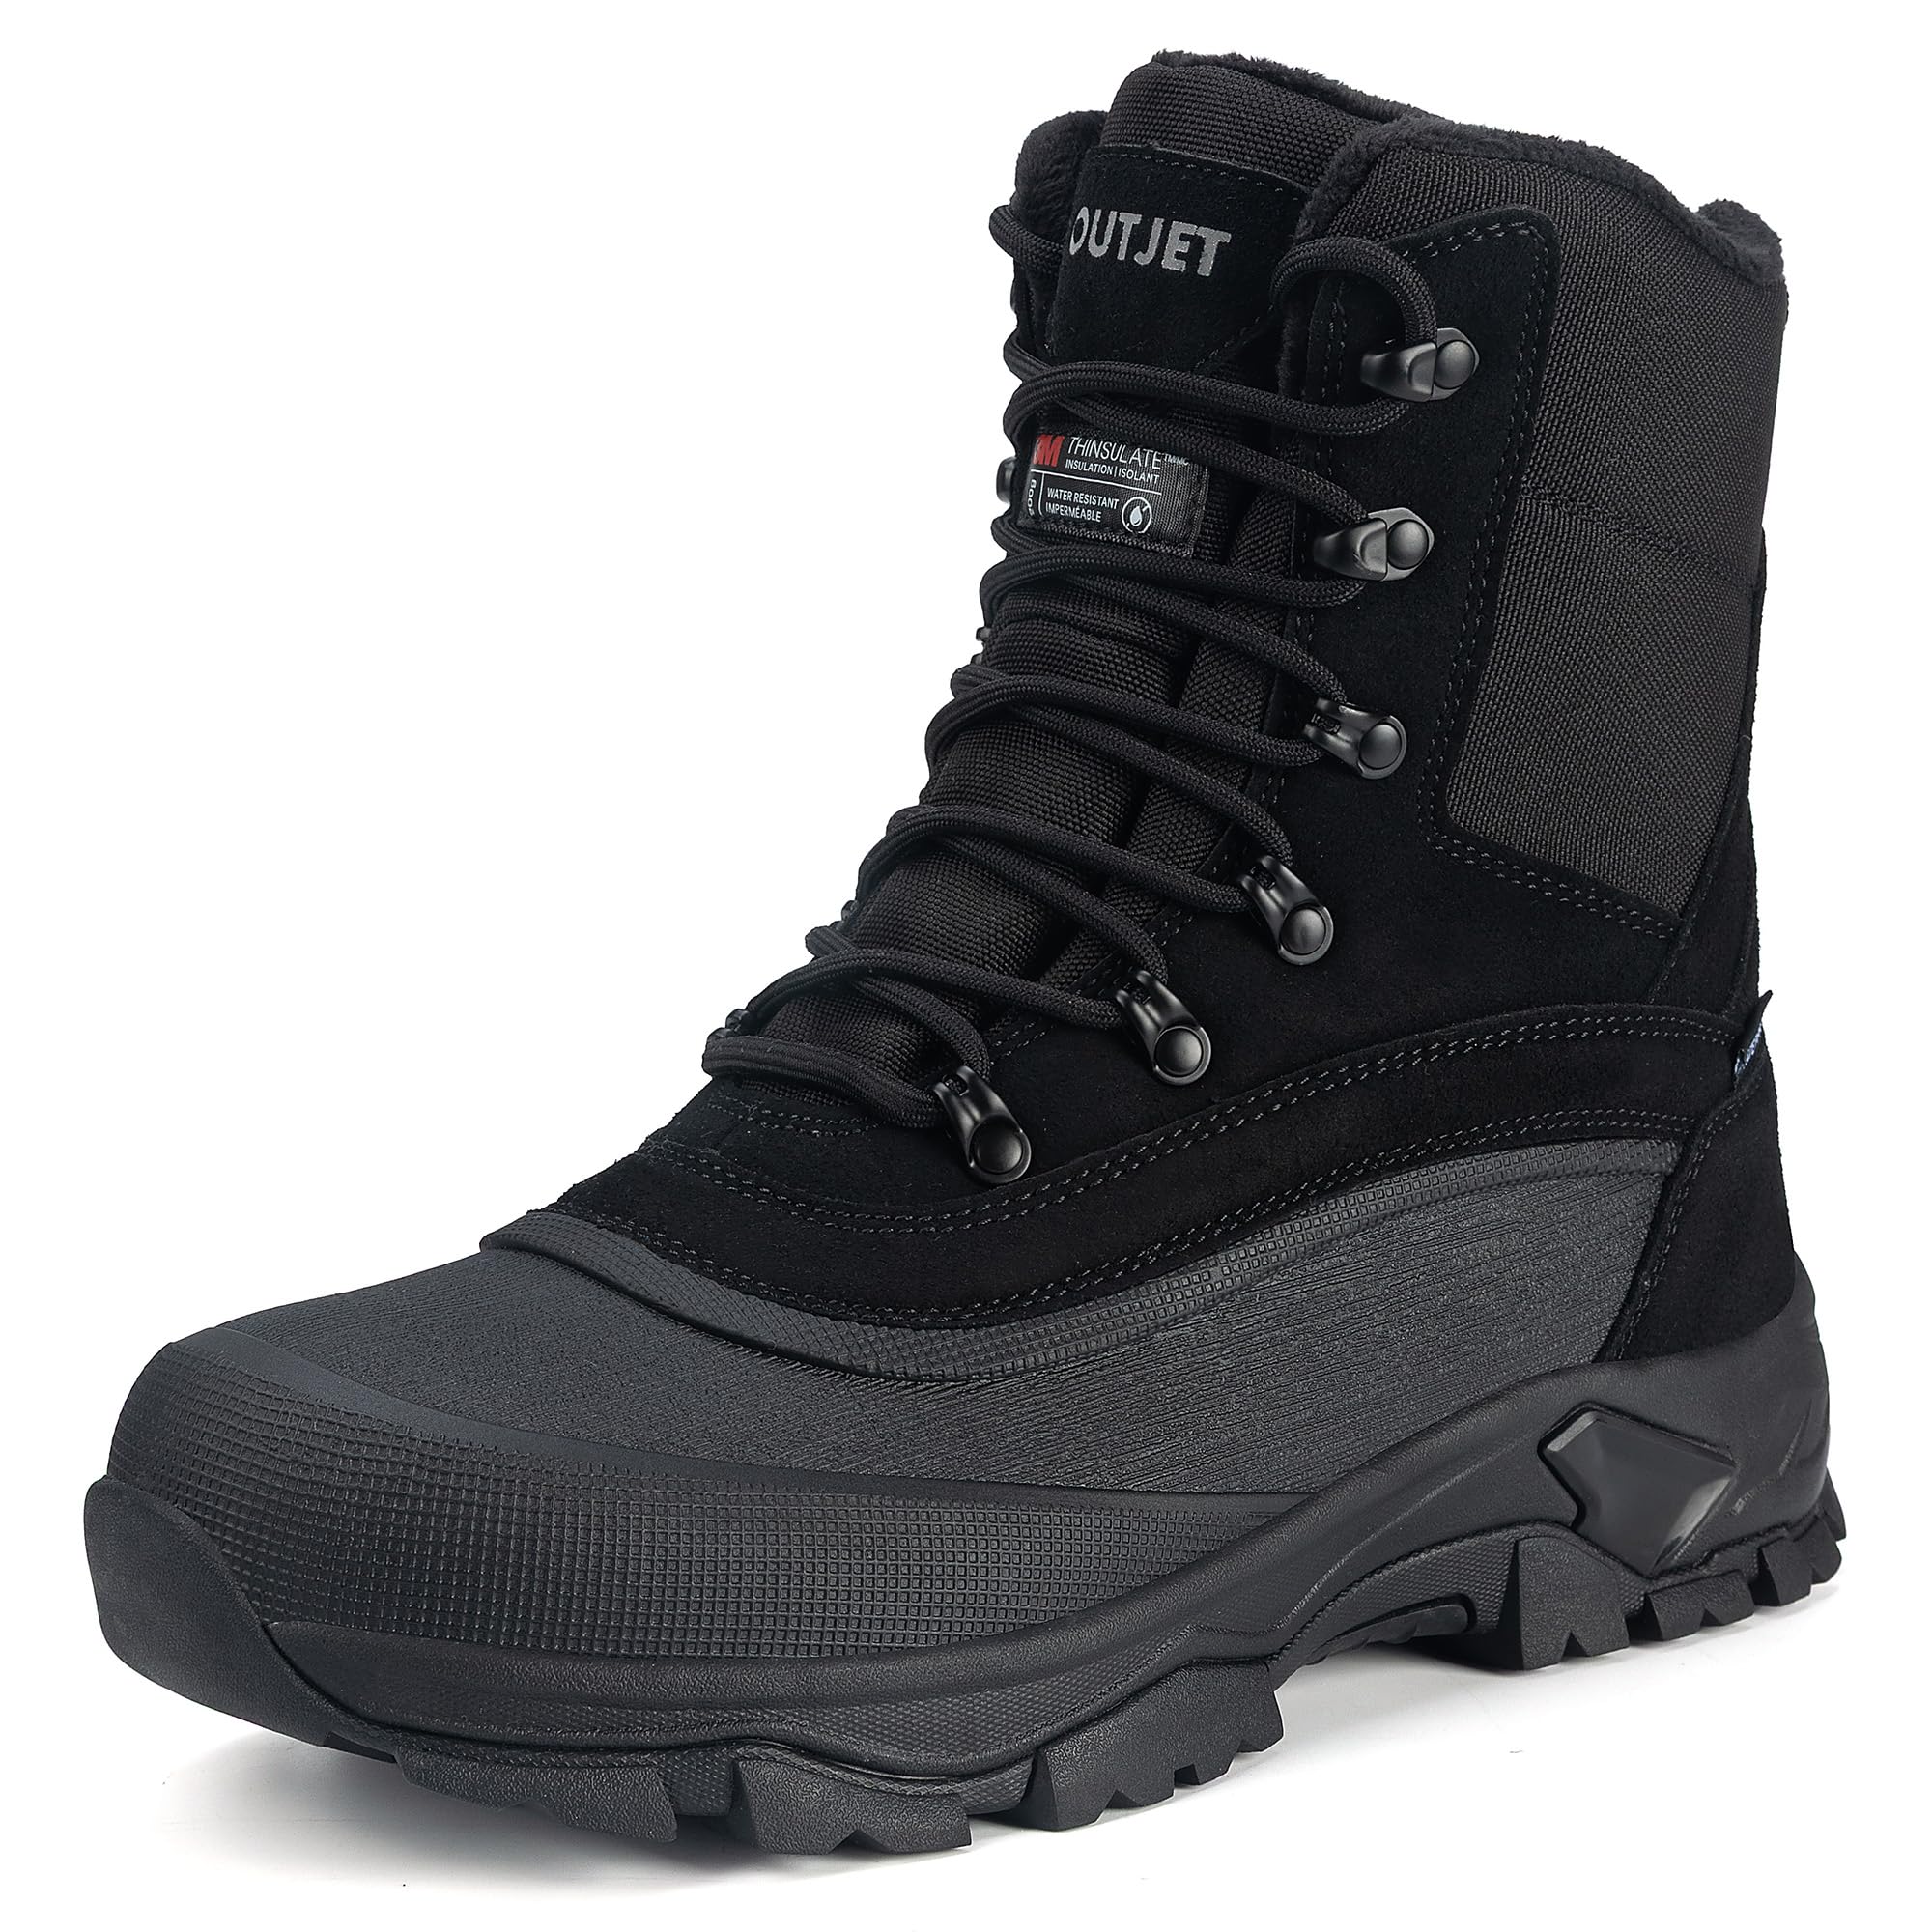
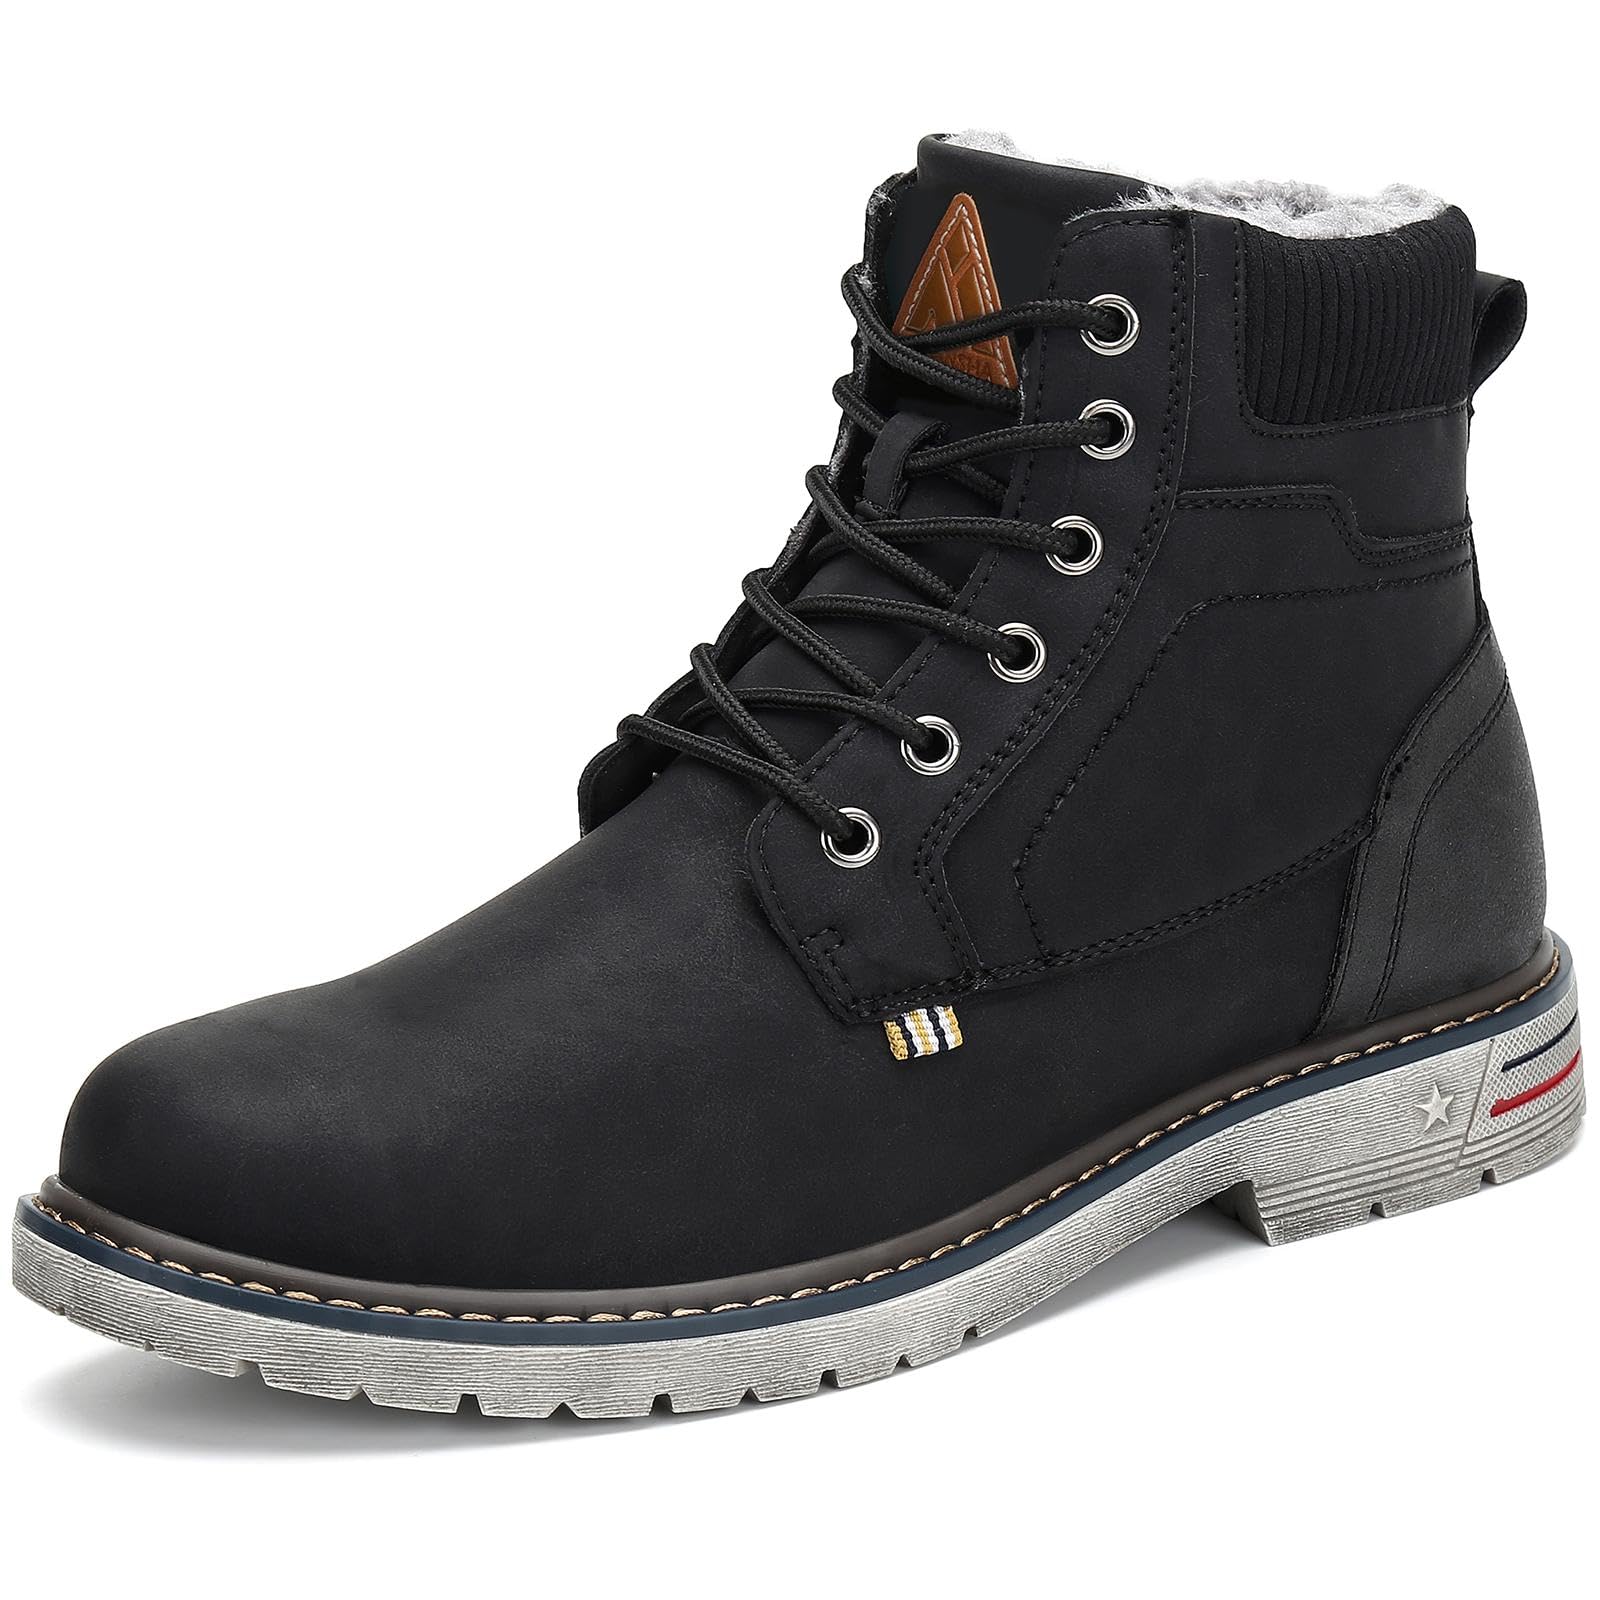
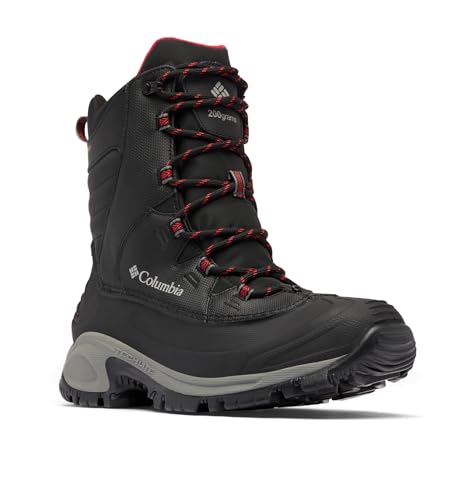


How Snowshoeing Boots Differ by Type
Boot type matters on snow because the surface changes under your feet. Packed snow rewards a firm sole and a snug ankle, deep snow rewards height and insulation, and icy patches reward a sole that grips without feeling stiff.
| Type | Best For | Pros | Cons | Typical Price |
|---|---|---|---|---|
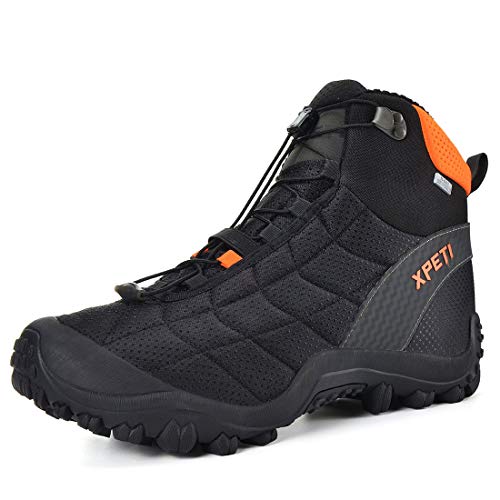
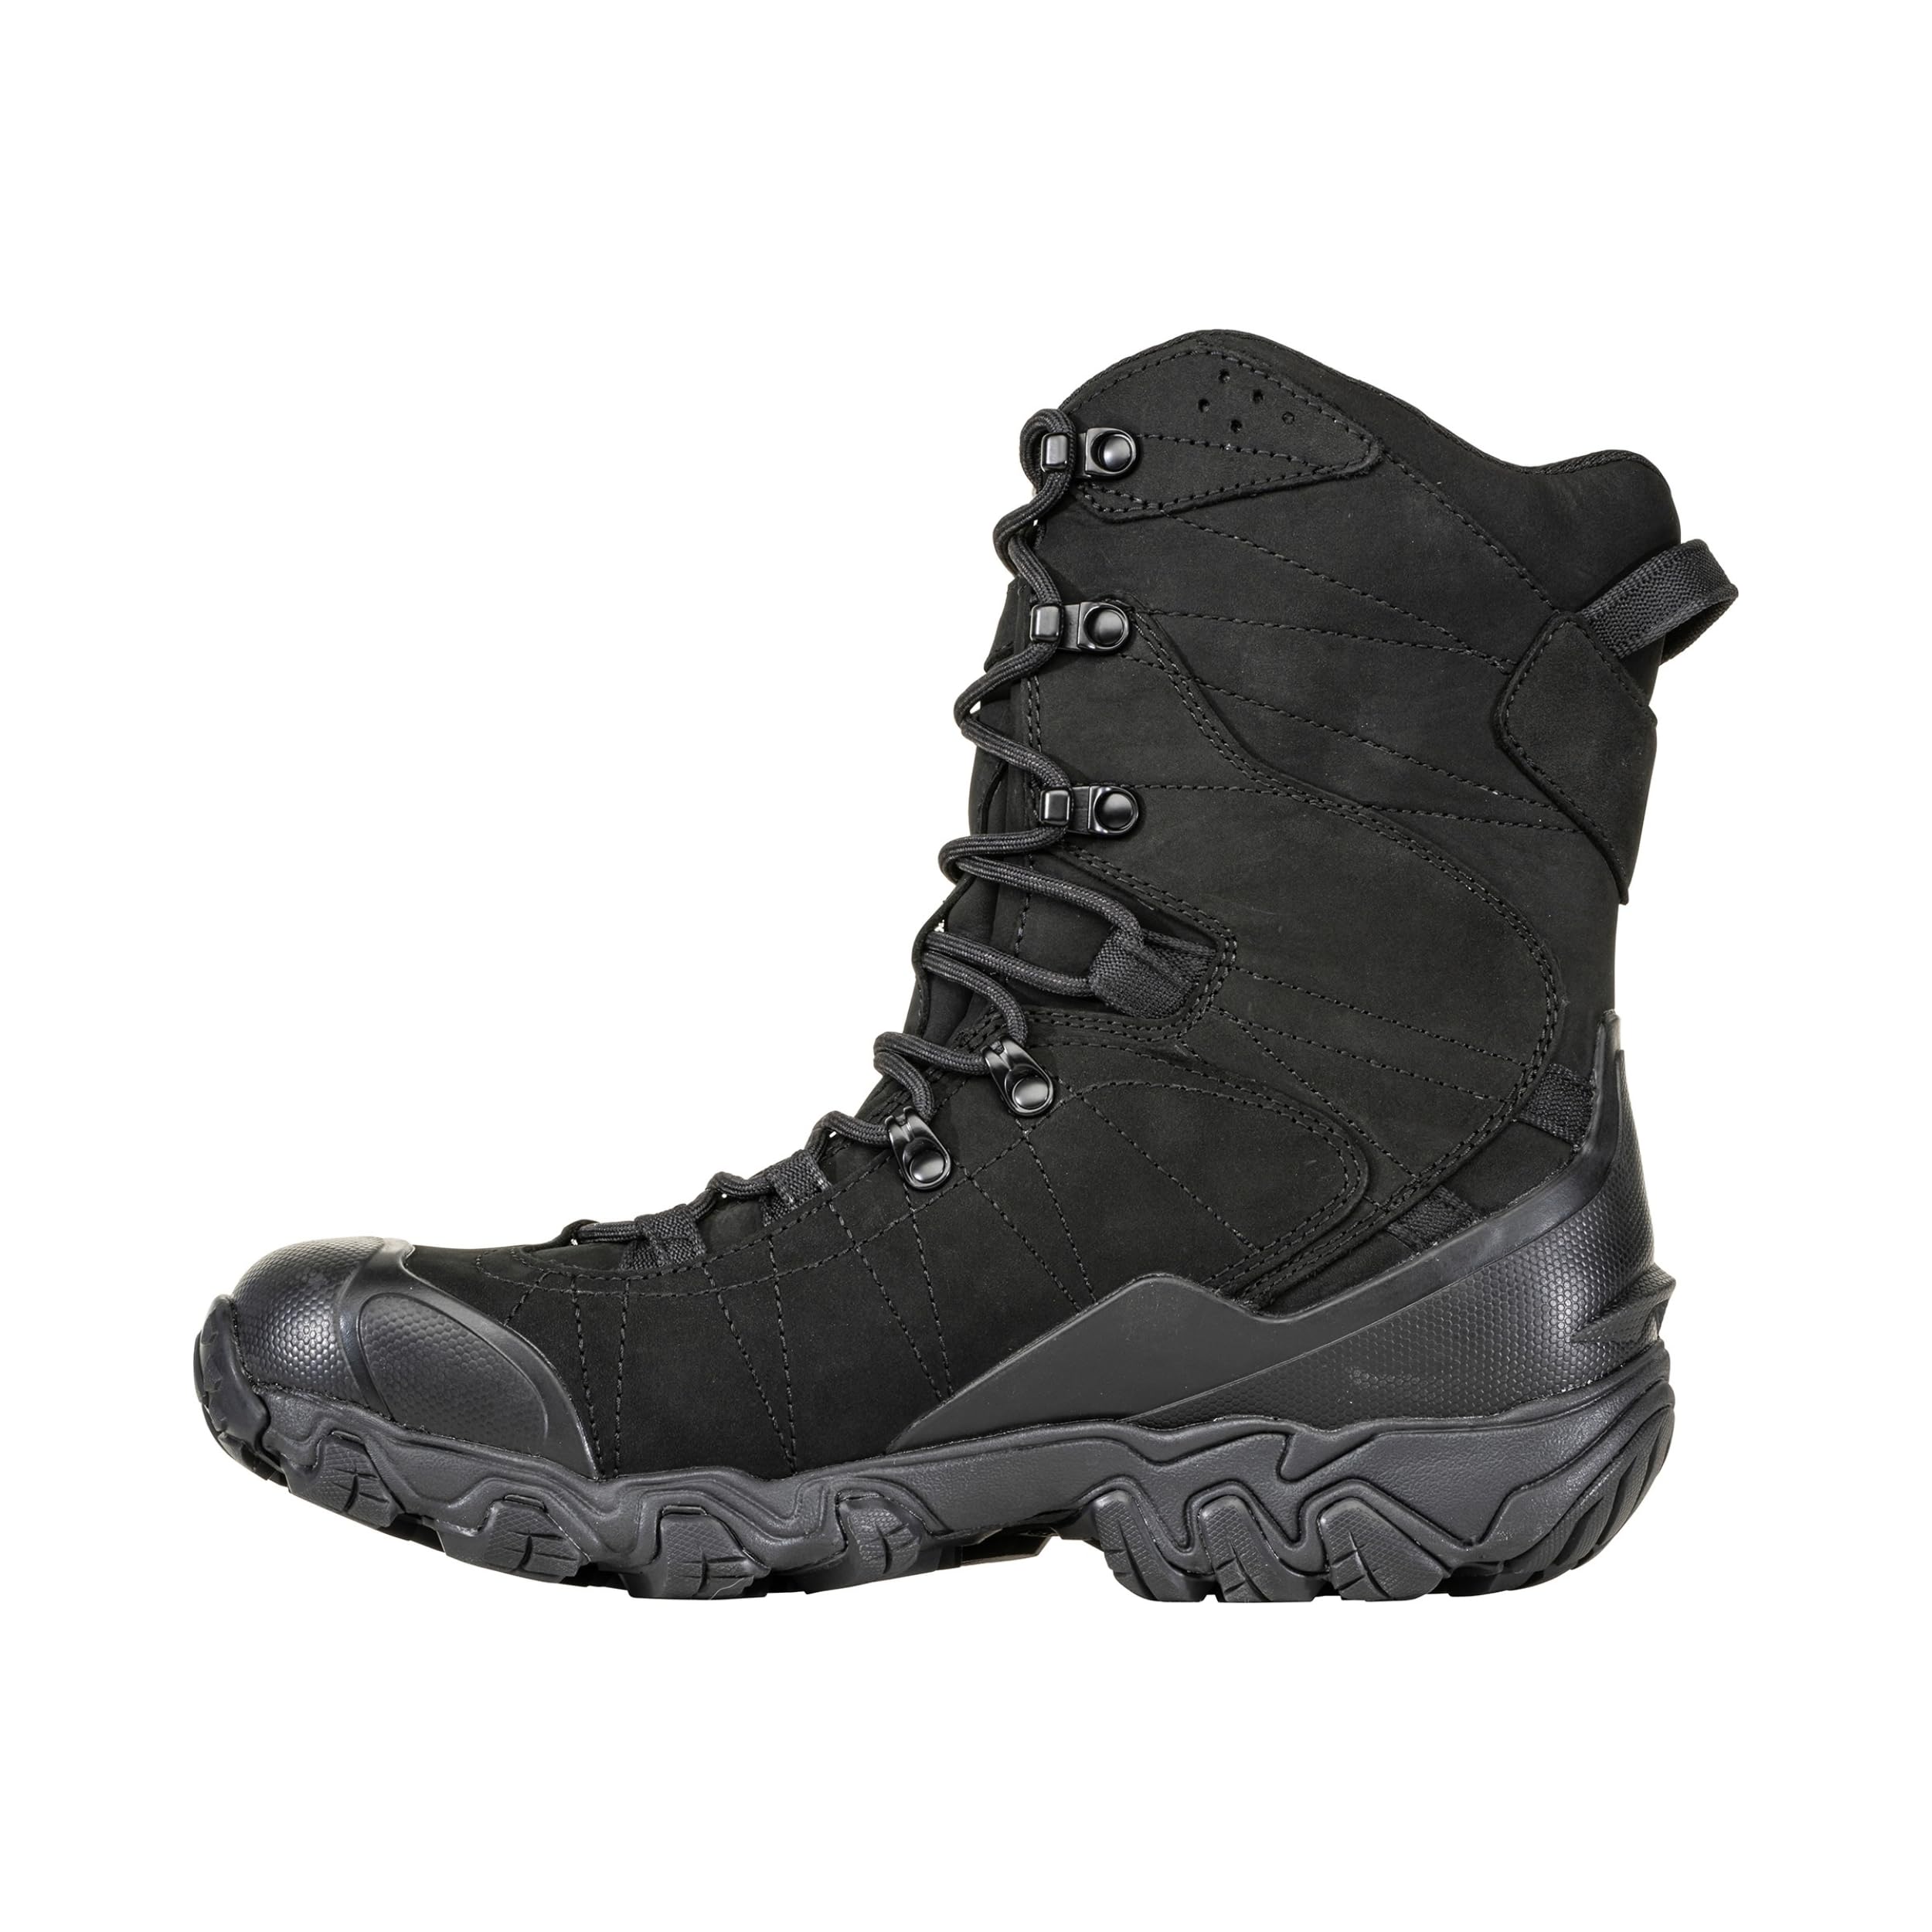
| Supportive trail boots | Packed and groomed trails | Steady ankle support and good trail feel | Less warmth in deep cold | around $110 |
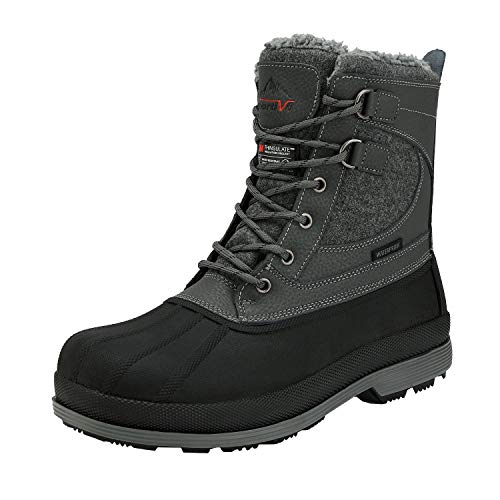
| Waterproof winter boots | Deep snow and cold days | Warmth, height, and snow protection | Heavier and slower to dry | around $150 |
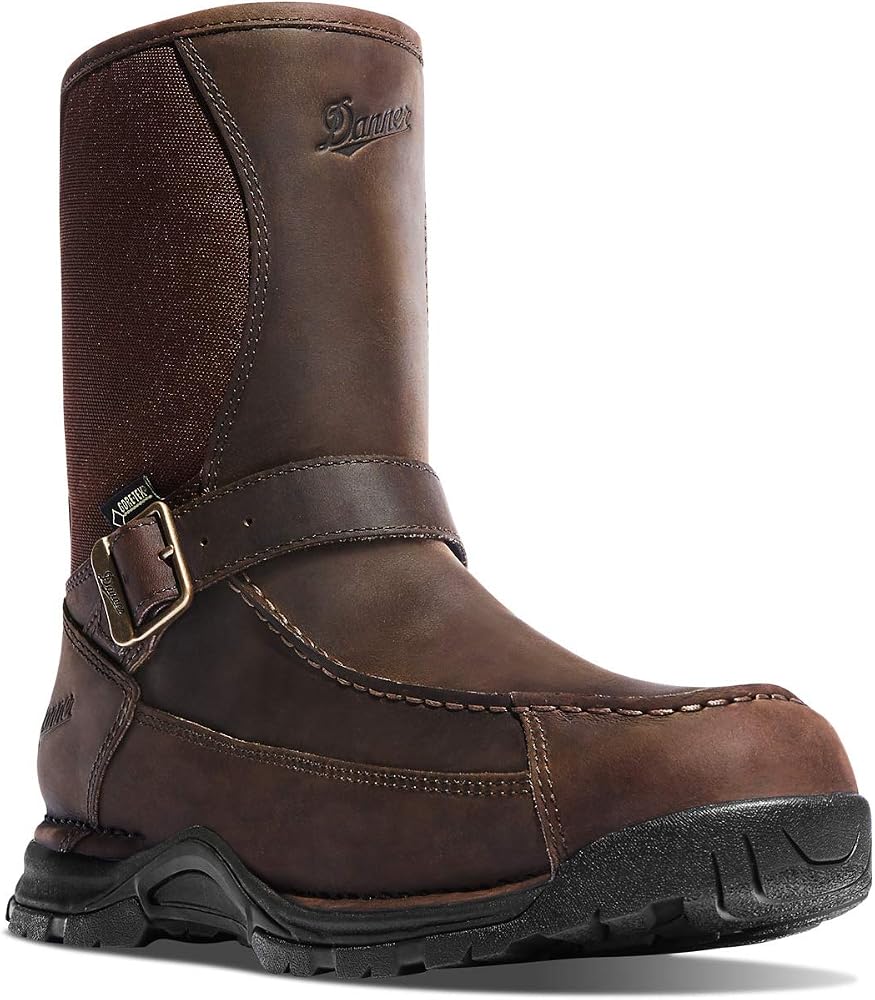
| Soft boots for lodge time | Short walks and time after the trail | Light, easy to put on, and comfortable indoors | Weak grip and little snow protection | around $80 |
Supportive Trail Boots for Packed Snow
Supportive trail boots sit between a hiking boot and a winter boot. They usually have a mid height ankle, a firm heel counter, and a sole with lugs that bite into packed snow and frozen dirt. The ankle support helps when a snowshoe tips sideways on a cambered trail, and the firmer build keeps the foot from rolling when you step on a hidden root or rock.
Waterproof Winter Boots for Deep Snow
Waterproof winter boots are taller, warmer, and more sealed than trail boots. A waterproof membrane, a gusseted tongue, and a high collar work together to keep melting snow out when you sink into soft snow or cross a drift. Insulation in the footbed and upper slows heat loss, which matters most when you pause for photos, lunch, or a map check.
Soft Boots for Lodge Time and Recovery After the Trail
Soft boots are the pair you wear when the snowshoeing is done for the day. They are light, easy to slip on with cold hands, and comfortable for walking from a cabin to a dining room or for a short stroll on a cleared path. Their cushioning can feel welcome after hours in a stiff boot, and their simple design means there are fewer laces and buckles to manage.
Supportive Boots or Waterproof Boots: Deciding Between the Two Main Types
Start with the snow you will meet most often. If most of your walks are on packed trails in moderate cold, a supportive trail boot gives you better trail feel and less weight, and you can add a warm sock for colder days. If you often break trail, walk in fresh snow, or stand still for long periods, a waterproof winter boot protects your feet better and reduces the chance of cold, wet socks.
Choosing the Right Pair for Your Feet and Trails
Fit and trail conditions decide comfort more than any single feature on a label. The sections below cover foot shape, sizing, waterproofing, and the details that matter only when snowshoes are involved, so you can check each point against the pair you are considering.
Arch Support and Foot Shape
Arch support shapes how pressure spreads across the foot during a long walk. People with flat feet often need a stable footbed and a firm midsole to reduce inward rolling, while people with high arches often need more cushioning under the arch and a footbed that does not feel hard under the middle of the foot. Overpronation, where the foot rolls inward more than usual, tends to feel worse on uneven snow, so a stable heel and a wide base can help.
Fit, Sizing, and Room for Toes
Measure your feet in the afternoon, when they are slightly larger than in the morning, and measure both feet, since most people have one foot larger than the other. Choose the size that fits the larger foot, and leave room in the toe box so your toes can spread and wiggle without pressing the front of the boot on a downhill stretch. A toe box that is too narrow can cause blisters and cold toes, because tight toes lose circulation.
Waterproof Membranes and Breathability
A waterproof membrane is a thin layer inside the boot that blocks liquid water while letting some moisture vapor escape. Membranes help most in wet snow, slush, and stream crossings, where water would otherwise soak the upper and chill the foot. They are less important on dry, powdery snow in deep cold, where a water resistant upper and a gaiter may be enough.
Traction, Binding Fit, and Snowshoeing Specific Features
Traction on snow comes from lug depth, lug spacing, and rubber that stays flexible in the cold. Deep, widely spaced lugs shed snow instead of packing it into the sole, and a rubber compound made for cold weather keeps gripping when ordinary rubber turns hard and slick. A heel brake or a defined heel edge can help on descents, but the main grip still comes from the snowshoe crampon, so the boot sole should sit flat and stable inside the binding.
Check that the boot toe fits the binding toe box and that straps can close without pinching the ankle bone. A boot with a very rounded toe can shift in a strap binding, while a boot with a wide, flat sole usually sits more securely. Gaiter hooks, a snow collar, and a lace system that can be tightened with gloves are small details that become valuable when snow is deep and your hands are cold.
Choosing Boots for Your Situation
Your situation narrows the choice faster than a feature list. A short walk on a resort trail, a full day in backcountry snow, and a family outing with frequent stops each reward a different balance of warmth, weight, and ease of use, so match the boot to the day you will repeat most often.
Best Waterproof Boots for Snowshoeing
Best waterproof boots for snowshoeing stand out in three ways: a sealed upper that keeps melting snow out, insulation placed around the toes and sole rather than only in the shaft, and a collar tall enough to work with a gaiter. Choose a pair with a gusseted tongue if you expect to sink past your ankles, and choose a sole with cold weather rubber if your route includes icy sections between snowfields.
How to Make Your Boots Last Longer
Care starts with drying. After each outing, remove loose snow, wipe off salt and grit, and let the boots air dry away from direct heat, since heat can crack leather, stiffen membranes, and shrink liners. Remove the insoles so air reaches the inside, and stuff the boots lightly with paper on very wet days to help them hold their shape while they dry.
Rotate two pairs for daily wear if you snowshoe often, because a boot that never fully dries will wear out faster and smell worse. Replace trail boots after about 300 to 500 miles of use, or sooner if the sole lugs are worn smooth, the ankle support feels soft, or water starts soaking through seams that used to stay dry. Clean zippers and lace hooks, reproof leather uppers with a maker approved treatment, and store boots in a cool, dry place over summer.
See our guide to best women's boots for snowshoeing for fit notes shaped around narrower heels and lower volume feet. For winter focused options, see our guide to best winter boots for snowshoeing. If you want a simpler snow option, see our guide to best snow boots for snowshoeing.
Frequently Asked Questions
What features matter most in boots for snowshoeing?
Fit, waterproofing, and binding compatibility matter most, because a boot that pinches, leaks, or shifts in the binding will ruin a walk no matter how warm it claims to be. After those basics, look at sole grip in cold weather, ankle support for uneven ground, and insulation matched to your cold tolerance. A useful extra is a lace system you can adjust with gloves on, since frozen fingers make small eyelets frustrating.
Do snowshoeing boots need to be waterproof?
Snowshoeing boots need waterproofing when the snow is wet, when you break trail, or when you cross slush, because soaked socks lose warmth fast and increase blister risk. On dry powder in deep cold, a water resistant upper with gaiters can be enough, since the snow does not melt into the boot. A membrane adds weight and reduces breathability, so walkers on packed trails in dry cold may prefer a lighter boot.
How often should snowshoeing boots be replaced?
Replace snowshoeing boots when the sole grip fades, the ankle support softens, or the waterproofing fails despite cleaning and reproofing, rather than by a fixed calendar date. Trail style boots often last about 300 to 500 miles of regular use, while insulated winter boots may last longer in miles but lose loft and sealing with age. Check the midsole for creasing, the heel counter for collapse, and seams for splits at the start of each season.
How long does breaking in snowshoeing boots take?
Breaking in snowshoeing boots usually takes several short walks, not one long outing, because winter materials soften slowly and thick socks change the fit. Start with walks of an hour or less on easy ground, then build to longer routes over a week or two, and adjust lacing as pressure points appear. Leather boots may need more time than synthetic boots, while insulated boots often feel stiff until the insulation compresses around your foot.
Are expensive snowshoeing boots worth the extra money?
Expensive snowshoeing boots are worth the extra money when the higher price buys a real gain for your conditions, such as better cold weather rubber, a more durable membrane, or a sole that stays flexible in deep cold. They are less worth it if the extra cost buys only styling or features you will not use, such as a taller shaft for a groomed resort trail. Compare the price against how often you will walk and how cold your routes get, and spend more on fit and waterproofing before spending on extras.
How should snowshoeing boots fit?
Snowshoeing boots should fit snugly around the midfoot and heel, with enough toe room to wiggle your toes and enough width to avoid pressure on the sides of the foot. Test the fit with your trail socks and insoles, walk up and down a slope, and check that your heel does not lift sharply and your toes do not hit the front on descents. A fit that feels perfect in a warm shop may feel tight outdoors, since feet swell during exercise and thick socks add volume.
Final Thoughts
The right pair balances warmth, waterproofing, and trail feel for the snow you walk most often. Supportive trail boots suit packed routes and longer distances, waterproof winter boots suit deep snow and cold stops, and a soft second pair covers lodge time after the trail. Fit matters more than brand or rating, so test sizing with your real socks and snowshoe bindings before committing.
If you walk in varied conditions, start with the best boots for snowshoeing for your most common day, then add a second pair only if a clear gap remains. The product table above can help you compare types at a glance, and the care tips in this guide will help a good pair last through many winters.