
Best Boots to Climb Kilimanjaro by Budget: Smart Picks for 2026
Disclosure: We may earn a commission when you buy through links on this page, at no extra cost to you. As an Amazon Associate I earn from qualifying purchases. Learn more

Choose the best boots to climb kilimanjaro on any budget with clear guidance on fit, traction, waterproofing, warmth, and what each price tier adds.
Boots for Kilimanjaro span a wide price range, and the most expensive pair is not always the wisest spend. Choosing the best boots to climb kilimanjaro starts with understanding what extra money buys you in fit, grip, warmth, and durability, and what it does not. A modest pair that fits perfectly will serve you better than a premium pair that pinches on long descents.
The mountain crosses rainforest mud, rocky moorland, loose scree, and a cold summit night, so your budget has to cover very different demands in one boot. The comparison table below lets you compare weights, heights, and waterproofing at a glance, and this guide explains where spending more changes your comfort.






How to Set Your Budget Before You Choose Boots
Set your budget after you know your route, season, and how much walking you will do in these boots at home. Those facts decide whether a simple, sturdy pair is enough.
Start With Your Route and Season
Longer routes such as Lemosho and Rongai mean more days on your feet and more value from a boot that stays comfortable when your feet swell late in the day. The rainy seasons add deep mud and wet rock, which raises the value of a taller cuff and a grippy sole. Shorter routes in the dry season are gentler, and a simpler boot often handles them well. Plan your health prep early too. A severe headache, repeated vomiting, confusion, or trouble walking steadily at altitude are warning signs that need immediate descent and professional help, so talk with your clinician about your personal risks well before you travel.
Match Spending to How Much You Will Walk After Kilimanjaro
If Kilimanjaro is a once in a lifetime trek and you rarely hike at home, paying premium prices for extreme durability makes little sense, because the boot will sit unused while its materials age. If you walk most weekends, the same spend spreads across years of use and a stronger boot becomes good value. Money saved on a boot you will barely reuse can fund better socks. For a broader view beyond price, see our guide to the best boots for kilimanjaro.
Leave Room in the Budget for Socks and Fit Help
Your total footwear budget should include more than the boots alone. Reserve money for two or three pairs of quality merino socks, a spare set of laces, and, if your arches need it, a replacement insole. A professional fitting can also save you the cost of a return or, worse, a ruined trek. Shoppers who spend every dollar on the boot itself often end up hiking in thin socks that undo the comfort they paid for.
What Your Money Gets You at Each Price Tier
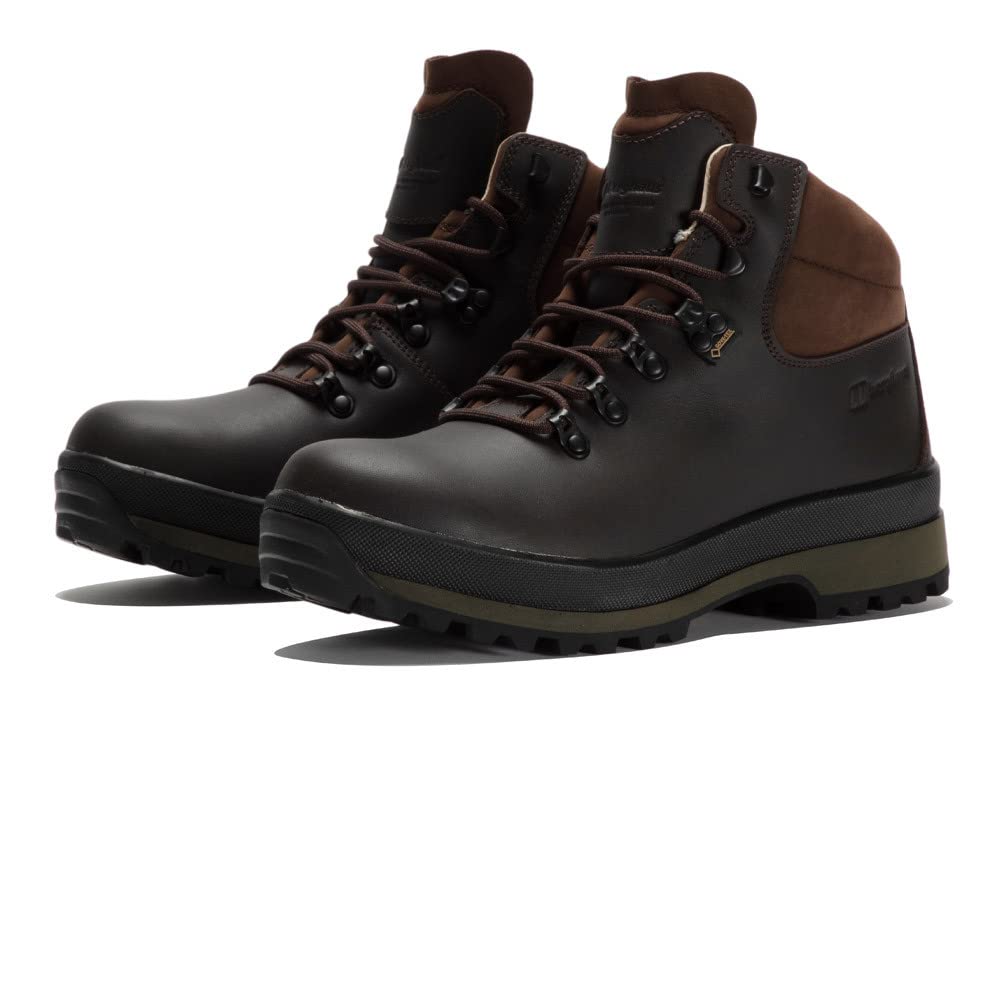
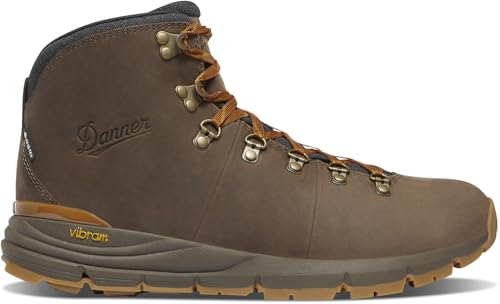
The product table above is a useful starting point here, because weight and height differences between tiers become clear once you see models side by side.
Budget Tier: What to Expect
Budget boots at around $150 usually give you a solid upper, a basic waterproof membrane, and enough ankle support for the main trails. The trade offs show up in softer cushioning that packs down by day five, heavier weight, and soles that feel less secure on wet roots. For a dry season climb, that can be a sensible package. Check the stitching closely, because budget construction varies more from pair to pair.
Midrange Tier: The Sweet Spot for Most Buyers
Midrange boots, about $180 to $280, typically add a better shaped last, firmer cushioning, and a more reliable waterproof membrane. This is also the tier where fit options widen, with more half sizes and width choices, which matters more than any single feature. That balance is why the search for the best boots to climb kilimanjaro so often ends in the midrange for first time high altitude trekkers. You get a boot that handles summit night cold and long descent days without expedition level extras.
Premium Tier: When Spending More Pays Off
Premium boots at around $300 and above buy you lighter materials, more precise fit shaping, and uppers built to survive several seasons of hard use. Insulation also improves, which helps in the coldest months. The gains are real but smaller than the step from budget to midrange, so premium pricing pays off mainly for frequent hikers planning more big mountains. If that is not you, the extra money often works harder elsewhere in your kit.
Features Worth Paying For and Ones to Skip
Some features change your days on the mountain within hours. Others add cost and weight for conditions Kilimanjaro never presents.
Outsole Traction and Terrain
The outsole decides how confidently you move on wet roots, muddy steps, and the loose scree below the summit. Look for deep lugs of around 4 to 5 mm that shed mud rather than holding it, a heel brake zone that bites on steep descents, and a rubber compound that stays grippy on wet rock, as respected compounds such as Vibram do. A smooth or shallow sole is a false saving, because one slip on a descent can end a trek.
Weight and Flexibility
Every extra ounce on your foot costs energy across six to nine hours of walking a day, so lighter boots genuinely help late in a long climb. The limit is protection. Very light boots let sharp volcanic rock press into your soles and give your ankles less help on uneven ground. A midweight boot with a firm shank under the arch usually hits the balance Kilimanjaro needs. Try bending the boot by hand. It should flex at the toes and stay stiff through the middle.
Fit, Sizing, and Toe Box
Fit is the single biggest predictor of a happy trek, and it is explained fully here so you can apply it at every price level. Shop late in the day, when your feet are at their largest, and wear your trekking socks. You need a thumb width of space in front of your longest toe, because feet swell at altitude and toes jam forward on the long descent. The toe box should let your toes spread without your foot sliding side to side. Your heel should stay seated when you walk downhill on a ramp, and you should walk for at least ten minutes before deciding.
Waterproofing and Warmth for Summit Night
Most climbers do best in waterproof boots, because rain, wet moorland, and summit snow can soak an unprotected boot that then stays cold for days. A Gore Tex lining is the most common solution and works well when the outer materials are kept clean so moisture can still escape. Breathable panels help on warm lower slopes, but full waterproofing matters more overall. For warmth, most standard trekking boots paired with a thick merino sock handle summit night, since you are moving for most of it. Dedicated insulated expedition boots are unnecessary weight here.
Cushioning, Stability, and Arch Support
Cushioning absorbs the repeated impact of rocky descents, and better foams keep that softness for the whole trek instead of flattening by midweek. Stability comes from a firm heel counter and a cuff that supports your ankle without locking it, which matters when you are tired. Arch support should match your own arch shape. Flat feet often need a more structured insole, while high arches usually want more cushioning underfoot. Note that neutral shoes, which offer little structured support, are a poor model for this climb, because Kilimanjaro boots should guide and support your foot far more.
Durability and Expected Lifespan
A well made trekking boot typically lasts about 500 to 800 miles before cushioning and sole wear change how it feels, though rough volcanic rock shortens that life. Soles that can be replaced extend lifespan the most, and that trait appears more often in higher tiers. For one trek of roughly 40 to 60 miles, even a budget boot has plenty of life. Durability decides only when you plan to keep hiking in the same boots for years.
Long Term Costs to Factor In
The purchase price is only part of what Kilimanjaro footwear costs you. Quality socks, around $20 a pair, add up when you buy three pairs, and most climbers should. Replacement insoles, waterproofing treatment, and a spare lace set add a little more. Factor in return shipping if you order two sizes to test at home, because sending one pair back is still cheaper than hiking in the wrong size. A respected midrange boot also resells well after one trek, which can bring your true cost close to a budget purchase.
Frequently Asked Questions
Can I Wear Kilimanjaro Climbing Boots All Day on the Trek?
Yes, Kilimanjaro climbing boots are built for full days of walking, and most climbers wear them from breakfast to camp. The new point to plan for is the evening. Take your boots off as soon as you reach camp so your feet can dry and recover, and wear light camp shoes while you rest. Airing your feet each evening prevents the soft skin that makes the next day painful.
Do I Need Waterproof Boots to Climb Kilimanjaro?
Yes, waterproof boots are the safer choice for Kilimanjaro in any season. Even in the dry months, stream crossings, morning dew, and summit snow can wet your feet, and weather on the mountain changes fast. One practical addition is to pack waterproof socks as a backup. They weigh almost nothing and can rescue a day if a boot gets soaked inside, which a membrane alone cannot fix once water enters over the cuff.
Are Expensive Kilimanjaro Boots Worth the Extra Cost?
Expensive Kilimanjaro boots are worth it only when you will use their advantages, mainly lighter weight and longer life across many trips. For a single trek, the extra cost rarely changes your chance of summiting, because fit and preparation matter far more. A smarter test is cost per trip. If you expect five or more big hikes, premium pricing spreads well. If Kilimanjaro is your one major trek, put the savings toward extra acclimatization days instead.
How Should Boots to Climb Kilimanjaro Fit Before the Trek?
Boots to climb Kilimanjaro should feel secure at the heel, roomy at the toes, and free of any hot spot from the first fitting. One check many buyers miss is the kneeling test. Kneel and lean forward so your toes bend hard, then confirm your heel does not lift and your toes do not crush into the front. Also try the boots with the exact sock thickness you will trek in, because a thinner shop sock can hide a fit problem.
How Long Is the Break In Period for Kilimanjaro Boots?
The break in period for Kilimanjaro boots is usually about 20 to 30 miles of walking spread over two to three weeks. Modern synthetic boots often feel comfortable sooner, while stiff leather boots sit at the longer end of that range. Build up gradually, adding hills and a loaded pack. Never let summit night be an early long outing in a new pair, and treat any hot spot during training rather than pushing through it.
How Often Should I Replace Boots Used to Climb Kilimanjaro?
Replace boots used to climb Kilimanjaro when the tread is worn smooth, the midsole feels flat and harsh, or the upper cracks where it flexes. Timing depends on total miles rather than age alone. Before a second big trek, test an older pair on a long descent. If your knees ache more than usual or your toes bruise, the cushioning has likely given up, even if the boots still look presentable.
Final Thoughts
Budget well and Kilimanjaro becomes a fit and preparation challenge rather than a spending contest. Protect traction and fit first, choose the tier that matches how much you will hike afterward, and use the comparison table above to check that models on your short list deliver what your tier promises. If you prefer trail style designs, see our guide to the best hiking boots for kilimanjaro for that narrower comparison. With the best boots to climb kilimanjaro for your budget on your feet and broken in, you can give your full attention to the climb itself.


