
Best Body Repair Buffing: How to Choose Buffers, Pads, and Compound
You just finished filling a dent, wet-sanding a fresh clear coat, or knocking out a deep scratch, and now the repaired spot looks dull and mismatched next to the rest of the panel. That last step, blending the finish so nobody can tell where the work was done, is where a lot of DIY repairs fall apart. Getting best body repair buffing results depends less on elbow grease and more on picking the right machine, pad, and compound for the stage you're at. This guide walks through how to choose a buffer, match pads and compound to the depth of the repair, size everything to the area you're working on, and use technique that protects paint that hasn't fully cured yet.
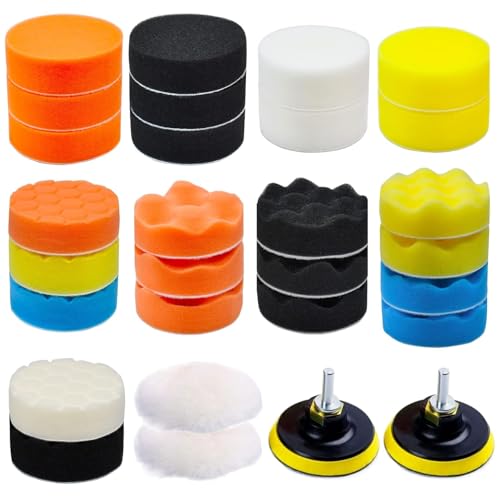
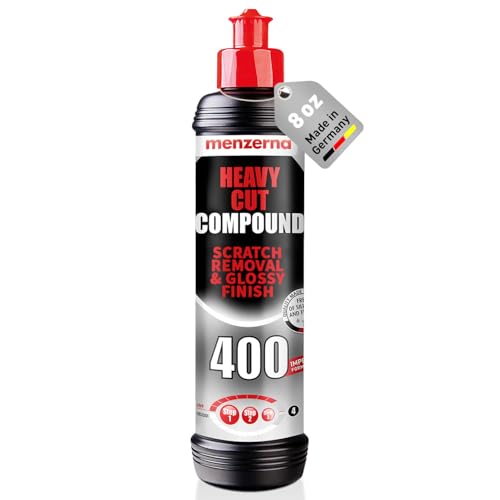
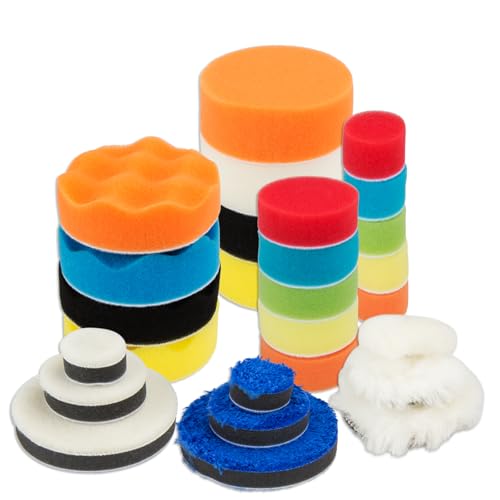
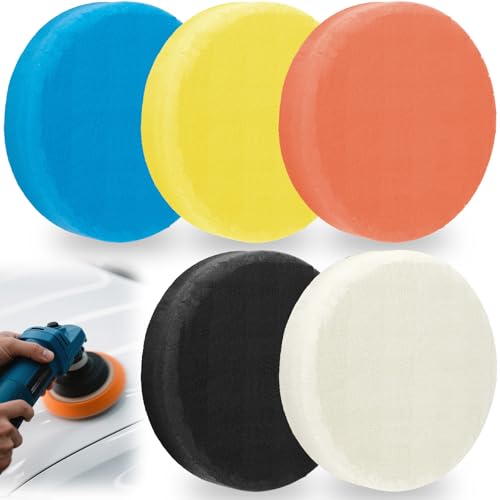
Choosing the Right Buffer for a Repair Job
The machine you buy shapes almost everything else about a best body repair buffing setup, so it's worth getting this choice right before spending money on pads and compound. The two main options work in fundamentally different ways, and each suits a different kind of repair.
Dual Action Polishers for Beginners and Touch-Ups
A dual action polisher spins the pad on one axis while the whole head oscillates on another, which spreads heat and friction out instead of concentrating it in one spot. That makes it far more forgiving if your hand slips or you linger too long in one area. For spot repairs, touch-up panels, and anyone still learning how paint reacts to buffing, a dual action machine is the safer starting point. It won't cut as fast as a rotary, but it also won't burn through fresh clear coat nearly as easily.
Rotary Buffers for Heavy Correction
A rotary buffer spins the pad on a single axis, which generates more heat and cuts through paint defects much faster. That speed is useful when you're correcting deep scratches or heavy oxidation around a repair, but it also means mistakes happen fast. Holding the machine at the wrong angle or dwelling too long in one spot can burn through primer or clear coat before you notice. Rotary tools work best in experienced hands, often for the initial cutting stage before switching to a gentler machine to finish the job.
Variable Speed Control
Whichever machine you choose, variable speed control matters more on a repair than on routine maintenance work. Fresh paint and clear coat are more sensitive to heat than fully cured factory finish, so being able to drop the RPM for a pass over a repaired area, then increase it elsewhere, gives you far more control. Look for a range that lets you work comfortably slow near the repair and faster on surrounding, well-cured paint.
Matching Pads and Compounds to the Stage of Repair
Buffing a repair rarely happens in a single pass. Most jobs move through cutting, polishing, and finishing stages, and using the wrong pad or compound at the wrong stage either wastes time or damages the work you just did. Matching each stage correctly is what actually delivers best body repair buffing results.
Cutting Pads and Compounds
Cutting pads and compounds are the most aggressive combination, designed to level out sanding marks, orange peel, or deeper defects left behind by a repair. They remove material quickly, which is exactly why they should only be used where the defect actually calls for it. Running a cutting pad over an area that only needs light polishing removes clear coat you didn't need to take off.
Polishing Pads and Compounds
Polishing sits between cutting and finishing. It removes the light haze and fine marks left behind by a cutting pad, smoothing the surface further without the aggressive material removal. This is usually the stage that brings a repaired panel closer to matching the gloss of the surrounding paint.
Finishing Pads and Final Polish
Finishing pads and polish are the gentlest combination, meant to remove any remaining fine swirl marks and bring out maximum gloss. This is the stage that actually decides whether the repair blends in or stands out under direct sunlight, so it's worth taking slowly rather than rushing to call the job done.
Foam vs Wool vs Microfiber
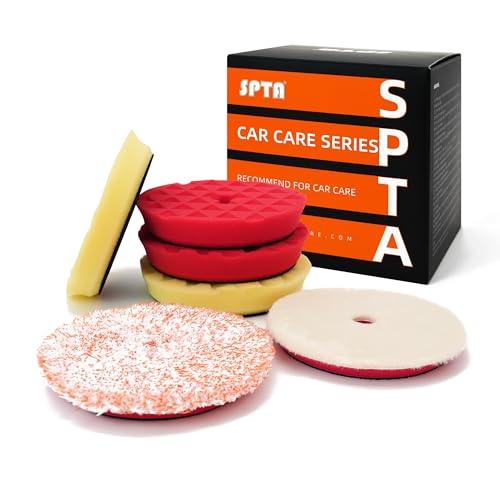
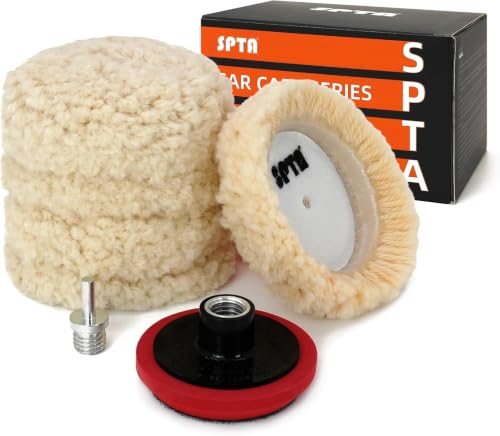
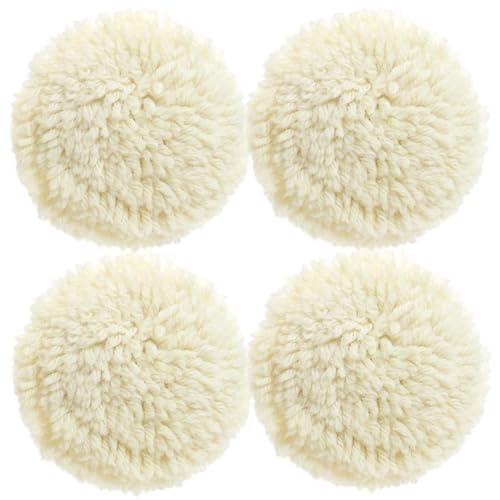
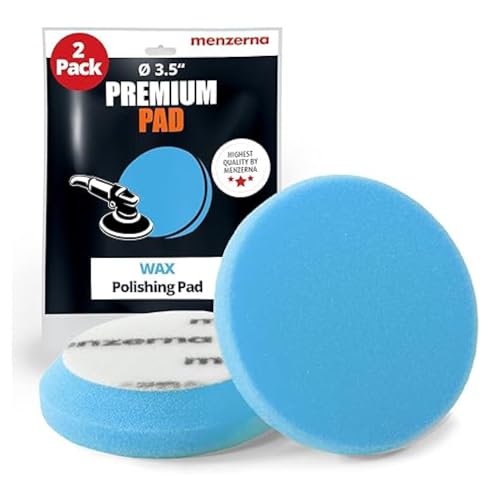
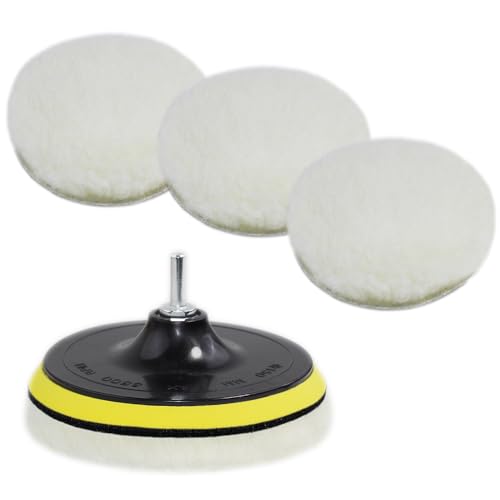
Pad material changes how aggressively a given compound cuts. Foam pads range from dense, heavy-cutting foam to soft finishing foam, and are the most common choice for repair work because they're predictable and easy to control. Wool pads cut faster and are typically paired with rotary buffers for heavy correction, but they can leave a rougher finish that needs to be followed up with a polishing step. Microfiber pads fall in between, cutting faster than foam while still being gentle enough to finish with on many paint systems.
Sizing Pads and Machines to the Repair Area
A pad that's the wrong size for the job is one of the more common mistakes on repair work, and it's an easy one to avoid once you know what to look for on a best body repair buffing project.
Spot Repairs and Small Touch-Ups
Small repaired areas, like a single scratch or a fist-sized dent repair, call for a smaller pad, often a mini or compact polisher with a 3-inch backing plate. A large pad extends past the repaired area and starts working on surrounding paint that didn't need correction, which risks uneven gloss between the repair and the rest of the panel. Good, even light over the work area also matters here, since spotting a remaining swirl or haze under dim garage lighting is nearly impossible; strong, even garage lighting makes it far easier to catch defects before you call the job finished.
Full Panel and Larger Repairs
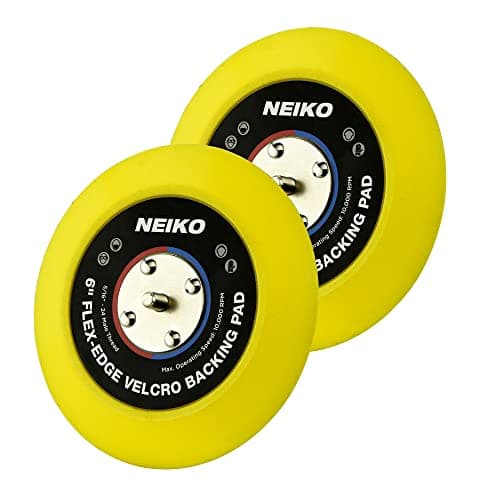
Larger repairs, a full hood, door, or fender respray, are better handled with a standard 7-inch pad and a full-size polisher. Working a large panel with a small pad takes far longer and makes it harder to keep pressure even across the whole surface, which can leave visible high and low spots in the gloss. Matching pad size to repair size isn't just about speed, it's what keeps a best body repair buffing job looking consistent from one edge of the panel to the other.
Buffing Technique That Protects a Fresh Repair
Even the right machine and pads can go wrong if the technique around them is off, especially on paint that's still curing.
Letting Fresh Paint Cure Before You Buff
Clear coat needs time to harden fully before it can handle buffing without softening or gumming up on the pad. Buffing too early drags soft material around instead of cutting it cleanly, which can leave a hazy, smeared finish that's worse than what you started with. Before starting, wash the panel thoroughly and let it dry completely so grit and dust don't get dragged across the surface during your first pass.
Avoiding Buffer Burn and Holograms
Keeping the machine moving, using light and even pressure, and checking your progress often are the habits that separate a clean best body repair buffing job from one with burn marks or swirl trails. Holograms, the faint circular marks left by aggressive pads or too much heat, show up most under direct sun or bright light, so inspect your work outdoors or under strong shop lighting before calling it done. Once the finish looks right, protecting it with a coat of car sealant helps the repaired area hold its shine and resist the swirl marks that build up from everyday washing.
Frequently Asked Questions
What is the best buffer for body shop repair work?
It depends on the job. For most best body repair buffing setups, a dual action polisher is the safer, more forgiving option for spot repairs and touch-ups, while a rotary buffer handles heavy correction faster in experienced hands. Many people who do repair work regularly end up owning both.
Should I use a dual action or rotary polisher for auto body repair?
If you're newer to buffing or working on a fresh repair, start with a dual action polisher. It's much harder to burn through paint with one, even if you make mistakes. Save the rotary for deeper corrections once you're comfortable reading how the paint responds.
What pad do you use to buff out a repaired panel?
Start with the least aggressive pad and compound that will actually correct the defect, then step up only if needed for best body repair buffing results. Most repairs move from a cutting pad for heavier marks, to polishing, and finally a finishing pad to bring back full gloss.
How long after painting can you buff a car?
Cure time varies by paint system, but clear coat generally needs at least a couple of weeks before it's hard enough to buff safely, and some systems take longer. Check the product's cure guidance rather than guessing, since buffing too early can undo the repair.
What's the difference between cutting, polishing, and finishing pads?
Cutting pads and compounds remove the most material and are meant for leveling out defects. Polishing refines what's left after cutting. Finishing pads are the gentlest, meant to bring out gloss and remove the last traces of haze without removing much material at all.
Can you buff a car by hand without a machine?
Yes, for light polishing and finishing work, hand application can get reasonable results, though it takes more time and effort. Heavier cutting work to correct real defects is much harder to do consistently by hand.
Why does buffing leave swirl marks or holograms?
Swirl marks and holograms usually come from using too aggressive a pad or compound for the job, applying too much pressure, or letting a rotary buffer sit in one spot too long. Working with a gentler pad, lighter pressure, and steady movement across the panel is the fix.
Getting a Shop-Quality Finish at Home
Getting best body repair buffing results comes down to matching the right machine, pad, and compound to the actual condition of the panel, then giving fresh paint the time it needs before you touch it with a buffer. Start gentle, check your progress often, and step up only if the defect actually calls for it. That patience is usually what separates a repair that disappears into the finish from one that's easy to spot.