
Best Binoculars for Yellowstone: A Practical Buying Guide 2026
Disclosure: We may earn a commission when you buy through links on this page, at no extra cost to you. As an Amazon Associate I earn from qualifying purchases. Learn more

Learn how to choose the best binoculars for Yellowstone, from magnification and low light performance to weather sealing and fit.
Yellowstone rewards patience, distance, and good glass. Animals often appear across valleys, meadows, and rivers, so best binoculars for yellowstone viewing should help you see detail without strain, glare, or shaky images. The right pair also needs to cope with dust, rain, cold mornings, and long days outdoors.
This guide walks through the features that matter most in the park, the spending levels worth considering, and the checks to run before you buy. Use the product table to compare the options side by side, then match the details to how you plan to watch wildlife, scenery, and birds.
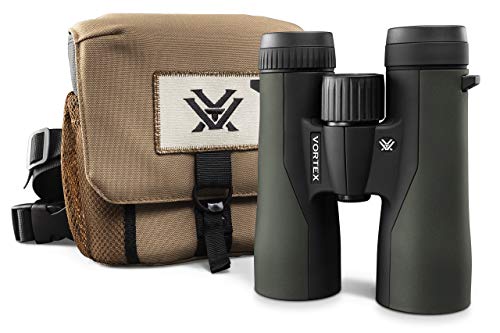

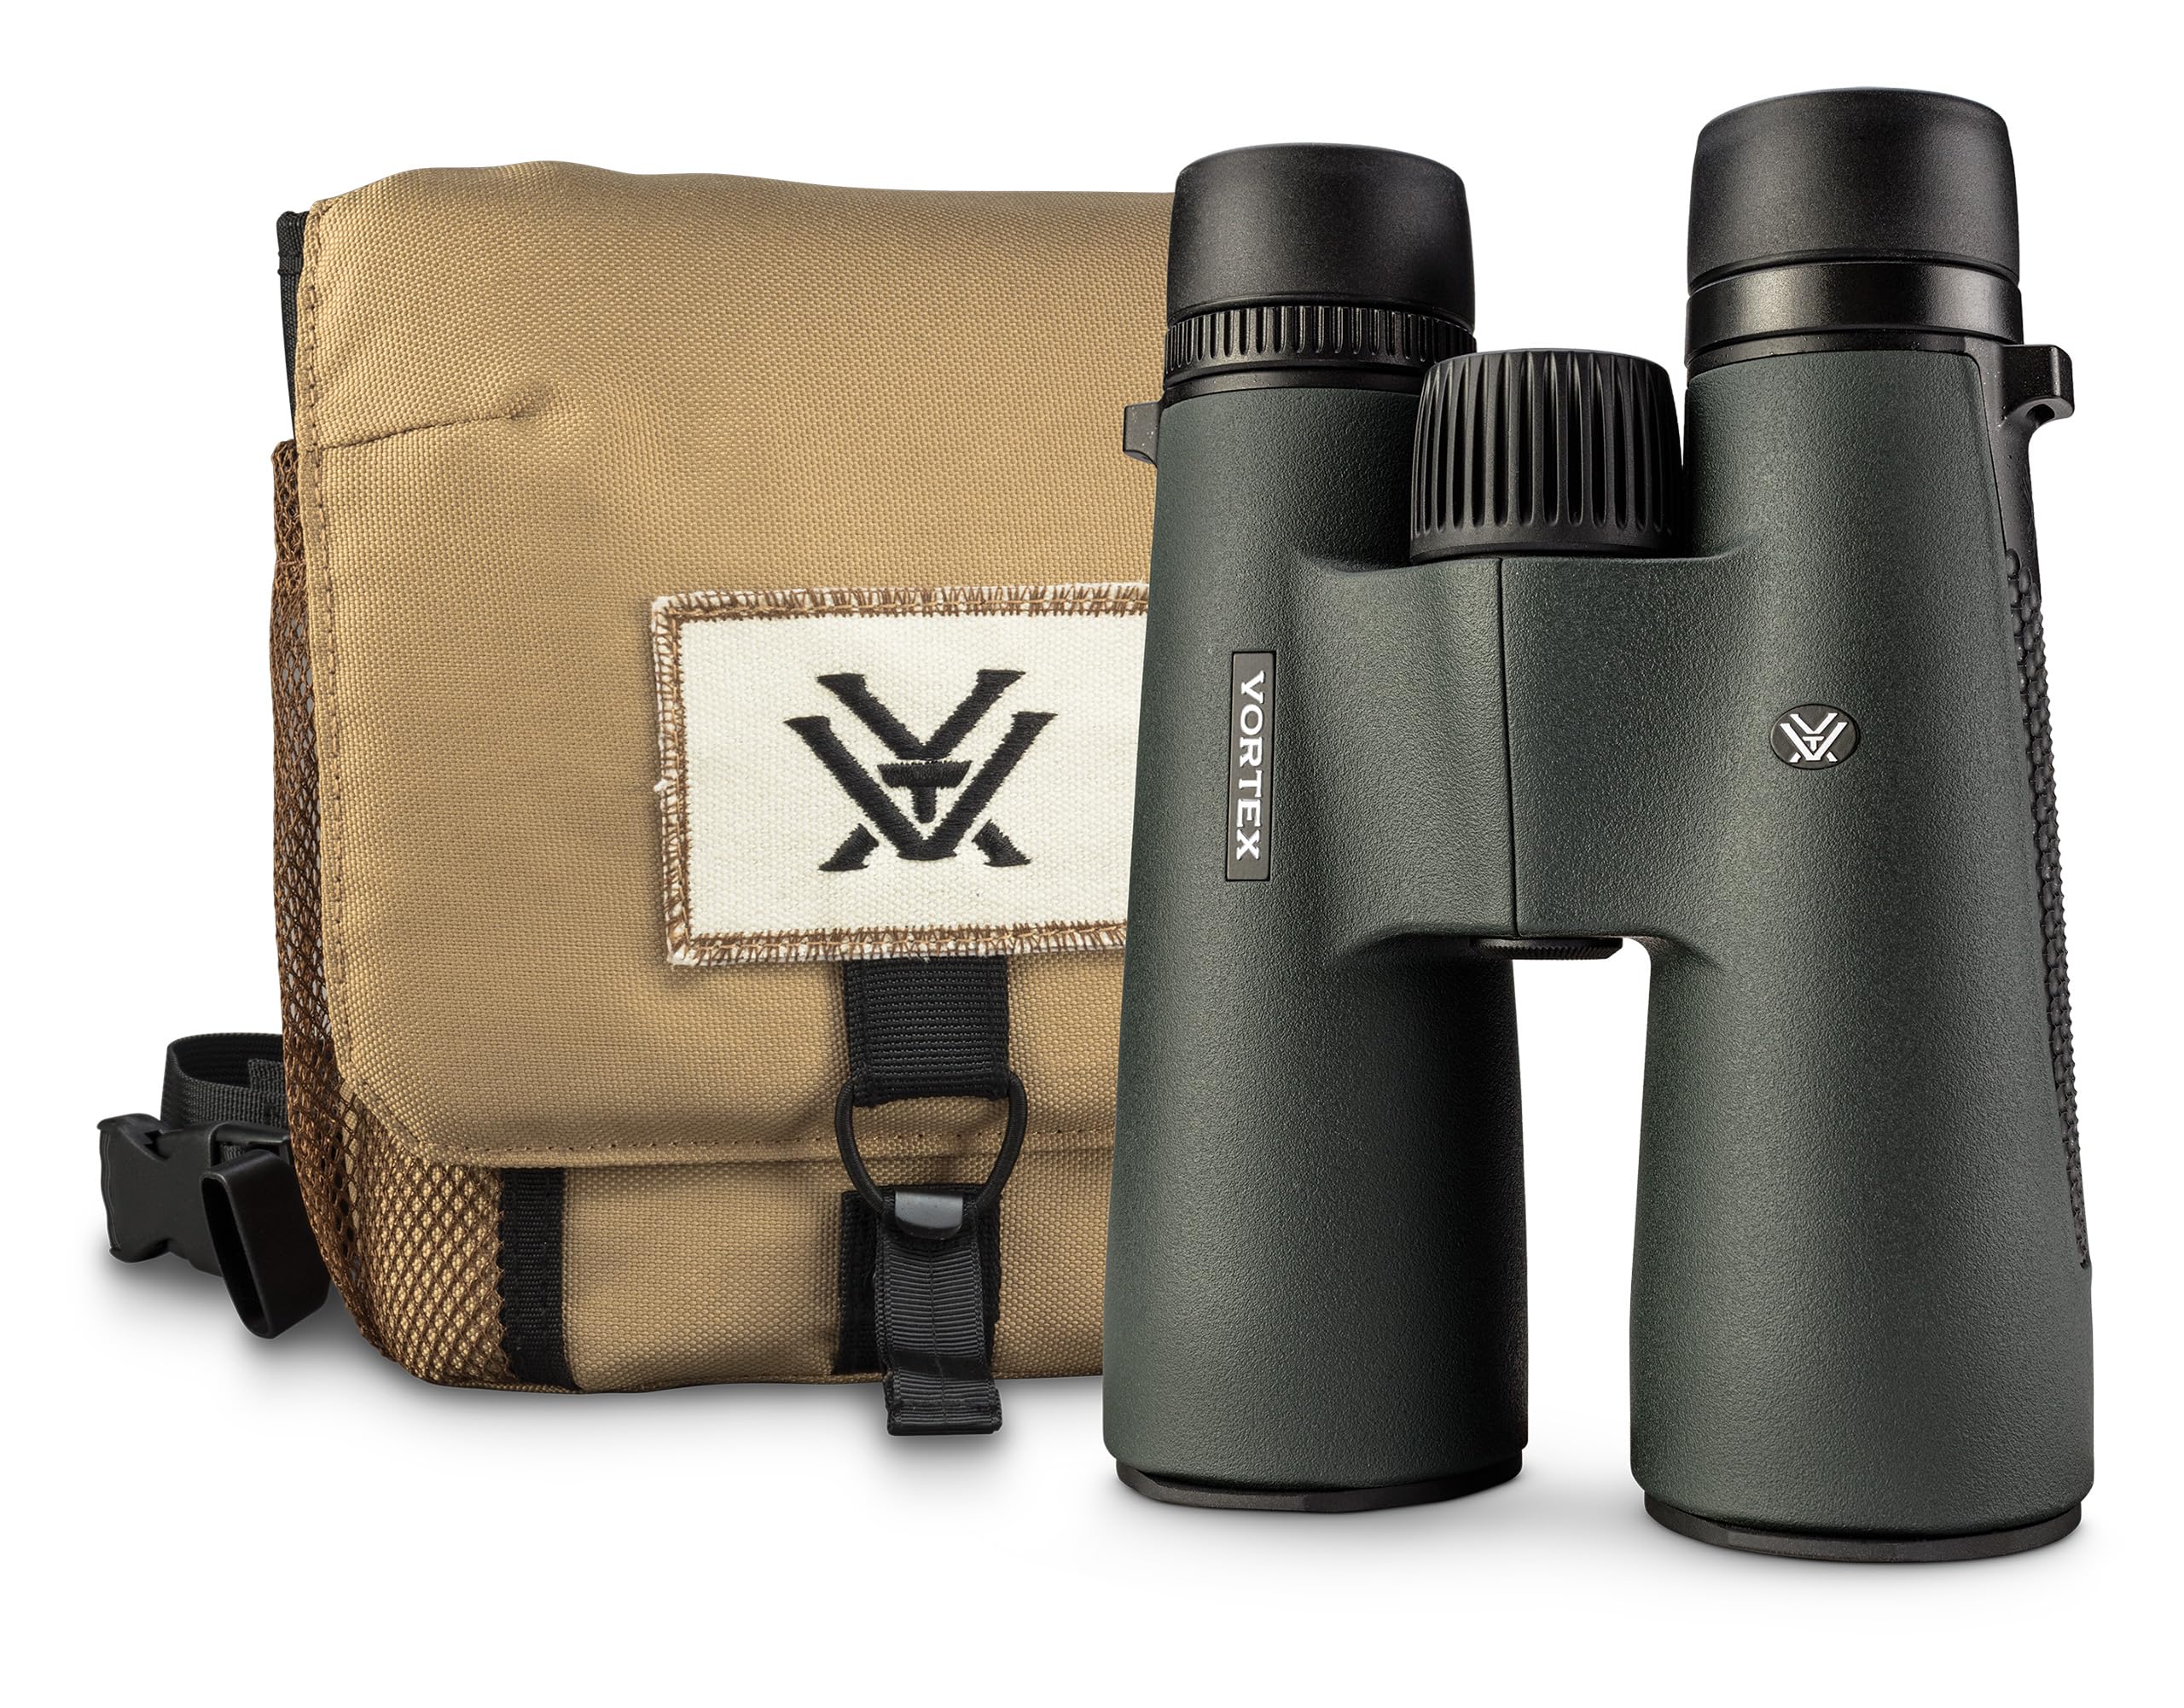


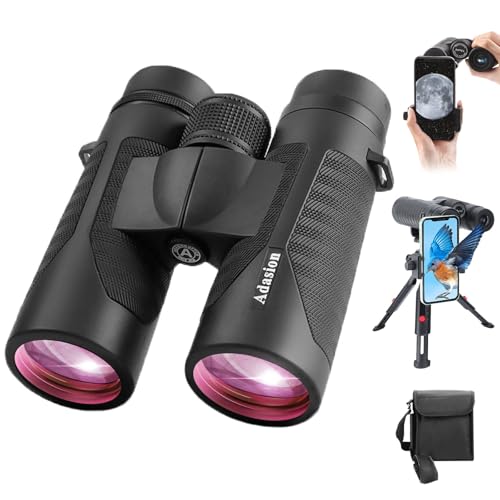
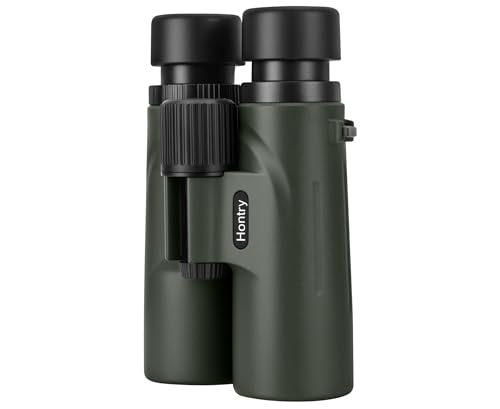

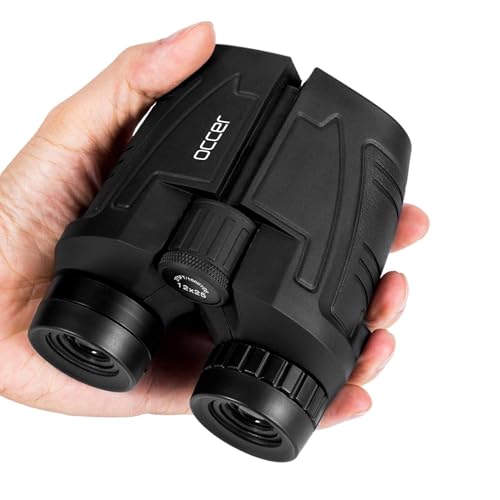
Who Benefits Most From Park Binoculars
Wildlife watchers need steady magnification, a wide view, and enough brightness for dawn and dusk. A pair that feels heavy after an hour will stay in the car, so comfort matters as much as power. Look for a balanced shape, a smooth focus wheel, and eye cups that suit your face.
Bird watchers need quick focus and a close focus distance that works for nearby warblers as well as distant raptors. A wide field helps you find a moving bird before it leaves the frame. If you wear glasses, check eye relief carefully, since short eye relief can cut off the edges of the view.
Families and casual visitors need simple controls, a forgiving view, and a build that can handle bumps and weather changes. Lower magnification is often easier for children and first time users, because the image shakes less and the subject is easier to find. A neck strap and a protective case also make a real difference on a busy park day.
Key Features of the Best Binoculars for Yellowstone
Features That Matter for Yellowstone
Yellowstone viewing is mostly long distance viewing in open country, so magnification, brightness, and stability matter more than compact size alone. You also need a pair that works in changing light, from bright snow glare to shaded forest edges. Weather sealing matters because a sudden shower should not end your viewing day. Finally, remember park rules and keep a safe distance from wildlife, so choose optics that let you enjoy animals from afar rather than trying to get closer.
Magnification and Objective Size
Magnification tells you how much larger a subject appears, while objective size tells you how wide the front lenses are. An 8x42 pair is a popular all round choice because it offers a steady image, a fairly wide view, and good brightness. A 10x42 pair brings distant animals closer, but it also magnifies hand shake and can feel harder to hold steady for long periods. Larger front lenses gather more light, yet they also add weight, so balance power against how long you will carry the pair.
Low Light Performance and Glass Quality
Early morning and late evening are prime wildlife hours, and that is when glass quality shows. Coated lenses reduce glare and help keep colors natural, while a larger exit pupil can make the image feel brighter in dim light. Do not judge low light ability from magnification alone, since a well coated 8x42 pair can feel brighter than a cheaper 10x50 pair. If dawn viewing matters to you, give extra weight to coatings, prism quality, and a clean, high contrast image.
Field of View and Eye Relief
Field of view tells you how much of a scene you can see at once, and a wider view makes it easier to track moving animals. Eye relief is the distance from the eyepiece to your eye where you can still see the full image. People who wear glasses usually need longer eye relief and twist up eye cups that can be set to the right position. Try to check both figures before you buy, and remember that a narrow view can make a powerful pair feel frustrating in the field.
Build and Weather Sealing
Park binoculars should be sealed against water and dust, and nitrogen purged or similarly built to resist internal fogging when temperatures change. A rubber armored body helps with grip and protects against small knocks on trails and boardwalks. Check that the focus wheel turns smoothly with gloves on, since cold mornings are common in Yellowstone. Also look for a sturdy bridge and hinge, because a loose hinge can make the pair feel unstable and hard to align.
Size, Weight, and Handling
Weight matters more than many buyers expect, especially on hikes and long roadside stops. A full size pair offers the brightest view, but a mid size pair may be the better choice if you plan to carry it all day. Hold the pair with both hands and check whether your fingers reach the focus wheel naturally. A comfortable neck strap, a case that is easy to open, and lens covers that stay attached can all reduce fumbles in the field.
Spending Levels That Make Sense
Modest Spending for Occasional Park Days
At a modest price, around $100 to $250, you can find a solid pair for general sightseeing and occasional wildlife watching. Expect decent coatings, a waterproof body, and a steady 8x42 view, but not the brightest image at dawn. This level suits visitors who want a reliable pair for one trip and lighter use at home. Check the warranty and the feel of the focus wheel before you settle, since those details affect daily use more than a small difference in stated power.
Middle Spending for Frequent Wildlife Watching
In the middle range, about $250 to $600, you usually get better glass, smoother focus, and a brighter, sharper image at the edges of the view. This level suits visitors who plan several wildlife trips a year and want a pair that performs well in low light. You may also find better eye relief and more refined handling, which helps during long viewing sessions. Spend here if you already know you enjoy wildlife watching and want a pair that will last for many trips.
Higher Spending for Demanding Light and Weather
Above about $600, you are paying for refined optics, excellent low light contrast, and a build made for hard use. The image often feels cleaner, with less color fringing and a more natural sense of depth. This level suits keen observers who watch in poor light, in rain, or for many hours at a time. It is not required for a good Yellowstone visit, so choose it only if the extra clarity and durability match how often you will use the pair.
Quick Buyer Checklist
- Can you hold the image steady at the magnification you chose?
- Is the field of view wide enough to follow a moving animal?
- Does the eye relief work with or without your glasses?
- Is the body sealed against water, dust, and internal fogging?
- Does the focus wheel turn smoothly, even with gloves on?
- Is the weight comfortable for a full day of carrying?
- Does the warranty cover the kind of use you expect?
Red Flags to Watch For
- Vague claims about power or brightness with no clear magnification, objective size, or coating details.
- A very high magnification paired with a small front lens, which can produce a dim and shaky image.
- No clear weather sealing, or a body that feels loose at the hinge.
- Short eye relief that cuts off the view for glasses wearers.
- A very short warranty or unclear support, which can be a problem after a trip.
Care and Maintenance Tips
Clean lenses with a soft lens cloth, not your shirt, since fabric can carry grit that scratches coatings. Blow off dust before wiping, and use a lens pen or a small blower for field cleaning. Store the pair in a dry, padded bag when you are not using it, and keep lens covers on during travel.
Avoid leaving binoculars in a hot car for long periods, and check straps and covers before each outing. With simple care, a good pair should stay clear and smooth for many seasons.
For related guidance, see our guide to best rated binoculars when you want a broader sense of what strong all round optics offer. If birds are your main interest, our guide to best binoculars for birdwatching covers close focus and field of view in more detail. For a compact option, see our guide to best binoculars birding, which focuses on easy carrying and quick handling.
Frequently Asked Questions
What features matter most in binoculars for Yellowstone?
Steady magnification, brightness in low light, a wide field of view, and weather sealing matter most in Yellowstone. An 8x42 pair suits many visitors, while a 10x42 pair suits those who want more reach and can hold it steady. Also check eye relief, focus smoothness, and weight, since those details affect comfort over a long day. Finally, choose a pair that lets you enjoy wildlife from a safe distance, following park rules at all times.
Is a smartphone enough instead of binoculars in Yellowstone?
A smartphone is useful for photos and quick identification, but it cannot match binoculars for distant wildlife viewing. Phone zoom often produces a soft, shaky image, and it drains the battery quickly in cold weather. Binoculars give a brighter, steadier, and more detailed live view, which helps you follow animals and notice behavior. Many visitors use both, with binoculars for watching and a phone for photos and notes.
Which binoculars are better for low light in Yellowstone?
Pairs with good coatings, a larger exit pupil, and clean prism glass usually perform better in low light. An 8x42 pair often feels brighter than a higher power pair with the same front lens size, because the light is spread less thinly. Also consider a model with strong contrast, since a washed out image can hide detail even when it looks bright. If dawn and dusk viewing matter most, check low light performance in person when you can.
What specs matter most for beginners choosing park binoculars?
Beginners should focus on magnification, objective size, field of view, and eye relief, rather than extra features. An 8x42 pair is a forgiving starting point, since it is easier to hold steady and easier to aim. Also check weight and focus feel, because a pair that is hard to handle will discourage use. A simple, well sealed design often serves a beginner better than a complex pair with features they will rarely use.
How much should I spend on my first pair for Yellowstone?
Many first time buyers do well in the range of about $100 to $250, where you can find a sealed, steady, and comfortable pair. Spend more only if you plan frequent wildlife trips, want better low light performance, or need a lighter and more refined build. Avoid the cheapest pairs with vague specs, since poor coatings and loose hinges can spoil a trip. A mid range pair is a sensible step up once you know how often you will use it.
Final Thoughts
The best choice is the pair you will actually carry, hold steady, and enjoy using from a safe distance. Focus on magnification you can manage, glass that stays bright in low light, and a sealed body that handles park weather. Check the product table once more, compare the options against your plans, and pick the balance of power, weight, and price that fits your trip. With the right pair, best binoculars for yellowstone viewing becomes less about chasing specs and more about watching wildlife well.
Never look at the sun through binoculars, and follow local wildlife and trail rules during every stop. Keep a safe distance from animals, stay on marked paths and boardwalks where required, and store food and scented items as park guidance directs.


