
Best Binoculars for Under $200 for 2026: A Clear Buying Guide
Disclosure: We may earn a commission when you buy through links on this page, at no extra cost to you. As an Amazon Associate I earn from qualifying purchases. Learn more
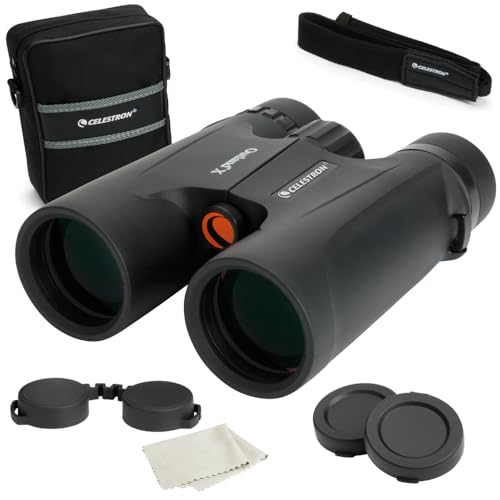
Plain English specs, realistic expectations and rookie mistakes for first time buyers of the best binoculars for under $200.
If you are shopping for best binoculars for under $200 for the first time, the good news is that this price range now covers many solid, enjoyable pairs. You do not need to learn every optical term before you buy, and you do not need to spend more to get a bright, steady view for birding, games, hiking or travel. The product table shows the main options side by side, and this guide explains each choice in plain language.
Think of this guide as a walk from basics to buying. First you will learn what the numbers on the box mean, then what you can reasonably expect under $200, then the mistakes new buyers most often make. By the end you should be able to pick a size and a feature set that fits your outings, rather than guessing from magnification alone.


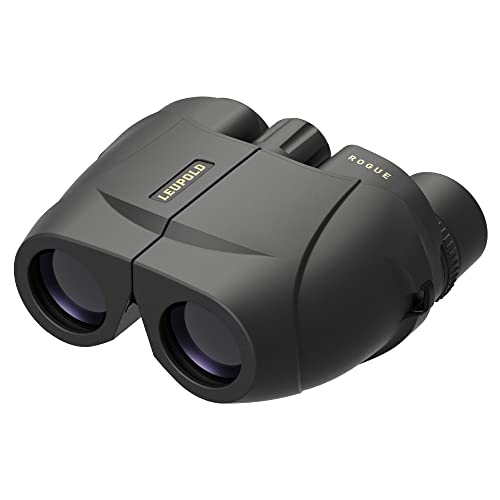
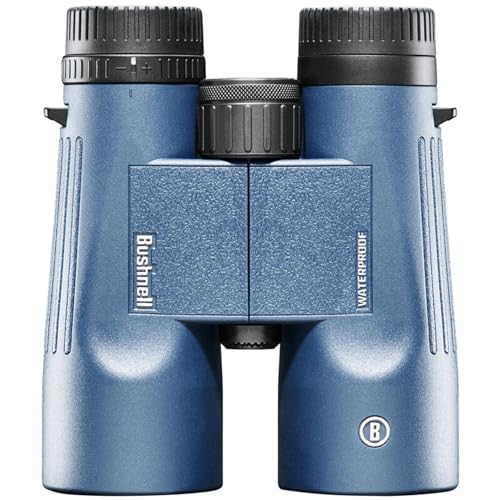
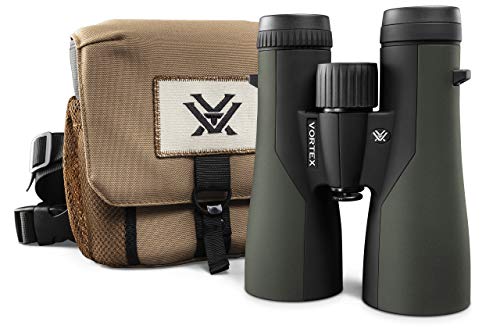
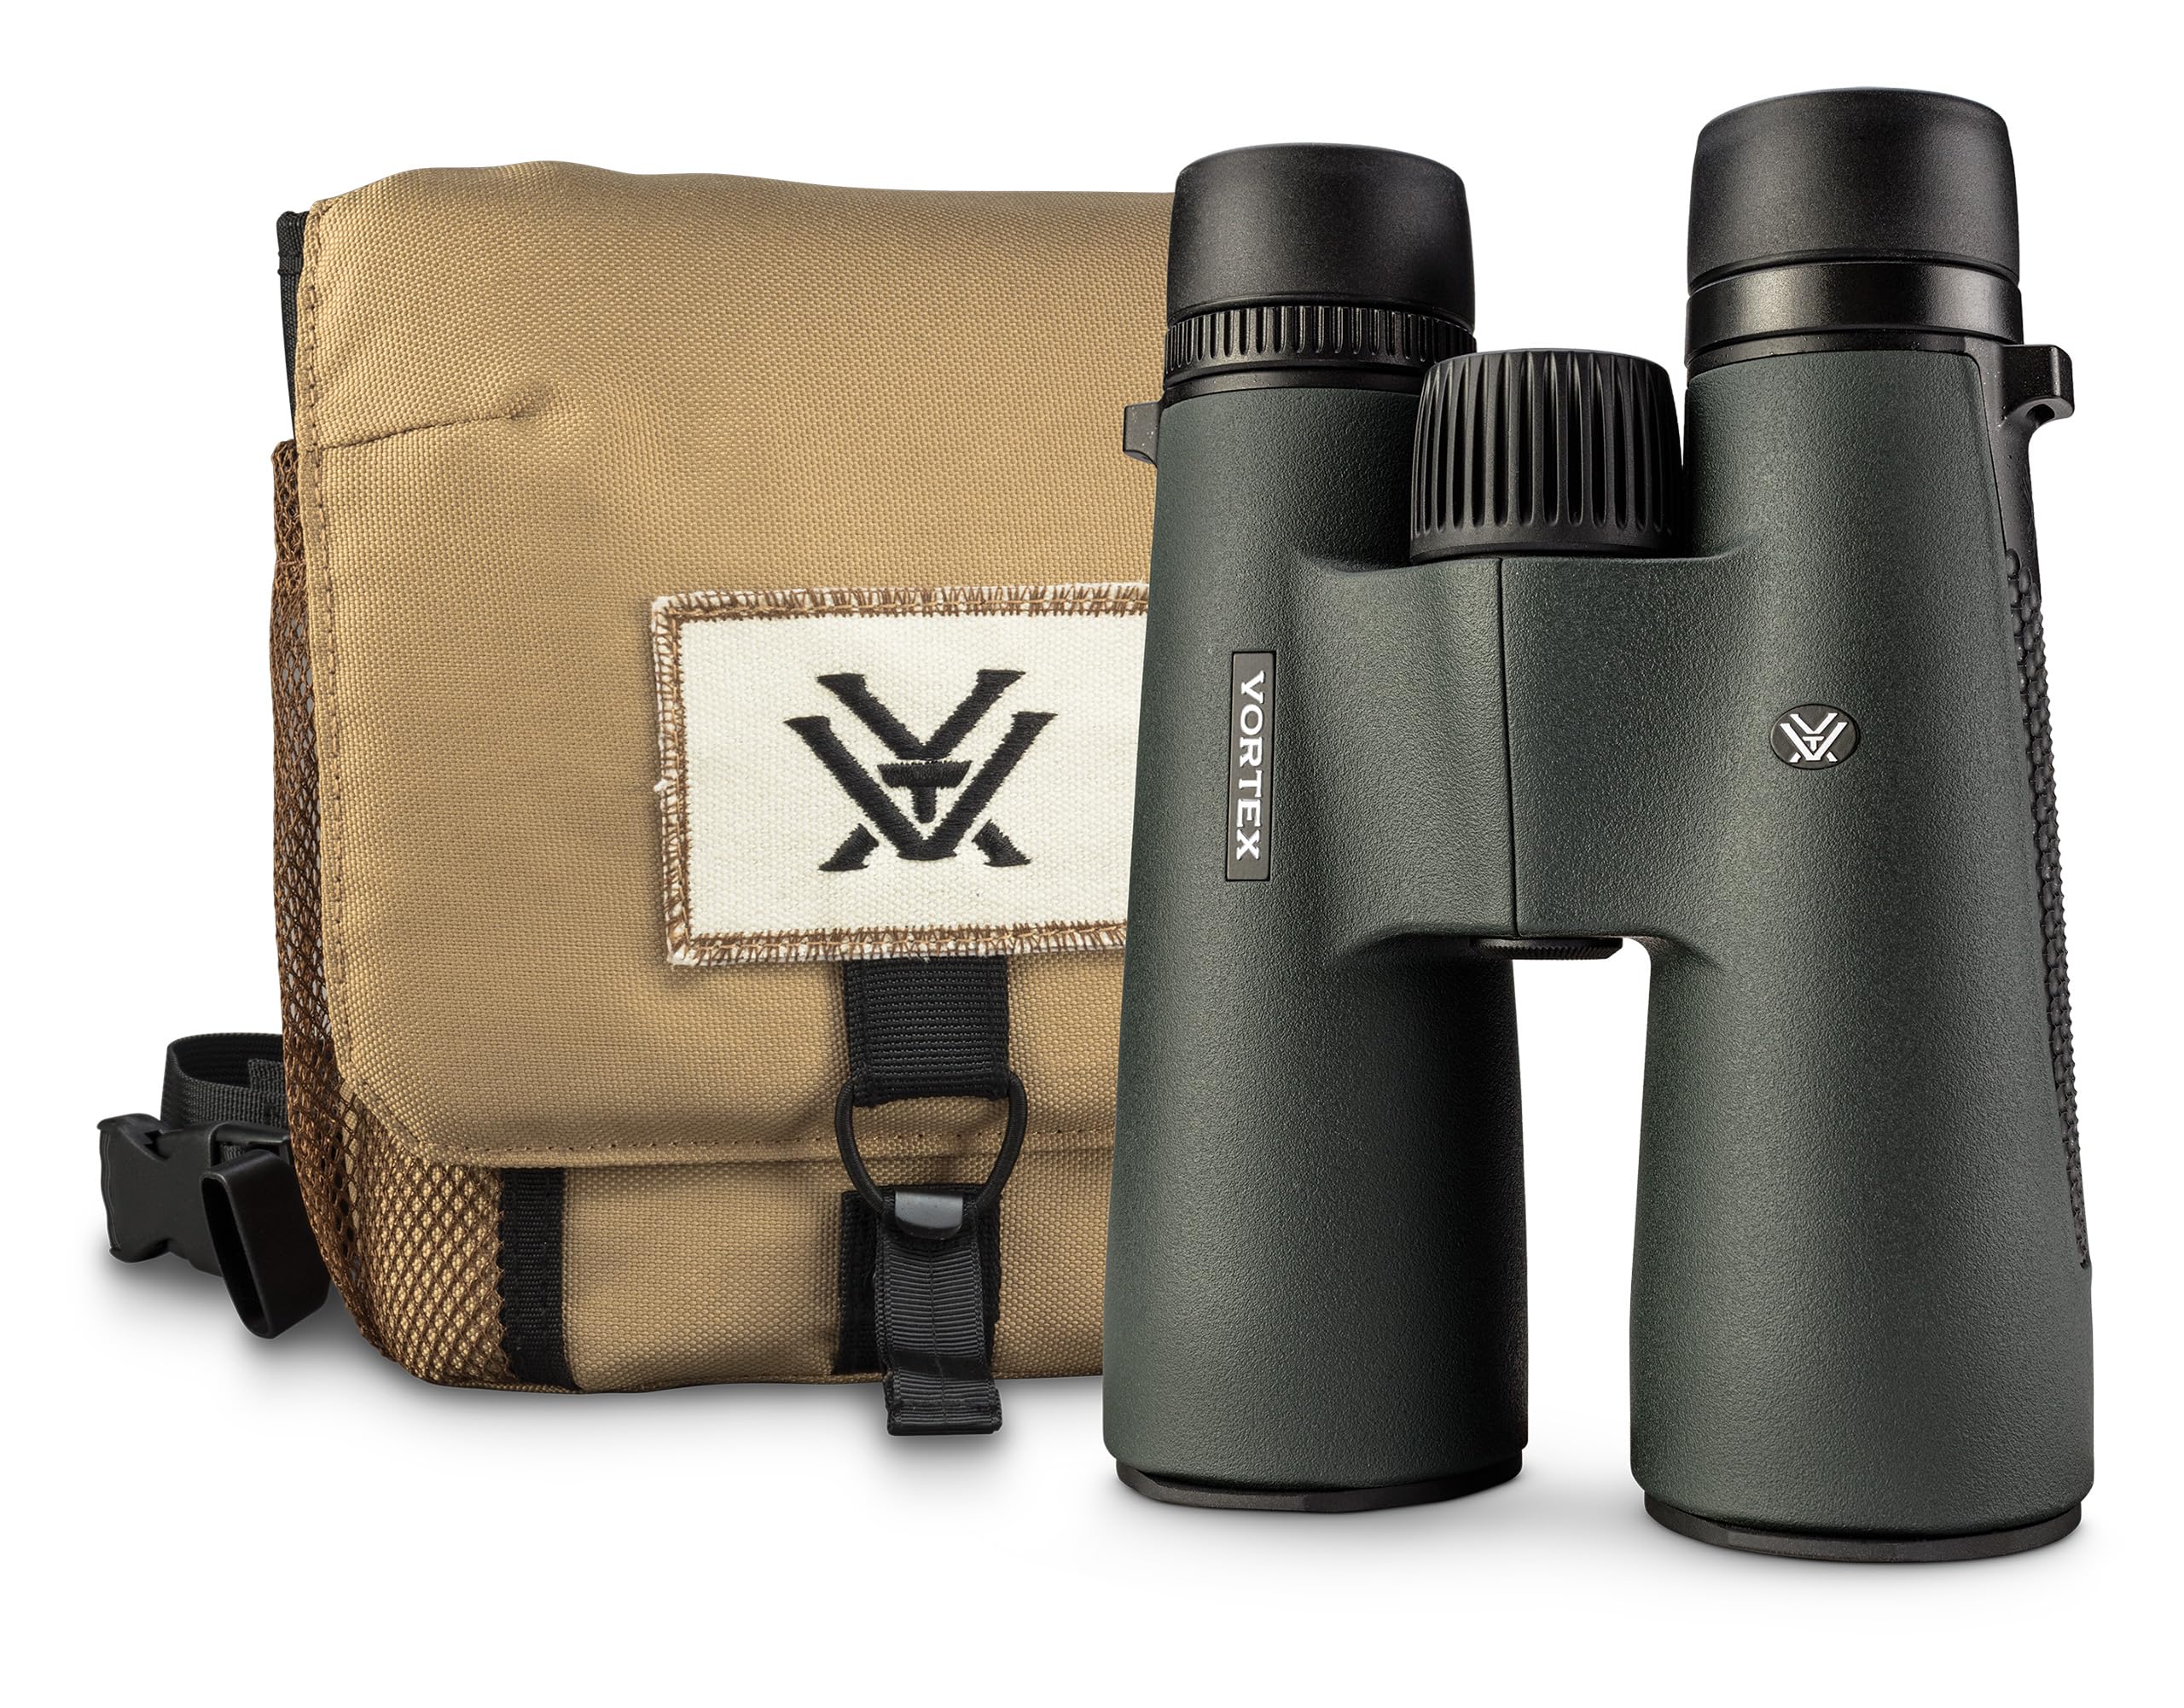
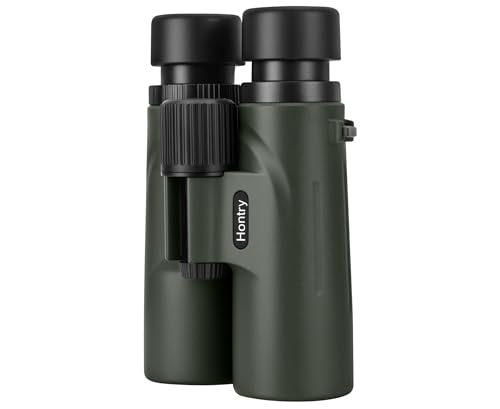
Binoculars 101: The Basics
Binoculars are two small telescopes joined by a hinge, so each eye gets its own magnified view and your brain combines them into one image with depth. Light enters through the large front lenses, called objective lenses, bounces through prisms that fold the light path, and leaves through the eyepieces near your eyes. That folded path is why a compact pair can still magnify well, and why prism quality and lens coatings affect brightness as much as size does.
Three controls matter most in daily use. The central focus wheel sharpens both barrels at once, the diopter control fine tunes one barrel for a difference between your eyes, and the hinge sets the distance between the barrels to match your face. Eyecups sit between the eyepieces and your eyes, and they twist up, fold down or stay fixed depending on the design. Once those four parts feel natural, the rest of the specifications become much easier to judge.
Key Specs Explained in Plain English
Specifications look intimidating at first, but each one answers a simple question: how close does the view feel, how bright is it, how wide is it and how heavy is it to carry. Read the sections below in order, and note which questions matter most for your own outings before you compare prices.
What You Can Realistically Get Under $200
Under $200 you can reasonably expect fully multi coated lenses, a sealed or water resistant body on many models, smooth central focus and a useful warranty. You may give up some low light brightness, the widest fields and the lightest premium materials found at higher prices, and that trade is usually fair for daylight and mild dusk use. Do not skimp on eye relief if you wear glasses, and do not trade a comfortable neck strap and solid hinge for a slightly higher magnification. A pair around $120 to $180 often hits the sweet spot for new buyers, with simpler models below it for short daytime outings.
Magnification and Objective Size
The numbers on the box, such as 8x42, tell you two things at once. The first number is magnification, so 8x makes a subject look eight times closer, while the second number is the objective lens size in millimetres. A 8x42 pair is a popular first choice because it feels steady, shows a wide field and gathers enough light for most daylight use.
A 10x42 pair shows more detail but shakes more in the hand, while a compact 8x32 or 10x32 pair weighs less and packs smaller. For a first pair, steadiness usually beats extra power.
Brightness and Low Light
Brightness depends on the objective size, the coatings and the exit pupil, which you can estimate by dividing objective size by magnification. A 8x42 pair gives an exit pupil of about 5.25 mm, while a 10x42 pair gives about 4.2 mm, so the 8x pair often looks brighter at dawn or dusk. Fully multi coated lenses lose less light than partly coated ones, and that difference shows most in shade or overcast light. No pair in this range turns night into day, and you should never look at the sun through binoculars, since focused sunlight can injure your eyes at once.
Focus, Eye Relief and Comfort
Focus feel matters every time you raise the pair, so look for a wheel that turns smoothly from near to far without sticking. Eye relief is the distance from the eyepiece to the point where the full image appears, and glasses wearers should look for about 15 mm or more. Twist up eyecups with several stops make that setting easy to repeat, while a diopter control helps when your two eyes focus differently. Weight and balance matter too: a pair that feels nose heavy after ten minutes will feel far worse after two hours on a trail.
Build, Size and Weight
Size and weight decide whether the pair travels with you or stays at home. Full size 42 mm models suit long outings and low light, mid size 32 mm models suit travel and spectating, and compact 25 to 28 mm models suit pockets and short walks. A rubber armoured body improves grip and cushions bumps, while a sealed body resists rain and dust. Check the case, the strap and the lens caps as well, since a pair that is awkward to carry or hard to protect will see less use than a simpler pair that packs well.
Rookie Mistakes to Avoid
- Buying the highest magnification: a shaky 12x view often shows less detail than a steady 8x view, especially without a tripod.
- Ignoring eye relief: if you wear glasses, short eye relief can cut off the edges of the image and make long sessions tiring.
- Judging by price alone: a well coated mid price pair often beats a larger, poorly coated pair that only looks impressive on paper.
- Forgetting the carry check: hold the pair for a few minutes, check the strap length and imagine it around your neck for a full morning.
- Skipping the warranty: read what is covered for seals, coatings and hinges, and keep the receipt and the box until you are sure the pair suits you.
Getting Started: Setup and First Use
Start by setting the eyecups to suit your eyes, lowest for glasses and raised for viewing without glasses. Open the hinge until both barrels line up with your eyes and you see one merged circle rather than two overlapping ones. Focus on a distant sign with the central wheel, then close one eye and adjust the diopter until the same sign looks sharp for the other eye.
Use a lens cloth, not your shirt, to clean the lenses, since fabric can carry grit that scratches coatings. Carry a spare lens cloth in the case, store the pair in a dry padded bag, and practise on still subjects such as signs and rooftops before you try to follow fast moving birds.
FAQs
Can you get good binoculars for under $200?
Yes, you can get a good pair under $200 for most daylight uses, including birding, hiking, games and travel. Expect fully multi coated lenses, smooth focus and a sealed or water resistant body on many models in this range. You may give up some low light brightness and the widest fields found at higher prices, but those limits rarely spoil a first pair. Choose steady magnification, comfortable eye relief and a weight you will carry, and the pair will serve you well.
What does 8x42 or 10x42 mean?
The first number is magnification and the second is the objective lens size in millimetres. A 8x42 pair makes a subject look eight times closer through a 42 mm front lens, while a 10x42 pair makes it look ten times closer through the same size lens. The 8x pair usually feels steadier and shows a wider field, while the 10x pair shows more detail when your hands are steady. New buyers often start with 8x42 because the view is easier to hold and easier to enjoy.
Which is better for low light?
A larger exit pupil usually helps in low light, so a 8x42 pair often beats a 10x42 pair at dawn or dusk. Coatings matter as well, since fully multi coated lenses lose less light than partly coated ones. Prism quality and internal blackening also affect contrast, which is why two pairs with the same numbers can look different in shade. For the best low light value under $200, favour a 42 mm objective, strong coatings and steady 8x magnification over extra power.
How much should I spend on my first one?
Most first time buyers do well around $120 to $180, where coatings, sealing and focus feel are usually solid. Simpler compact models below that range suit short daytime outings, while models near the top of the range add brightness and tougher sealing for longer trips. Spend the extra money on eye relief, coatings and a comfortable strap before you pay for higher magnification. A pair you enjoy carrying will teach you far more than a powerful pair you leave behind.
What specs matter most for beginners?
Beginners should start with magnification, eye relief, field of view and weight, in that order. Magnification sets how steady the view feels, eye relief decides whether glasses wearers see the full image, field of view decides how easily you find a subject, and weight decides how long you will carry the pair. Objective size and coatings come next, once those four feel right. A simple pair that scores well on the first four is a better teacher than a complex pair with features you rarely use.
Is a smartphone enough instead?
A smartphone is handy for photos and notes, but it cannot match the live, bright and steady view of binoculars at a distance. A phone screen washes out in bright sun and shows only a narrow slice of the scene, while binoculars let both eyes work together for depth and comfort. Many people use both tools together, watching through binoculars and recording with a phone when needed. If watching matters more than recording, binoculars remain the better main tool for the outing.
Wrapping Up
Three checks will guide you well: steady magnification you can hold, enough eye relief for your eyes and glasses, and a size and weight you will actually carry. Use the product table to compare those points across the options in your budget, and favour coatings and handling over headline numbers. When those checks pass, best binoculars for under $200 becomes a practical choice rather than a gamble. If you notice persistent eye pain or vision changes during long sessions, talk with an eye care professional rather than pushing through the strain.
For hunting outings, see our guide to best hunting binoculars under $200, and for birding trips see our guide to best birding binoculars under $200. A compact option is covered in our guide to best small binoculars under $200, while a classic size is covered in our guide to best 8x42 binoculars under $200. Trying a pair in your hands and checking comfort and focus is the final step that matters most.


