
Best Binoculars for Archery Hunting: Everything to Know Before Your First Purchase 2026
Disclosure: We may earn a commission when you buy through links on this page, at no extra cost to you. As an Amazon Associate I earn from qualifying purchases. Learn more

A first time buyer guide to the best binoculars for archery hunting: magnification, objective size, low light and fit.
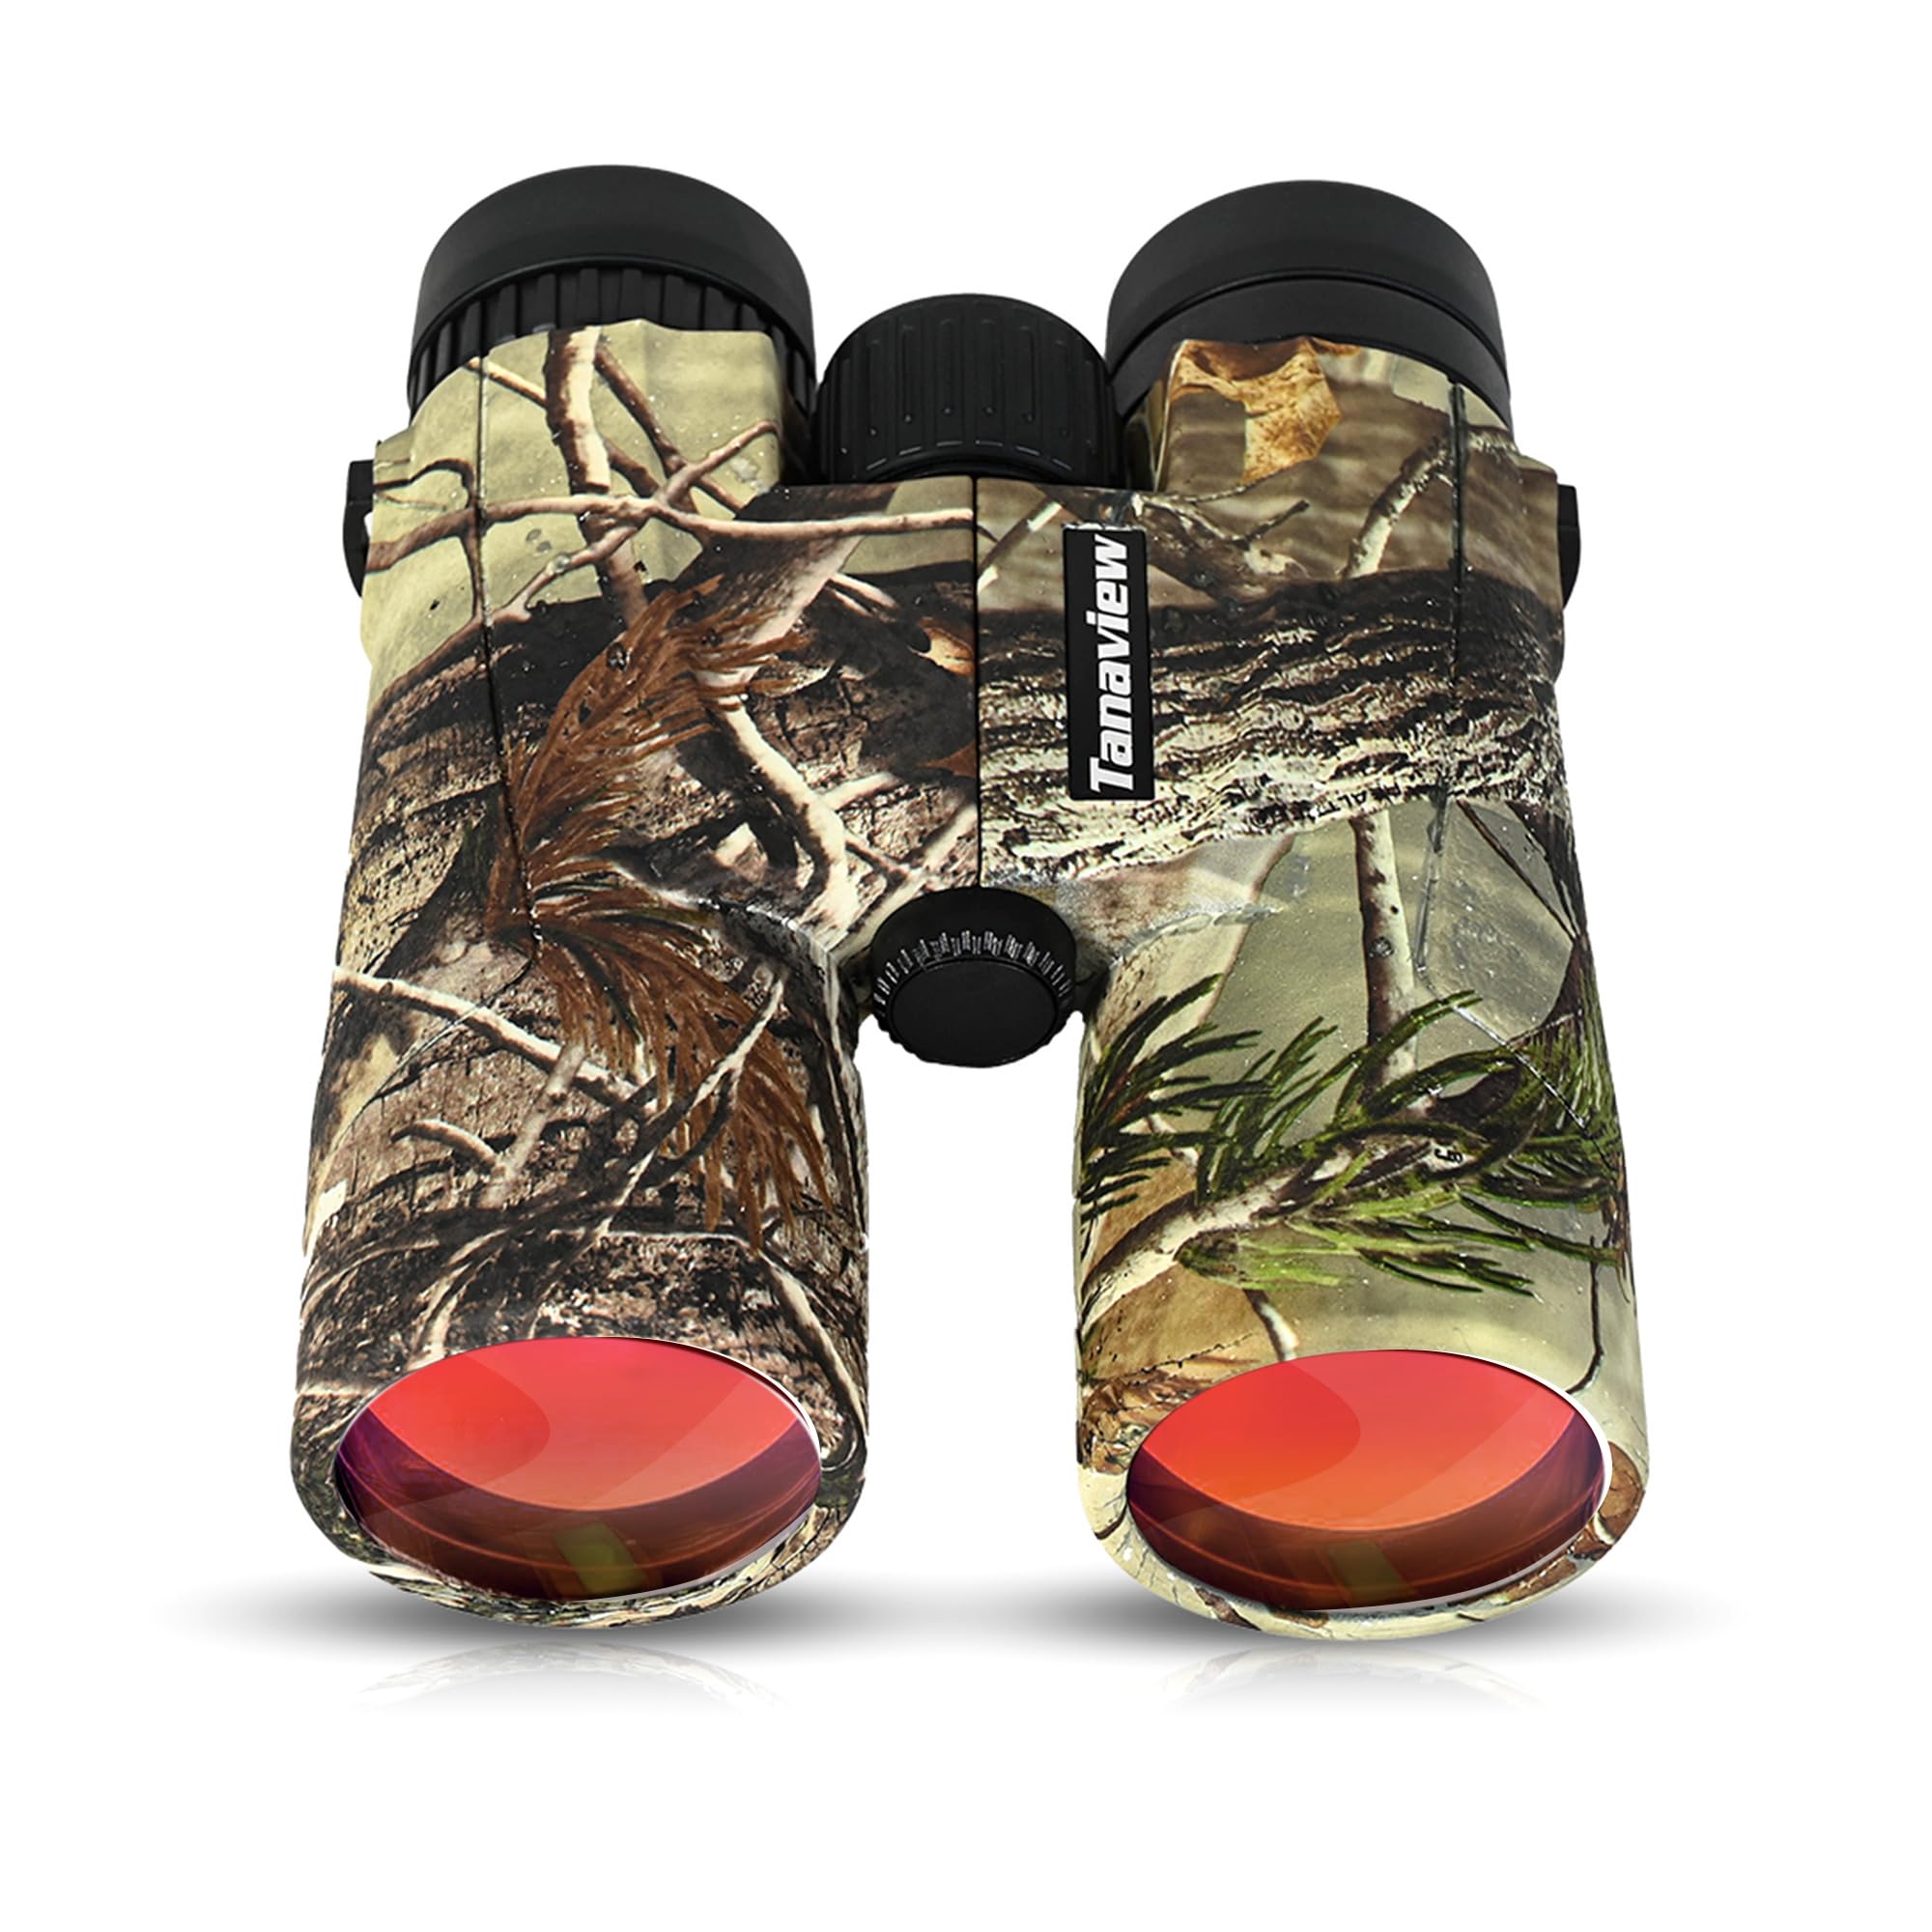
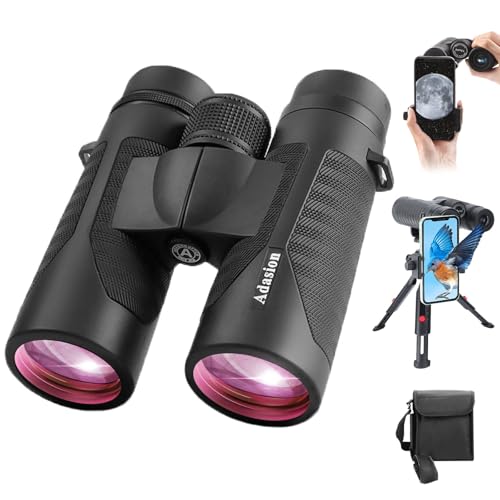
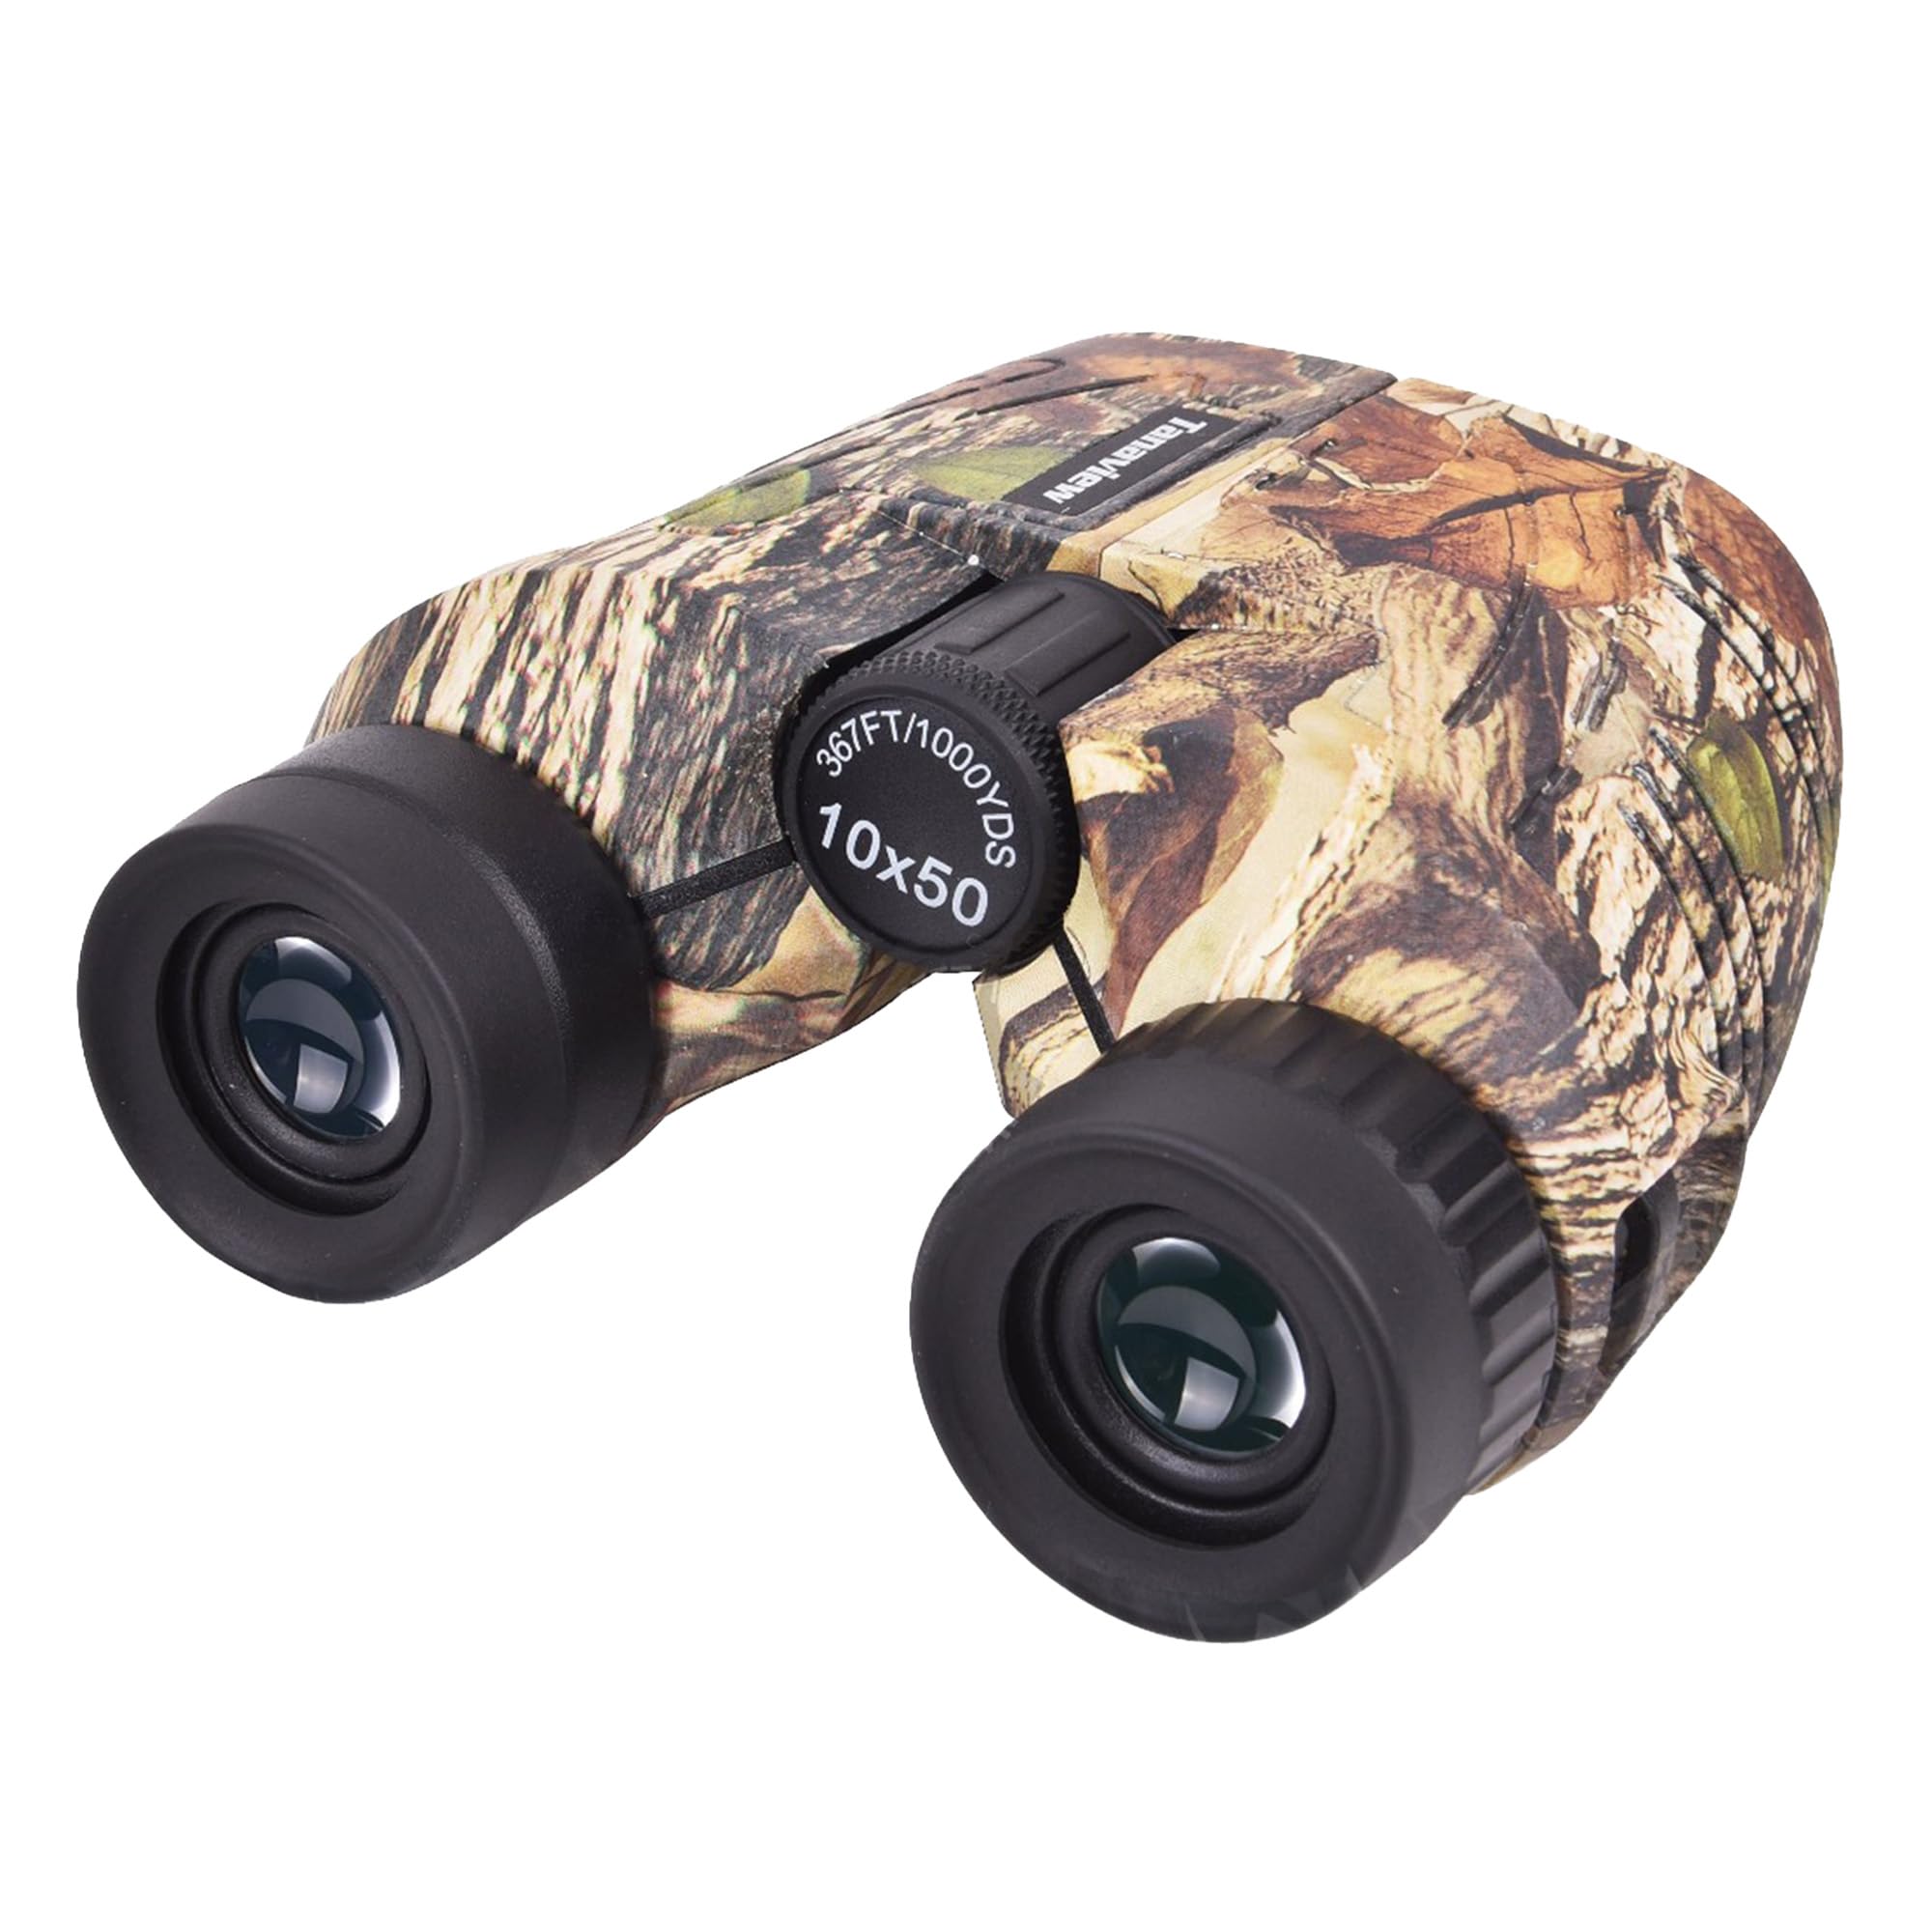
Buying your first pair for the field can feel confusing, because the numbers on the box look technical and the choices look alike at first glance. This guide starts with the basics, explains the terms in plain language, and helps you match a pair to the way you actually hunt. If you want the best binoculars for archery hunting that feel steady, bright enough at dawn, and comfortable on a long walk, the details below will help you narrow the field without guesswork. The product table gives a quick side by side view of the picks before you read the detail.
Archery hunting asks more from glass than casual viewing does. You may need to judge an animal at distance and pick out body shape through brush. A good first pair needs clear glass, a magnification you can hold steady, enough light gathering for early and late hours, and a fit that works with your hands and harness.




Binoculars 101: The Basics
A pair of binoculars is two small telescopes joined together so both eyes see the same scene at once. Light enters through the large front lenses, called objective lenses, passes through prisms that turn the image the right way up, and leaves through the eyepieces near your eyes. The result is a magnified view that still feels natural, with depth that helps you judge distance and shape in the field.
The main number pair, such as 8x42, tells you two things. The first number is magnification, so 8x means the subject looks eight times closer than with the naked eye. The second number is the diameter of each objective lens in millimeters, so 42 means fairly large front lenses that gather a useful amount of light. Larger objective lenses usually gather more light, but they also add size and weight, which matters on a long stalk.
Prism design affects shape and handling. Roof prism models tend to be straight and slim, which suits a chest harness. Porro prism models tend to be wider, with a shape many people find easy to grip. Notice how a pair sits in your hands and how smoothly it focuses.
Key Specs Explained in Plain English
The terms below sound technical, but each one answers a simple field question. Use them to compare pairs on the same basis, and do not let one impressive number distract you from comfort, brightness, and steadiness. The best first pair is usually the one you can use well in poor light, in wind, and after a long walk.
Features That Matter for Archery Hunting
Archery hunting often means close to mid range glassing, careful movement, and long periods of watching. You need a wide enough field of view to find an animal quickly, enough detail to judge it, and a focus control that lets you move from near brush to a distant ridge without fumbling. A harness helps keep the pair close, steady, and quiet, and it spreads weight across your shoulders on a long day.
Glass, Coatings and Image Quality
Image quality in binoculars comes from the glass, the coatings on the glass, the prism quality, and the way the optics are aligned. Good coatings reduce glare and help colors look natural, while well aligned optics keep the view sharp across the field rather than sharp only in the center.
Low Light Performance
Low light performance depends on objective size, exit pupil, glass quality, and coatings working together. Exit pupil is the small circle of light that reaches your eye, and you can estimate it by dividing objective size by magnification. An 8x42 pair gives an exit pupil of about 5.25 millimeters, which suits many eyes in dim light, while a smaller pair may feel dim at dawn or dusk.
Ease of Use for Your Skill Level
For a first pair, simple controls beat a long feature list. A central focus wheel should move smoothly from close brush to distance, and the diopter control should let you set the view for the difference between your two eyes. Once set, you should be able to raise the pair and focus quickly without thinking about the controls.
Eye relief matters if you wear glasses, because it is the distance from the eyepiece to the point where the full view appears. Twist up eyecups help you find that distance, and a comfortable fit reduces eye strain during long sessions. If a pair feels awkward in the first few minutes, it is unlikely to feel better after three hours.
Battery Life and Electronics
Most plain binoculars need no battery at all, because they use glass and prisms rather than electronics. Battery life only becomes a question if you choose a model with built in stabilization, a rangefinder, or a digital display. In that case, check how the model is powered, how long it runs in cold weather, and whether you can carry a spare power source.
For a first pair, keeping things simple has real value. A pair with no battery to charge is ready whenever you reach for it. If you later want electronic help, judge it after you know how much glassing you do and how much weight you will carry.
Rookie Mistakes to Avoid
New buyers often make the same few mistakes, and most are easy to avoid once you know them. Keep this list in mind while you shop, and compare each pair against your real hunting routine rather than against a single impressive specification.
- Choosing the highest magnification first. More power narrows the field of view and magnifies hand shake, so a steady 8x view often beats a shaky 10x view in the field.
- Ignoring fit and weight. A pair that feels fine in a shop can feel heavy after miles on foot, so check balance, grip, and how it rides in a harness.
- Forgetting low light. Many hunts start and end in dim light, so brightness, coatings, and a sensible objective size matter more than a small gain in power.
- Skipping weather sealing. Rain and dust are common, and a sealed pair with a simple cleaning routine will stay useful for more seasons.
- Looking at the sun through the glass. Never point binoculars at the sun, and follow the manufacturer's instructions on safe use.
Getting Started: Setup and First Use
When your pair arrives, set the diopter first. Look at a distant, high contrast object, close one eye, focus with the central wheel, then switch eyes and adjust the diopter until both views feel sharp. This one time setup makes every later use faster, because you will only need the central wheel for normal focusing.
Practice at home before you hunt. Try finding a distant fence post, a bird on a branch, and a shape in shade, and notice how quickly you can find each target. Use a lens cloth, not your shirt, to clean the glass, because fabric can trap grit and leave scratches over time.
Store the pair in a dry, padded bag, keep the lens covers handy, and learn the harness adjustment before you are in the field. Follow local hunting rules for your area, including season dates, permitted areas, and rules about the game you pursue.
FAQs
What features matter most in the best binoculars for archery hunting?
A steady magnification, a wide enough field of view, and a bright low light view matter most, because archery hunting often involves careful glassing at moderate range. Weather sealing, a smooth focus wheel, and a comfortable harness fit also matter, since they affect how quietly and how long you can glass. Glass quality and coatings deserve more attention than a single headline number, because they shape clarity in dawn, dusk, and shade. Choose the pair that you can hold steady and focus quickly.
What does 8x42 or 10x42 mean?
The first number is magnification, so 8x makes a subject look eight times closer and 10x makes it look ten times closer. The second number is the objective lens diameter in millimeters, so 42 means fairly large front lenses that gather a useful amount of light. An 8x42 pair usually gives a wider, steadier view than a 10x42 pair, while a 10x42 pair gives more detail but magnifies hand shake. Many first time buyers find 8x42 easier to use, especially in low light and on foot.
Is a smartphone enough instead?
A smartphone can record a scene and zoom in after the fact, but it is not a good substitute for glassing in the field. A phone screen is hard to read in bright light, digital zoom loses detail quickly, and holding a phone steady at distance is difficult. Binoculars give a live, three dimensional view with depth, which helps you judge shape, movement, and distance through brush. A phone is useful for notes and photos, but it does not replace a dedicated pair for hunting.
What specs matter most for beginners?
Beginners should focus on magnification, objective size, field of view, eye relief, and weather sealing, because those specs shape everyday use. A steady 8x magnification, a 42 millimeter objective, and a wide field of view make finding and following a subject easier. Eye relief matters if you wear glasses, and weather sealing matters in rain and dust. Avoid chasing the highest numbers in every category, and instead look for a balanced pair that feels comfortable and focuses smoothly.
How much should I spend on my first one?
A useful first pair can be found at around $150 to $350, with more money usually buying better glass, coatings, and sealing rather than more magnification. Below that range, you may accept narrower fields, weaker low light views, or less durable construction. Above that range, gains become subtler and matter most to frequent hunters. Set a budget that leaves room for a harness and a lens cloth, and judge each pair by clarity, steadiness, and fit rather than by price alone.
Which is better for low light?
A pair with a larger objective, strong coatings, and a steady magnification usually performs better in low light than a high power pair with weaker glass. An 8x42 pair is a common first choice because it balances brightness, field of view, and steadiness. Twilight factor can help as a rough guide, but real world clarity depends on glass quality and alignment as well. If dawn and dusk matter most to you, favor a bright, clean view over extra power, and try the pair in dim light when you can.
Wrapping Up: Choosing the Best Binoculars for Archery Hunting
Your first pair should make glassing easier, not more complicated. Look for a steady magnification, a bright low light view, weather sealing, and a fit that works with your hands and harness. Check focus speed, eye relief, and balance, and remember that a clean, comfortable view will serve you better than a higher number on the box. The right choice is the pair you will actually carry, raise quickly, and trust in poor light.
Start with an 8x42 style pair if you want a forgiving first option, then move up in power only after you know your style and your terrain. Keep a lens cloth in your pocket, store the pair dry and padded, and follow local hunting rules on every trip. With the best binoculars for archery hunting chosen for clarity and comfort, you can spend less time fighting your gear and more time reading the ground ahead. The product table is a good place to compare the picks once more before you decide.
For carrying comfort, see our guide to the best binoculars harness for hunting. If budget is tight, the best inexpensive binoculars for hunting are worth a look, and the best rated binoculars for hunting help you compare glass quality across price levels.
For bow specific needs, read about the best binoculars for archery. If deer are your quarry, the best binoculars for deer hunting cover the field of view needs of that style of glassing.


