Best Bike Pump for Mountain Bike: A Buying Guide for 2026
Disclosure: We may earn a commission when you buy through links on this page, at no extra cost to you. As an Amazon Associate I earn from qualifying purchases. Learn more

Find a mountain bike pump that matches your tyres, from high volume trail pumps to shock pumps, with guidance on valves, gauges, and trail carry.
Mountain bike tires run wide and soft compared with road tires, so best bike pump for mountain bike means something different from a general bike pump. The comparison table below sets out floor pumps, trail pumps, and shock pumps, so you can see which tool fits each job. Picking the wrong type leaves you pumping far longer than the trail allows.
This guide explains high volume versus high pressure designs, valve and gauge choices, and how to carry a pump on the trail. It also covers tubeless setup and shock pressure, two jobs where the right pump saves real frustration.



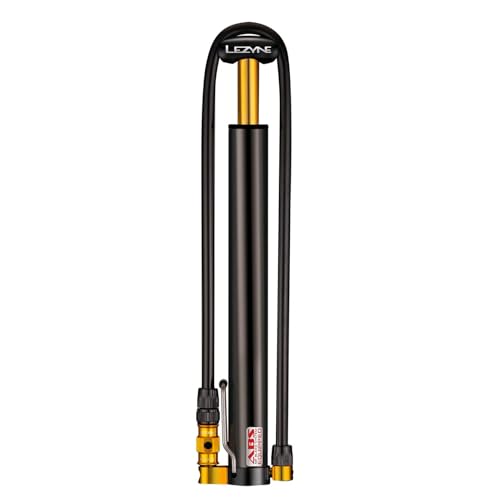

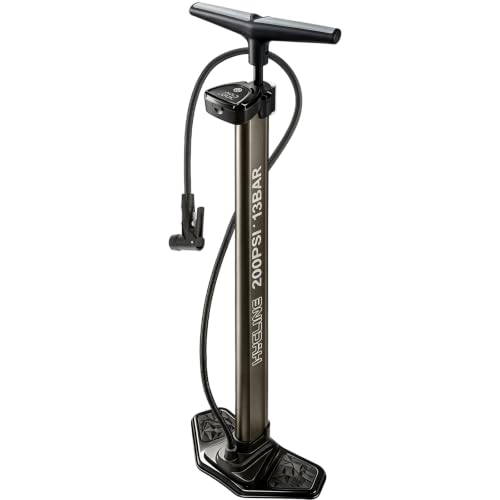


Who Should Buy
For Trail Riders
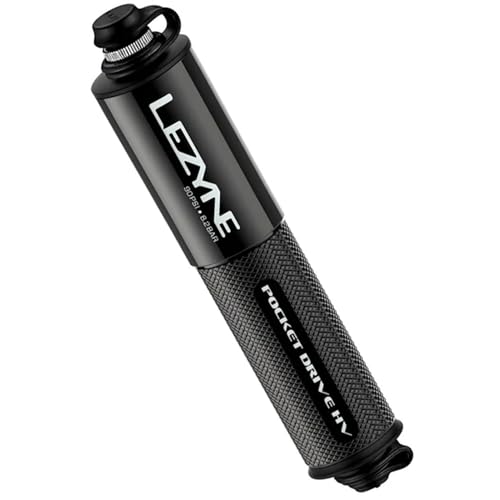
Trail riders need a pump that tops up wide tires quickly after a puncture or a pressure adjustment on the trail. A high volume mini pump with a hose head suits this job, since it moves plenty of air without stressing the valve. A frame or pack mount keeps it within reach when a tire goes soft mid ride.
For Home Workshop Mechanics
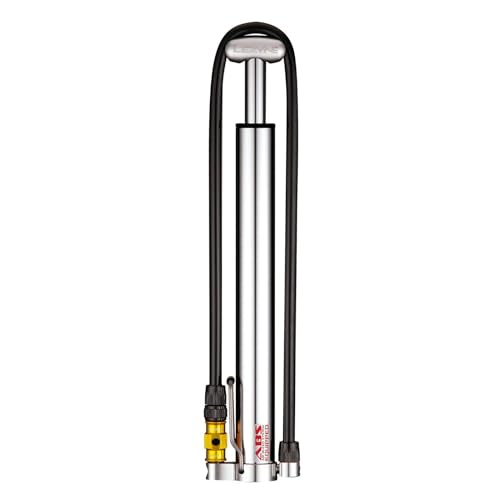
Home mechanics need a floor pump with a stable base and an accurate gauge for regular setup. A large barrel fills wide tires in few strokes, and a clear gauge helps you repeat your preferred pressure. A floor pump also handles tubeless seating better when paired with a proper tubeless setup routine.
For Suspension Tuners
Riders who adjust fork and shock pressure need a dedicated shock pump, not a tire pump. Shock pumps reach very high pressures in tiny air chambers and include a no loss head that keeps air in the shock when you disconnect. Using a tire pump on suspension wastes time and gives unreliable readings.
Key Features to Compare
High Volume Versus High Pressure
High volume pumps move more air per stroke and suit wide mountain bike tires at 25 to 40 psi. High pressure pumps use narrow barrels to reach higher pressures with less force, which suits road tires and suspension chambers. For mountain bike tires, favor volume first, since you rarely need more than 40 psi in a tire.
Gauge Accuracy
A gauge helps you repeat pressures, but small pump gauges can read several psi off. Use the gauge as a guide and check with a separate gauge at home until you learn how your pump reads. Digital gauges tend to read more clearly, while analog gauges survive drops and dead batteries better.
Valve Fit and Hose Design
Mountain bikes mostly use Presta valves, though some use Schrader, so check your valves before buying. A hose head protects the valve stem during pumping on rough ground and makes it easier to reach valves on deep rims. Locking heads hold firm at higher pressures and reduce air loss when you disconnect.
Trail Carry and Mounting
A trail pump must ride securely without rattling or snagging on trailside brush. Frame mounts under the bottle cage work well, while pack carry suits riders who prefer a clean frame. Check the mount on rough ground before a long ride, and check that the pump does not interfere with suspension movement.
To compare pump types in more depth, see the related guides on best mountain bike shock pumps, best mountain bike floor pump, best mini pump for mountain bike, best hand pump for mountain bike, and best mountain bike tire pump.
Tubeless Tires and Shock Pressure Basics
Tubeless tires need a fast burst of air to seat the bead against the rim, and a standard mini pump often cannot deliver it. A floor pump with a large chamber, or a pump with a built in air chamber, seats most tubeless tires at home. On the trail, a tube remains the reliable fallback if a tubeless tire will not reseat.
Shock pressure changes ride feel more than most riders expect, so record your settings when you find a setup you like. Add or remove air in small steps and check the trail feel before changing again. The product table above shows which pump types cover tires, tubeless seating, and suspension work.
Common Mistakes to Avoid
- Using a high pressure road pump on wide tires and pumping far longer than needed.
- Guessing tire pressure instead of checking with a gauge you trust.
- Using a tire pump on suspension and getting unreliable pressure readings.
- Carrying a trail pump with a loose mount that rattles off on rough descents.
Setup and Care Tips
Clean grit from the pump head and hose after muddy rides, since grit wears seals and blocks valves. Check the hose for cracks and the gauge for fogging or sticking before long rides. Store the pump dry and keep the head capped if it includes a dust cover.
For shock pumps, release pressure from the hose after use and store the pump with the head protected. Never force a shock pump head onto a valve that does not fit, since damaged valve cores leak and ruin suspension setup.
Dialing In Pressure for Different Trails
Trail surfaces change ideal tire pressure more than many riders expect, so treat pressure as a setting to adjust, not a number to set once. Rocky trails reward slightly higher pressure that protects rims from strikes, while smooth flow trails allow lower pressure for extra grip. Start from your usual pressure and adjust by two psi at a time, noting how each change feels.
Front and rear tires often deserve different pressures, since weight sits mostly over the rear wheel. Running the rear a few psi higher than the front balances grip and rim protection across both wheels. Heavier riders should add pressure to both tires, while lighter riders can run less without risking rim strikes on moderate terrain.
Wet trails call for lower pressures that spread the tire over slippery roots and rocks, giving the tread more chance to grip. Mud also packs into tread, so check tires after muddy sections and clear packed mud before judging grip. Dry dusty trails, by contrast, reward slightly firmer tires that roll faster and resist squirming in loose corners.
Record pressures that work for your favorite trails, since memory fades between rides. A note on your phone with trail name, conditions, and front and rear pressures builds a personal setup guide over a season. When you change tires, revisit those notes, since a new tread pattern or width shifts ideal pressure noticeably.
Finally, treat your trail pump as part of your setup kit rather than emergency gear alone. Use it for small adjustments at the trailhead, where a few psi can transform a ride. A pump you use often stays familiar, and familiarity means faster, calmer adjustments when conditions change mid ride.
Frequently Asked Questions
What pressure should mountain bike tires run?
Most mountain bike tires run between 25 and 40 psi, depending on rider weight, tire width, and terrain. Heavier riders and narrower tires need more pressure, while lighter riders and wider tires can run less. Start near the middle of that range and adjust in small steps until grip and rim protection feel balanced.
Can a mini pump seat a tubeless tire?
A mini pump rarely seats a tubeless tire, because seating needs a fast burst of air rather than slow steady strokes. A floor pump with a large air chamber works far better at home. On the trail, fitting a tube is the reliable fallback when a tubeless tire will not seat.
Do I need a separate shock pump?
Yes, if you adjust fork or shock pressure, since suspension chambers need very high pressures in tiny volumes. A shock pump includes a no loss head that keeps air in the shock when you disconnect. A tire pump cannot reach those pressures accurately and wastes air on disconnect. Suspension setup rewards precision, so a dedicated shock pump pays for itself the first time you tune sag properly.
How do I know my pump gauge is accurate?
Compare your pump gauge against a separate pressure gauge at home across several pressures. If the pump reads consistently high or low by a few psi, note the offset and adjust your target. Replace a gauge that sticks, fogs, or jumps erratically, since unreliable readings lead to poor setup. Write the offset on a small label on the pump so trailhead adjustments stay consistent every time.
Where should I mount a trail pump?
Frame mounts under the bottle cage keep the pump secure and reachable without opening a pack. Pack carry suits riders who dislike frame clutter or ride very rough terrain. Either way, check the mount on rough ground first so the pump cannot rattle loose or snag brush mid ride.
Final Thoughts
Mountain biking rewards a pump matched to the job: high volume for wide tires, a floor pump for home setup, and a dedicated shock pump for suspension. Gauge accuracy and hose design matter as much as raw pressure, and secure trail carry keeps the pump where you need it. The product table above lays out those choices clearly.
Set your pressures, record them, and check your pump before the trail checks it for you. With the right setup, best bike pump for mountain bike becomes a short list of tools that keep every ride rolling.