
Best Bike Helmet Cameras: A Buyer Checklist for 2026
Disclosure: We may earn a commission when you buy through links on this page, at no extra cost to you. As an Amazon Associate I earn from qualifying purchases. Learn more

A buyer checklist for the best bike helmet cameras, covering mount position, battery life matched to ride length, weight, weather sealing, and recording limits.
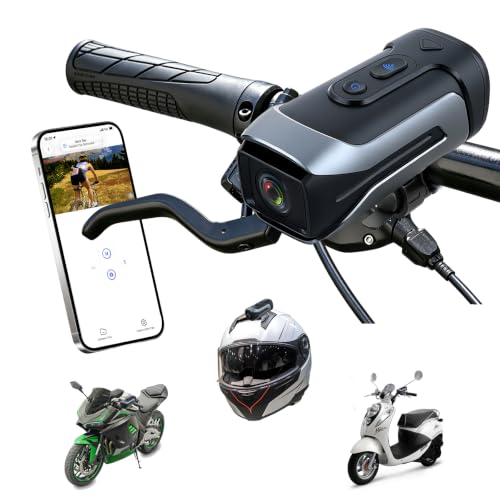
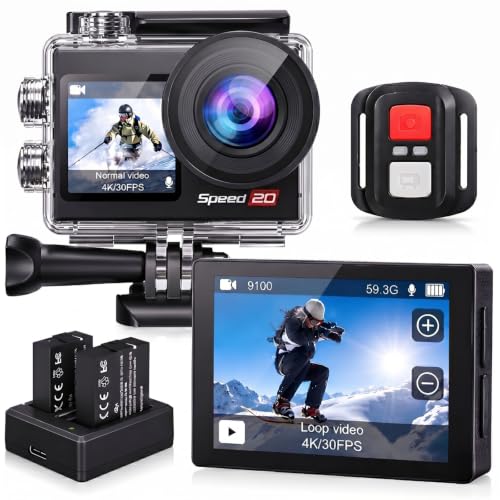
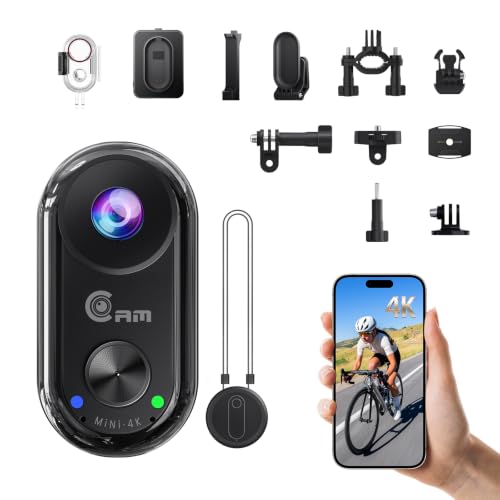
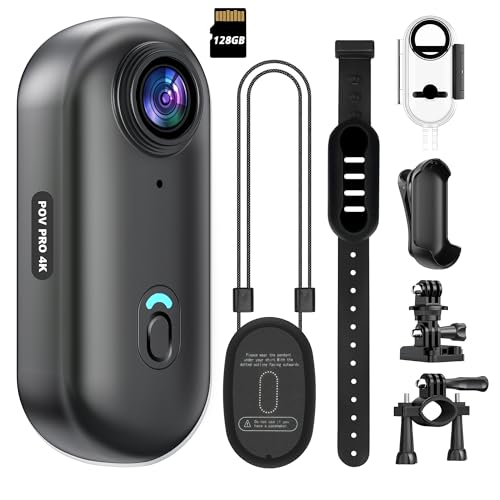
A helmet camera has to pass a tougher test than most gadgets: it must stay put, keep recording, and stay out of your way for hours. This checklist walks you through the checks that matter when you compare the best bike helmet cameras, in the order a rider feels them on the road or trail. The comparison table below lines the main types up side by side so you can shortlist before you read on.
Work through each check with your own rides in mind, because the right answers change with ride length, terrain, and weather. Riders who are still deciding where a camera should live can start with our broader guide to best bike cameras, which covers bar and chest mounts as well.



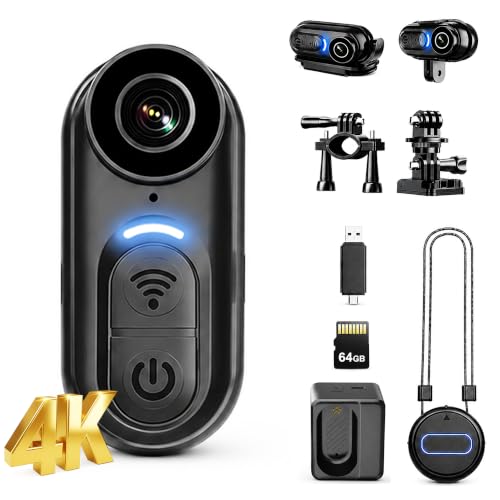

Key Features to Compare
Five checks do most of the work in this category. Run a candidate camera through each one and it will sort itself into the right price band quickly. For a deeper look at mounting options across helmet types, see our guide to best cameras for helmets.
Mount Position Comes First
The mount is the decision that governs everything else, and it is read as a position choice before it is anything else. A top mount sees over cars and trail traffic, but it catches low branches and makes the helmet feel tall in a headwind. A side mount sits closer to your eye line and slips under branches, while a chin mount on a full face helmet gives the steadiest view of the trail ahead. Check that the mount matches your helmet shell shape, because a flat base on a curved shell rocks loose.
Battery Life Matched to Your Ride
Battery life is read as a ride length figure, not a headline number. Match the rated recording minutes to your longest regular ride, then add a margin, because cold mornings and high frame rates both cut real runtime short. Cameras with a swappable battery let you carry a spare and keep rolling on long days, while sealed units must be recharged between rides. A battery that dies an hour into a three hour ride fails the only test that matters, no matter how good the sensor is.
Weight and Your Neck
Weight is read as a neck comfort figure, because every gram of camera sits on top of your head for the whole ride. Light units in the range of about 80 to 120 grams disappear on a commute, while heavy units above about 180 grams start to pull on long or rough rides. The mount adds grams too, so weigh the full setup, not the camera alone. If you ride for hours at a time, choose the lightest camera that still meets your battery and sealing needs.
Image Quality and Stabilization
On a moving helmet, stabilization matters more than raw pixel counts. Strong electronic stabilization keeps trail footage watchable, while a higher resolution mainly buys you room to crop the frame later. A wide field of view suits trails and group rides, and a narrower view reads road signs and plates better on a commute. Riders who mainly want still photos should know this is a different tool from the best digital cameras, which trade motion handling for far larger sensors.
Weather Sealing and Durability
Riding means rain, dust, and the odd branch strike, so sealing is a working spec rather than a bonus. Look for a stated water resistance rating and sealed covers over the charging port and card slot. A replaceable lens cover is worth real money, because the lens is the part most likely to meet gravel. Buttons you can press with gloves on matter more in winter than any app feature, so check control size before you buy.
What Each Price Band Gets You
Entry level cameras at about $60 to $120 usually record at 1080p with basic stabilization, modest battery life, and splash level sealing, which is enough for fair weather commuting. Midrange cameras at about $120 to $250 add stronger stabilization, longer or swappable batteries, and sealing you can trust in steady rain. Cameras above about $250 add higher frame rates, larger sensors for low light, and tougher housings. Spend where your riding actually hurts: trail riders gain most from stabilization, and all weather commuters gain most from sealing and battery.
Quick Buyer Checklist
- Does the mount base match the curve of your helmet shell?
- Does the rated battery life cover your longest ride with time to spare?
- Can you swap the battery, or carry a small power bank instead?
- Is the full mounted weight comfortable for a full day of riding?
- Is the sealing rating high enough for the rain you actually ride in?
- Can you start and stop recording with gloves on?
- Is the lens cover replaceable when (not if) it gets scratched?
- Does the camera loop record, so a full card never stops a ride?
Red Flags to Watch For
- A resolution claim written only as HD or high definition, with no pixel numbers anywhere in the listing.
- No battery figure stated in minutes, or a figure quoted only at the lowest frame rate.
- No stated water resistance rating on a camera sold for outdoor riding.
- A mount held on by a single stretch strap, with no rigid base option for rough trails.
- A burst of near identical praise posted within a few days, which says more about marketing than about the camera.
Recordings, Evidence, and Local Rules
Be clear about what footage is: a recording is a memory aid that shows what the lens saw from one angle, with gaps before you pressed record and after the battery faded. It never proves a claim by itself, and a wide lens can make distances and speeds look different from how they felt. Rules on recording video and audio in public vary by place, and audio capture is restricted in some areas even where video is fine. Check your local rules before you record audio or share footage of other people.
Picking the Right Camera for Different Uses
Commuters should weight battery and sealing highest, trail riders should weight mount strength and stabilization, and tourers should weight swappable power. Riders coming from motorcycling will find the needs overlap, and our guide to best motorcycle helmet cameras covers the higher speed side of the same questions.
Best Mountain Bike Helmet Camera
Trail riding changes the checklist order. A low side or chin mount clears branches that would knock a top mount sideways, and stabilization earns its keep on every rocky descent. The helmet underneath matters just as much, so pair the camera with sound head protection from our guide to the best helmet for mountain bike riding. Choose a housing that shrugs off mud and a lens cover you can swap at the trailhead.
Tips to Get the Most From Your Bike Helmet Camera
Wipe the lens with a clean cloth, never your jersey, because grit on fabric scratches coatings. Record a ten second clip at home and check the angle, since a camera aimed at the sky or the front wheel wastes a whole ride. Carry a spare card as well as a spare battery, and store the camera in a dry, padded bag off the helmet so mounts are not crushed in a gear pile.
Bike Helmet Cameras: Your Questions Answered
Is a smartphone enough instead of a helmet camera?
A smartphone can film a short, smooth ride, but it is a poor helmet camera over a full day. Its battery is shared with your maps and messages, its shape catches wind, and a crash risks the phone you need to call for help. Phones also lack loop recording, so a full storage card stops filming without warning. A small dedicated camera keeps your phone safe in a pocket and records in a way that suits riding far better.
How much should I spend on a first helmet camera?
Most first time buyers land in the about $120 to $250 band, where stabilization, sealing, and battery life all become genuinely usable. Budget for the extras the headline price hides: a rigid mount base, a fast memory card, and a spare battery can add about $40 to $80. Buying the cheapest camera and then replacing it within a season costs more than starting one band higher. Spend first on the mount and power, and let resolution be the thing you trade away.
What resolution do I actually need for ride footage?
For most riders, 1080p with strong stabilization beats a shaky higher resolution file every time. Higher resolutions help when you crop into the frame, read a distant sign, or film in bright light where the larger file holds more detail. They also drain batteries faster and fill cards sooner, which is a real cost on long rides. If your rides run past two hours, pick the setting that records the whole ride smoothly over the setting that looks sharpest for ten minutes.
Can I ride with a helmet camera in heavy rain?
Yes, if the camera carries a real water resistance rating and every port cover is fully seated before you set off. A rating for splashes is not a rating for hours of driving rain, so match the number to your climate honestly. After a wet ride, open the covers indoors and let the camera dry before charging, because charging a damp port invites corrosion. A fogged lens usually clears once you are moving and air flows across it again.
Does adding a camera change how a helmet protects my head?
A camera does not add protection, and a rigid mount can change how a helmet behaves in a slide or impact. Follow the helmet maker's guidance on attachments, and prefer mounts designed to release or break away under force rather than anchor the shell to an obstacle. Keep the setup light and close to the shell, and retire a helmet after any crash whether the camera survived or not. When in doubt, ask the helmet maker, not the camera listing.
Final Thoughts
Run the checklist in order: mount position first, battery matched to your ride second, and weight your neck can forget third. Sealing and stabilization then sort the cameras that remain. Compare the shortlist in the product table above, and pick from the best bike helmet cameras the one that fits your helmet, your routes, and your weather.


