Best Bicycle Turn Signals for 2026: Complete Buying Guide
Disclosure: We may earn a commission when you buy through links on this page, at no extra cost to you. As an Amazon Associate I earn from qualifying purchases. Learn more

Best bicycle turn signals for city riders: compare mounting, brightness, controls and battery life before you buy.
Riding in traffic means telling other road users what you plan to do, and the best bicycle turn signals give you a bright, consistent way to do that without taking a hand off the bars. A good signal is easy to see from behind and from the side, simple to switch on in the moment, and sturdy enough for daily riding in rain and dust. The product table shows a range of options, so you can match one to your bike and your riding habits.
This guide covers only the factors that decide a signal purchase: mounting style, brightness, controls, power, and weather sealing. By the end, you should be able to pick a signal that fits your bike, your hands, and the roads you ride.






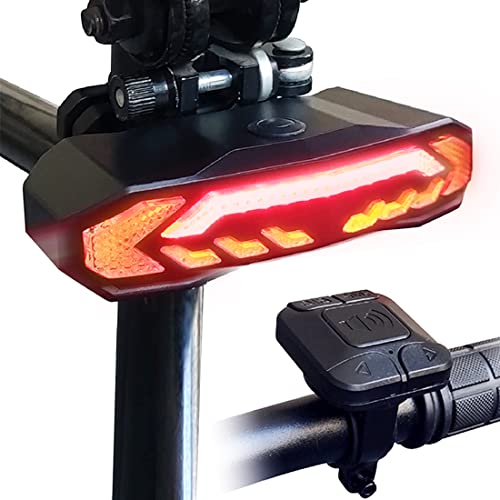
Best Bicycle Turn Signals: How to Choose
The core question is simple: will other road users notice your signal, and can you operate it without losing control? A very bright light you cannot switch on quickly is no better than a simple light that is too dim to notice.
Mounting Style and Bike Fit
Most signals mount on the handlebar, the seat post, the rear rack, or a helmet. Handlebar units keep the control close to your thumbs, while rear mounted units sit where following traffic looks first. Helmet units sit higher and can be seen over cars in slow traffic, but they add weight to your head. Check the clamp range against your bar or post diameter, and make sure the unit does not block your brake levers, bell, or lights.
Brightness and Visibility
Brightness is about being noticed, not about lighting the road. Look for a flashing amber pattern that stands out in daylight and at dusk, and check that the signal is visible from behind and from a side angle at a junction. A wide lens helps at intersections, where drivers approach from the side. If you ride at night, pair the signal with a steady rear light, because a flashing turn light alone can be harder to judge at a distance.
Controls and Ease of Use
Controls matter most in the seconds before a turn. A thumb button or a small wireless remote lets you signal without shifting your grip, while a unit with tiny buttons can be hard to use with gloves. Some systems switch off by themselves after a set time, which helps if you forget to cancel, but the timing should be long enough for a slow turn at a busy junction. Try the control with the gloves you normally wear, and practice on a quiet street before riding in traffic.
Power Source and Battery Life
Signals run on rechargeable cells or replaceable cells. Rechargeable units cost less to run over time and suit daily commuters, but they need a charging routine so they are never flat when you need them. Replaceable cells suit occasional riders who may leave a bike unused for weeks. Check whether the stated run time covers flashing only or flashing plus a steady rear light, since the two uses drain power at different rates.
Weather Resistance and Build Quality
Rain, dust, and vibration wear down a weak mount faster than any other factor. Look for a sealed housing, a mount that stays tight on rough roads, and a lens that resists scratching in a bag or garage. A signal that rattles loose will point at the ground instead of at traffic, so check the mount after the first few rides and again after rough surfaces. Keep charging ports covered when riding in heavy rain, and follow the maker guidance for cleaning and storage.
Compatibility and Extra Features
Some signals pair with a remote, a phone app, or a rear light, while others work alone. Extra features can help, but they should never replace the basics of brightness and simple controls. If a system needs an app to switch on, ask what happens when your phone battery dies.
Brake sensing, which brightens the rear light when you slow down, can help following traffic, but it is a bonus, not a substitute for a clear turn signal. Choose the simplest system that covers your regular routes.
Types of Bicycle Turn Signals
Each type trades visibility, convenience, and price in a different way, so the right choice depends on where you ride.
Handlebar Mounted Signals
Handlebar units place the light and often the control in one place near your hands. They suit riders who want one device to fit and forget, and they work well on flat bars with free space near the grips. Their drawback is height, since a low front light may be hidden by your body from drivers behind you.
Seat Post and Rack Mounted Signals
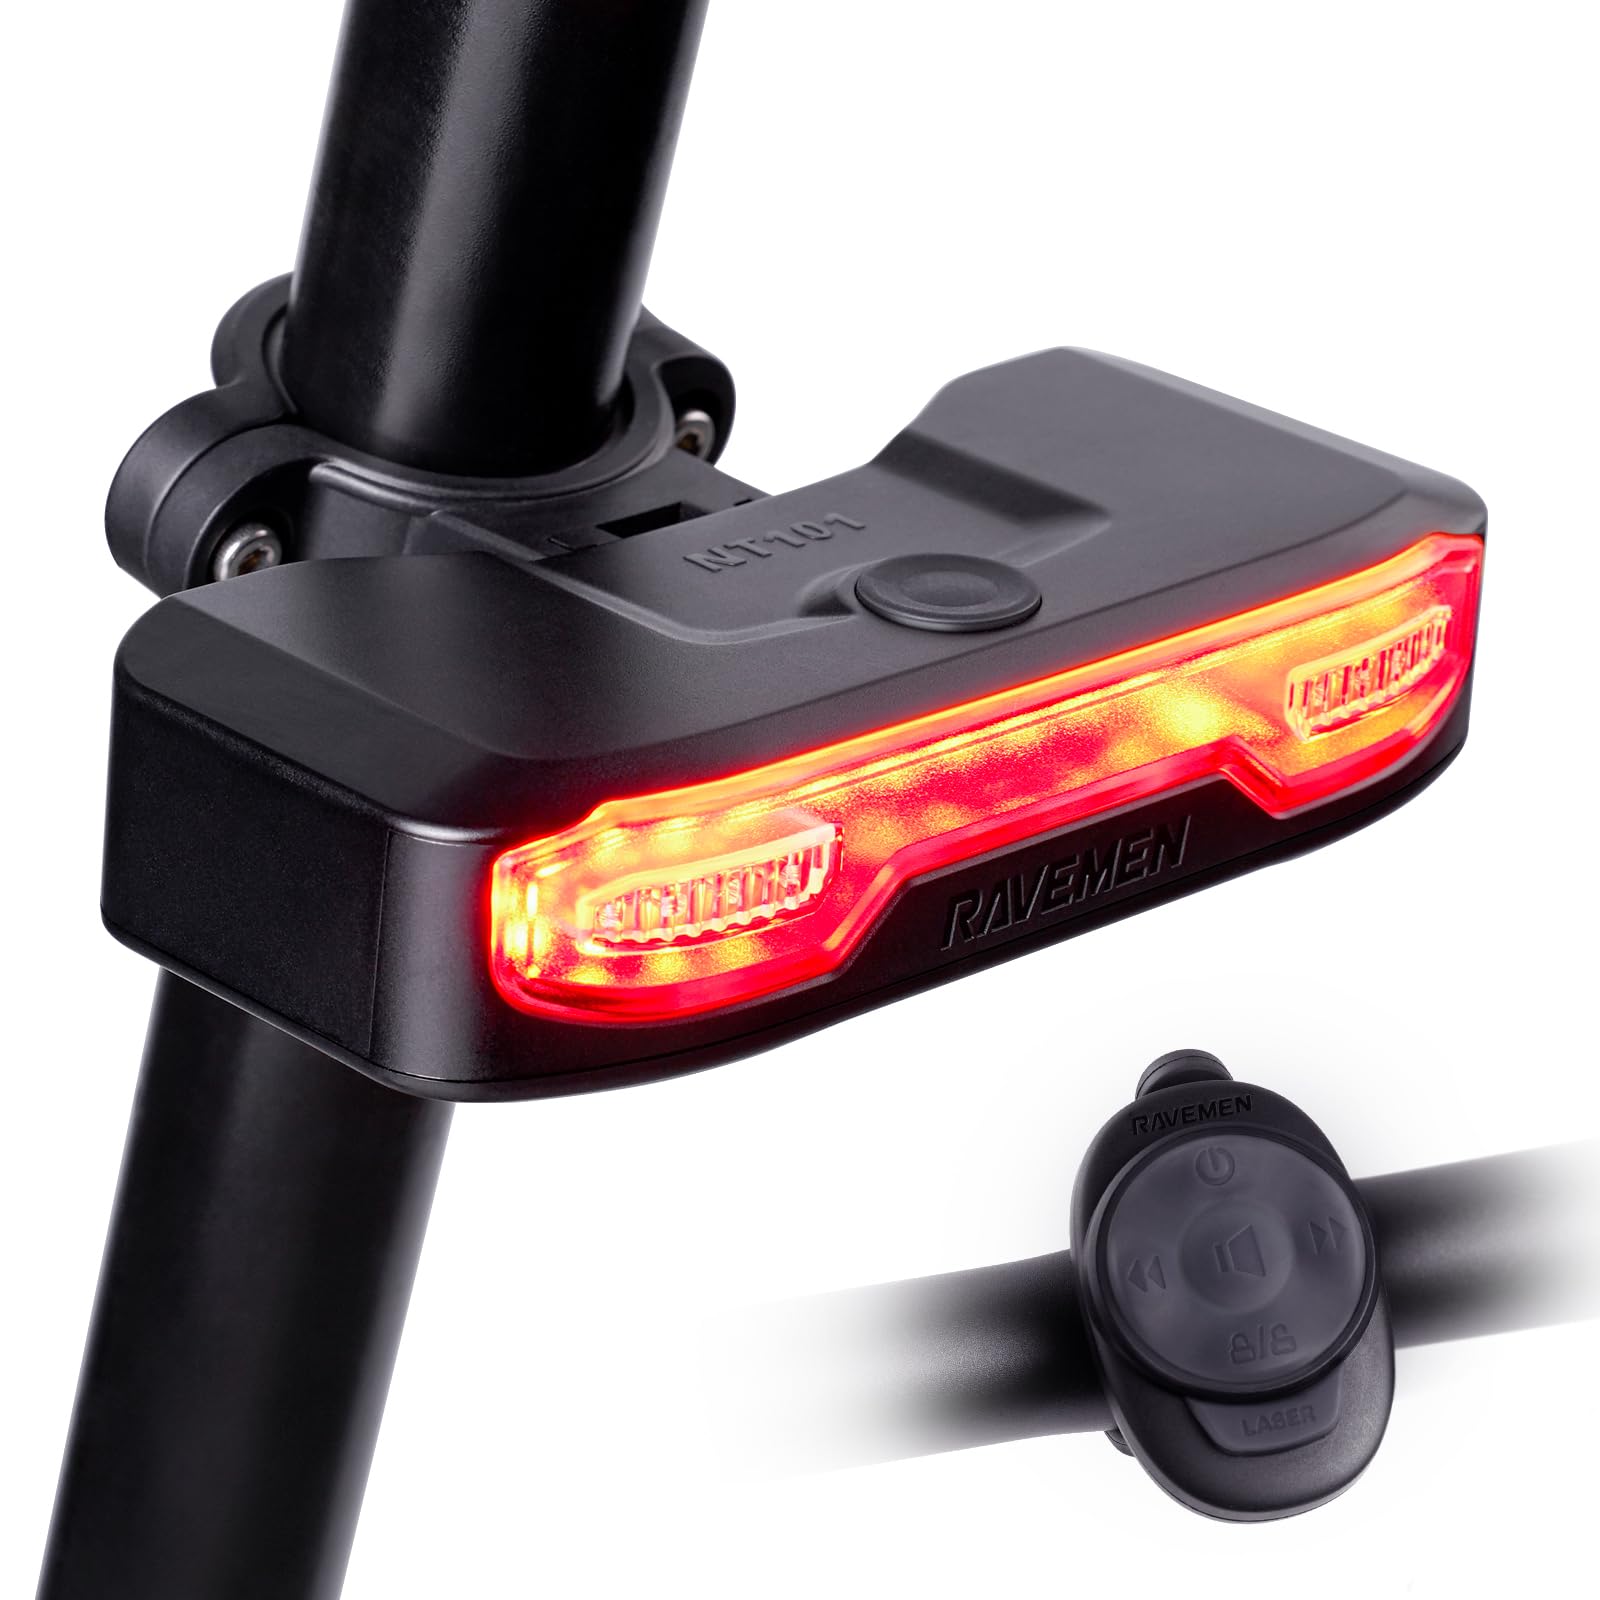
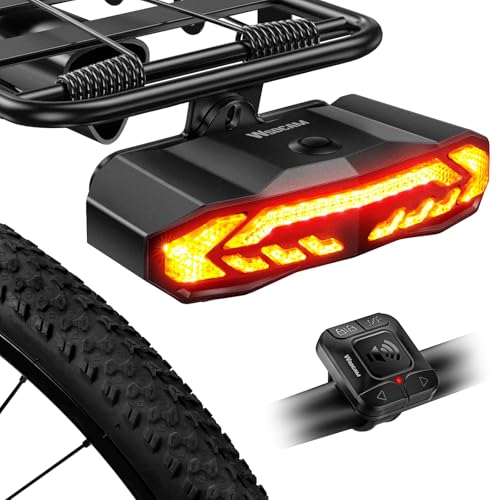
Rear mounted signals sit where following traffic looks, which makes them the clearest choice for city riding. They need a clear view past bags, racks, and clothing, so check that a pannier or jacket does not cover the lens. Most use a clamp that fits common post sizes.
Helmet and Wearable Signals
Helmet signals sit high and move with your head, which helps in slow traffic and at junctions. They suit riders who already wear a helmet every ride and do not mind charging a second device. The trade off is weight, so check the total weight before you commit.
Wireless Remote Systems
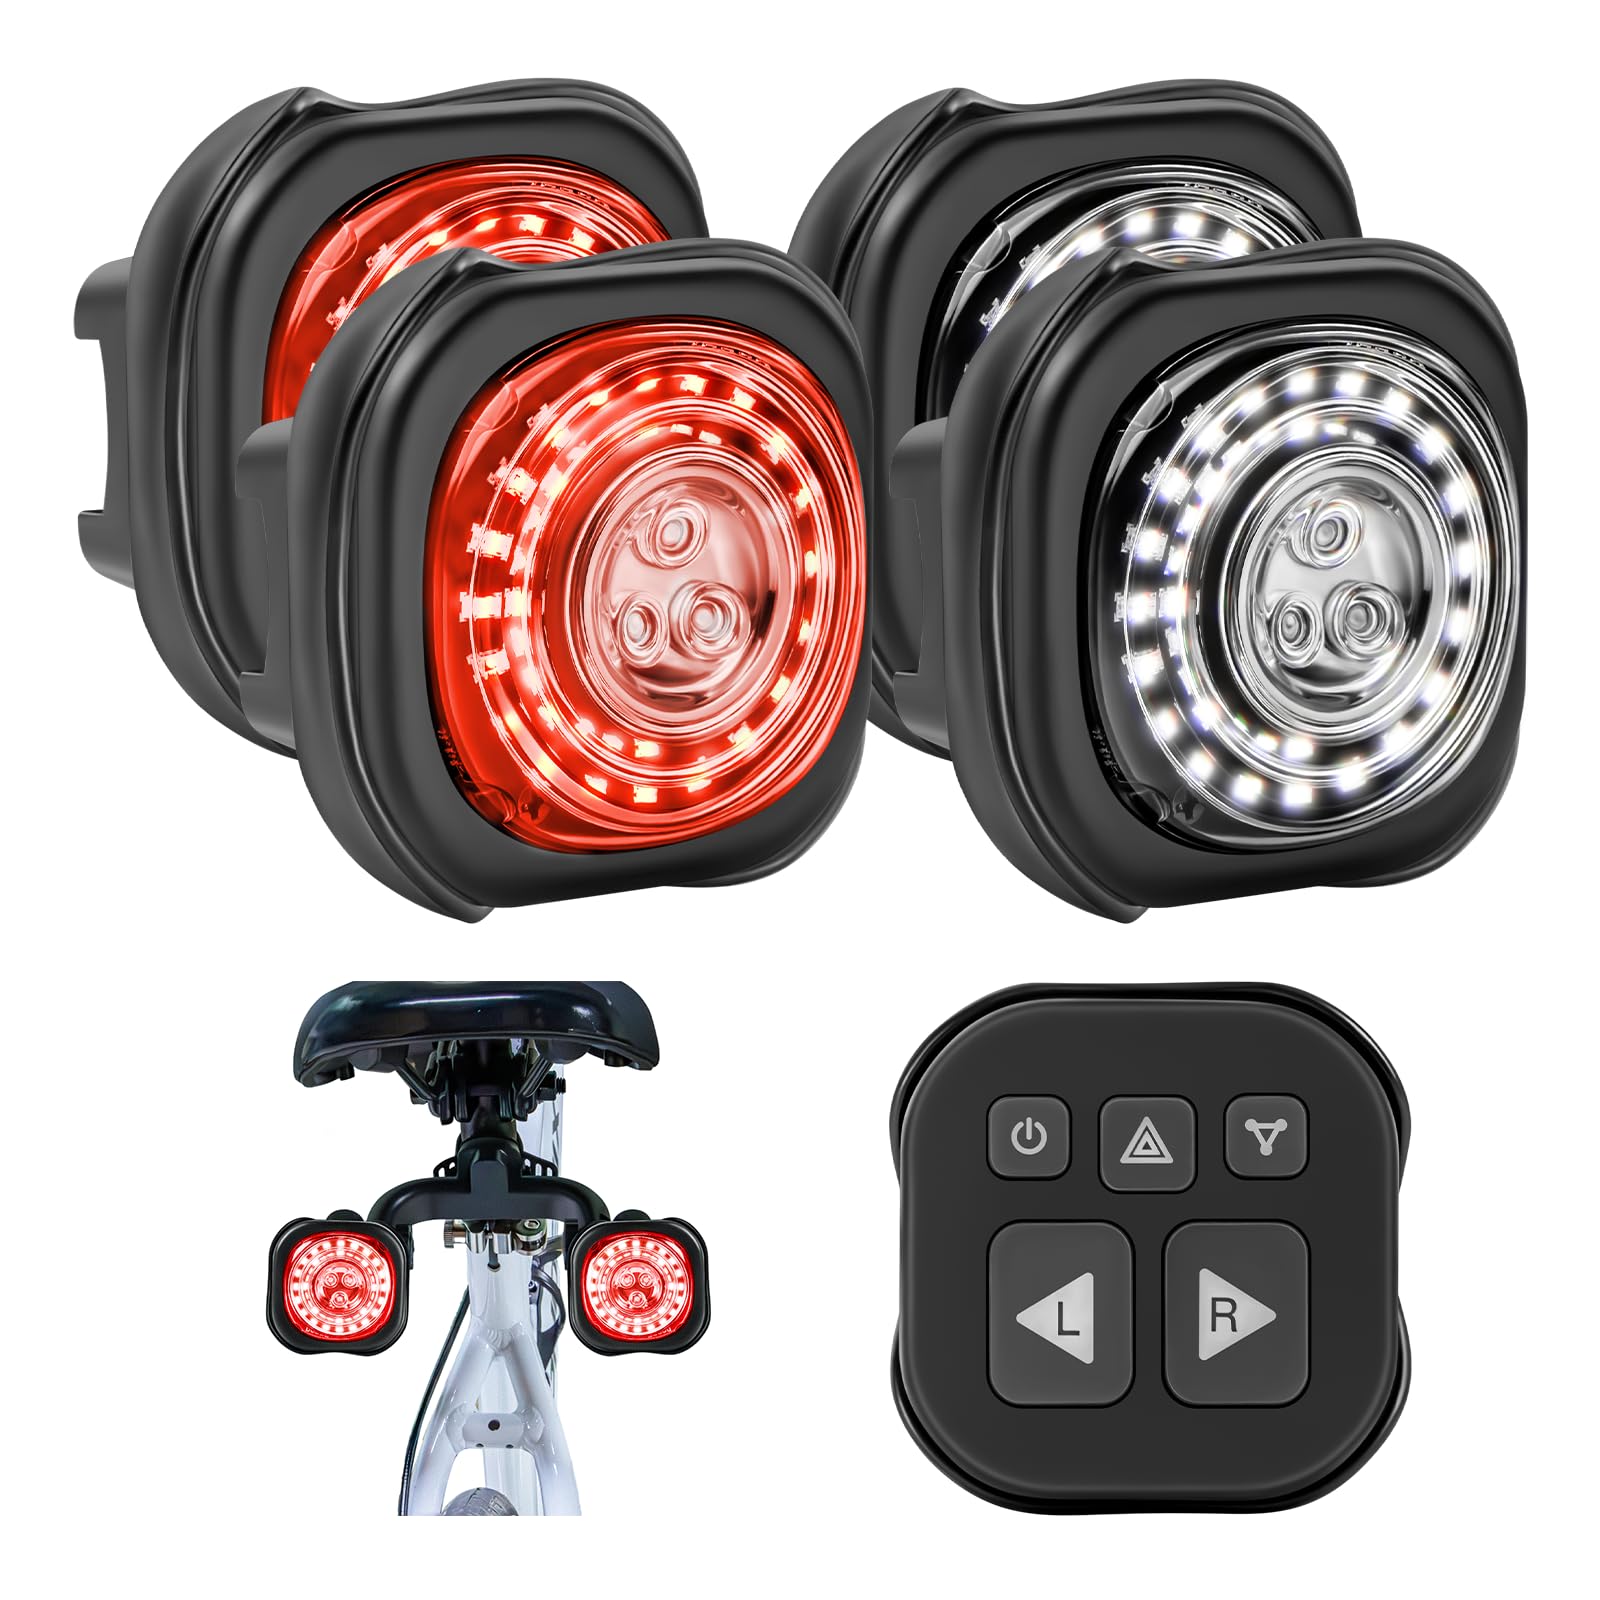
Wireless systems split the job: a small remote on the bars controls a rear light unit. This layout keeps your hands in place and lets the rear unit sit in the best spot for visibility. The cost is another battery to manage and a pairing step when you first set the system up.
Tips to Get the Most From Your Bicycle Turn Signal
- Signal early, before you start to move across a lane, so drivers have time to react.
- Check the mount and lens before every ride, and wipe the lens clean after wet or dusty rides.
- Charge rechargeable units on a regular schedule, and carry a spare set of cells if your unit uses replaceable ones.
- Practice switching the signal on and off with gloves on a quiet street before riding in traffic.
- Keep using hand signals as well when you can do so safely, because a light and a hand together are clearer than either alone.
- Follow maker guidance for battery care, and keep small parts, mounts, and charging cables away from children.
Frequently Asked Questions
Do bicycle turn signals replace hand signals?
No, turn signals work best alongside hand signals, not instead of them. A light is easy to see at night and in rain, while a hand signal is clear in daylight and needs no battery. Use the light when your hands must stay on the bars, such as on a rough surface or in a tight turn, and add a hand signal when you can do so safely. The combination gives other road users two clear cues about your next move.
How bright should a bicycle turn signal be?
A turn signal should be bright enough to notice in daylight at a junction, not just at night. Amber flashing patterns stand out well against brake lights and street lights, and a wide lens helps drivers approaching from the side. If you ride mostly on lit city streets, a moderate brightness with a clear flash pattern often works better than a very bright light that dazzles at close range. Try the signal at dusk, when contrast is lowest, before relying on it in traffic.
Can I fit a turn signal to any bicycle?
Most signals fit common handlebar and seat post sizes, but you should check the clamp range before ordering. Drop bars, very thick posts, and crowded cockpits can limit space, especially if you already carry a light, a bell, and a computer. A wireless remote system can help on a crowded bar, because only a small button needs bar space. If your bike has a rear rack, check that bags do not cover a rear mounted unit.
How do I keep a turn signal working in rain?
Choose a sealed unit, keep charging ports covered, and wipe the lens after wet rides so grime does not dim the light. Check the mount after rough or wet rides, because vibration can loosen a clamp over time. Store the unit in a dry place and charge it at room temperature following maker guidance. For other ride gear that needs regular care, see our guide to the best bicycle pumps and keep your tires at the maker recommended pressure, since a well kept bike is easier to control when you signal.
Are wireless turn signals reliable?
Wireless systems are reliable when the remote and the rear unit stay paired and charged, but they add a second battery to manage. Most pairing problems come from a flat remote battery or from the units being stored too far apart. Check pairing before each ride for the first few weeks, and keep a spare cell for the remote if it uses replaceable ones. A wired unit avoids pairing entirely, but it needs a cable route that does not snag on bags or clothing.
What else should I carry for safer night riding?
A turn signal is one part of a night riding kit, not the whole kit. A steady front light, a steady rear light, reflective clothing, and a helmet are the basics, and a camera can record your ride if you want that record. Our guide to the best bicycle cameras explains mounting and power options for ride cameras. Whatever kit you choose, ride at a speed that lets you stop in the distance you can see, wear a helmet, and follow local road rules.
Wrapping Up
The best choice comes down to three checks: a signal other road users can see from behind and from the side, controls you can use without losing grip, and a mount that stays tight on your regular routes. Start with mounting style, then compare brightness, power, and weather sealing within that style. Use the product table above to compare the options side by side, and choose the best bicycle turn signals option that fits your bike and the roads you ride most.