
Best Bicycle Cameras: A Buyer Checklist for 2026
Disclosure: We may earn a commission when you buy through links on this page, at no extra cost to you. As an Amazon Associate I earn from qualifying purchases. Learn more

Shop with a clear checklist for the best bicycle cameras: mounts, battery life, weather sealing, lights and video quality, plus the red flags to skip.
A bicycle camera has one job: record the ride clearly enough that the footage is useful afterwards. Riders buy one to keep a record of close passes, to support their account after a crash, and sometimes just to keep the good miles. Choosing the best bicycle cameras for your commute or your weekend loop starts with a checklist, because the specs that matter on a moving bike are not the specs that matter on a store shelf. The product table below lists picks to compare, and the checklist after it explains each item in plain terms.
Be honest about what footage can do. A recording can help show what happened in an incident, and it can back up your version when stories differ. It never decides fault by itself; that judgment belongs to insurers and to the police. Set the camera up before you roll, then check the mount, press record at the curb, and leave it alone while you ride, since your eyes belong on the road: never watch the screen, scroll menus, or adjust a mount in motion.
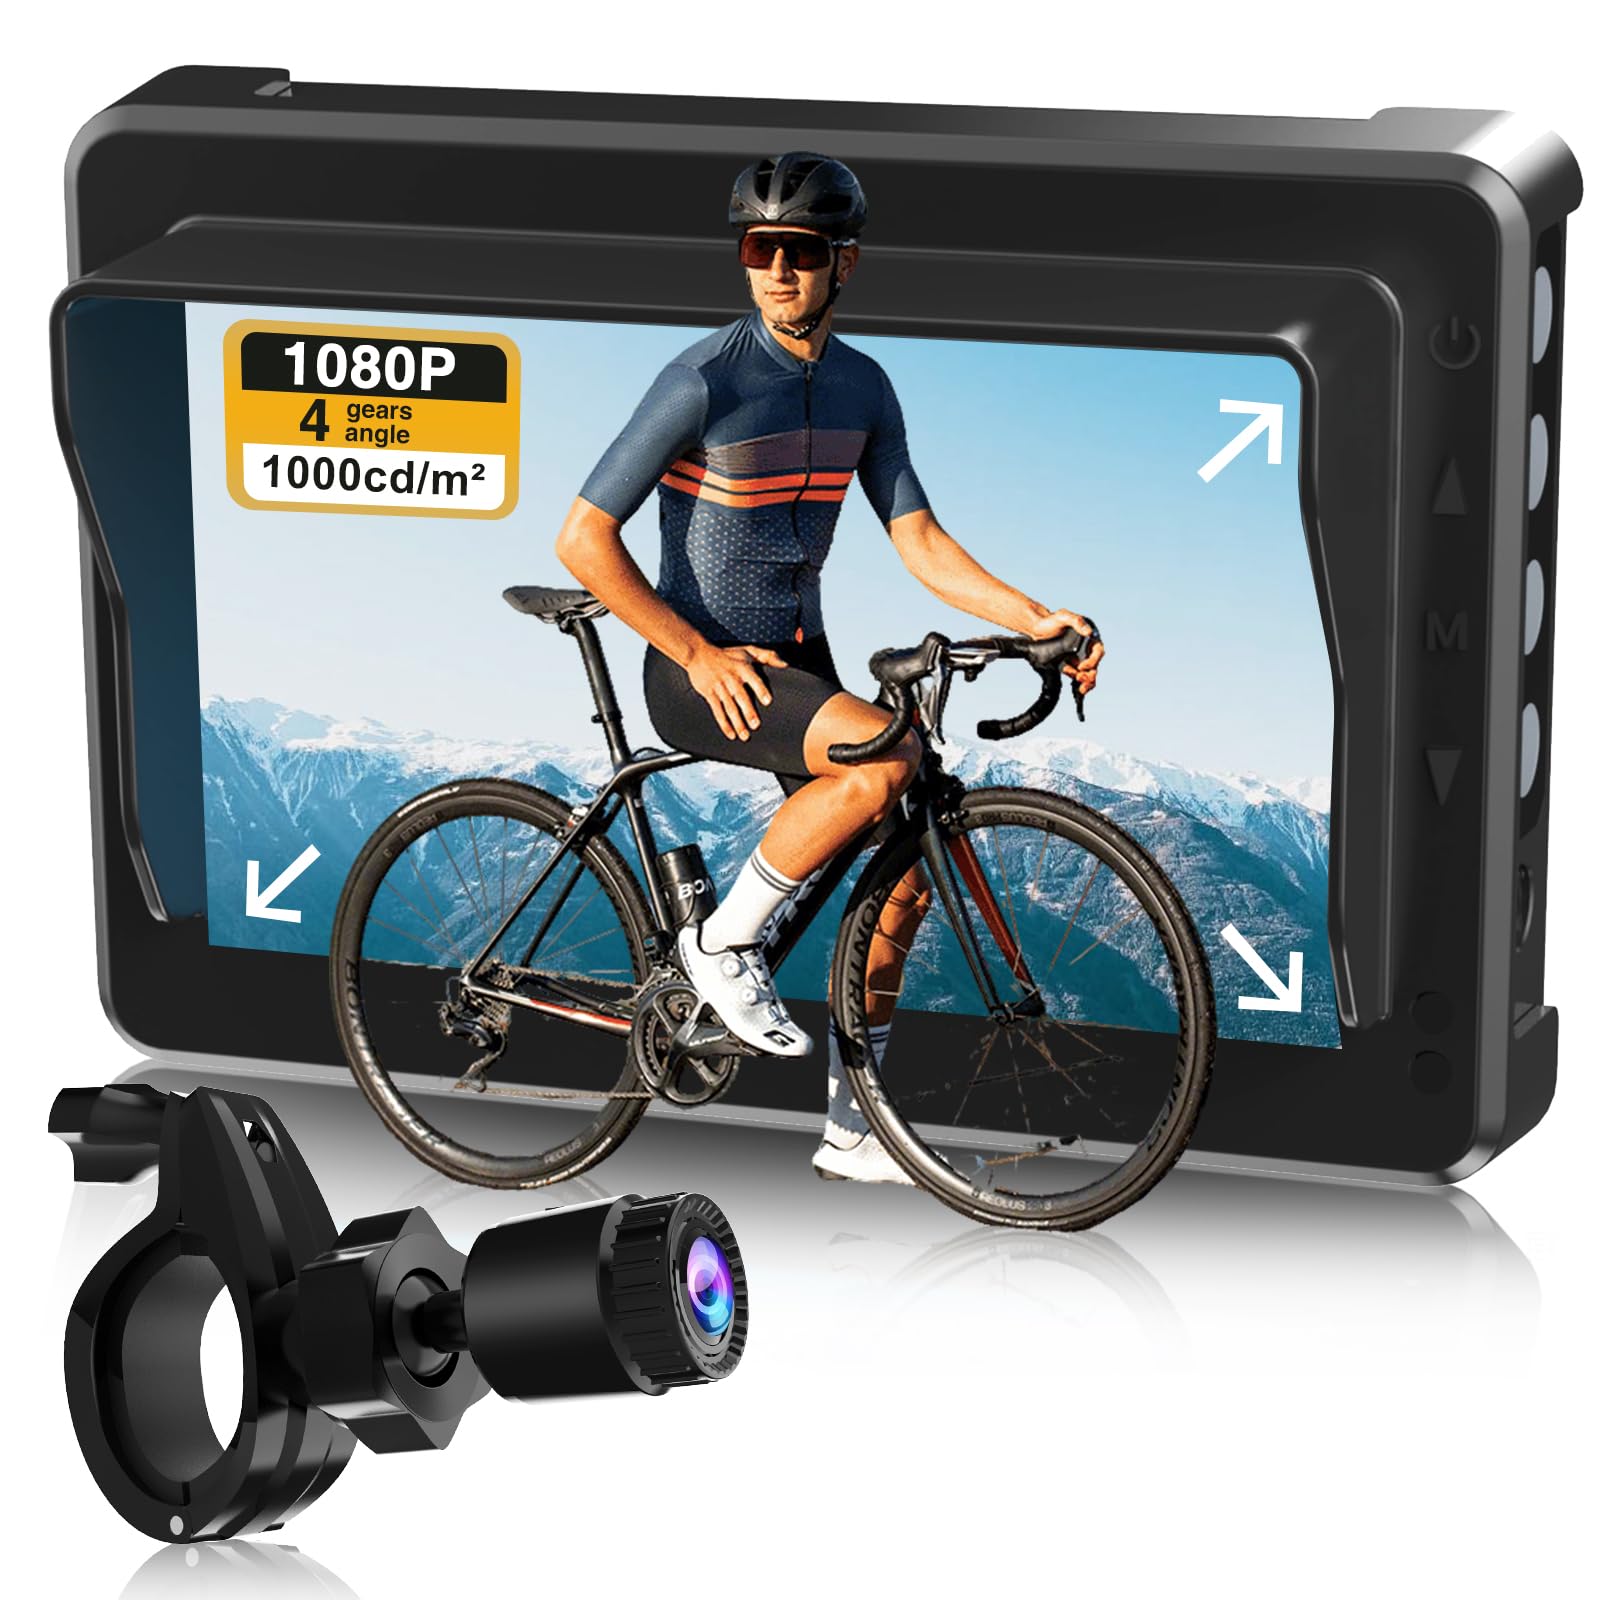
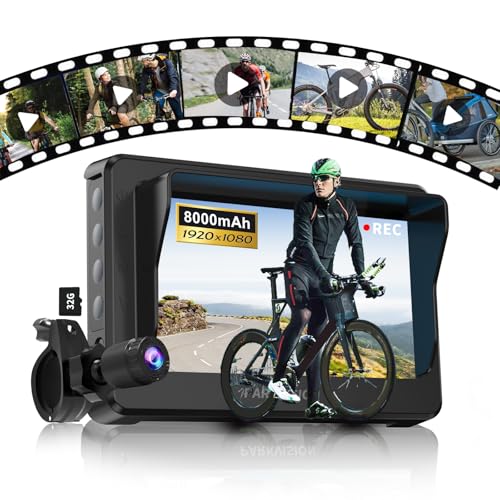

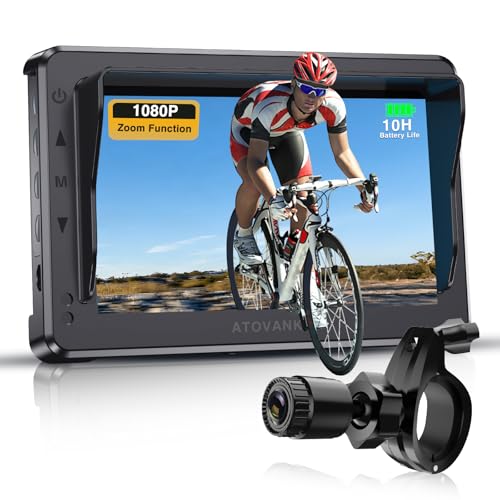
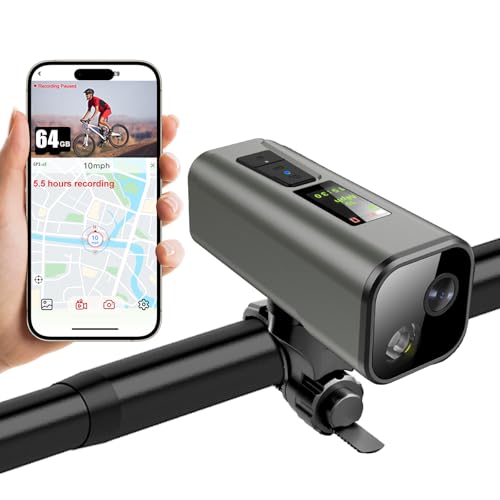
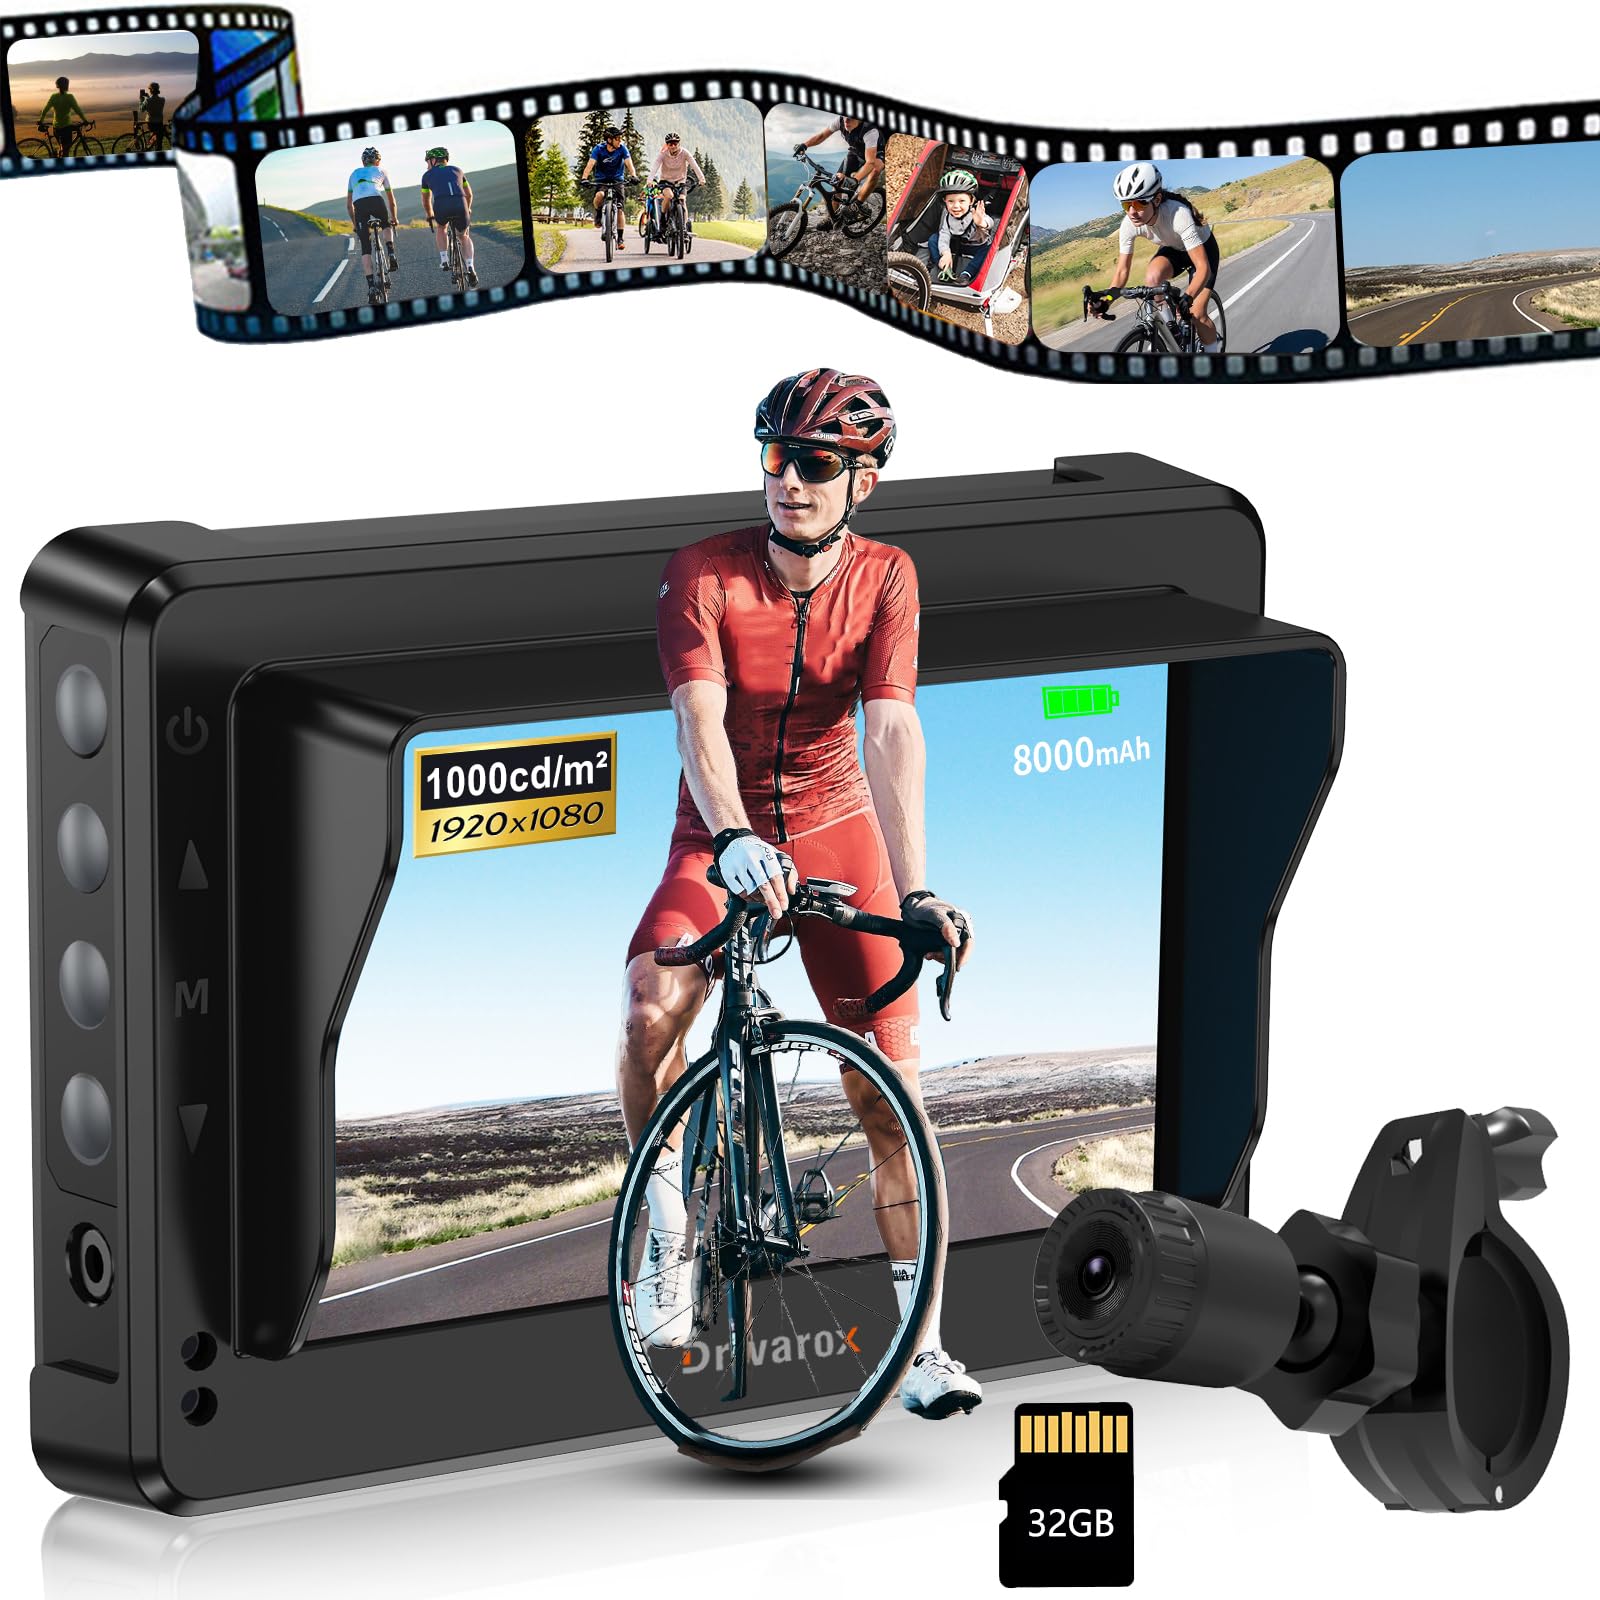
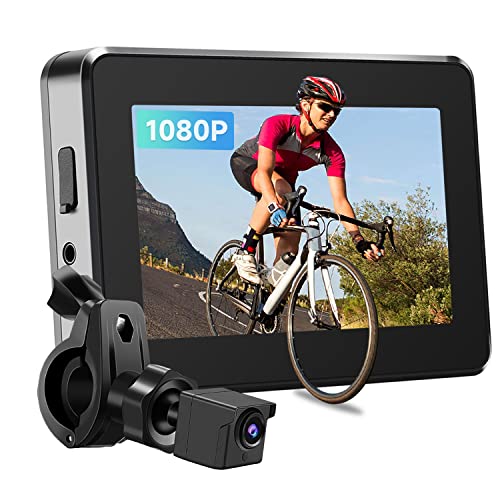
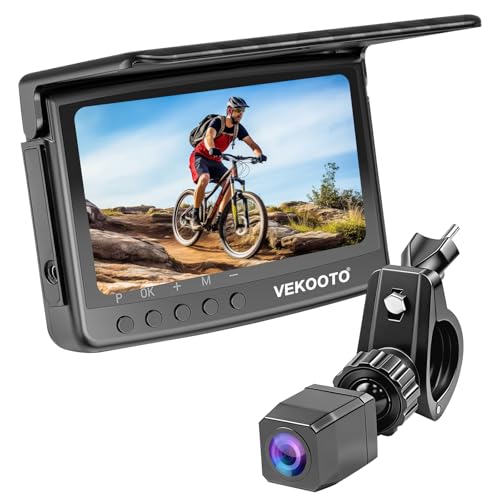

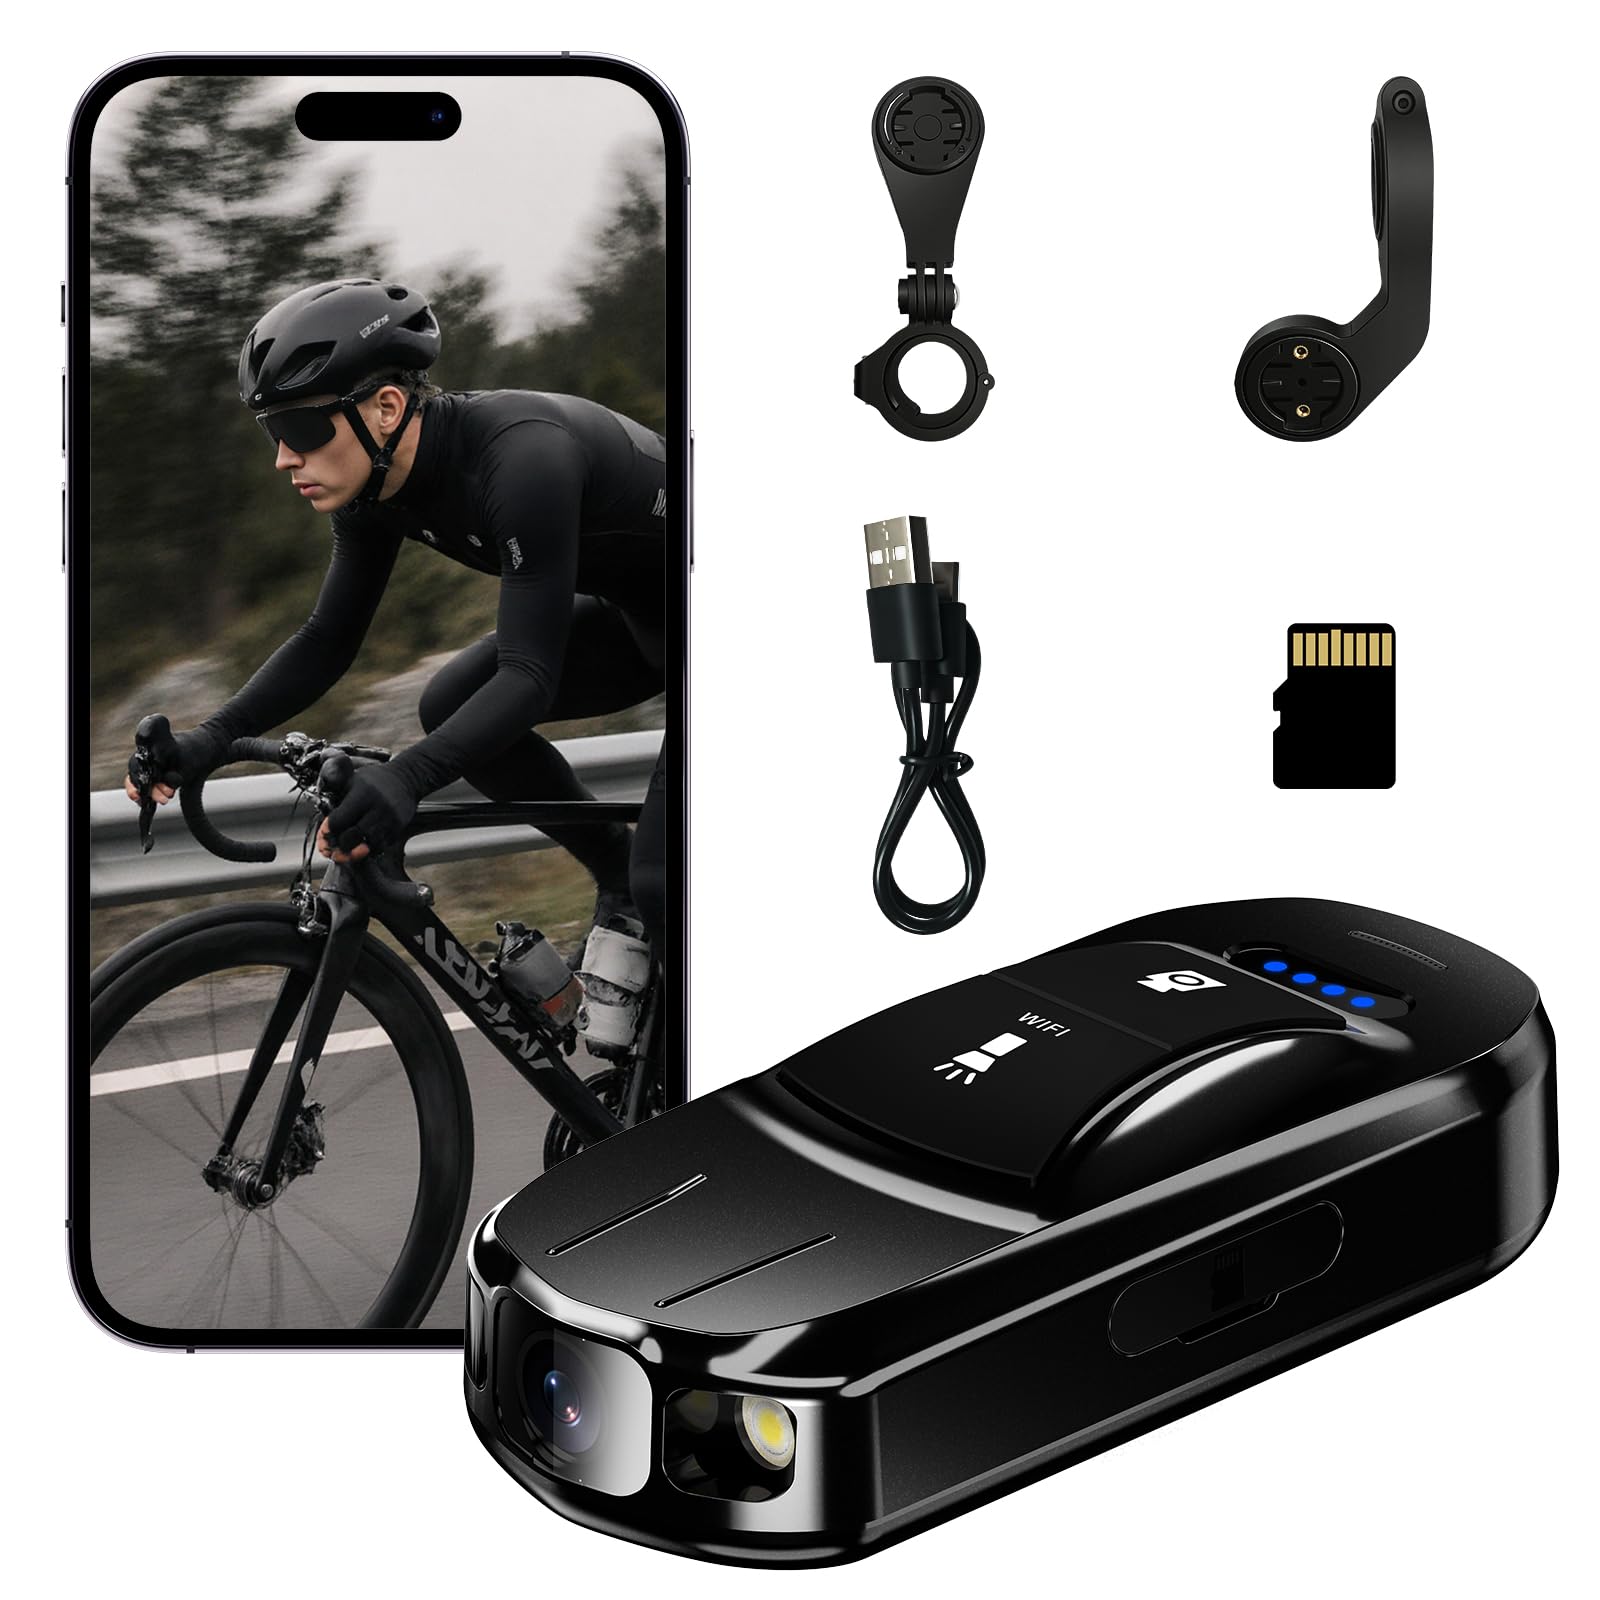

A Buyer Checklist for the Best Bicycle Cameras
A fixed camera, like the ones sorted in guides to best door cameras, watches one spot from a wall and never runs out of outlet power. A ride camera has to survive vibration, rain, and hours away from a charger, so this checklist weighs those jobs first. Work through the items in order, starting with the mount, and most buying decisions make themselves.
Mounts First: A Steady Bracket Decides the Picture
The mount decides the steadiness of your footage more than any camera spec does. A shaking mount ruins the picture no matter how good the sensor is, because vibration turns number plates and faces into smears. The main mount classes are a handlebar clamp facing forward, a seat post mount facing backward, and a helmet mount that follows your gaze. Check that the clamp fits your bar or post diameter before anything else, use the rubber shims in the box rather than forcing a loose clamp tight, and give the mount a firm tug before every ride: if it moves by hand, it will wander on the road.
Video Quality: Resolution, Plates and Honest Numbers
Resolution classes on ride cameras run from basic high definition up to 4K, and the bigger number costs battery life and card space on every ride. Read maker figures as class figures, not promises: reading a plate at speed, at an angle, is the hardest challenge any of these cameras faces, and many clips that look sharp on a still frame will not yield a plate from a passing car. The stills world ranks its best quality cameras by sensor size, but on a bike a steady mount and a clean lens beat a larger sensor behind a shaking bracket. Footage helps most when it shows position and sequence clearly, which a mid range resolution at a steady mount does well.
A handheld model from the best digital cameras shelf is a different class of product, built for careful two handed shooting, and it is not made to live on a vibrating bar mount. Buy a camera shaped for the job: small, sealed, and happy to record for hours without attention.
Battery Life and Charging
A long ride outlasts a small battery, so match the cell to your longest usual trip with room to spare. Maker runtime figures are best case numbers, measured with the screen off in mild weather, and cold mornings cut real runtime noticeably. Cameras divide into two classes here, swappable cells you can change at a cafe stop and sealed bodies you recharge over a cable, and each suits a different rider: swappable cells suit all day riders, while sealed bodies suit commuters who charge at a desk. Build one habit either way: charge after every ride, so the camera is never dead on the morning you actually need it.
Memory Cards and Loop Recording
Ride cameras record in a loop, writing new footage over the oldest files when the card fills. That design is right for the job, but it means a clip you want to keep must be locked before the loop reaches it, either with one press of a button or by the automatic lock many cameras apply when they sense an impact. The card itself is a running cost of ownership: buy an endurance rated card sized for several full rides, and keep a spare in your bag. A worn card that fails silently is worse than no camera at all, because you find out only when the footage matters.
Lights: The Night Half of the Purchase
Many ride cameras are sold paired with a light, and for anyone who rides after dark the light class is the night half of the purchase. Front units combine a headlight with a forward camera, and rear units pair a tail light with a camera watching the traffic behind you. Brightness figures are class figures too: a strong light makes you visible and helps the camera near the bike, but it cannot fix a sensor that struggles in the dark. Check your local rules on flashing light modes before relying on them, since some places restrict how bike lights may flash.
Weather Sealing and Build
Rain is normal service for a ride camera, so look for a stated sealing class rather than the words water resistant on a box. A genuine rating covers the body with its charge port closed; an open port or a loose lens cover ends the protection. Ports and seams are the weak points, and a camera that fogs inside the lens after one wet ride was never sealed well. After wet rides, dry the camera before charging, and wipe grit from the mount so the clamp keeps its grip.
Quick Buyer Checklist
A first stills camera from a best starter cameras guide answers a different brief than a ride recorder, so run these questions against any bicycle camera before you buy. Every answer should be yes.
- Does the mount clamp fit your handlebar or seat post size, with shims to spare?
- Can the battery cover your longest usual ride and still have charge left?
- Can you lock a clip with one press, or does the camera lock files on impact?
- Is the memory card an endurance class card, and do you own a spare?
- Is the body sealed for rain with the charge port closed?
- Can you start recording with gloves on, without looking down for more than a glance?
- If you ride after dark, does the setup include a proper light for that direction?
Red Flags to Watch For
- A resolution claim with no frame rate stated anywhere, which usually means the headline number comes with heavy limits.
- A runtime claim with no battery size behind it, so there is no way to judge the figure against your rides.
- Rain language in the marketing but no sealing class in the specs, which leaves the promise unproven.
- A camera sold with no clamp in the box, so the mount becomes a second purchase you did not budget for.
- A warranty so short it ends before your first season does, with no clear maker support channel behind it.
Tips to Get the Most From Your Bicycle Camera
Wipe the lens with a soft cloth, never your jersey or glove, because grit on fabric scratches the coating that keeps footage clear. Carry a spare card, and a spare cell if your camera takes one, since both fail at the least convenient moment, and store the camera in a dry, padded bag rather than loose in a drawer with cables. Before trusting it on a long ride, record a short loop around the block and watch the footage at home: that one check confirms the angle, the mount tightness, and whether plates stay readable at your usual speeds. If you also shoot stills off the bike, our guide to best cameras for photography covers that separate purchase, and keeping the two jobs apart keeps the ride camera simple.
Bicycle Cameras: Your Questions Answered
How much should I spend on a first bicycle camera?
Most first time buyers land in one of three bands: about $50 to $120 for a basic recorder, about $120 to $250 for the class with better sealing and longer runtime, and above that for the lightest and sharpest units. Spend on the mount and the card before you spend on resolution, because steady footage from a mid priced camera beats shaky footage from a flagship. If your rides are short daylight commutes, the basic band honestly covers the job.
Can a bicycle camera read a license plate?
Sometimes, at close range in good daylight, with the car moving at a similar speed. At a wide speed gap, at an angle, or after dark, plates often smear beyond reading on any camera in this class. One habit helps more than any spec: say the plate out loud as the car passes. Most ride cameras record sound, and your spoken note stays on the clip even when the letters blur.
Do I need front and rear cameras on a bicycle?
Only if the risks you care about come from both directions. A front camera covers junctions and oncoming turns, while a rear camera covers close passes from behind, which is where many commuters feel the most pressure. Two cameras also mean two batteries to charge and two cards to manage. Start with the end that matches your riding, and add the second later if the first earns its place.
Is a smartphone enough instead of a bicycle camera?
A phone is enough for a short clip on a quiet ride, and not enough as an everyday ride recorder. Constant vibration can trouble a phone camera over time, a crash puts your most expensive device on the road, and a long recording drains the battery you need for calls and navigation. A dedicated camera also starts with one press and loops its recording, which a phone does not. Keep the phone in your pocket as the backup, not the recorder.
How long does a bicycle camera battery last in winter?
Expect noticeably less than the mild weather figure on the box, because cold cells give up their charge faster. The drop is temporary rather than damage: the same battery recovers its normal runtime in warm weather. Two habits help on cold rides. Keep the camera in an inside pocket until you set off, so the cell starts warm, and lower the resolution a step on long winter rides to stretch what the battery has.
Wrapping Up
Judge every candidate against the same three checks: a mount that holds dead steady, a battery and card pairing that outlasts your longest ride, and sealing that treats rain as normal. The product table above gives you picks to hold against those checks. Choose the best bicycle cameras setup that passes all three for the riding you actually do, and the footage will be there on the one day it really counts. Prices and availability can change, so check the product page before ordering.


