Best Backpacking Boots for 2026: Match the Right Boot to Your Routine
Disclosure: We may earn a commission when you buy through links on this page, at no extra cost to you. As an Amazon Associate I earn from qualifying purchases. Learn more

Choose the best backpacking boots by trip style, load and fit, with wide fit tips, break in steps and care advice.
There is no single best boot, only the best match for the trips you actually take. A pair that shines on a muddy week in the mountains can feel like punishment on a dry weekend trail, and the difference is rarely the price tag. Backpackers comparing the best backpacking boots do better when they start with load, terrain, and climate, then let those three answers pick the boot class. Fit comes next, and it matters more than any feature list.
This guide follows that order. It matches boot types to real trip styles, explains what wide fit really changes, and compares the features that decide comfort at mile fifteen rather than in the store. It also covers break in and care, because most boot regrets come from the first week and the first wash, not the first hike. The product table collects current options once you know which class you need.





Who Should Buy Which Backpacking Boots?
Start with the heaviest load and the roughest ground you realistically expect this season, not your easiest trip. The three groups below cover most buyers.
Weekend Campers Carrying Light Loads
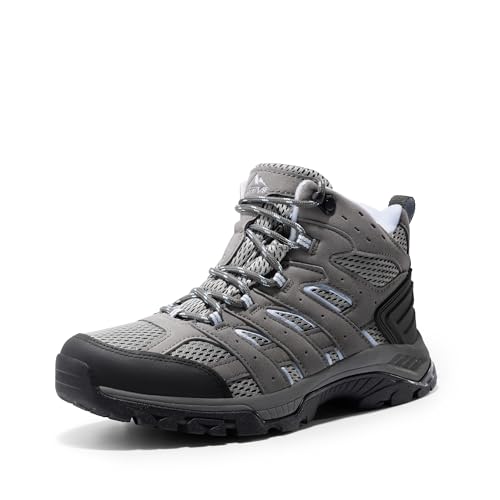
If your pack stays under about 25 pounds and your trails are maintained paths with a night or two out, a mid cut synthetic boot is the sensible default. These boots feel friendly quickly, need little break in, and cost about $120 to $200.
Their softer midsoles and flexible soles suit smooth ground, and the lower collar lets your ankle move naturally on easy terrain. The compromise is lifespan and support: heavy loads make them flex and tire your feet, and thin soles transmit every sharp stone. Buy this class for the trips you take now, and accept that growing into longer or rougher routes will mean a second, stiffer pair later.
Long Distance Hikers Covering Big Miles
Hikers stacking up multi week mileage need a boot that balances weight against midsole life. Every extra ounce on your feet costs effort thousands of steps a day, yet a midsole that dies at mile 400 of a 900 mile season costs more.
Look for proven cushioning that resists packing down, uppers that shrug off abrasion, and a fit you have already proven on loaded training hikes. Gram counters audit everything in the pack, comparing even the best backpacking pillows by weight, but boots are the last place to save grams. Expect to pay about $200 to $320, and expect to replace or resole within the season if your mileage is serious.
Through hikers also plan replacement logistics, not just the first purchase. A proven pair is often bought again rather than replaced with an untested design, because resupply towns offer little time for fit experiments. If your route passes through areas with limited shops, knowing your exact size and width in a widely stocked design is a real advantage. Keep notes on what your feet did in each pair, since swelling patterns change across a season.
Heavy Packs and Rough, Wet Country
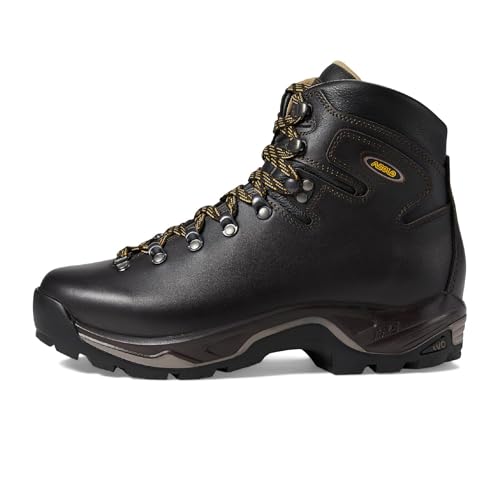
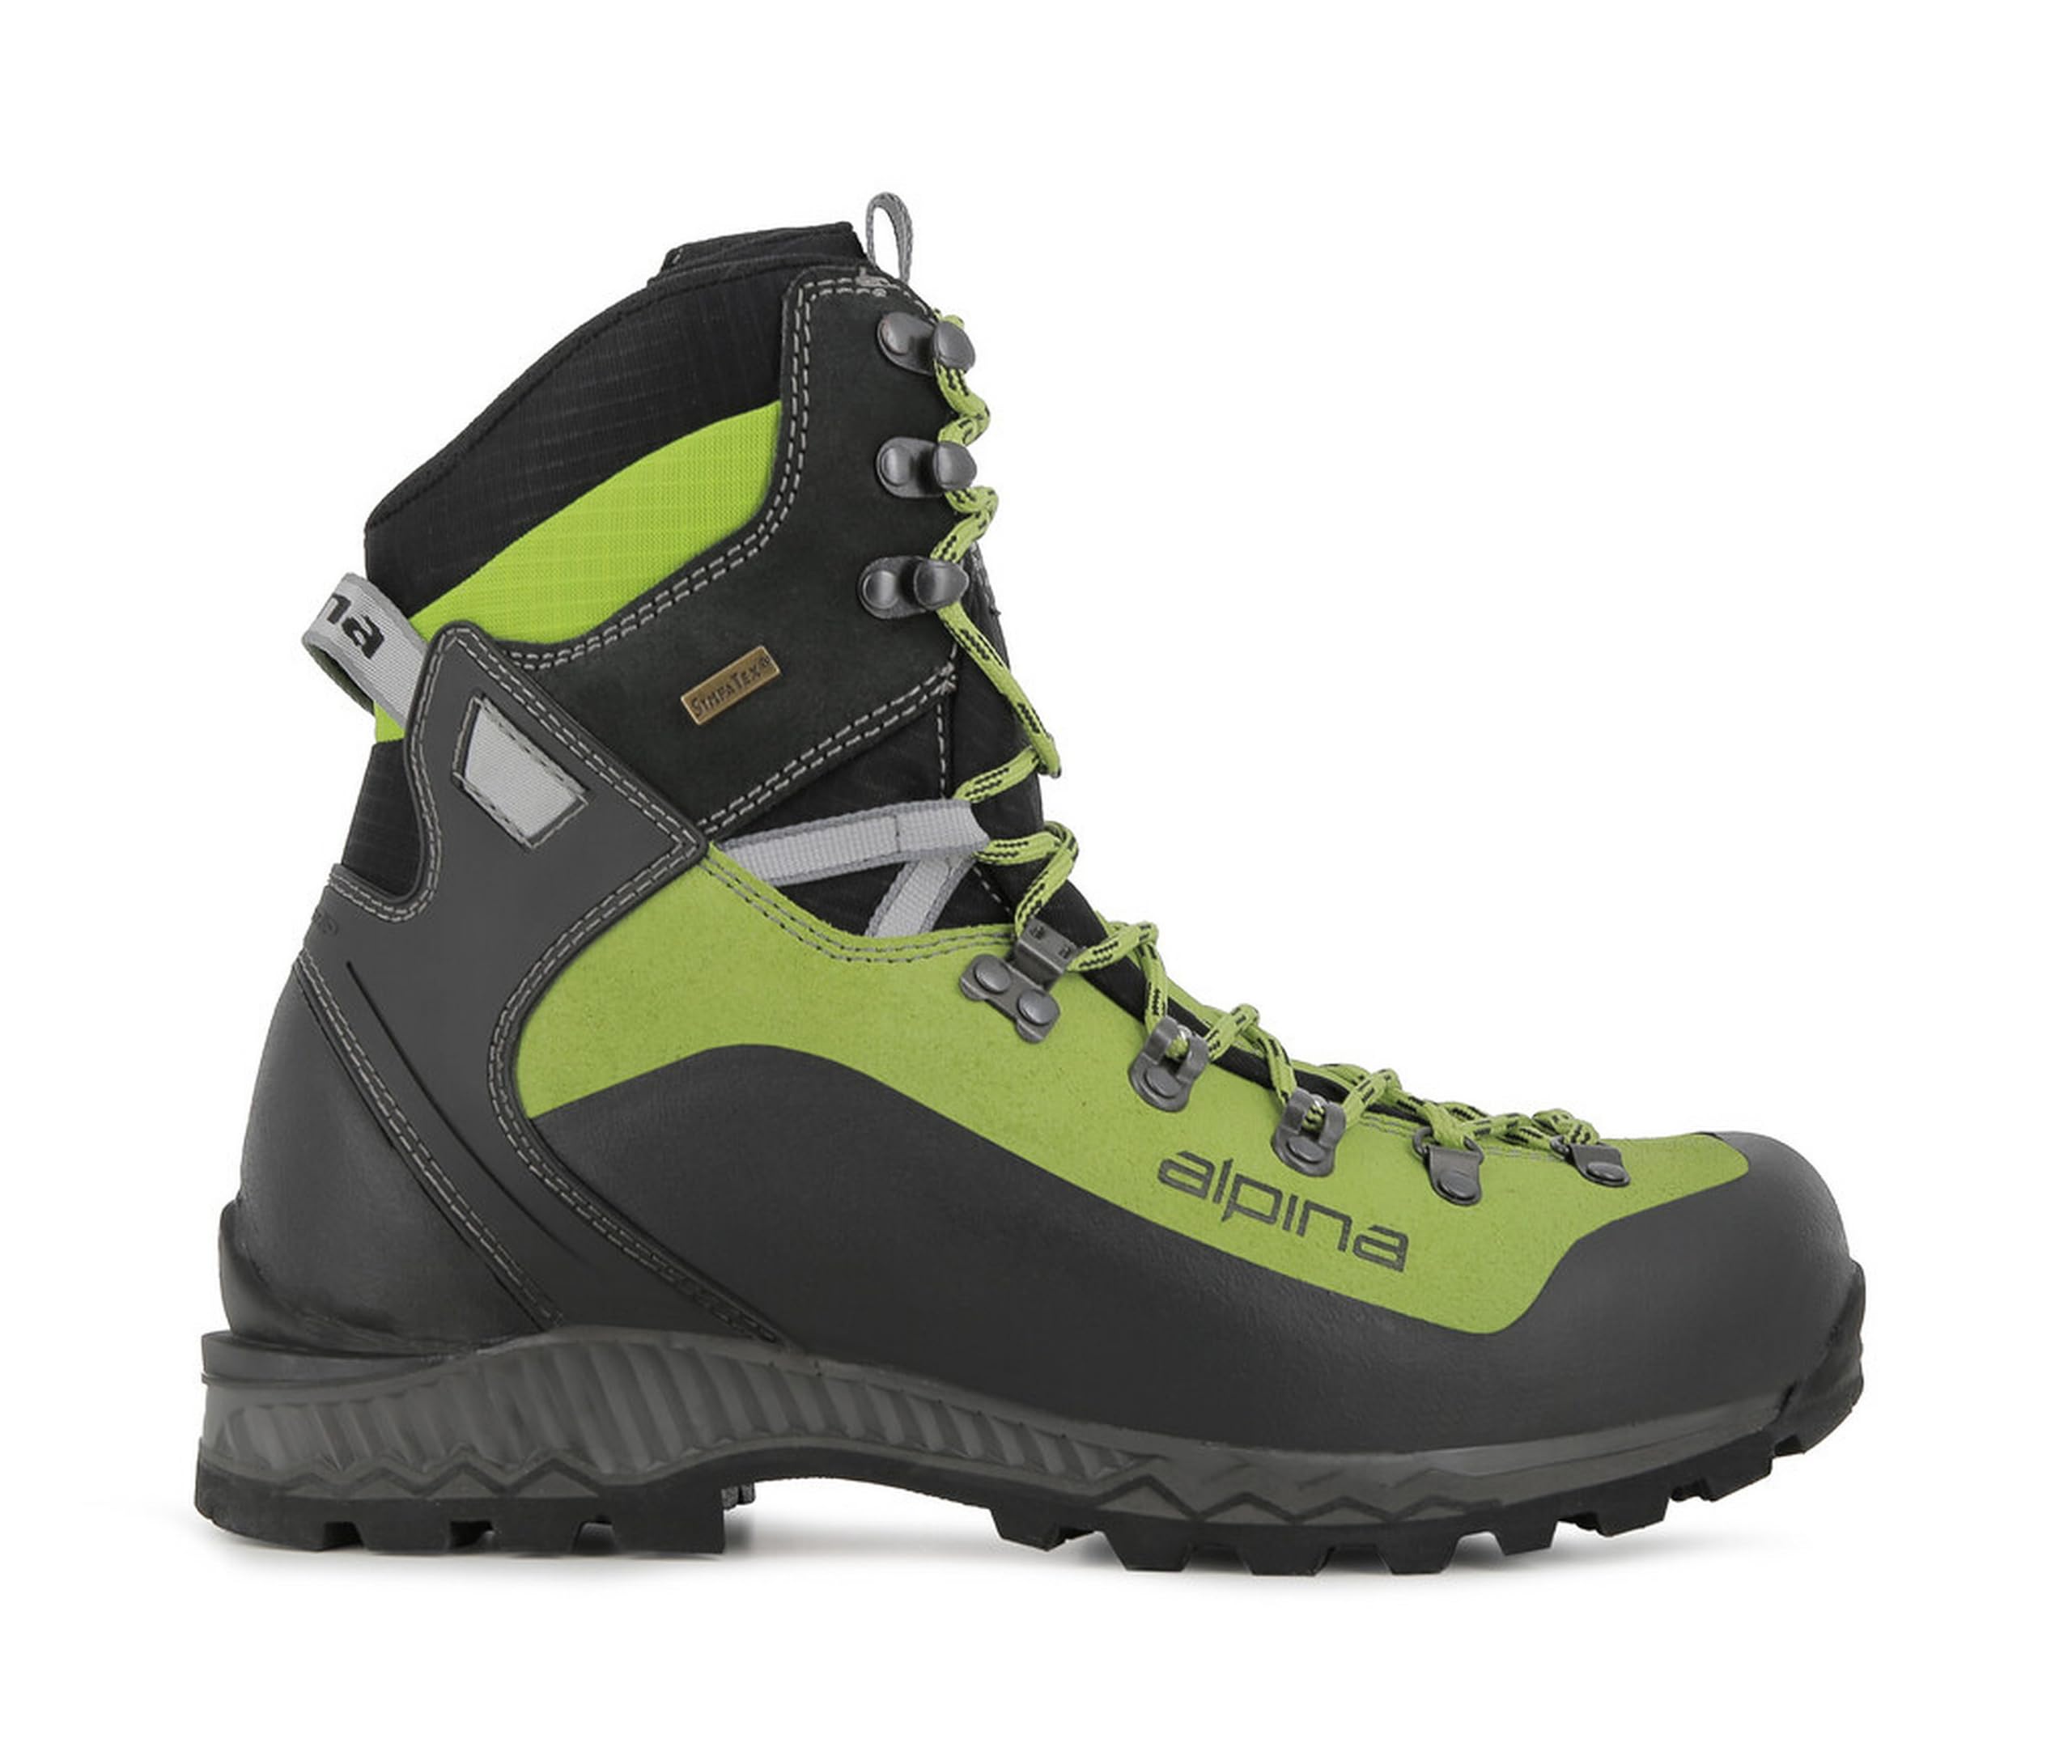
When loads pass about 35 pounds or the route crosses scree, mud, and unbridged streams, choose the traditional end of the category: full height leather or leather and fabric boots with a stiff shank and a lugged sole. The structure carries weight without folding under you, and tall collars keep out debris and shed brush.
These boots cost about $220 to $350 and demand a patient break in measured in weeks, not days. They are heavy on the foot and slow to dry, which is a poor trade for easy trails. Match them to the country that needs them, and they repay you with stability and years of service.
Choosing the Best Backpacking Boots for Your Situation
Two decisions shape fit more than brand loyalty does: the width of the last and the height of the collar.
Best Wide Backpacking Boots: What to Prioritize
The best wide backpacking boots solve a specific problem: a forefoot that splays under load and gets pinched in a standard last. Prioritize a genuinely wide last rather than sizing up, because a longer boot adds heel slip and lets toes slide forward on descents.
The right wide boot gives your forefoot room to spread while the heel stays narrow and held, and that combination is what separates a wide fit from a sloppy one. Wide lasts differ between makers, so try wide pairs with your hiking socks on and loaded steps, not a barefoot shuffle. Feet also swell across a long day, which means a wide fit that feels generous in the morning store may be exactly right at mile twelve.
Low Cut, Mid Cut, or Full Height Collars
Collar height is a trade among freedom, protection, and weight. Low cut shoes feel nimble and dry fastest, but they admit grit and offer the least debris protection. Mid cut boots cover the ankle bone, keep out most trail dirt, and suit the majority of backpacking loads.
Full height boots guard against brush and scree, support tired ankles on rough descents, and weigh the most while drying the slowest. A fabric gaiter closes the gap for lower boots in dirty country. Choose by the worst ground on your route, not the average mile.
Collar padding deserves a look as well. Thickly padded collars feel kind in the store, but they hold water after crossings, dry slowly at camp, and can press on the Achilles tendon once they stiffen with dried mud. Leaner collars with a shaped dip at the back suit high mileage walkers better. Whatever the height, keep the top of the collar free of grit, because trapped sand at the ankle works like sandpaper across a long descent.
Key Features to Compare
Features only matter through the load on your back and the ground under you. The five below decide most of the difference between the best backpacking boots for you and a poor match, including the ones in the product table above.
Midsole Stiffness and Cushioning Under Load
The midsole is where backpacking boots earn their keep. A shank and a torsionally stiff sole keep a heavy pack from twisting the boot on uneven rock, and they spread the pressure of sharp edges so your feet ache less at camp.
Cushioning foams soften step impact, but every foam packs down with mileage, so a boot that feels plush in the store may feel thin by late season. Stiffer soles protect on rough ground yet can tire calves and shins on smooth, flat trail. Match stiffness to your load and terrain, and be honest about both: most weekend loads do not need a mountaineering level of rigidity.
Waterproof Membranes and the Drying Problem
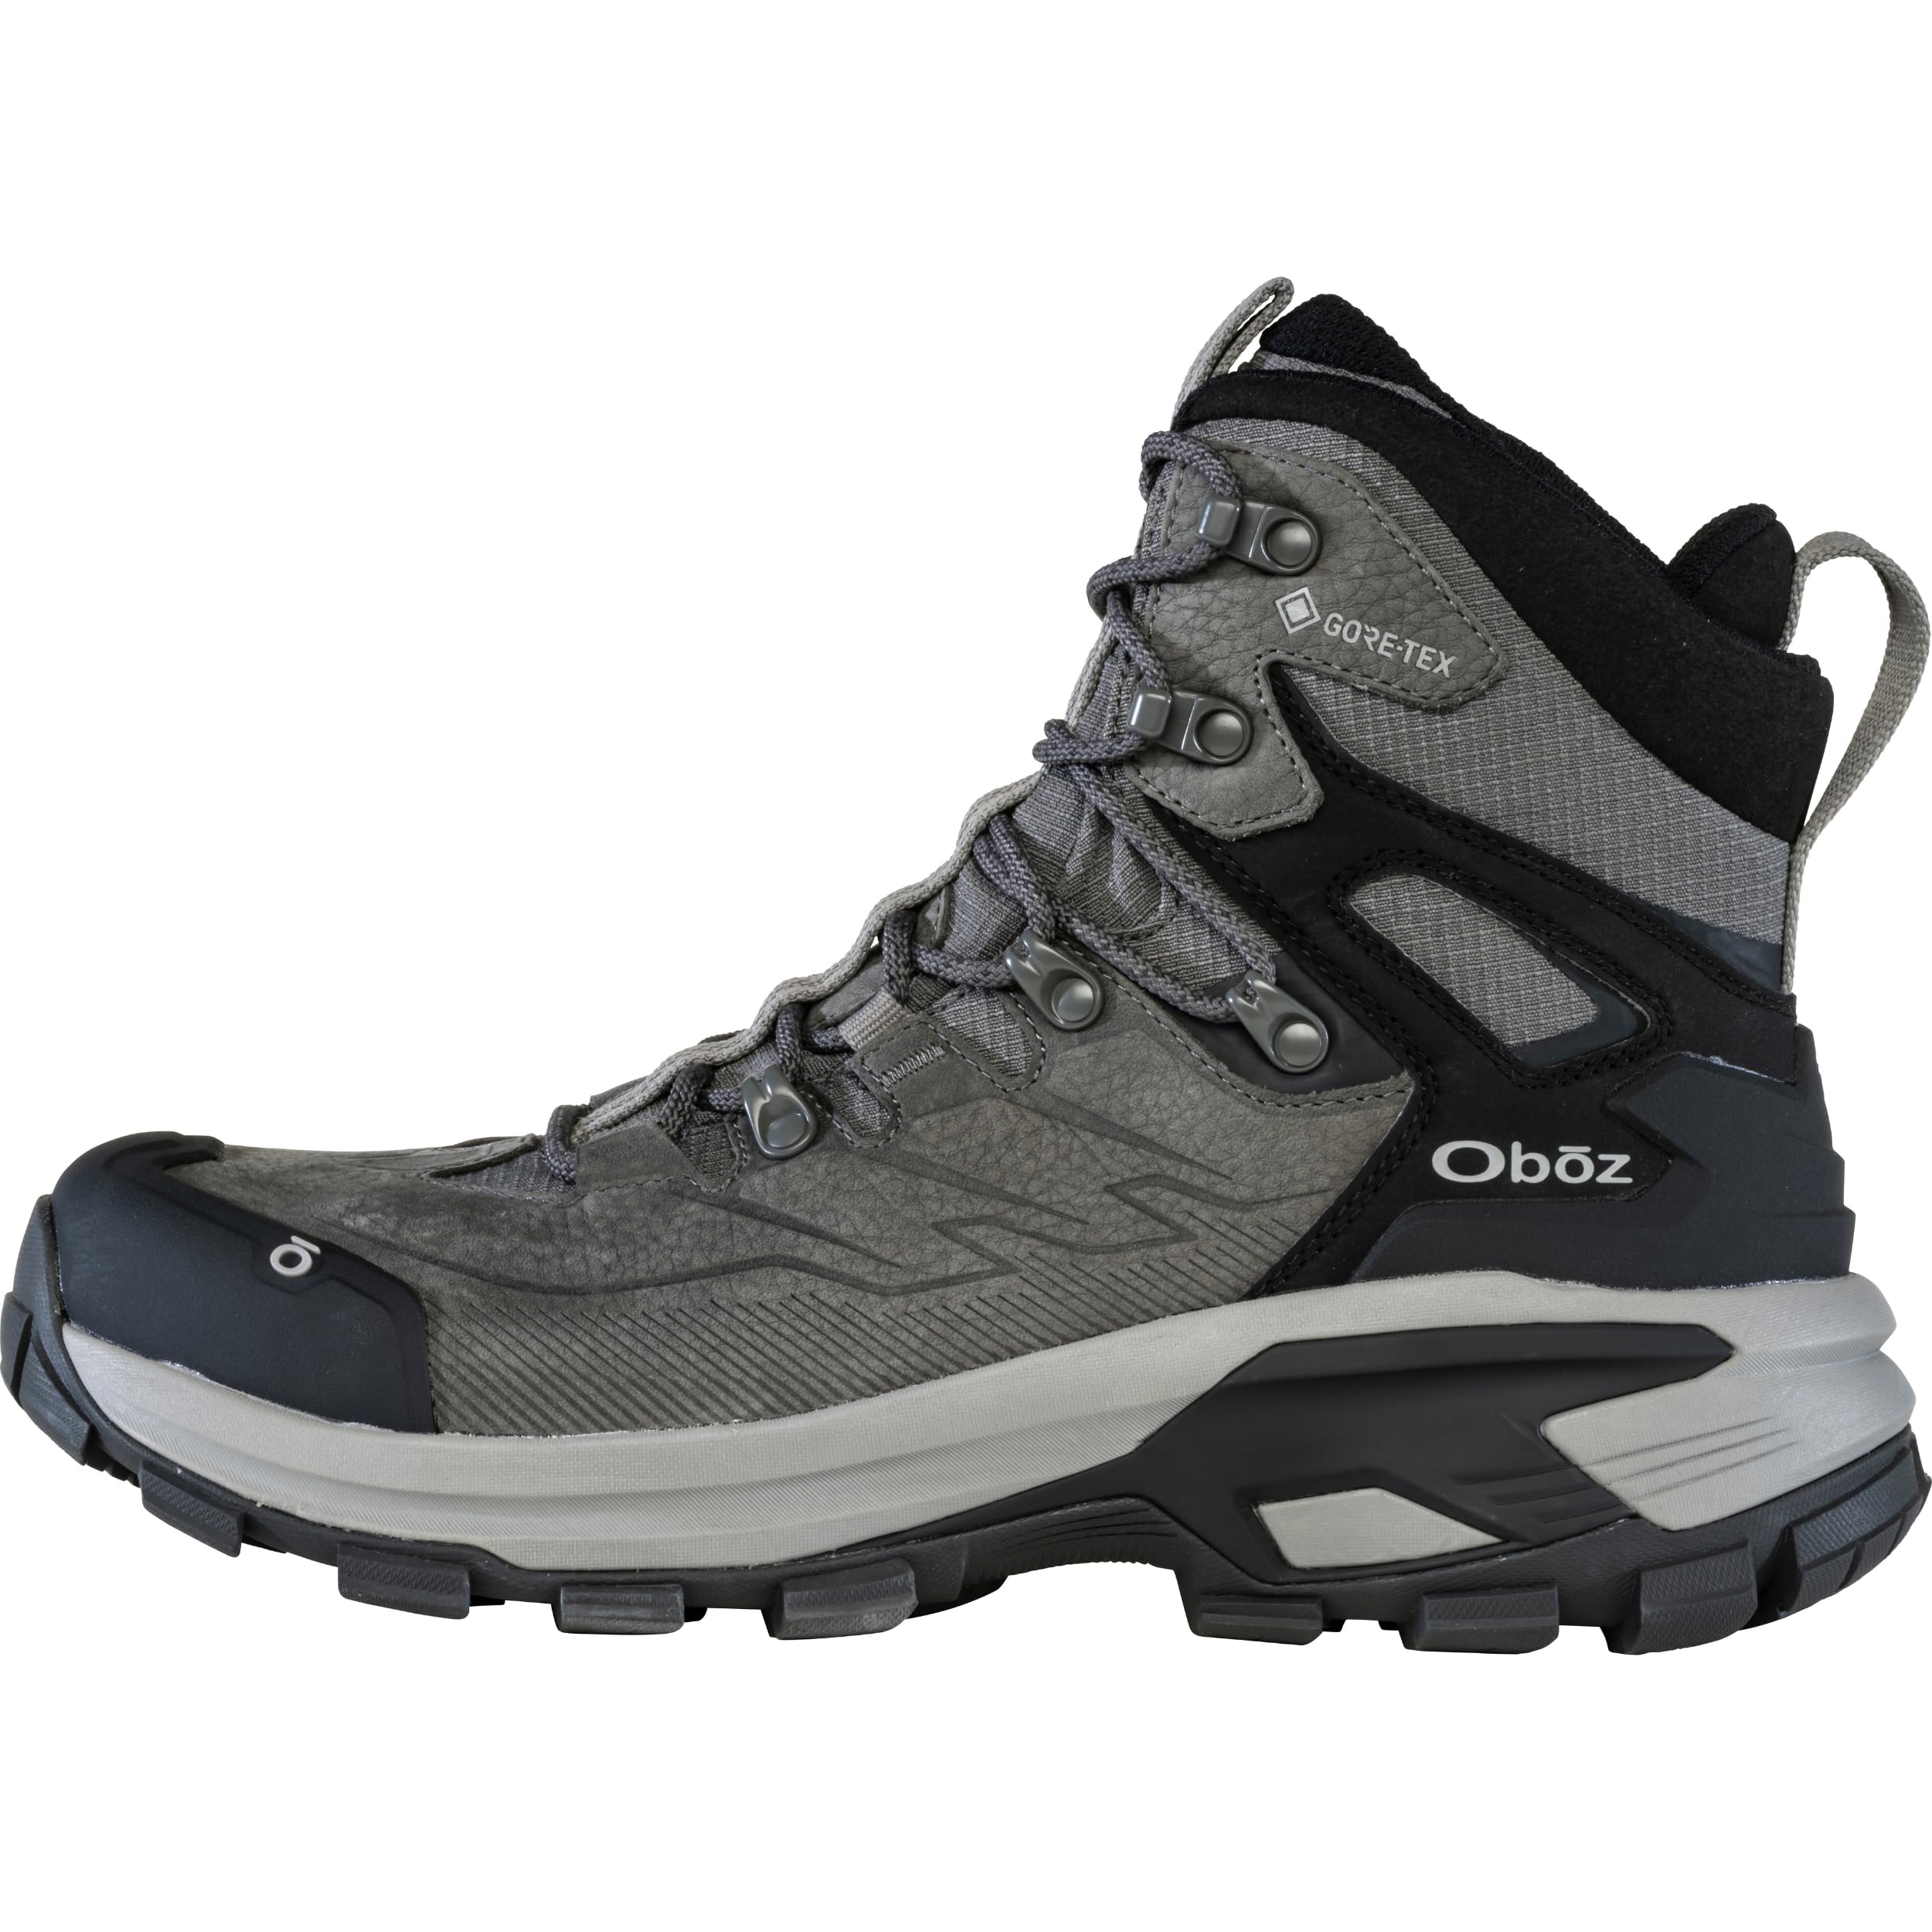
Membranes such as Gore Tex and maker branded equivalents keep rain, dew, and shallow puddles out, which keeps feet warmer in cold, wet climates. The trade off appears the moment water tops the collar in a stream crossing: the same membrane that blocked rain now slows drainage, and the boot can stay wet for days of damp weather.
Unlined boots wet through quickly but drain and dry far faster, which is why desert and summer hikers often skip membranes entirely. Decide by climate, not by habit. Our guide to the best waterproof backpacking boots compares membrane styles and their care needs in more depth.
Fit Checks: Heel Hold, Toe Room, and Socks
Shop late in the day, when your feet are at their largest, and wear the hiking socks you will actually use, because sock thickness changes fit as much as half a size. You want about a thumb width of space ahead of your longest toe, a heel that lifts only slightly, and no pressure point across the top of the foot. Try stairs or an incline board: toes that tap the front on a pretend descent will bruise on a real one. Men should note that men's and women's lasts differ in heel width and instep volume, and our guide to the best men's backpacking boots stays with men's fit patterns and sizing quirks.
Outsole Lugs and Rubber Grip
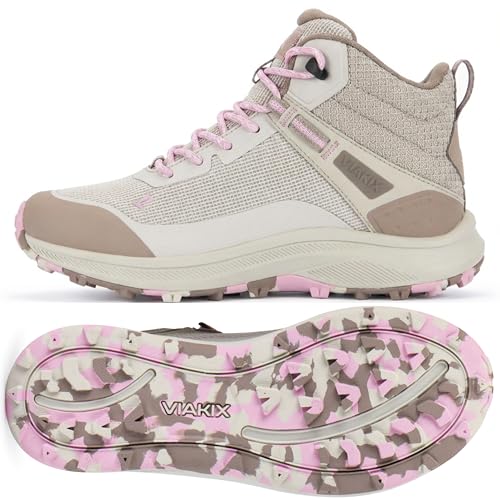
Lug pattern decides how a boot behaves when the trail turns loose or wet. Lugs about 4 to 6 mm deep bite into mud and gravel, while shallower, closer patterns feel steadier on rock slabs and packed paths. Softer rubber compounds grip wet stone better but wear down faster, a real cost on abrasive trails.
Look for a defined heel brake zone at the back of the sole, which digs in on descents and saves your knees from doing that work alone. Widely spaced lugs shed mud instead of packing into a slick platform. No tread pattern grips ice or algae covered rock well, so treat those surfaces with care whatever the sole promises.
Arch Support and Foot Shape
Most boots ship with a generic flat footbed that suits few feet well. If your arches are low or high, an aftermarket footbed matched to your arch often improves a good boot more than moving up a price tier.
Signs your support is wrong include arch ache that builds across the day and wear patterns that show your foot rolling far inward or outward. Support features manage load and fatigue; they do not prevent sprains or other ankle injuries, which depend on terrain, leg strength, and attention. Treat any boot that claims to make you injury proof as marketing, and judge it on fit and construction instead.
Upper Materials: Leather, Fabric, and Mixed Builds
Uppers decide how a boot ages. Full grain leather is the durable classic: it molds gradually to your foot, resists abrasion, and tolerates years of reproofing, at the cost of weight and the longest break in. Split leather paired with fabric panels cuts weight and price, but the fabric sections wear first at flex points and tear sooner on sharp rock.
Fully synthetic uppers feel light and friendly almost immediately and dry faster after crossings, yet they rarely match leather for lifespan on abrasive routes. Mixed builds try to land in the middle, with leather at high wear zones and fabric where flex matters. Choose by mileage: occasional hikers gain little from heavy leather, while high mileage hikers wear out light uppers fast enough to erase the savings.
Common Mistakes to Avoid When Buying Backpacking Boots
- Buying your street shoe size without a loaded fit check, so your toes jam against the front on the first long descent.
- Choosing waterproof boots for hot, dry country, where the membrane only traps sweat against your socks.
- Judging support by collar height alone while ignoring midsole stiffness, which does most of the load carrying work.
- Skipping the return policy question, when fit problems often appear on day three of break in rather than in the store.
- Leaving wet boots beside a heater or fire, which cracks leather, weakens glues, and shortens the life of the pair.
Break In, Care, and Storage
Break in is a schedule, not an event. Wear new boots around the house, then on short walks, then on a loaded day hike, adding distance only when the previous step produced no hot spots. Never debut new boots on a multi day trip, because a fit problem that is annoying at mile three becomes trip ending at mile thirty with no shop in reach. Adjust one thing at a time, sock, lacing, or footbed, so you learn what actually fixed the problem.
Blister care starts before skin breaks. Stop at the first hot spot, dry the foot, and cover the area with tape or a dressing before it blisters; pushing on turns a small fix into days of limping. Change into dry socks at camp, and note that many hikers pack the best backpacking sandals as camp shoes, which lets feet recover while boots air out overnight.
Air dry wet boots away from direct heat with the footbeds removed, brush off mud once it dries, and renew the water repellent finish on leather when water stops beading. Many pairs last about 500 to 1,000 miles depending on terrain and build. See a doctor about foot pain that persists across trips, numbness, or swelling that does not settle, rather than buying a stiffer boot and hoping.
Store boots clean, dry, and loosely laced in a ventilated spot, away from heaters and damp corners where leather mildews and foams age early. Before the first trip of a new season, flex the soles, check for separation at the toe and heel, and confirm the laces and eyelets are sound. Catching a failing sole bond at home is a nuisance; discovering it three days from the trailhead is a trip ender. A small tube of seam sealant and spare laces in your repair kit covers most field fixes.
Backpacking Boots: Your Questions Answered
Does heel lock lacing help backpacking boots stay put on descents?
Yes, heel lock lacing using the top extra eyelet keeps your heel seated in the cup, which stops your foot sliding forward and your toes striking the front of the boot on descents. It costs nothing and takes seconds to learn, and it often fixes black toenail problems that people blame on boot size. Try it before you exchange a pair for a larger size. If your heel still lifts more than a small amount with the lock tied, the last itself is too wide or too long for your foot.
How can you tell when backpacking boot midsoles are worn out?
Worn out midsoles announce themselves through your body before your eyes: new aches in your feet, knees, or shins on trails that used to feel easy. Look for deep compression wrinkles in the foam, a boot that leans inward or outward when set on a flat surface, and cushioning that feels dead even though tread remains. Tread depth is the wrong gauge for this failure. Once the midsole is gone, no footbed restores the original ride, and replacement is the honest fix.
Can backpacking boots be resoled when the tread wears down?
Some can, and it depends on construction. Boots with stitched or replaceable sole units are good resole candidates, while many cemented soles can also be replaced by a skilled cobbler if the midsole and uppers are still sound.
Resoling costs a meaningful share of a new pair, so it pays when the uppers fit you perfectly and show little wear. Ask for an assessment before shipping boots away. If the midsole is compressed or the lining is worn through at the heel, put the money toward a new pair instead.
Are waterproof backpacking boots a bad idea for desert trips?
For hot desert trips, yes, they are usually the wrong tool. Membranes reduce airflow, so sweat builds up inside and softens skin, which raises blister risk across long, hot miles.
Unlined mesh boots vent heat and dry overnight after the rare wet crossing, and sand works its way into every boot regardless of membrane claims. Save waterproof pairs for cold rain, wet grass, and shoulder season mud. The exception is a desert route with repeated deep water crossings in cold conditions, where wet feet become a warmth problem rather than a comfort one.
Should new backpacking boots feel stiff on the first wear?
Sole stiffness is normal in a new backpacking boot, and it softens somewhat as the midsole and upper flex through break in miles. Pressure points are not normal: a seam digging into your ankle bone, a toe box squeezing your forefoot, or a heel that rubs raw will not improve with wear.
Learn to separate the two in the store by walking, turning, and stepping down from a ledge or stair. Stiffness should feel like support under your arch, never like something poking you. If you cannot tell the difference, wear the pair indoors longer before committing.
Can backpacking boots double as everyday winter boots?
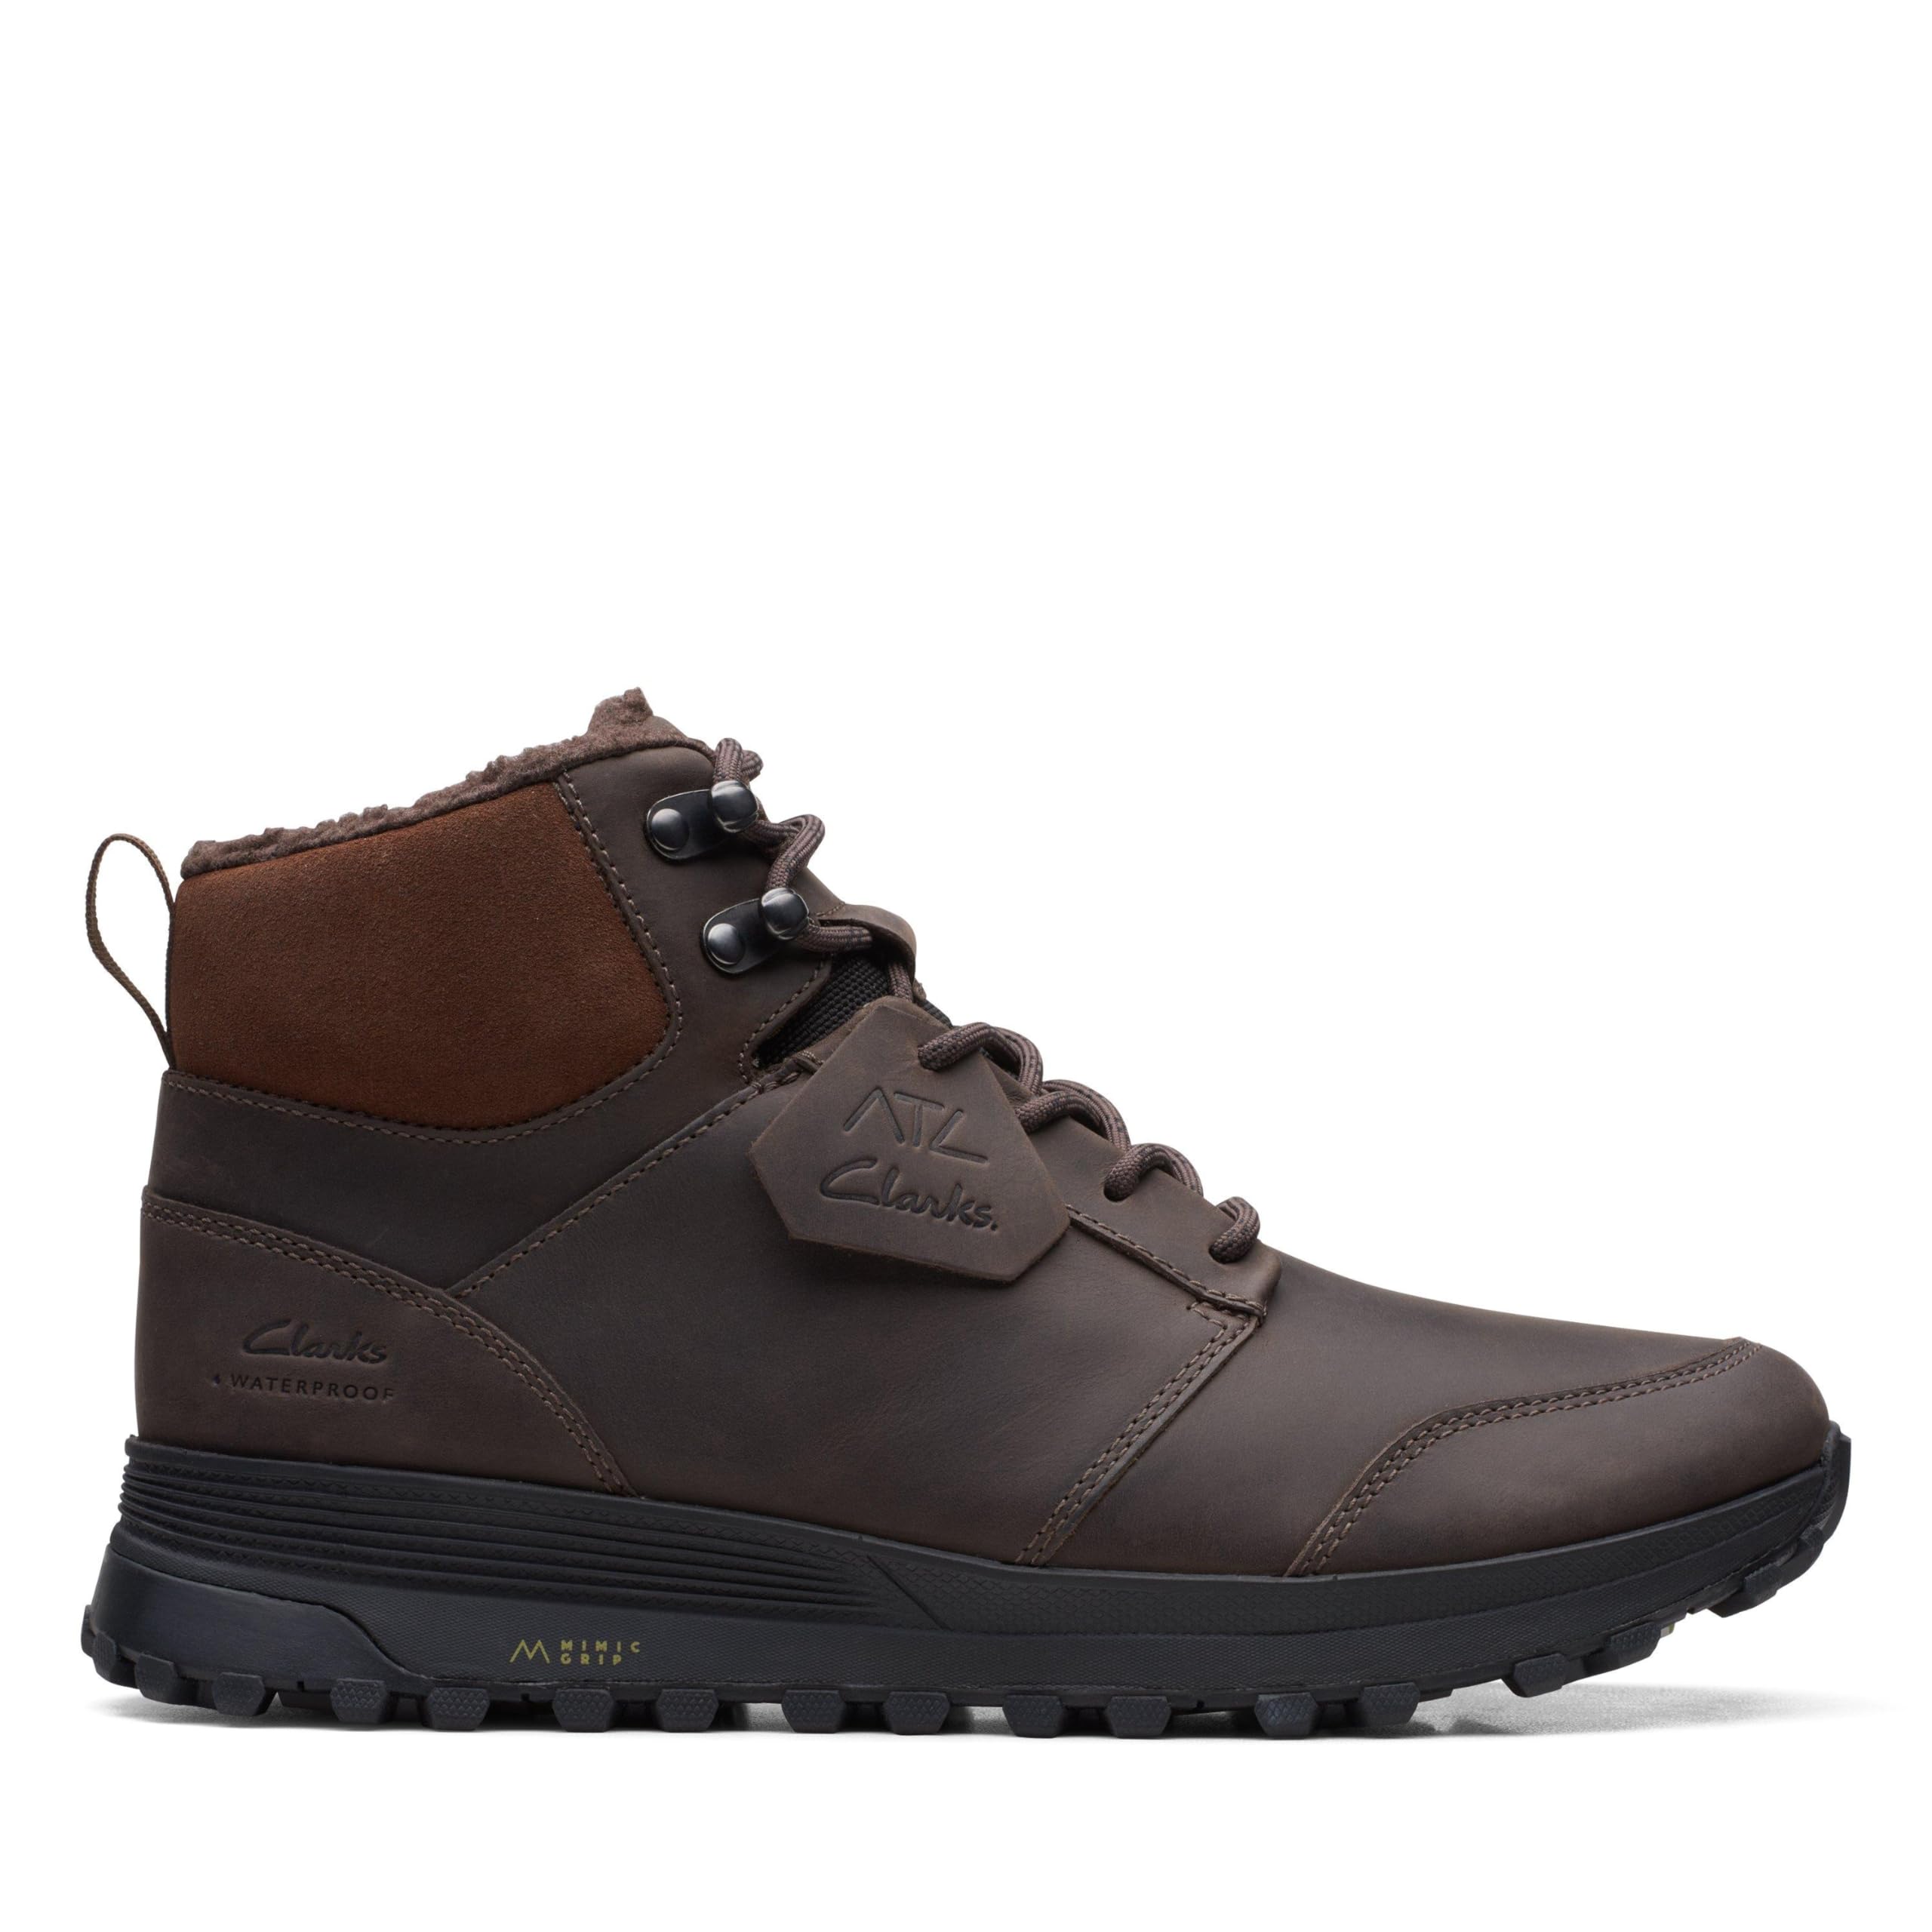
They can in a pinch, but it shortens their trail life and they are not built for the job. Backpacking boots lack insulation, so feet get cold during slow winter standing even if they stay warm while hiking.
Road salt stains and dries leather, and lugged soles grip packed snow poorly compared with true winter tread, especially on ice. Using them daily also packs down midsole foam that you paid for to use on trails. A dedicated winter pair protects your hiking investment, and your backpacking boots will thank you by lasting more seasons.
Final Thoughts
Buy in this order: match the boot class to your load and terrain, prove the fit with loaded checks late in the day, then decide the membrane question from your climate rather than habit. Those three steps prevent nearly every common regret, from bruised toes to boots that stay wet for a week. The best backpacking boots for your season are the pair you forget about by the second morning on trail. Use the product table above to compare current options in the class you picked, and give the winner an honest break in before the trip that matters.