Best Analog Meat Thermometer (2026): Size, Features and Buying Tips
Disclosure: We may earn a commission when you buy through links on this page, at no extra cost to you. As an Amazon Associate I earn from qualifying purchases. Learn more

What matters when choosing the best analog meat thermometer: size, features, budget and the mistakes to avoid.
Sunday dinner is in the oven, the kitchen is crowded, and nobody wants to guess whether the roast is done in the middle. A simple dial thermometer solves that problem without apps or charging cables. If you are shopping for the best analog meat thermometer for your home, the right choice depends on your kitchen space, how many people you cook for, and how often you roast or grill.
This guide walks through the three main analog styles, the features that matter, and what owning one costs over the years. Use the comparison table below to see how the types stack up, then read on for the details that decide which one earns a spot in your drawer.


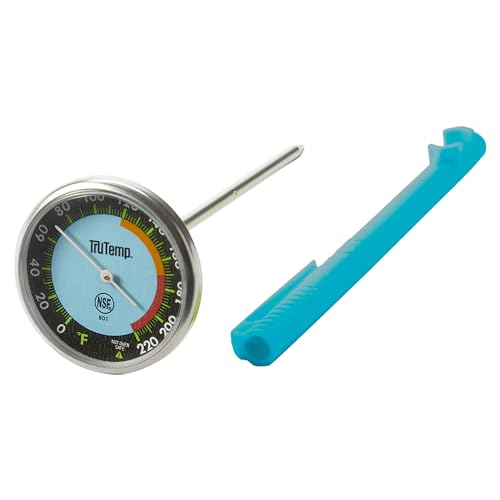
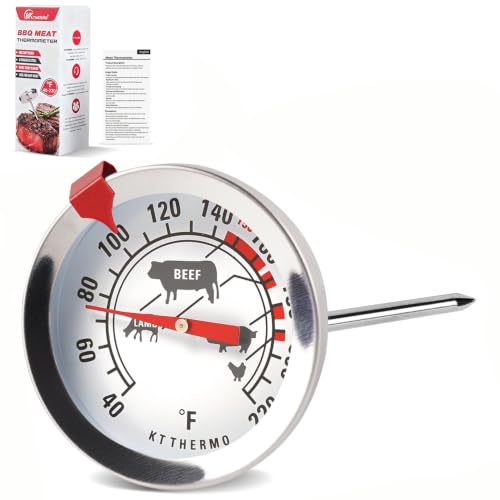
Quick Answer: The Three Analog Styles in 30 Seconds
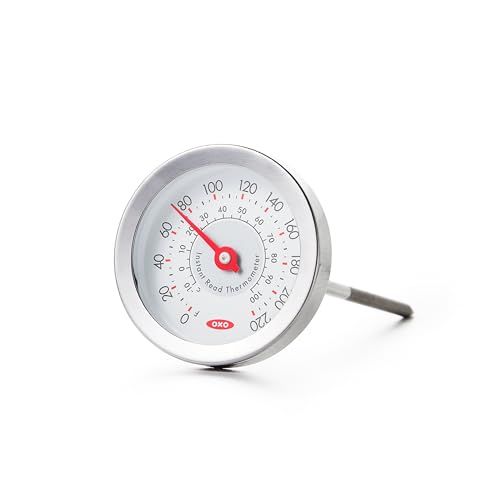
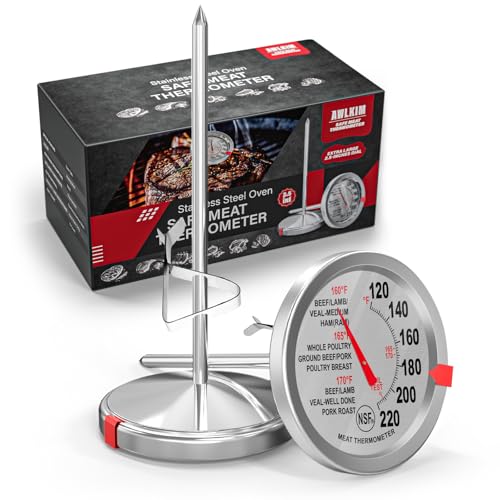
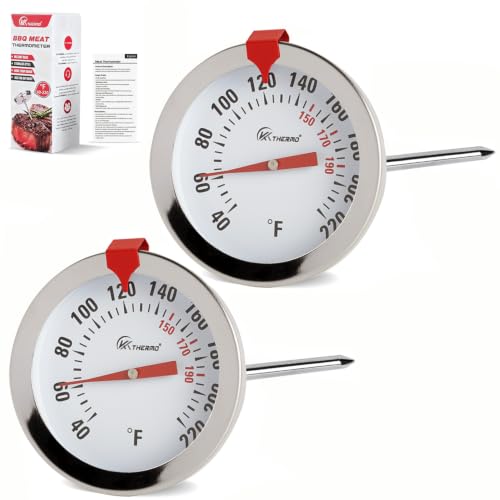
Analog meat thermometers come in three broad styles. A pocket dial model is small, cheap, and read at the moment you insert it. An oven safe dial model stays in the meat during roasting and suits large cuts and holiday birds. A large dial roaster model has a bigger face that is easier to read from a distance. All three need no battery. Your routine should decide which style you buy.
If you cook small cuts a few times a week, the pocket style is usually enough. If your household roasts whole chickens or a turkey for a crowd, the oven safe style earns its keep. Our wider guide to the best meat thermometer covers every thermometer family, if you want to compare before you decide.
Before You Buy: A Quick Checklist for Choosing a Meat Thermometer
Analog models look simple, and they are, but small differences in dial size, stem length, and temperature range change how well one fits your cooking. Work through the points below first.
Which Type Fits Your Routine
Start with how you cook. A pocket dial thermometer is inserted near the end of cooking, left briefly while the needle settles, then removed, which suits steaks, chops, and chicken pieces. An oven safe model goes in before roasting and stays put, so you can watch the temperature climb through the oven door window. Digital and wireless models read faster or send phone alerts, but they need batteries and cost more. Weeknight pans and a Sunday roast are covered well by a basic analog style.
Features Worth Paying For, and Ones to Skip
A few features genuinely help. A dial face at least 2 inches wide is easier to read at a glance, and a lens that resists fogging keeps the numbers visible above a steamy pan. A calibration nut under the dial head lets you correct the reading later, which extends the life of the tool. A stem long enough to reach the center of a thick roast matters more than extras. Skip decorative finishes and bundled fork sets, since none of them improve a single reading.
Materials and Food Safety
Look for a stem and dial case made of stainless steel, which resists rust and handles contact with raw and cooked meat without staining. The lens is usually glass or clear plastic, and glass stays clear longer under heat. Every part that touches food should be smooth, with no deep seams where juices can collect. Insert the stem into the thickest part of the meat, away from bone, because bone conducts heat and pushes the reading too high.
Hand Wash or Dishwasher Safe
Most analog thermometers should be washed by hand, even when a listing suggests the dishwasher is fine. Hot water and detergent inside a dial case can cloud the lens and shift the calibration, and a fogged face is hard to rescue. Washing takes under a minute, so treat hand washing as the default. If easy cleanup is your top priority, a sealed digital model may suit you better, and our guide to the best digital meat thermometer explains that trade off.
Realistic Budget Ranges
Analog thermometers are among the cheapest kitchen tools you will buy. Basic pocket dial models cost around $10, and most home cooks spend about $10 to $25 for a well made one with a clear face and a calibration nut. Larger oven safe roasting models fall in the same range. Spending far more than about $30 buys styling more than accuracy, because the mechanism is simple at every price. Budget a few dollars for a storage tube, and you are equipped.
Analog Types Compared: Choosing by Home and Routine
Rather than ranking specific models, this section compares the three analog types against the needs of real households. Match your home to the type first, and the purchase gets much easier.
For Most Homes: The All Purpose Pocket Dial
The pocket dial is the default choice for apartments and small kitchens because it takes almost no storage space and works on nearly everything you cook. You insert it, wait for the needle to settle, and read the temperature, which suits steaks, burgers, pork chops, and chicken breasts. Its weakness is patience, since it needs more time in the meat than a digital reader. Households cooking for two to four people will find it covers almost every weeknight meal.
For Tight Budgets: The Simple Fixed Dial
The simplest analog models skip the calibration nut and use a smaller face, and in return they cost very little, often under $15. For a first apartment or a backup drawer tool, that trade can make sense. Readings are still reliable enough for roasts and casseroles when the model is new. The catch is that once the needle drifts, there is no way to correct it, so you replace the tool instead of adjusting it. Treat it as a starter option, and upgrade when you cook meat several times a week.
For Long Term Value: The Oven Safe Roaster
An oven safe analog model is built to stay in the meat from the start of roasting to the end, with a large face you can read through the oven door. Pick this type for whole turkeys, bone in roasts, and large hams, where opening the door often would drop the oven temperature. The bigger dial and longer stem cost a little more, but there is no battery to die mid roast and no electronics for heat to damage. For families who host holiday meals, it is the most durable analog buy.
How to Evaluate an Analog Meat Thermometer
When you compare listings, judge each one on five plain criteria. Ease of use means a face you can read quickly and a stem that slides in without force. Durability means a steel case and a lens that handles oven heat if the model claims oven use. Cleaning should take one wash by hand, and design should fit your drawer and your hand. Value should reflect the simple mechanism, so a high price needs a clear reason such as size or calibration.
What We Like and What We Do Not: Analog Versus Other Types
The strongest case for analog is independence. There is no battery to replace, no app to update, and no signal to lose, so the tool works the same in a small apartment kitchen, at a cabin, or beside a grill. Analog models also tolerate being left in a hot oven when rated for it, something many basic digital probes cannot do. The product table above shows how the main thermometer families differ on these points.
The honest trade offs are speed and precision. An analog needle can take 30 seconds or longer to settle, while the best instant read meat thermometer in digital form answers in a few seconds. Dial markings show temperature in steps, so you read to the nearest few degrees rather than a decimal point. For thick roasts that heat slowly, that precision is plenty. For thin fish fillets, a digital tool is better, and cooks who want alerts from another room should look at the best wireless meat thermometer options instead.
Common Buying Mistakes to Avoid
- Buying a pocket dial for a whole turkey, then finding the stem too short to reach the center of the breast.
- Choosing the smallest dial face to save money, then struggling to read it above a steaming pan.
- Assuming every analog model is oven safe, when many pocket styles are damaged by long exposure to oven heat.
- Paying for bundled extras such as forks and cases while ignoring whether the dial can be recalibrated.
- Storing the thermometer loose in a crowded drawer, where the stem bends and the lens gets scratched.
Cost of Ownership and Care
Owning an analog thermometer costs almost nothing after the purchase. There are no batteries, no replacement probes, and no subscription. Your only real cost is a few minutes of care. Wash the stem in hot soapy water after every use, dry it fully, and store it in its tube where the stem stays straight. Keep it away from soaking in the sink, since standing water works into many dial cases.
Check the calibration a few times a year by placing the stem in a glass of ice water, where it should read at or near 32°F once the needle settles. If your model has a calibration nut, hold the nut with a small wrench and turn the dial until the needle points to 32°F. If it has no nut and reads far off, replacement is the only fix. A cared for analog thermometer commonly serves for many years. Our guide on how to use a meat thermometer covers insertion depth and placement for different cuts.
FAQ
Does an analog meat thermometer need batteries or charging?
No. An analog meat thermometer works with a metal coil inside the dial that expands as it heats, moving the needle without any power source. That is why these tools keep working after years in a drawer and why they suit cabins and campsites where chargers and spare batteries may not be on hand. The trade is patience, since the needle needs time to react.
How long does an analog meat thermometer take to give a reading?
Expect the needle to settle in about 30 to 60 seconds once the stem sits in the thickest part of the meat. Thin cuts give a steadier reading if you insert the stem from the side, so more of it sits inside the food. Keep the stem in place while you read, because pulling it out early starts the needle falling. The reading is ready when the needle stops moving for several seconds.
Where should you place an analog meat thermometer in a whole turkey?
Slide the stem into the thickest part of the inner thigh, angled so the tip rests in the meat without touching bone. Many cooks also check the thickest part of the breast, because a large bird does not heat evenly. Government food safety guidance puts poultry at 165°F, and the thigh should reach that level before the bird leaves the oven. Let the turkey rest before carving so the juices settle.
How do you clean an analog meat thermometer without damaging the dial?
Wash the stem with hot soapy water and a soft cloth, rinse it, and dry it right away, keeping the dial head out of standing water. After cooking raw poultry, wash the stem especially carefully before it touches cooked food. Never soak the whole tool, because water inside the case fogs the lens. Our guide on how to clean a meat thermometer walks through care for each type.
Can an analog meat thermometer be used on a grill?
Yes, as long as you respect the rating of the model. Oven safe types handle grill heat with the lid closed, while pocket dial styles are meant for quick checks with the lid open and should not be left over the flames. Keep the dial away from flare ups, wear a glove when you lean in to read it, and check earlier than the recipe suggests, since grill heat swings more than oven heat.
Final Thoughts
For most households, the pocket dial is the practical starting point, the oven safe roaster is the holiday workhorse, and the simple fixed dial is the budget spare. The best analog meat thermometer for you is the one whose size matches your largest regular cook and whose face you can read without squinting. Check the product table above once more, pick the type that fits your kitchen, and enjoy meat that comes off the heat at the moment it should.