Best All Mountain Boots in 2026: Types Compared and How to Choose
Disclosure: We may earn a commission when you buy through links on this page, at no extra cost to you. As an Amazon Associate I earn from qualifying purchases. Learn more

Compare light, backpacking and mountaineering boots by traction, waterproofing, fit and weight to choose all mountain boots for your trails and load.
Mountain terrain rarely stays one thing for long. A route can cross mud, loose gravel, wet rock and old snow, and that mix is why the best all mountain boots focus on versatility rather than one narrow strength. Use the comparison table below to see how the main types differ before you judge any single feature.
Start with the trips you actually take. Note your usual pack weight, the steepest ground you cross and how often your boots get wet.

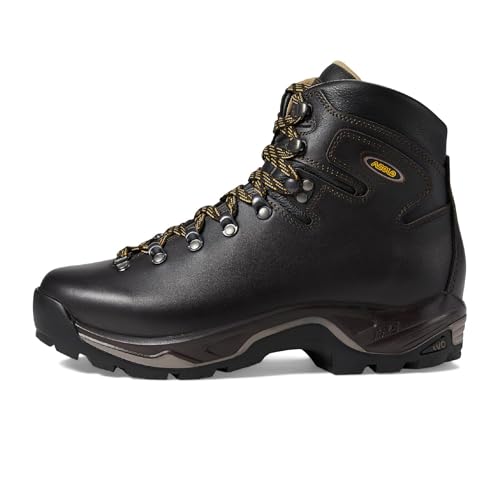

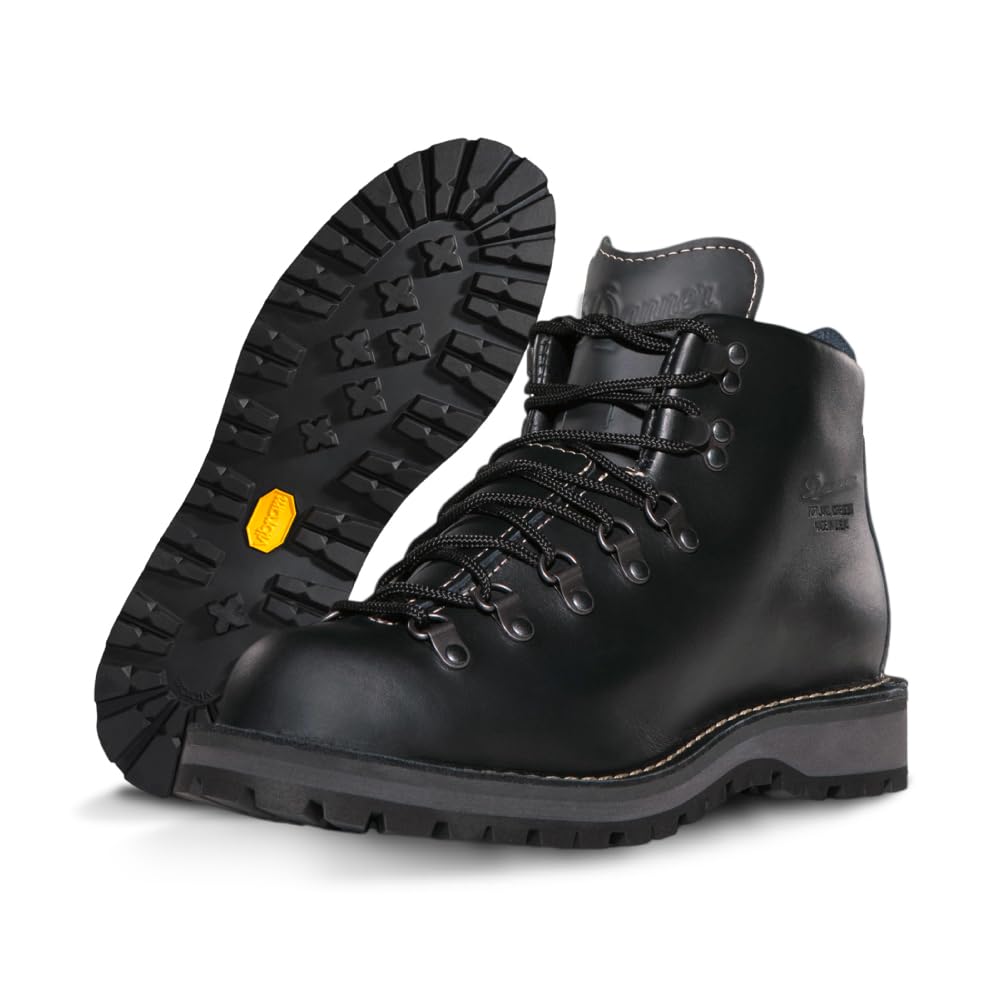


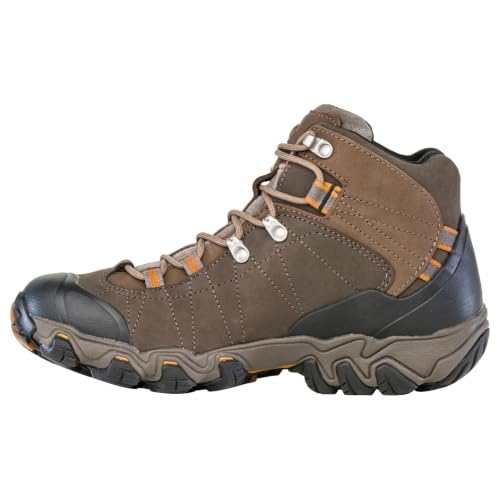

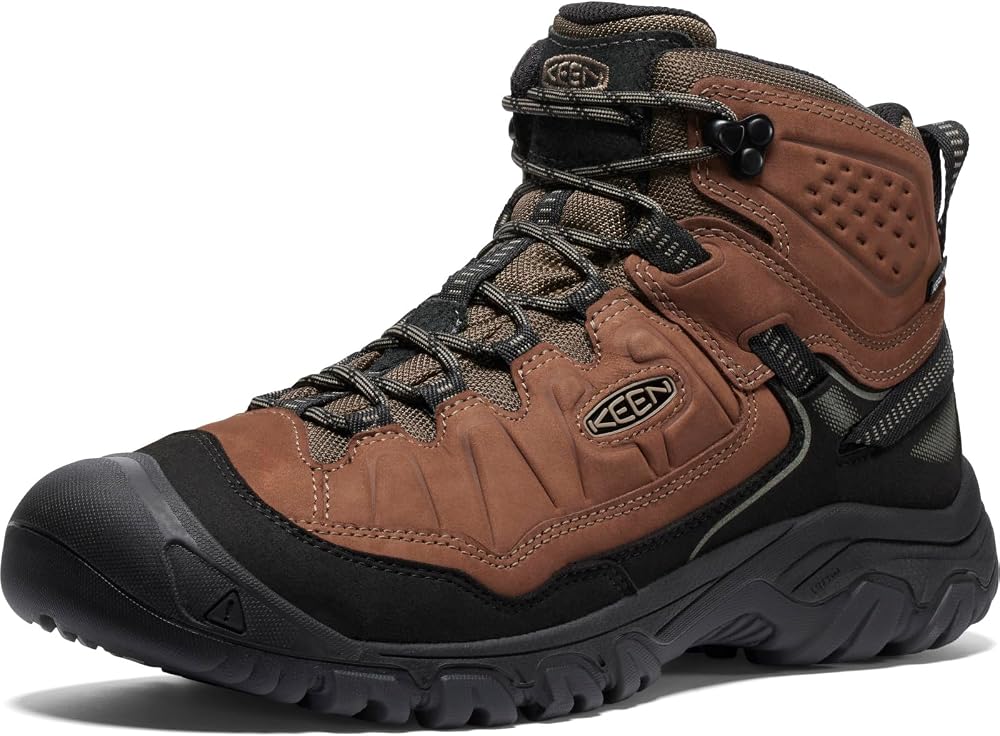
Types of Mountain Boots Compared
All mountain boots fall into three broad types, and the right one depends on load and terrain more than price. For a narrower look at trail focused models, see our guide to the best mountain hiking boots after you settle on a type.
Light Boots for Day Hikes on Mixed Trails
Light boots sit just above the ankle, weigh the least of the three types and flex easily at the forefoot. That flex gives a short break in period and a natural stride on maintained trails and moderate climbs. Their thinner midsoles offer less protection against sharp rock and less support under a heavy pack. Choose this type for day hikes and fast summit trips where you carry water, food and a jacket rather than camping gear.
Backpacking Boots for Heavy Loads and Rough Ground
Backpacking boots use a taller cuff, a stiffer midsole and a tougher upper built to carry loads of about 30 to 50 pounds over several days. The stiffness spreads pressure from rocks across the whole foot, and the height helps steady your ankle on uneven descents. If your trips include hunting camps in high country, see our guide to the best mountain hunting boots for that use.
Mountaineering Boots for Steep Snow and Ice
Mountaineering boots are the stiffest type, with rigid soles, insulated uppers and fittings that accept crampons for snow and ice travel. That rigidity helps on steep snow, but feels tiring on long dry trails. Prices are the highest of the three types, often about $300 to $600. Choose this type only when your routes regularly reach glaciers, steep snow slopes or winter summits.
Light Boots or Stiff Boots: Which Should You Choose?
Match stiffness to the hardest part of your route, not the easiest miles. A light boot wins on a dry valley trail because it wastes less energy with each step. A stiff boot wins when loose scree, a heavy pack or snow would twist a soft boot and tire your ankles.
Be clear about scope before you order. Boots for hiking and climbing are cut for walking, while resort boots lock to a binding. If your all mountain search actually means skiing, see our guide to the best ski boots all mountain instead, because fit and flex work very differently there.
How to Choose the Right Mountain Boot
Work through the factors below in order, since fit and terrain matter more than any material claim. When you shop for best all mountain boots in a store, wear your hiking socks and walk on a slope board if one is available.
Lug Patterns for Rock, Mud and Snow Slopes
The outsole is the rubber layer that grips the ground, and its lug pattern decides how a boot handles mud, gravel and rock. Deep lugs of about 4 to 6 mm shed mud and bite into soft ground, while shallower, wider lugs grip dry rock better because more rubber touches the surface. Look for a defined heel edge, which helps you brake on steep descents. Soft rubber grips wet stone well but wears faster, so frequent hikers on rocky ground often prefer a firmer compound.
Membranes and Wet Weather Protection on Mountain Trails
Waterproof boots use a membrane such as Gore Tex inside the upper to block outside water while letting some sweat vapor escape. That protection matters in rain, wet grass and shallow crossings, and it adds warmth on cold routes. The trade off is breathability, because a membrane boot dries slowly once water enters over the cuff and feels hot in summer. If most of your hiking is dry and warm, a breathable boot without a membrane will feel cooler and dry faster.
Sizing and Toe Room for Steep Ground
Fit decides comfort more than any other factor, so measure both feet late in the day when they are slightly swollen. Your toes need room to spread and to move downhill without striking the front, which is why a roomy toe box matters on long descents. Your heel should stay seated with little lift inside the boot. Confirm size with a downhill test rather than a size rule alone.
Cuff Height, Stability, and Ankle Support
Cuff height shapes stability on rough ground. A taller cuff braces the ankle against sideways rolls on scree and under a heavy pack, and it keeps stones and debris out of the boot. A lower cuff allows a freer stride and weighs less, which suits smoother trails and stronger ankles. Slow down on loose descents even in a tall boot. Choose height by your terrain and load, not by the idea that taller is always safer.
Cushioning, Stiffness, and Heel to Toe Drop
Cushioning in the midsole softens impact on hard trails, while stiffness controls how much the boot bends as you climb. Heel to toe drop, the height difference between heel and forefoot, is often about 8 to 12 mm in mountain boots and can ease strain for hikers used to raised heels. A very stiff boot protects tired feet under load but reduces ground feel on technical rock. Test both qualities by standing on a narrow edge and on a slope.
Weight and Upper Materials
Weight adds up over thousands of steps. Full grain leather uppers resist abrasion from rock and can last for years with care, but they weigh more and need a longer break in. Synthetic and split leather uppers feel lighter and dry faster, yet their panels and coatings tend to wear sooner on sharp terrain. Boots range from about 2 to 4 pounds per pair, and the heavier end makes sense only when stiffness earns it.
Common Mistakes to Avoid
- Buying mountaineering boots for dry summer trails leaves you with stiff, hot footwear that tires your legs on every mile.
- Choosing your street shoe size without a downhill test lets your toes strike the front and bruise on long descents.
- Ignoring pack weight when you choose stiffness leaves your feet sore because a soft boot bends under a heavy load.
- Expecting a waterproof boot to stay dry after water enters over the cuff leads to wet socks for the rest of the trip.
- Skipping break in hikes before a big trip turns a small hot spot into a blister that can end your route early.
Care and Maintenance for Mountain Boots
Brush off mud after each hike and pull the insoles out so air can reach the inside. Dry wet boots slowly at room temperature away from direct heat, since heat can crack leather and weaken glues in the sole.
Clean leather boots with water and a soft brush, then apply a conditioner or treatment made for that leather type once dry. Check lugs, seams and lace eyelets before each season, and replace worn laces early. Store boots upright in a dry place out of direct sun.
Mountain Boots: Your Questions Answered
Do mountain boots need to be waterproof for wet trails?
Mountain boots do not always need to be waterproof, and the best choice depends on how water reaches your feet. On routes with repeated shallow crossings, water will enter over the cuff of any boot, so a fast drying non waterproof pair can be smarter. A membrane helps most against rain and puddles below the cuff. Also pack spare socks in a dry bag, because changing socks at camp restores comfort faster than waiting for boots to dry.
How long does the break in period take for mountain boots?
The break in period for mountain boots usually takes about 10 to 20 miles of walking spread over several outings. Start with short walks near home, then add distance and pack weight as the upper softens. Check your skin after each walk, since a pink hot spot is an early warning you can fix with tape or a sock change. Pain that sharpens, numb toes or a returning blister means the fit itself is wrong.
How often should you replace mountain boots worn on rocky trails?
You should replace mountain boots when the outsole lugs wear smooth, the midsole feels flat and harsh, or the upper splits near the flex point. Rocky trails wear rubber faster than soft forest paths, so mileage alone is a poor guide. Test grip on a wet rock slab you know well, because a clear loss of grip shows wear that tread depth may hide.
Can you wear all mountain boots for a full day of hiking?
Yes, you can wear all mountain boots for a full day of hiking when the fit is right and the boots are fully broken in. Stop every few hours to loosen laces and air your feet, which helps manage swelling during a long climb. Retighten laces before the descent, starting at the middle eyelets, so your foot stays back in the heel cup. That small routine prevents both heel lift and toe impact in one adjustment.
Are expensive all mountain boots worth the higher price?
Expensive all mountain boots can be worth the price when the extra cost buys a better fit for your foot shape, a resoleable build or insulation your routes need. Price alone does not guarantee comfort, since a costly boot in the wrong shape will still cause pain. Spend first on correct sizing and socks, then pay more only for durability you will use.
Final Thoughts
Choose your type by load and terrain first, then judge traction, waterproofing and fit in that order. A boot that matches your hardest regular route will serve you better than one bought for a rare extreme trip. Use the product table above to compare weight, height and price across the types covered here.
When those basics are right, the best all mountain boots disappear on your feet and let you watch the mountains instead of your steps. Take your time with fit and break your boots in gradually.