
Best Airbrush for Shoes 2026: Buying Guide
Disclosure: We may earn a commission when you buy through links on this page, at no extra cost to you. As an Amazon Associate I earn from qualifying purchases. Learn more

How to choose an airbrush for painting and restoring shoes, with needle size, feed type, compressor choice, paint thinning and cleaning explained.
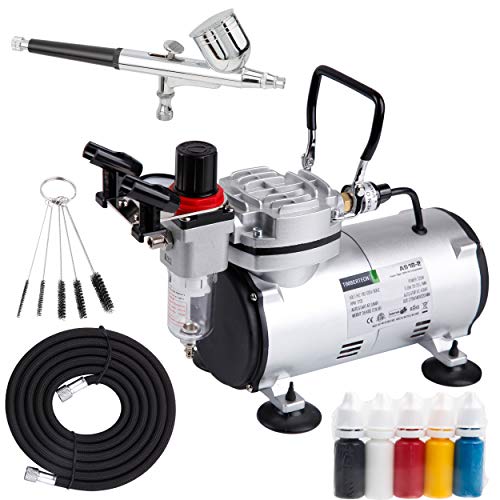
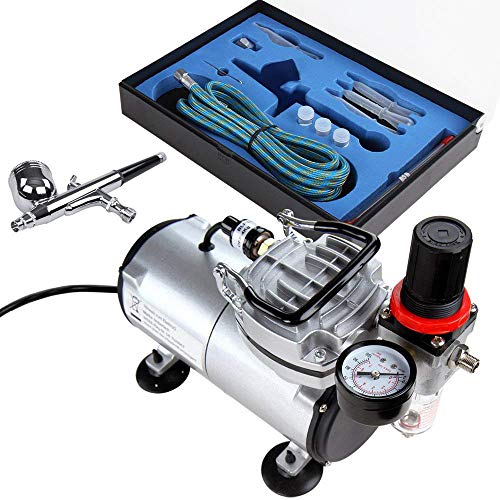
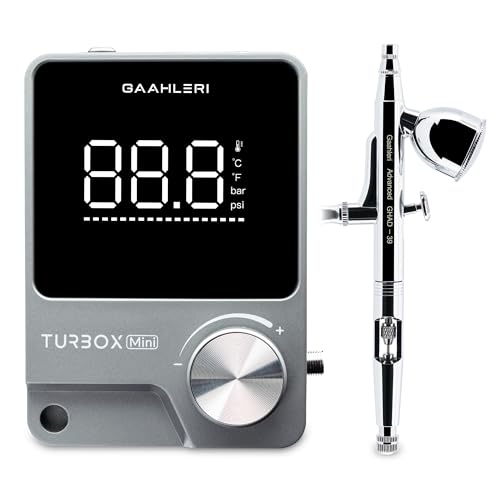
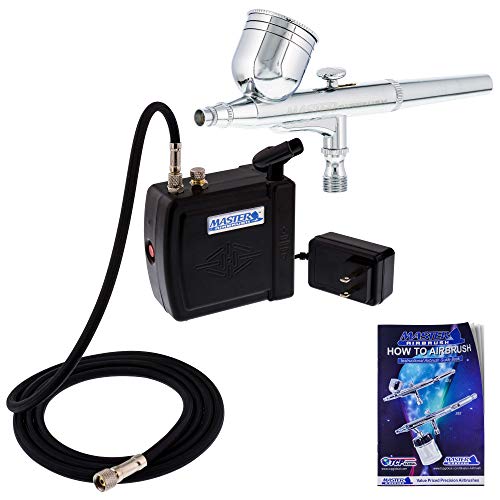
An airbrush sprays thin paint in fine layers, giving smoother colour than a brush on leather, canvas and synthetics. Choosing the best airbrush for shoes means matching the tool to full colour changes, fades or detailed touch ups. The product table above lists current options, and this guide explains the types and settings to look for.
Shoe work is different from model painting because the surface bends, flexes and meets the ground. Paint must bond well, stay flexible and survive scuffs. This guide covers feed types, needle sizes, compressors, paint choice and cleaning, plus the safety steps that matter indoors.
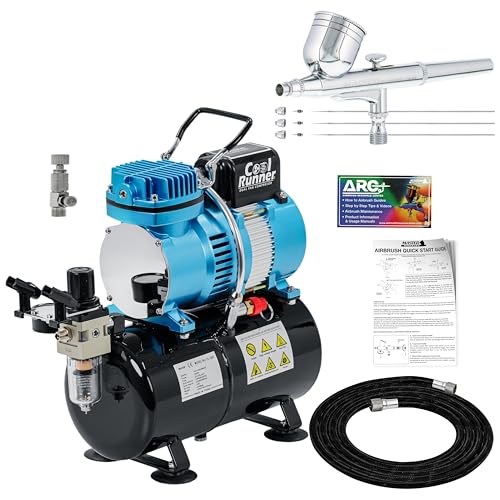

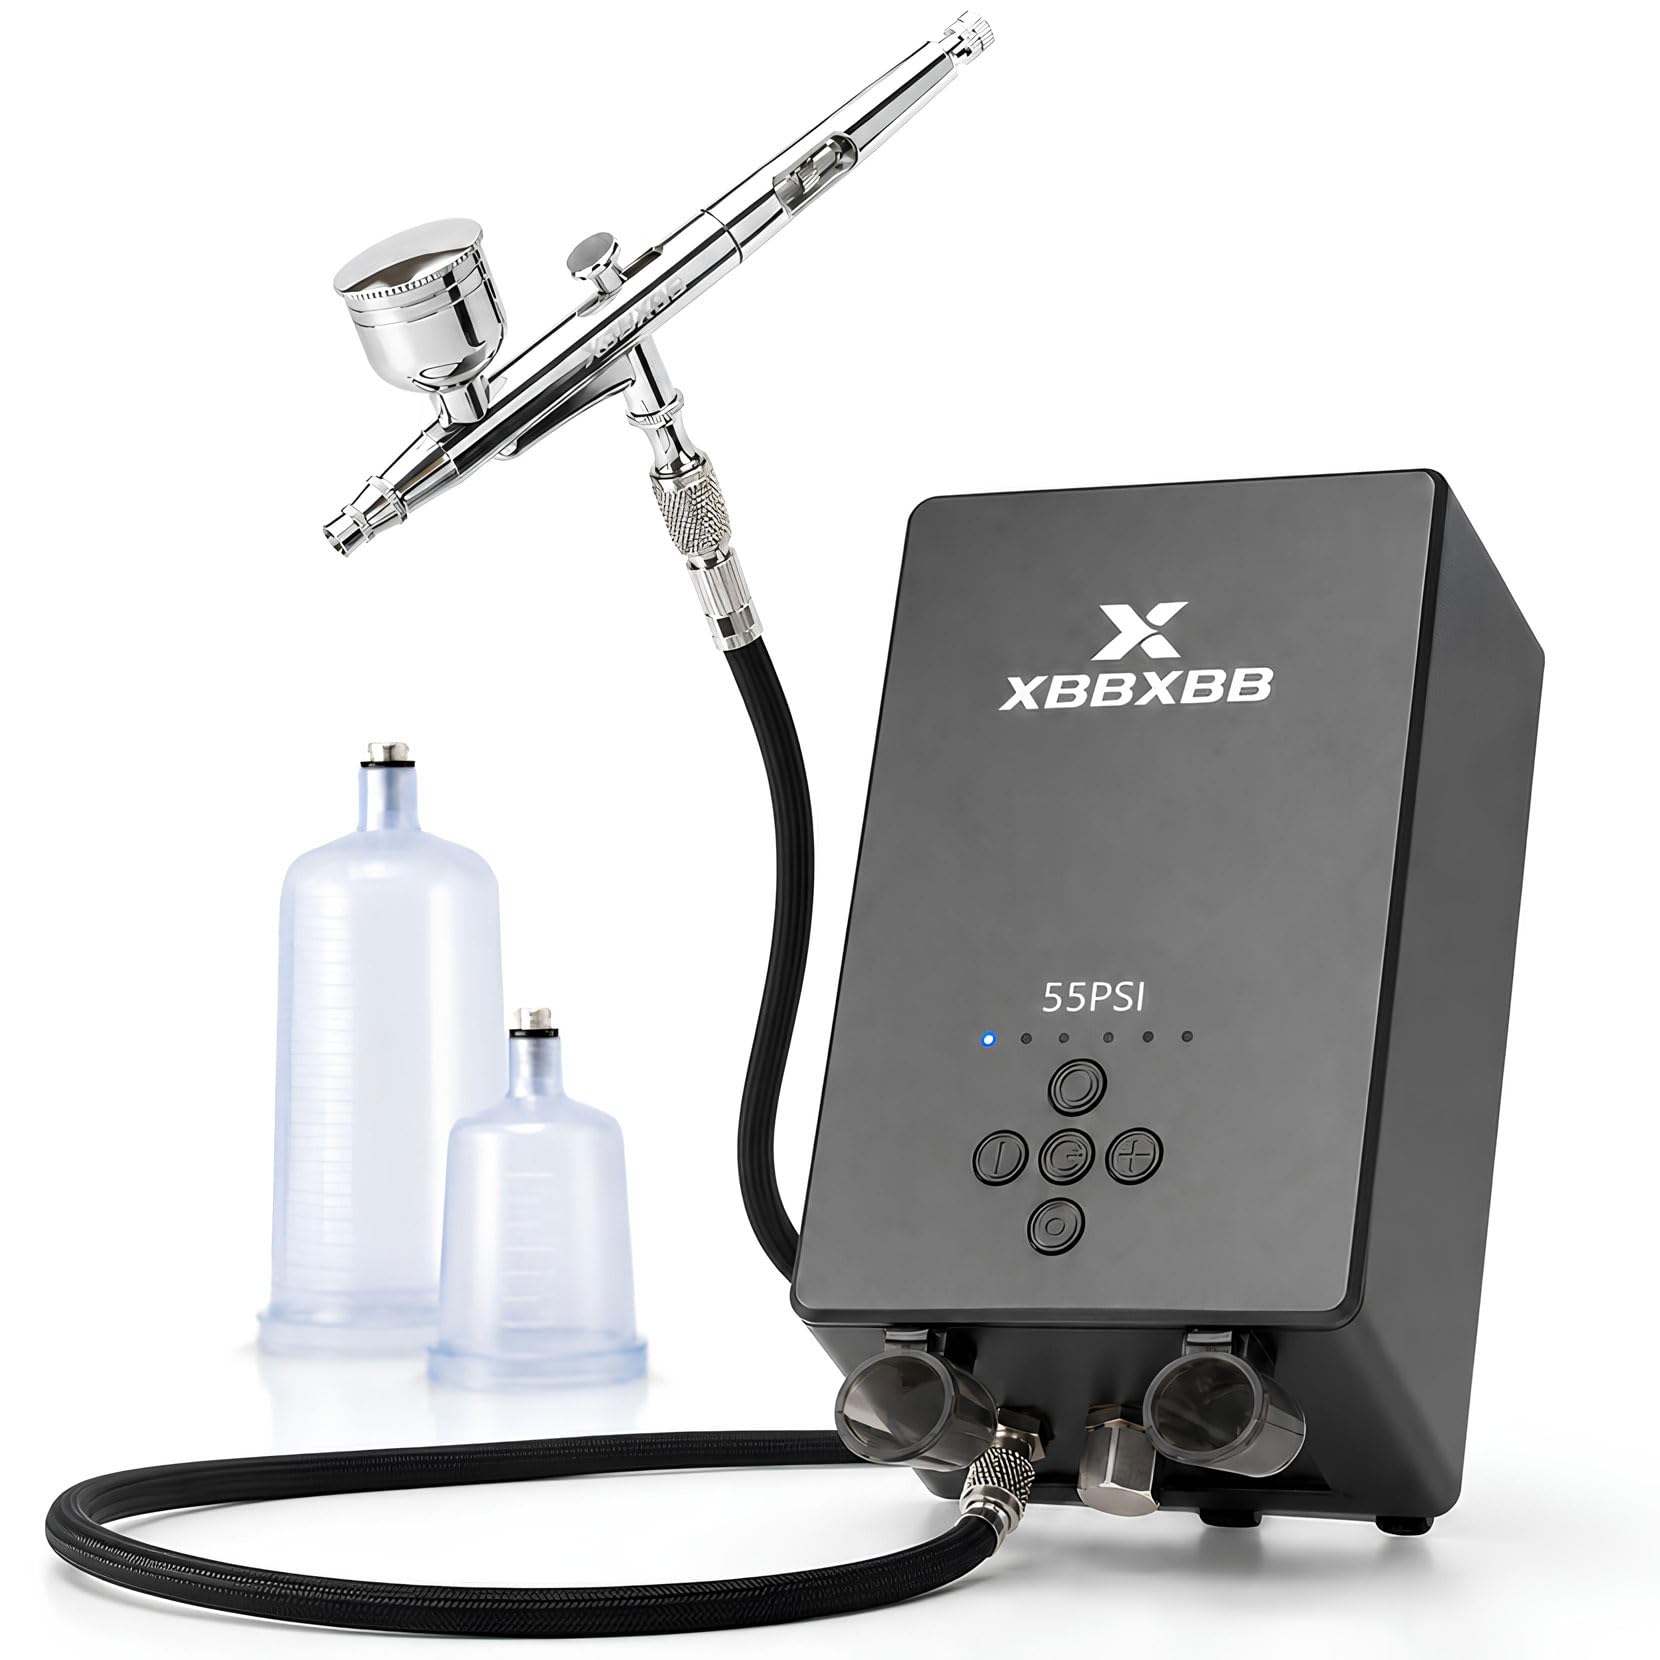
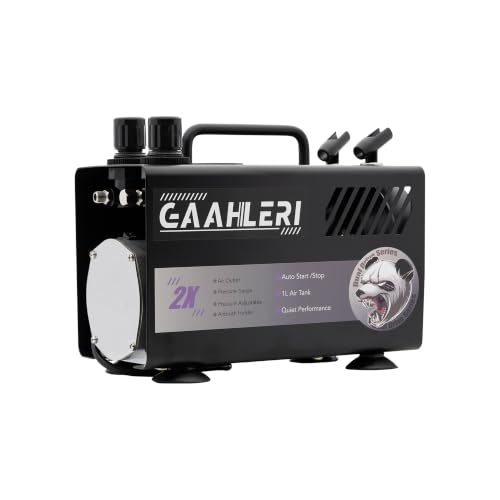
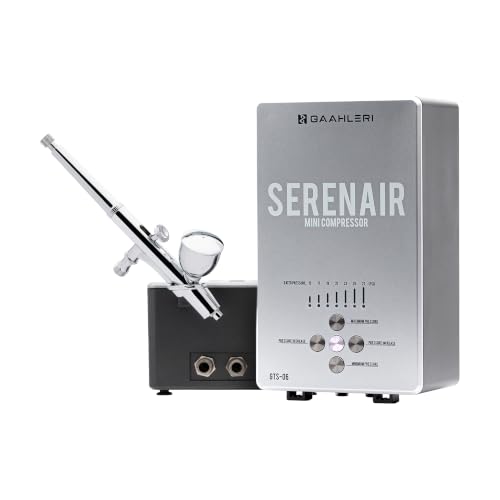

Who Should Buy a Shoe Airbrush
Custom sneaker painters, shoe restorers and hobbyists who repaint worn leather gain the most. An airbrush gives even coats on curved panels and smooth fades that a brush struggles to match. Beginners can start with a simple single action model and learn control before moving to finer detail work.
If you only need one small touch up, a brush and a steady hand may be cheaper and simpler. Airbrushing suits people who paint regularly, restore several pairs, or sell custom work. It also suits anyone who wants gradient colour, since layered sprays blend tones naturally.
Types of Airbrushes for Shoe Work
Single action airbrushes control airflow with one trigger movement and suit base coats and broad colour. Dual action models let you control air and paint separately, giving finer lines and smoother fades for detail. Gravity feed cups sit on top and use less paint, which suits small shoe panels and detail work.
Siphon feed models draw paint from a bottle below and suit larger areas or frequent colour changes. Side feed designs balance both but are less common for beginners. For most shoe painters, a gravity feed dual action model covers both base coats and detail in one tool.
Needle Size, Paint and Thinning
Needle size shapes spray width and detail. A 0.3 mm needle suits general shoe work, while a 0.2 mm needle gives finer lines and a 0.5 mm needle covers large panels faster. Thinner paint flows more smoothly but needs more coats, so follow the paint maker guidance for shoe leather and canvas.
Use paints made for flexible surfaces, since rigid craft paint can crack when the shoe bends. Thin in small steps and try it on a scrap piece or an old shoe first. Strain paint before spraying to avoid clogs, and keep a spare needle and nozzle, since both wear with use.
Compressors, Air Pressure and Workspace
A small compressor with a tank gives steadier pressure than a tankless model, which can pulse and cause uneven spray. A moisture trap and a pressure regulator help a lot, because water in the line spoils finishes. Most shoe work runs at low to medium pressure, with lower pressure for detail and higher pressure for broad coats.
Set up in a ventilated space with a spray booth or a cardboard shield to catch overspray. Wear a respirator rated for paint mist, not only a dust mask, and keep the area free of open flames. Cover nearby surfaces, since fine mist travels further than most beginners expect.
Cleaning and Care After Each Session
Flush the airbrush with cleaner straight after painting, before paint dries inside the nozzle. Remove the needle and wipe it gently, then reassemble with care so the tip is not bent. A clogged nozzle causes spitting and uneven lines, so cleaning is part of the craft, not an optional extra.
Store the airbrush in a case or a stand where the needle cannot bend. Keep paints sealed and away from heat, and label thinned mixes with the ratio you used. Regular cleaning extends nozzle life and keeps colour changes clean between projects.
Common Mistakes to Avoid
Spraying too close causes runs and pooling, while spraying too far gives a dry, dusty finish. Moving too slowly over one spot builds thick paint that cracks when the shoe flexes. Skipping surface prep is another error, since paint bonds poorly to dirty or glossy leather.
Do not skip a flexible sealant made for shoes, because unsealed paint scuffs fast. Avoid mixing paint types without a patch check, since some combinations peel, so try a small patch first. Practice fades and lines on scrap material before working on a pair you care about.
Related Guides
If you want a full set rather than a single tool, best airbrush kit for shoes explains what a kit should include. For general technique and paint types, best airbrush sets covers broader options. Both guides pair well with this one when you are deciding between buying one airbrush or a complete starter set.
Frequently Asked Questions
What needle size is best for painting shoes?
A 0.3 mm needle suits most shoe work, giving a balance of coverage and detail for panels, fades and lettering. A 0.2 mm needle helps fine lines and small logos, while a 0.5 mm needle covers large areas faster. Beginners should start with 0.3 mm and add other sizes only when a project truly needs them.
Do I need a special paint for shoes?
Yes, use paint made for flexible footwear surfaces, because ordinary craft paint can crack and peel when the shoe bends. Leather paints and flexible acrylics bond better and stay supple after drying. Always finish with a flexible sealant made for shoes to protect the colour from scuffs and water.
Can I use an airbrush indoors safely?
You can, provided the room is ventilated and you wear a respirator rated for paint mist. A simple spray booth or shield catches overspray and protects nearby surfaces. Keep the space clear of open flames and let the area air out after each session before removing your mask.
How do I avoid paint cracking on shoes?
Prepare the surface well, apply thin coats rather than one thick coat, and let each layer dry fully before adding the next. Use flexible shoe paint and a matching sealant, since rigid finishes crack at flex points. Run the full process on an old pair first so problems show up before they matter.
How often should I clean the airbrush?
Clean it after every session, even if you plan to paint again the next day, because dried paint clogs the nozzle and bends cleaning efforts later. Flush with cleaner, wipe the needle gently and check the tip for damage. A few minutes of cleaning saves hours of fault finding on the next project.
Final Thoughts
Choose a gravity feed dual action model with a 0.3 mm needle for most shoe work, pair it with a tank compressor and a moisture trap, and use flexible shoe paint with a proper sealant. Practice on scrap material, clean after every session, and let thin coats build the colour. For a full starter bundle, see our guide to the best airbrush kit for shoes. When you shop for the best airbrush for shoes, thin coats, flexible paint and cleaning after every session matter most.


