Best Affordable Trail Cameras Made Simple: A Clear Buying Guide for 2026
Disclosure: We may earn a commission when you buy through links on this page, at no extra cost to you. As an Amazon Associate I earn from qualifying purchases. Learn more

A first time buyer guide to best affordable trail cameras: trigger speed, battery and card costs, cellular plans, night flash, and honest budget expectations.
A trail camera looks simple from the outside: a small weatherproof box that watches a trail, a feeder, or a back gate while you are somewhere else. The confusing part is the spec sheet, which mixes real buying factors with inflated headline numbers. This guide to best affordable trail cameras starts with the plain basics, explains each spec in everyday language, and shows where a tight budget still buys a camera that does its job.
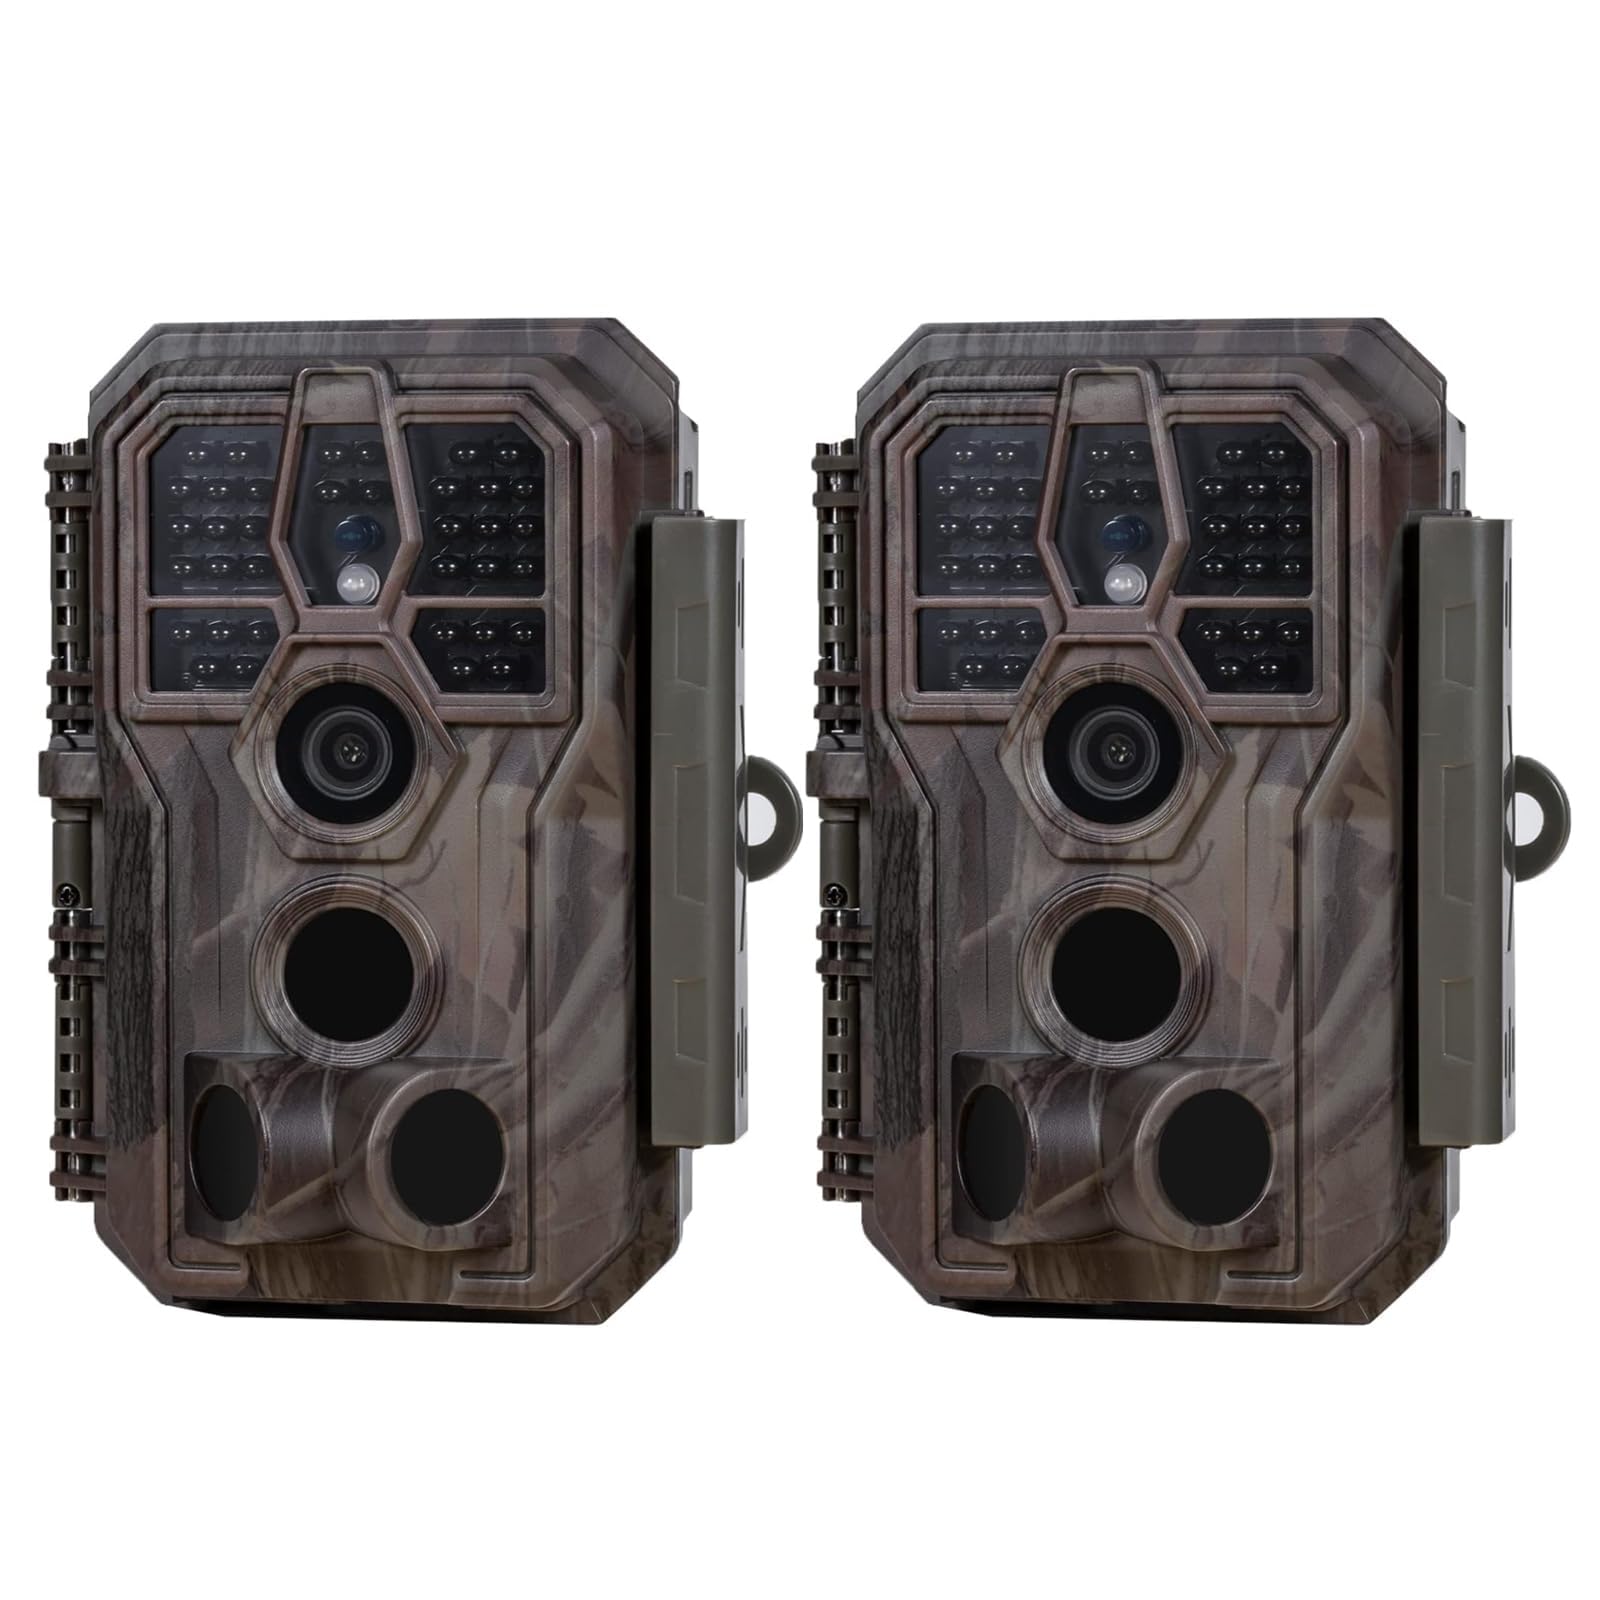
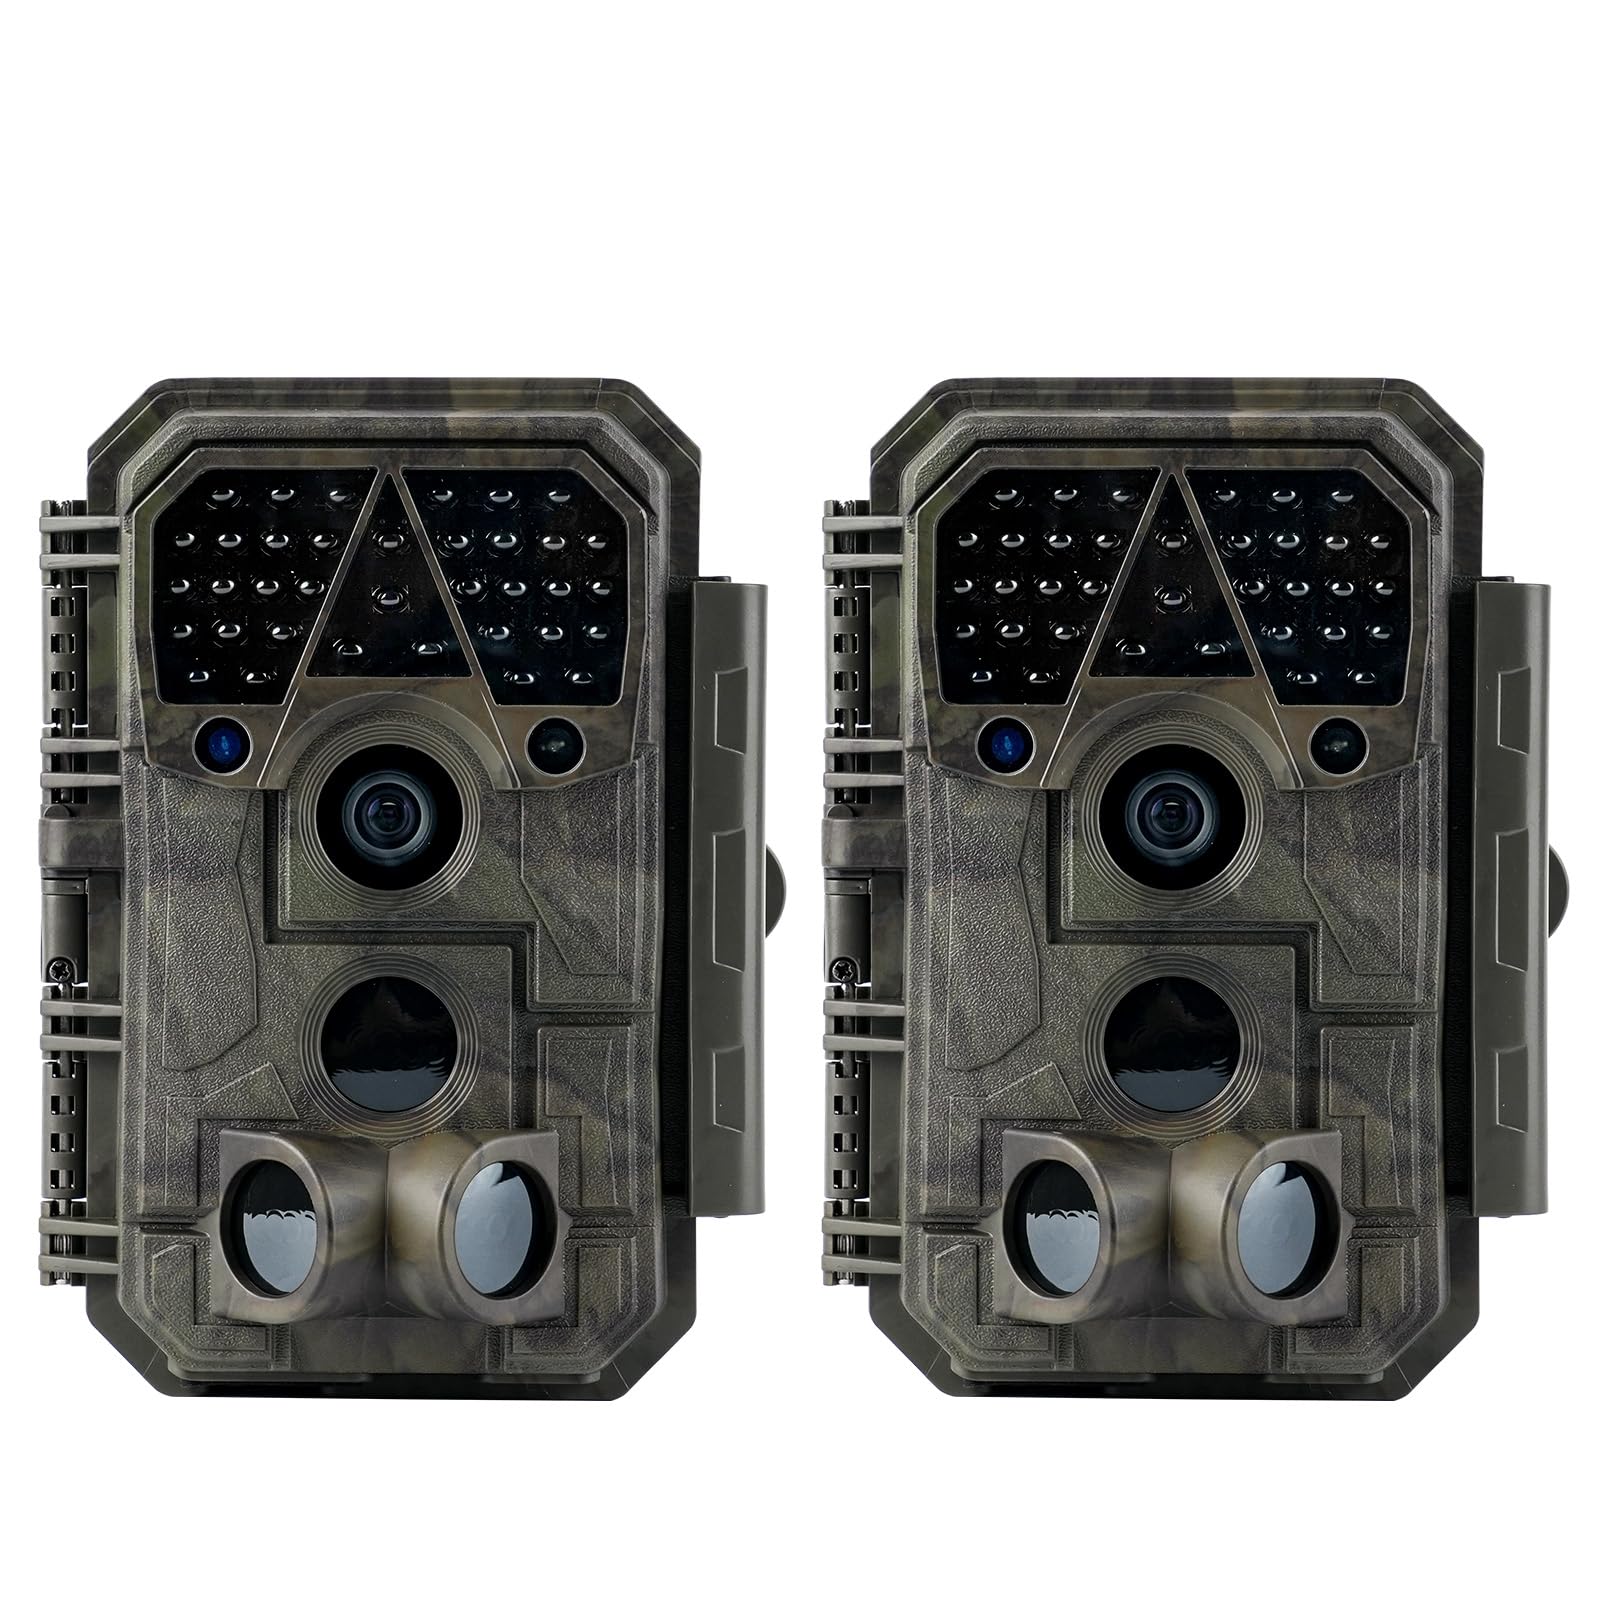
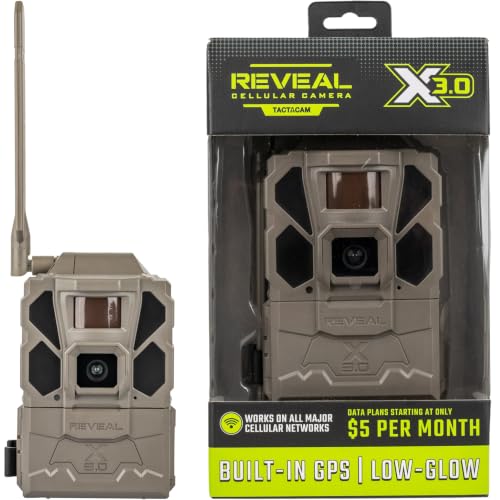
You do not need to learn every term before you buy. You need to know which few classes of spec decide whether animals get photographed or missed, what the camera costs to keep running, and which extras can wait. The product table gathers the picks for a side by side look, and the sections after it walk through the choices one at a time.



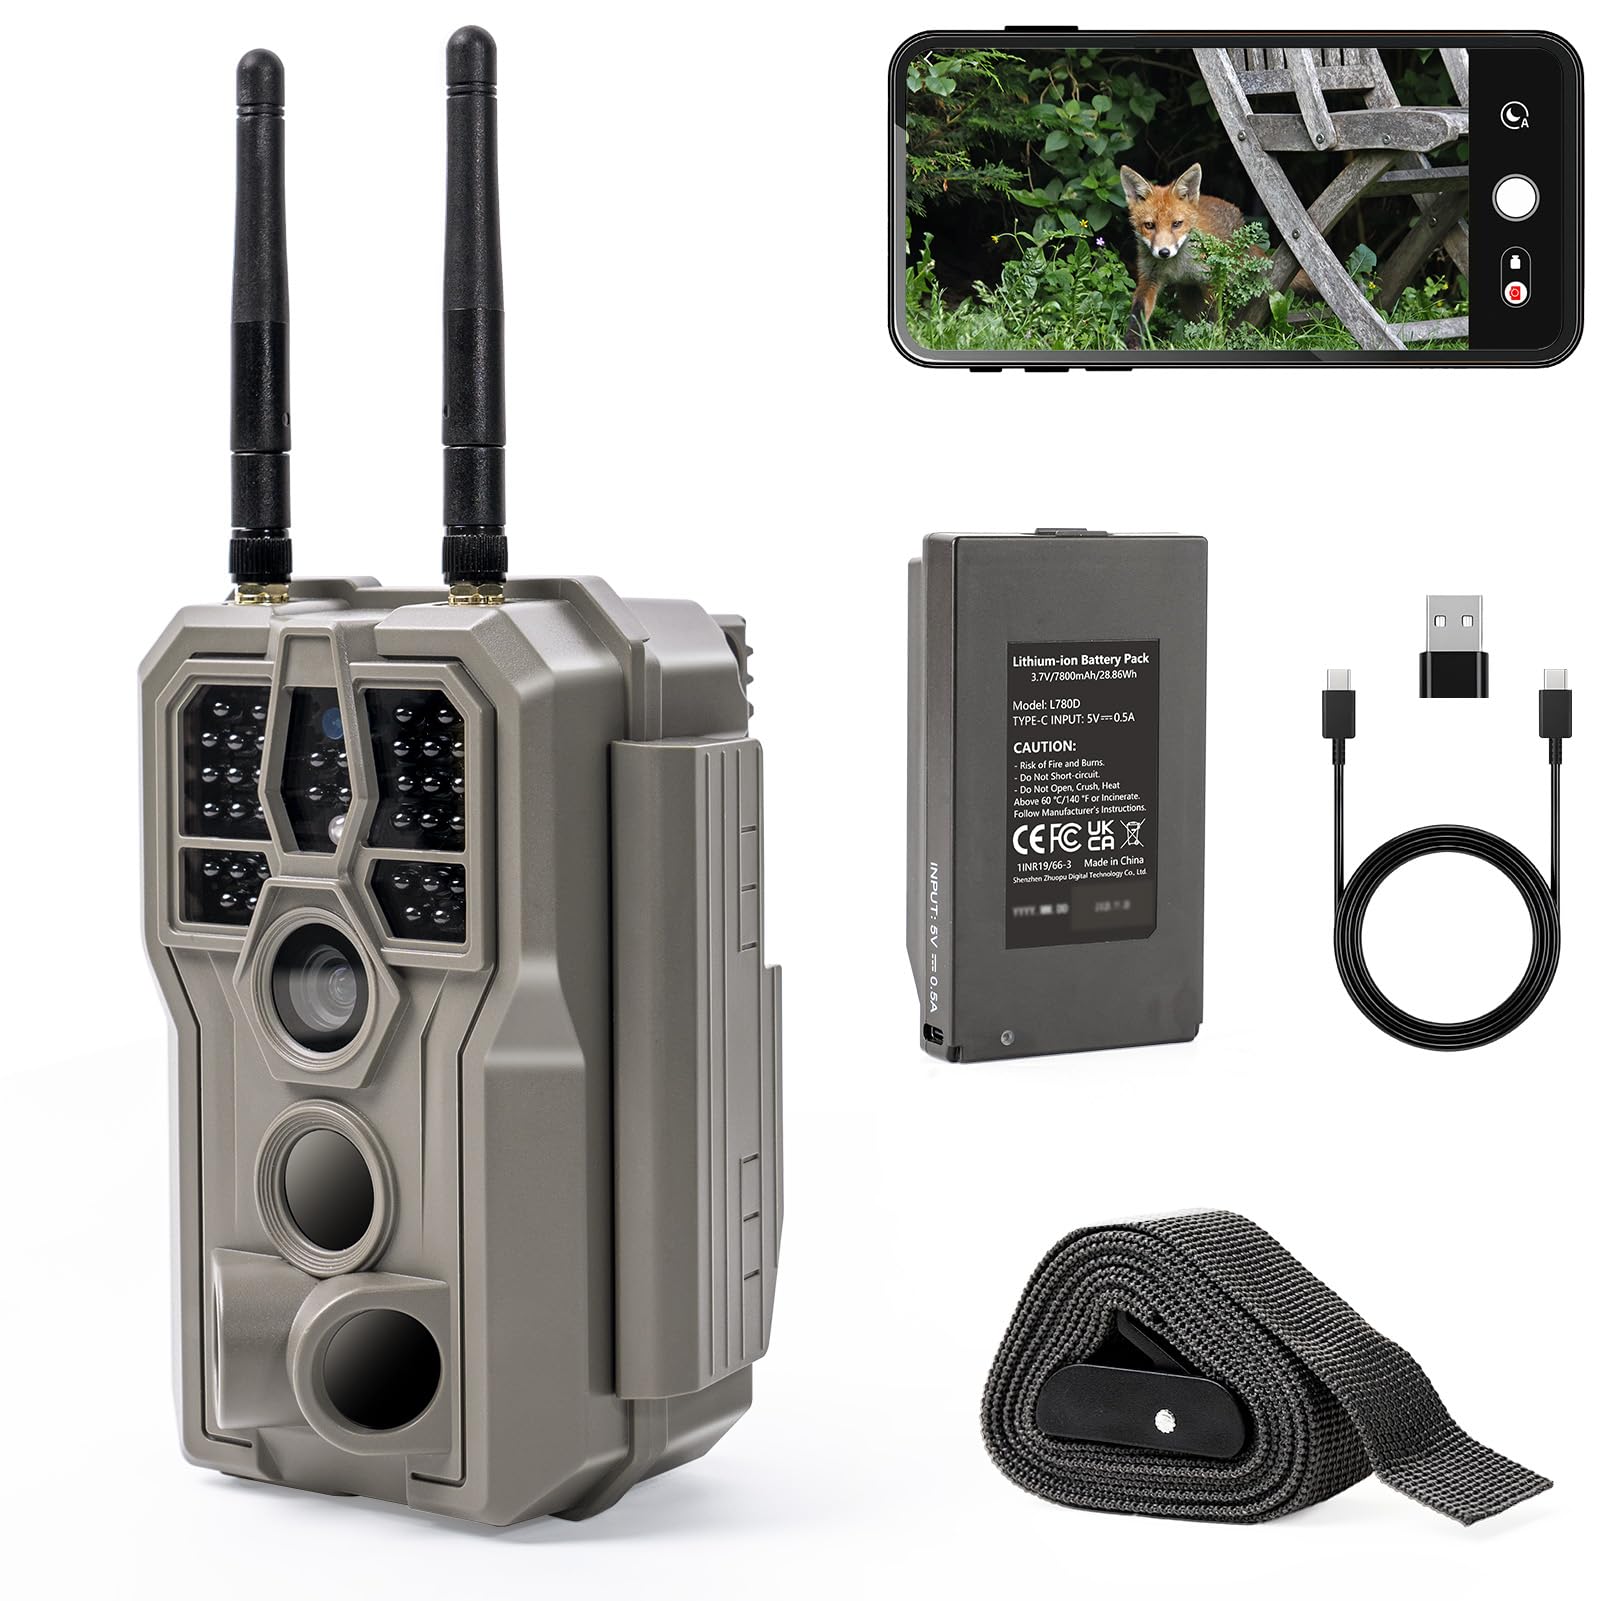

Trail Cameras 101: The Basics
A trail camera is an unattended camera. A motion sensor watches a zone in front of the lens, and when an animal or a person crosses that zone, the camera wakes, takes still photos or a short video, and stores the files on a memory card or sends them through a cellular connection. Most models strap to a tree or a post and run for weeks or months on one set of batteries, through rain, frost, and heat.
Read any trail camera first by its trigger and recovery classes. Trigger speed is the delay between the sensor noticing movement and the shutter firing, and recovery is the pause before the camera can shoot again. A slow class photographs tails and empty trail because the animal has already walked out of frame, and the plain fact of the category is that a fast trigger on a modest camera beats a slow trigger on a costly one. Shoppers comparing the wider field can also read our guide to best trail cameras for the full price range.
One ground rule belongs here. Where a camera watches shared ground, such as a leased hunting plot, a shared fence line, or a community path, placement and consent rules apply. Check local regulations, follow the landowner permission you were given, and keep the lens on the ground you have the right to watch.
Key Specs of the Best Affordable Trail Cameras Explained
What You Can Realistically Get on a Budget
Most affordable trail cameras sell for about $40 to $150, and under about $60 that buys a smaller sensor, a shorter flash range, and slower recovery between shots. From about $60 to $120, trigger speed, sealing, and battery life reach the useful class most first time buyers need. Spend on trigger speed and weather sealing before anything decorative, since the honest cut at this price is night range and video length, not basic reliability. Our roundup of best cameras affordable shows how this budget logic looks across camera types.
Battery Life and Memory Cards
Battery and card classes are the running cost of this category, and they decide what the camera really costs after the first month. A cheap camera with hungry classes is not cheap: it eats alkaline batteries in cold weather, fills small cards with false triggers from swaying grass, and goes dark before the season gets interesting. Lithium AA cells cost more per pack and last far longer in the cold. A card in the middle size class, cleared on a regular visit rhythm, beats a huge card you check twice a year.
Cellular Plans and Photo Delivery
A standard camera stores photos until you walk out and swap the card, while a cellular class sends thumbnails to your phone instead, which saves trips and warns you when batteries fade. Be plain about the trade: a cellular class adds a plan class, usually a monthly fee per camera, and the plan is part of the price. Coverage at the exact tree matters more than coverage maps, so check the signal where the camera will hang. Our guide to best cell trail cameras covers plan tiers and data limits in detail.
Flash Type and Night Photos
Night photos come from an infrared flash, and the flash class shapes how animals react. White flash gives color night photos and the most visible burst, low glow infrared shows a faint red shimmer that most animals ignore, and no glow infrared stays invisible, the calm class for wary game and for security use near a house. Maker night range figures are best case numbers on open ground; brush, fog, and a fast moving animal all shorten the usable range.
Detection Range and Angle
The sensor sees a zone, and the lens sees a frame, and the two do not always match. If the detection zone is wider than the frame, the camera fires before the animal steps into view, which is another route to tail photos. A detection range around the middle class suits most trails and feeders. Mount the camera about knee to waist height, angled slightly down, and clear the grass and branches in front of the sensor that wave in wind and cause empty photos.
Photo Resolution and Video
Megapixel headlines on budget cameras are often reached by interpolation, which stretches a smaller file rather than capturing more detail. Judge photo quality by the native sensor class and by sample images at night, not by the biggest number on the box. Video is a battery decision as much as a quality one: long clips at high resolution drain cells and fill cards fast. Readers weighing stills first can compare the classes in our guide to best affordable digital cameras, where resolution claims are read the same skeptical way.
Rookie Mistakes to Avoid
- Judging by the megapixel headline alone: interpolated numbers hide a small sensor, and night photos expose the gap at once.
- Mounting the camera too high: a high angle shrinks the detection zone and turns passing animals into backs and ears.
- Forgetting the battery and card budget: the camera goes dark mid season because its running costs were never counted.
- Buying a cellular model without checking coverage: a plan on a camera with no signal at its tree delivers nothing.
- Aiming the lens into the sunrise: direct sun on the sensor brings false triggers and washed out morning photos.
Getting Started: Setup and First Use
Start at home, not in the woods. Fit fresh batteries, insert the card, and format the card inside the camera so the file system matches what the camera expects. Set the date and time, because a wrong stamp makes a month of photos hard to read. Choose photo mode with a short burst, and set the delay between triggers to a middle value.
At the site, strap the camera firmly so it cannot sway, wipe the lens and sensor window with a soft cloth, and carry a spare set of batteries and a second card on every check visit. Walk across the detection zone at animal height and review the first shots before you leave. Recheck aim after the first week, since straps settle and young trees move.
Questions Answered for First Time Trail Camera Buyers
What specs matter most in a first trail camera?
Trigger speed, recovery time, and battery life matter most, in that order. A camera that wakes fast, shoots again quickly, and runs for months on one set of cells will fill a card with usable photos. Placement matters as much as any spec: a modest camera on a trail animals already use beats a costly camera watching an empty clearing, so scout sign and tracks before you blame the hardware.
Can a smartphone replace a trail camera?
No, because a smartphone is an attended camera and a trail camera works unattended for weeks outdoors. A phone has no motion triggered wake, no weather sealed case for a season of rain, and a battery measured in hours rather than months. A phone does fine for a feeder outside a window. For cameras you hold and aim yourself, our guide to best digital cameras covers that handheld class in full.
How much should a first time buyer spend on a trail camera?
Plan on about $60 to $120 for the camera, plus the first year of batteries and cards. That band buys the useful class of trigger speed and sealing without paying for long video modes most beginners rarely watch. Two cameras in this band, set on two trails, teach a first season faster than one premium camera on a single tree, and the second unit keeps watch while the first is checked.
Do trail cameras scare animals with their flash?
White flash can startle wary animals, while no glow infrared goes almost unnoticed. Reaction varies by species and by how often people visit the site, since human scent and noise disturb game more than a faint sensor glow. If your photos show animals staring at the camera or avoiding the spot after the first night, move to a no glow class and reduce how often you check the card.
Which trail cameras work better in low light?
Cameras with a larger sensor class and a strong no glow or low glow flash work better in low light. Night range shrinks fast in brush, so a camera rated for open ground may light only half that distance in thick woods. Aim along a trail rather than across it, which keeps the animal in the flash zone longer, and expect the clearest night photos within the middle of the rated range.
The Bottom Line
Three checks decide a first purchase. The trigger and recovery classes decide whether animals are in the frame, the battery and card classes decide what the camera costs to keep alive, and the cellular question decides whether a monthly plan joins the price. Get those three right and the rest is preference. Use the picks in the table for a final comparison before you choose among the best affordable trail cameras for your ground.