
Best Affordable Mountain Bike Shoes for Every Need: How to Pick the Right One for 2026
Disclosure: We may earn a commission when you buy through links on this page, at no extra cost to you. As an Amazon Associate I earn from qualifying purchases. Learn more

Match the best affordable mountain bike shoes to your riding style with this buying guide on fit, soles, closures, pedal fit, and simple care.
There is no single shoe that suits every rider, because a shoe built for lift served downhill laps solves a different problem than one built for long cross country climbs. The best affordable mountain bike shoes for you depend on your pedals, your trails, and how much walking your rides include.
This guide sorts shoes by use case first, then walks through the features that actually change how a shoe feels on the trail. You will find the comparison table below to check styles and prices as you read.
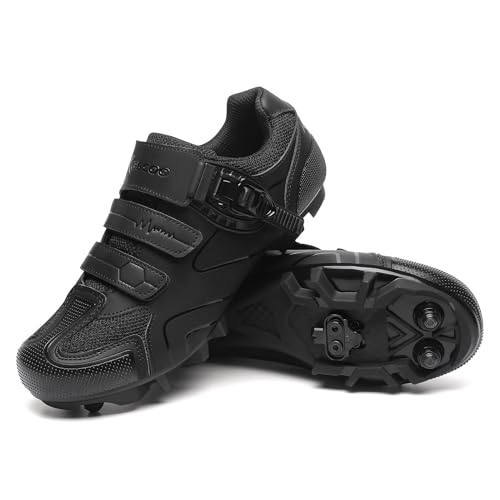

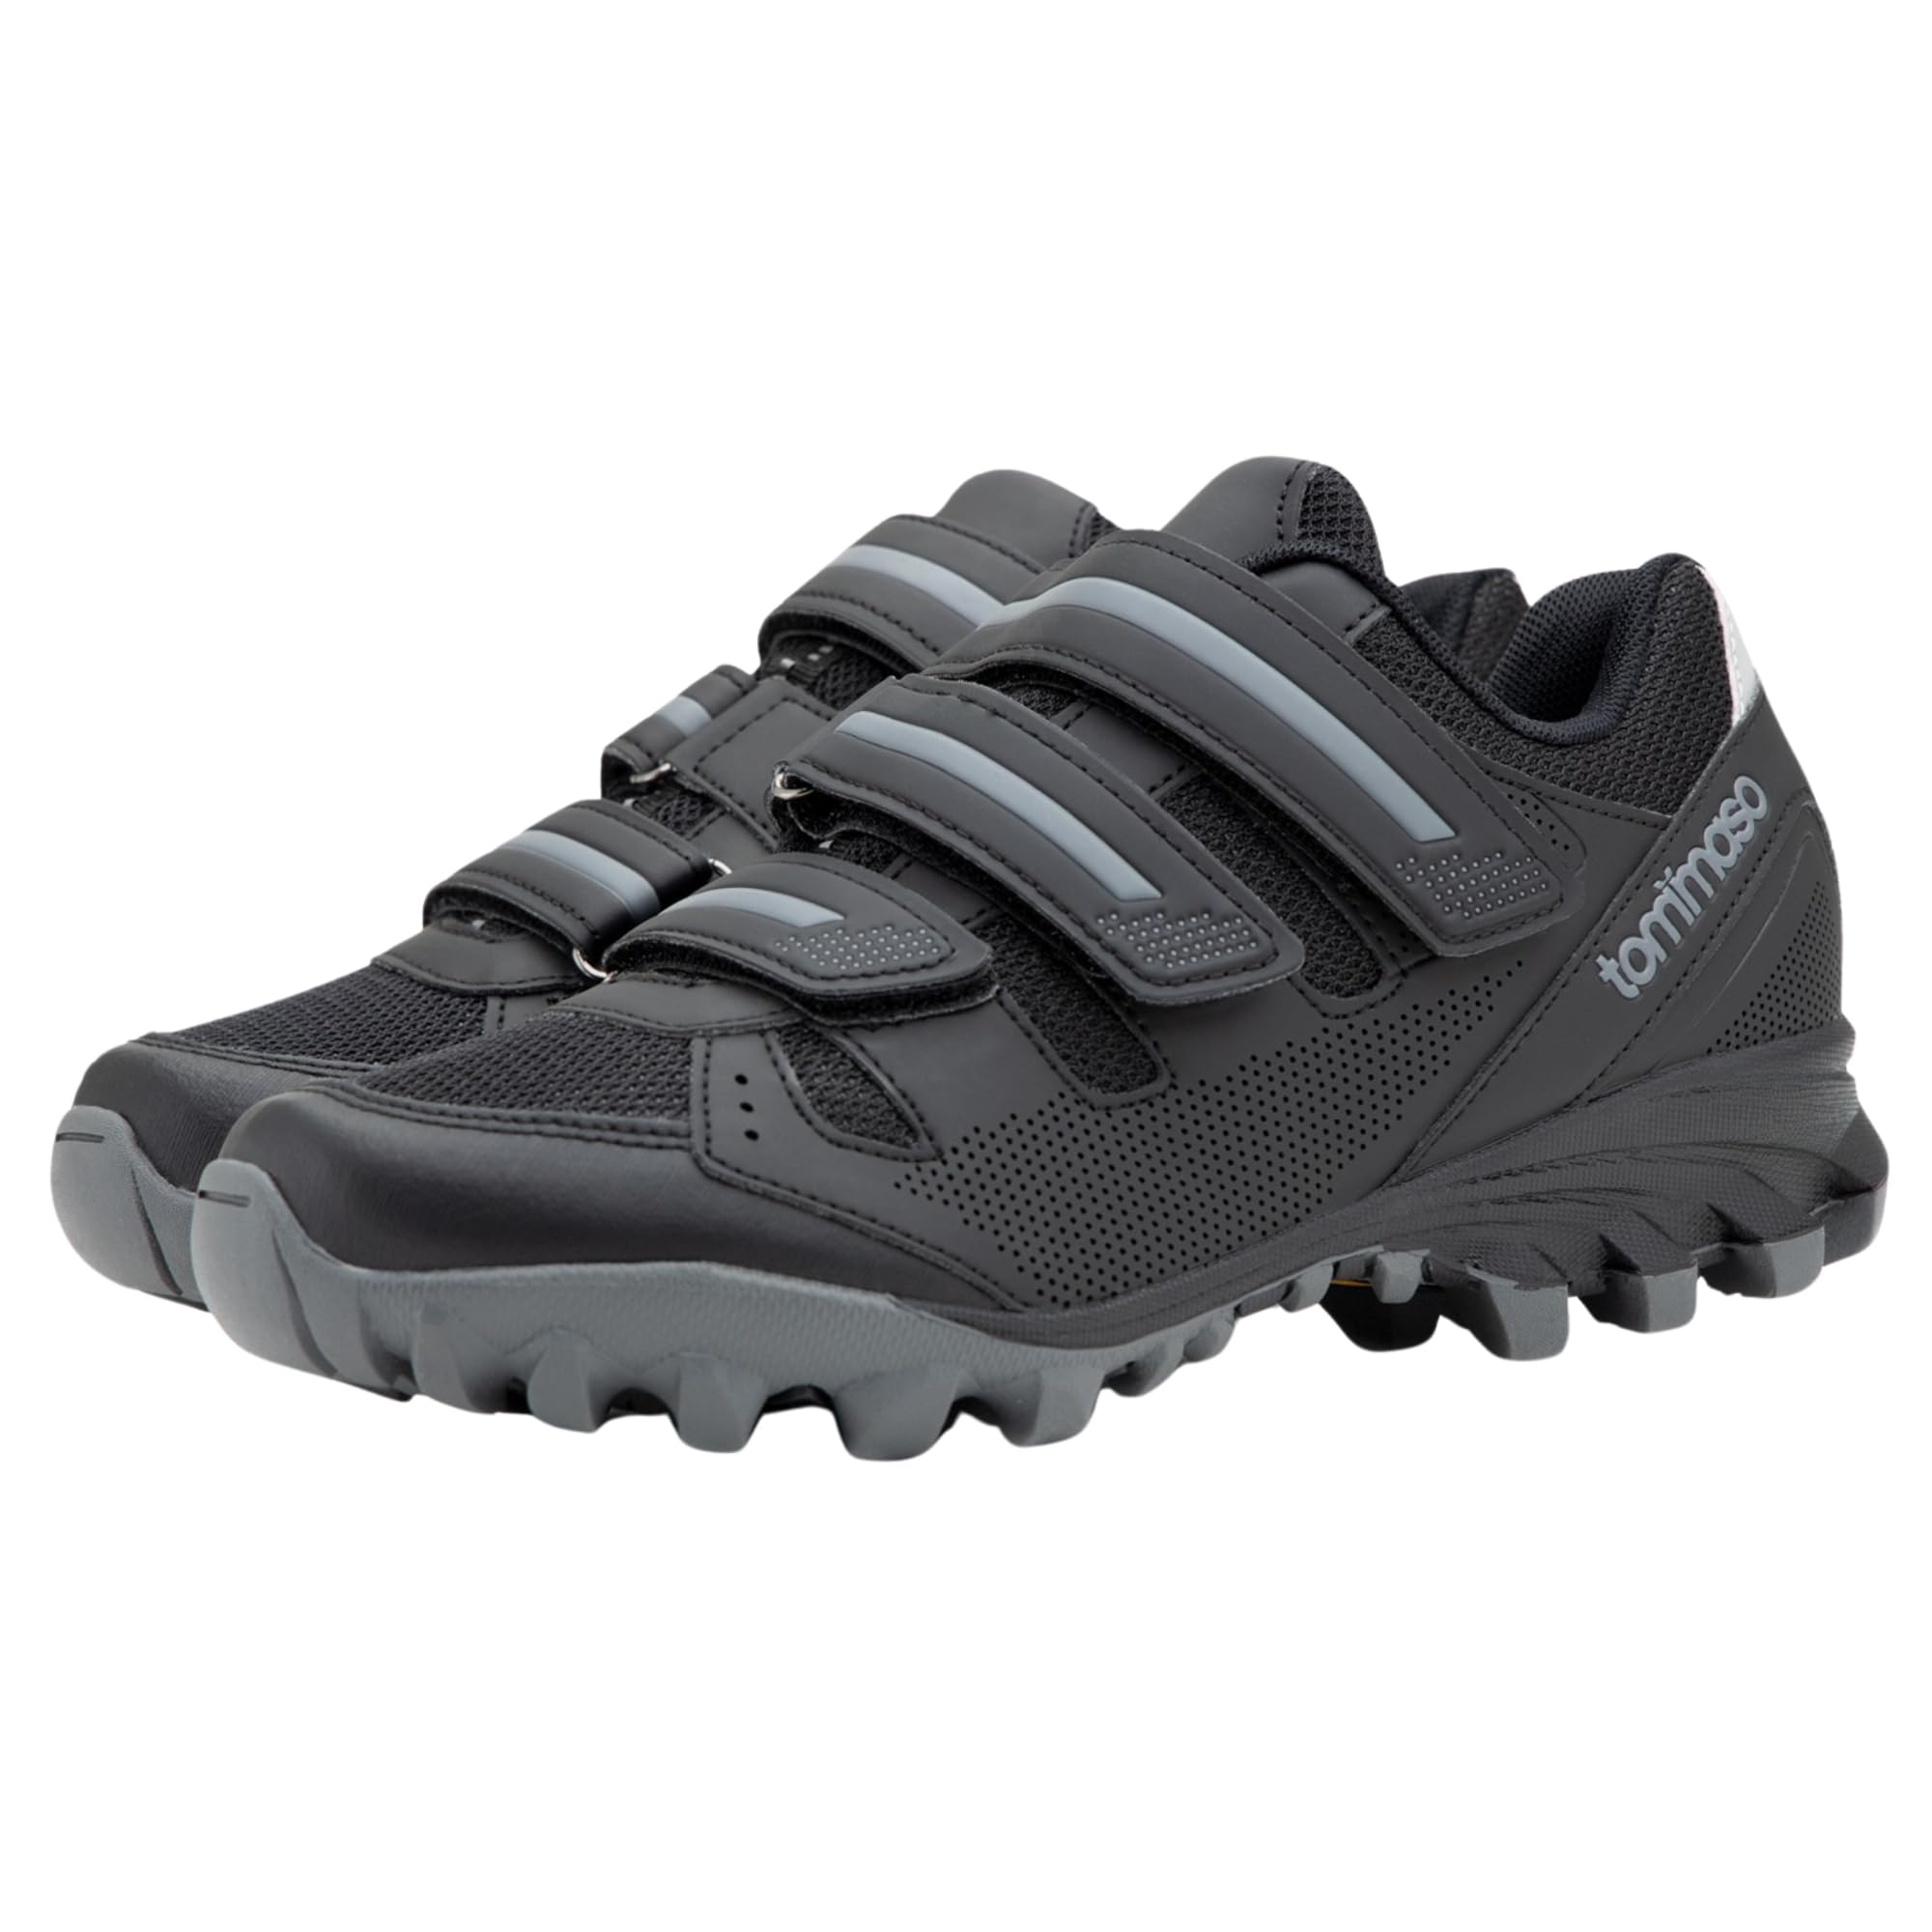


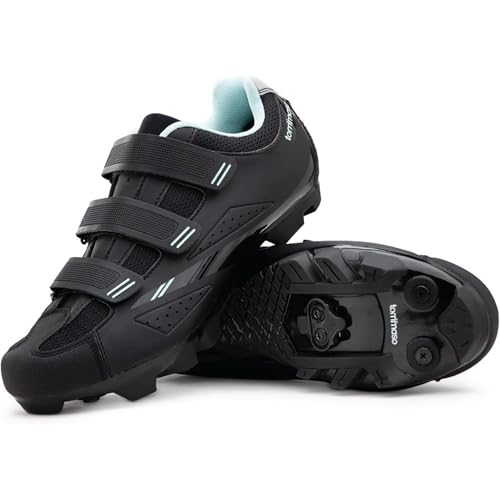
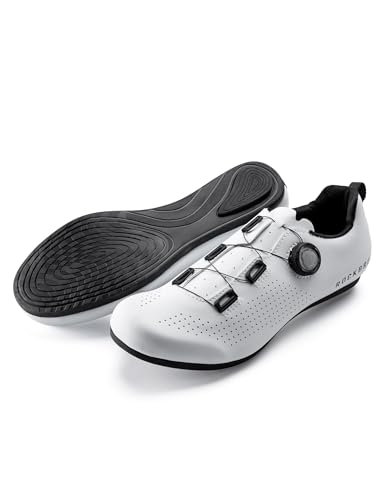
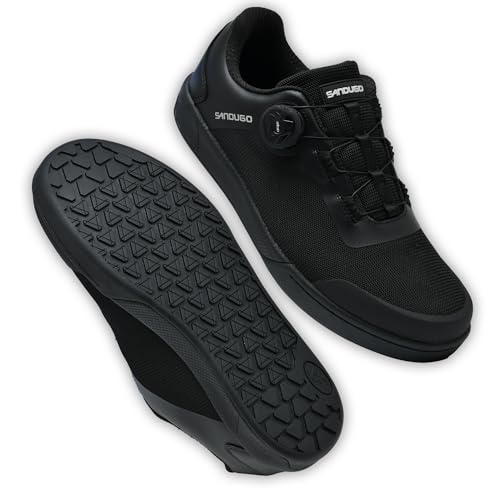

Who Should Buy Which Mountain Bike Shoes?
For Weekend Beginners
New riders do best with flat pedal shoes or a forgiving two bolt clipless shoe with a walkable sole. Look for a roomy toe box, a simple closure you can adjust with gloves on, and a sole that grips both pedal pins and wet ground. You do not need the stiffest sole yet.
Budget shoes around $60 to $90 cover these needs well. Spend your remaining money on fit, because a beginner rides more often in shoes that never pinch. If you are building a full starter kit, our guide to the best affordable mountain bike helps you balance shoe costs against the rest of the bike.
For Bad Weather and Tough Conditions
Wet climate riders should look for synthetic uppers that shed water, closed toe areas that block spray, and deep lugged soles for muddy hike sections. Some shoes add a higher cuff that keeps grit out, which helps on sloppy winter trails. Drainage matters too, since a shoe that holds water stays heavy all ride.
Water resistant coatings slow soaking but rarely make a shoe fully waterproof, so set expectations honestly. Pair these shoes with wool blend socks, and plan a drying spot at home so the pair is ready for the next ride.
For Frequent or Serious Users
Riders who log several rides a week should prioritize sole stiffness, durable toe protection, and replaceable hardware such as buckles or dials. A stiffer sole transfers power better and protects your feet on long descents, though it walks less comfortably. Strong stitching around the toe box pays off where rocks and stumps strike.
Check the warranty and spare parts support before you buy. Serious riders wear out insoles and closure parts first, so a brand that sells replacements stretches the life of a shoe that costs around $100 to $150.
Key Features to Compare
Materials and Weight
Most affordable mountain shoes use synthetic leather or mesh uppers over a nylon or composite sole. Nylon soles balance stiffness and walking comfort, while added carbon makes soles stiffer and lighter at a higher price. Mesh panels breathe well in summer but let water and dust straight in.
Weight differences are real but modest at this level, often a few ounces per shoe. A slightly heavier shoe with a better fit will feel better after two hours than a light shoe that rubs. Focus first on shape, then on grams.
Fit, Sizing, and Comfort
Mountain shoes should feel snug at the heel and midfoot with room for your toes to spread. Try shoes late in the day, when feet are slightly swollen, and wear your riding socks. Sizes vary between brands more than in street shoes, so check the brand size chart and measure your foot in centimeters.
Wide footed riders should look for wide options rather than sizing up, because a longer shoe lets the foot slide and blister. If your heel lifts when you walk around the shop, that shoe will lift on every hike section too.
Closures and Ease of Use
Laces cost the least and adjust evenly, but they can loosen and catch on trailside brush. Hook and loop straps are quick and glove friendly, though they lose grip as they collect mud and lint. Dial closures give fine adjustment and fast changes, which is why they appear on shoes around $100 and up.
There is no bad system here, only trade offs. Choose the closure you will actually adjust mid ride, because a shoe that starts perfect and loosens by mile five still ends the ride sloppy.
Compatibility With Your Bike or Gear
Your pedals decide which shoe family you need. Flat pedal shoes have smooth, sticky rubber soles with no cleat mount. Clipless shoes carry a two bolt mount in the sole, often called SPD style, and the cleat sits recessed so you can still walk. Shoes and pedals from different brands generally mix fine as long as the cleat standard matches.
Before ordering, confirm your pedals and check whether cleats come in the pedal box or the shoe box, since that varies. A five minute check saves a return and a missed weekend ride.
Insoles deserve a quick look too. Most budget shoes ship with thin foam insoles that pack down within a season. If your arches ache on long rides, a firmer aftermarket insole can extend the comfort of an affordable shoe for around $20 to $40. It is one of the cheapest comfort upgrades in cycling, and it moves with you if you change shoes later.
What You Can Realistically Get on a Budget
Around $50 to $80 buys a dependable flat shoe or an entry clipless shoe with strap closures and a nylon sole. Around $80 to $130 adds dial closures, stiffer soles, and better toe protection. Full carbon soles and premium waterproof membranes mostly live above that range.
Do not cut corners on sole quality. The sole decides grip, power transfer, and foot comfort, and it cannot be upgraded later. Saving on color or last season styling is the smarter way to stay on budget.
Common Mistakes to Avoid When Buying Mountain Bike Shoes
- Buying by price alone and ignoring sole stiffness and grip, which shape every ride.
- Ordering your street shoe size without checking the brand chart, then riding with curled or sliding toes.
- Choosing a clipless shoe before you own matching pedals and cleats.
- Skipping toe protection because your current trails are smooth, then regretting it on rocky trips.
- Ignoring the return window instead of testing fit indoors on carpet first.
Care and Maintenance Tips
Loosen the closures and pull the insoles out after wet rides so the shoes dry fully before the next outing. Stuffing them with newspaper speeds drying and helps hold shape. Never use high heat, which can warp soles and crack synthetic uppers.
Brush dried mud off before it grinds into stitching, and check cleat bolts monthly because they work loose over time. A small drop of threadlocker rated for removable use keeps cleats secure without making future changes hard. Store shoes out of direct sun to protect glues and rubber.
Frequently Asked Questions
How often should I replace mountain bike shoes?
Most riders replace mountain shoes every two to four years, depending on mileage and conditions. Replace sooner when the sole separates, tread lugs wear smooth, or closures stop holding tension. A shoe that suddenly feels flexy under the forefoot has likely cracked or delaminated inside, and riding on it can strain your feet on long descents.
Clipless or flat pedals for beginners choosing shoes?
Beginners usually progress faster in flat pedal shoes because walking, restarting on hills, and stepping off all stay simple. Flat shoes also cost less and work with the pedals most starter bikes include. Switch to clipless shoes later if you want a locked in feel for racing or long climbs, and practice unclipping on grass first.
How do I choose the right mountain bike shoe size?
Measure both feet in centimeters while standing, then match the longer foot to the brand chart. Your toes should nearly brush the front without pressing, and the heel should stay planted when you walk. Riders between sizes usually do better sizing up for thick socks, unless the shoe offers a wide option in the smaller size.
What should night riders know about mountain bike shoes?
Shoes do not light the trail, so night riders still need strong bike lights, commonly 800 lumens or more for trails. Reflective details on heels and sides do help drivers see you on road sections to and from the trailhead. Dark shoes vanish at dusk, so a reflective heel panel is a small feature worth having.
What certifications should I look for in mountain bike shoes?
Mountain bike shoes carry no single safety certification like helmets do, so judge them by construction instead. Look for firm toe caps, secure cleat mounts, and soles from known rubber makers with clear tread patterns. If a listing leans on vague safety claims without materials detail, treat that as a reason to look at a better documented option.
Wrapping Up
Start with your pedals, then fit, then sole stiffness, and most of the decision makes itself. Riders who match those three points rarely regret a purchase, even at the low end of the price range. Use the product table above to compare current styles once you know your category.
The best affordable mountain bike shoes are simply the pair that disappears on the ride, gripping when you pedal, walking when you must, and never reminding you they are there. Choose by use case, and your feet will thank you on every trail.


