
Best Acrylic Nail Sets for Beginners: Everything to Know Before Your First Purchase for 2026
Disclosure: We may earn a commission when you buy through links on this page, at no extra cost to you. As an Amazon Associate I earn from qualifying purchases. Learn more

Shopping for the best acrylic nail sets for beginners for the first time? Learn the terms, compare options, and avoid rookie mistakes with this easy guide.
Your first acrylic kit can feel like a small chemistry set, full of jars and bottles with unfamiliar names. The good news is that the system has only a few moving parts, and beginner friendly kits are designed to forgive slow hands. This guide explains the basics in plain language before it talks about spending.
By the end, you will know what each item does, which features protect you from common early frustrations, and how the best acrylic nail sets for beginners differ from professional kits. Start with the comparison table below, then read the sections in order for the smoothest learning curve.
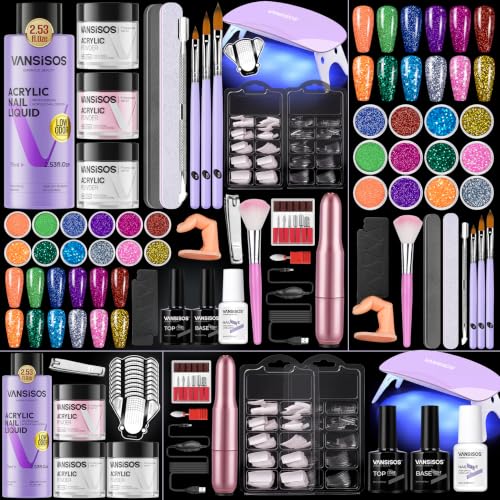
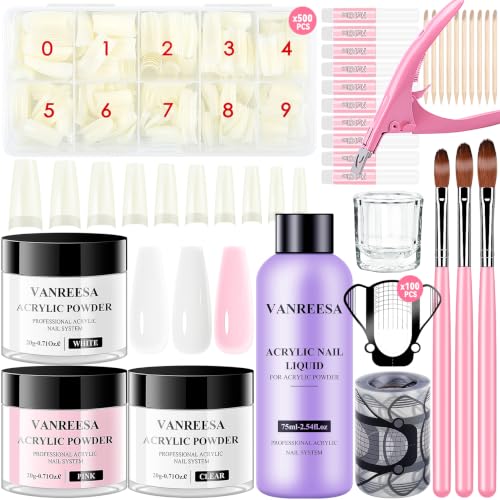

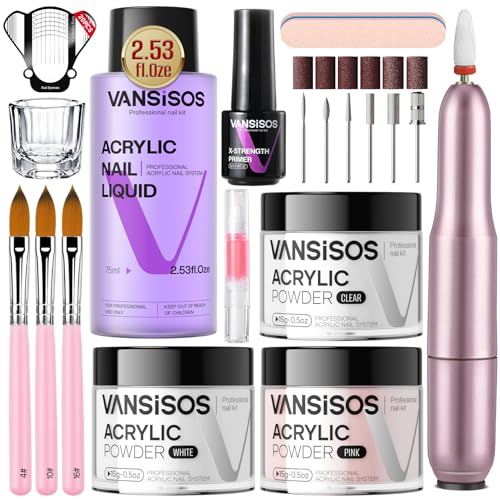


Acrylic Nail Sets 101: The Basics
An acrylic nail is built by mixing a liquid called monomer with a fine powder called polymer. The mixture forms a soft bead that you place on the natural nail or on a plastic tip, shape with a brush, and let harden in the air. No lamp is needed, which surprises many first time buyers who expect the lamp used for gel nails. Once hard, you file the surface smooth and finish with polish or a top coat.
A complete set bundles the powder, the liquid, tips or forms, a brush, files, and small prep items such as a dehydrator or primer. Prep means cleaning and lightly roughening the natural nail so the acrylic grips well. The liquid to powder ratio is the core skill: too wet and the bead runs, too dry and it looks chalky and weak. Beginner sets help by using medium speed liquids that give you more time to place each bead.
Key Specs Explained in Plain English
Listings use trade language that hides simple ideas. The six topics below translate the main specs into everyday terms and tell you what level to choose as a beginner. If you want to compare these starter kits with standard kits afterward, our guide to the best acrylic nail sets shows how the tiers differ once you have some experience.
Beginner Friendly Features That Matter
Look for a medium or slow setting liquid, clearly labelled jars, and instructions that show bead ratios with pictures. Practice tips or a practice hand in the box let you learn without risking your own nails. Pre shaped tips in many sizes save filing time while you learn. Avoid kits that promise instant salon results with no guidance, because the learning support matters more than extra glitter colours at this stage.
Intended Use and Who It Is For
Beginner sets are made for learning and for simple, shorter nails at home. They suit patient people who enjoy careful hand work and can set aside about two hours for a full set. They are not made for doing nails for paying clients, where speed and durability demands are higher. If you only want length for one event, press on nails may serve you better and with far less commitment.
Warranty and Customer Support
Starter kits seldom include a formal warranty, so the seller return policy is your safety net. Check how long you have to report leaking bottles, dried out powder, or a brush that sheds. Brands that publish ratio guides and troubleshooting pages are showing support that beginners genuinely need. Save your packaging until after your first full set, because returns are far easier with the box and inserts intact.
Ease of Use and Setup
Ease of use shows up in small details: jars that open without tools, a brush that arrives with a protective cap, and liquids with a brush or dropper that controls flow. Setup should take minutes, just a clean table, good light, ventilation, and your tools laid out in order. Work near an open window or a small fan, because monomer has a strong smell. If fumes give you a headache or make you feel unwell, stop, leave the room for fresh air, and reconsider whether acrylics suit you.
Build Quality and Materials
Judge materials by the brush first, since it touches every bead you place. Flexible, springy hair that returns to a point will teach you control, while stiff or shedding hair teaches only frustration. Powders should look fine and even, not gritty.
Bottles must seal tightly, because evaporated liquid changes the working behaviour of the whole kit. Store everything upright, closed, and away from children and pets, since monomer is a chemical product that needs respectful handling.
Price vs Value
Beginner kits commonly cost around $20 to $45. Below that range, expect tiny jars and a weak brush that you will replace quickly. The middle of the range adds practice tips, better instructions, and enough product for several full sets.
Paying premium prices as a beginner mostly buys quantity you may never use, because many new buyers discover they prefer another nail system. Value at this stage means learning support per dollar, not jar count.
Rookie Mistakes to Avoid
- Skipping nail prep, then blaming the kit when the acrylic lifts within a few days.
- Using far too much liquid, so beads flood the cuticle and stick to the surrounding skin.
- Touching the skin repeatedly with monomer, which can cause redness and itching over time.
- Filing aggressively on the natural nail, thinning it until it feels sore and bends easily.
- Wearing your very first set long and square, a shape that catches on everything while you learn.
Safety deserves one clear paragraph. Keep liquid off your skin, work with ventilation, and never apply acrylic over a nail that is painful, swollen, or discoloured. If you notice burning, strong itching, swelling, or the natural nail separating, remove the product gently and talk with a doctor or dermatologist about your symptoms. Beginners who want a calmer setting can also look at kits grouped among the best at home acrylic nail sets, which tend to include clearer home use instructions.
Getting Started: Setup and First Use
Read the manual before first use, even if you have watched many videos, because ratios differ between brands. Wash and dry your hands, push back cuticles gently, and lay out tips, files, powder, and liquid in the order you will use them. Practise beads on a tip or practice sheet first, aiming for a smooth bead that holds its shape without running. Clean and inspect your brush before and after each session, and store it flat with its cap on.
A practical know how tip for your first real set: do your dominant hand first while your patience is fresh, and keep the length short. Short nails forgive imperfect shaping and let you learn daily tasks without constant catching. Many beginners also compare starter options within the wider best nail sets category to confirm that acrylic, rather than gel or press on formats, matches their patience and budget.
Acrylic Nail Sets: Your Questions Answered
What makes acrylic nail sets for beginners different?
Beginner sets differ mainly in setting speed, guidance, and quantity. Their liquids harden more slowly, giving you time to place and shape each bead. They include practice materials and simpler colour ranges, and their instructions explain ratios step by step in pictures. Professional kits assume you already have speed and technique, so they offer larger jars and faster liquids that can overwhelm a new user within the first session.
How do I maintain an acrylic nail set?
Maintain your nails by keeping them dry, wearing gloves for wet chores, and using cuticle oil each day. Avoid prying or opening things with your nail edges, which starts cracks that spread. Plan infills at about two to three weeks, when the growth gap becomes visible. One point many guides skip: if a nail lifts, do not glue it back down over trapped moisture, because that seals in moisture against the natural nail.
How much should I spend on an acrylic nail set?
Spend around $20 to $45 on your first set, which covers a sound brush, medium speed liquid, and enough powder for several attempts. Spending less often means replacing the brush within weeks. Spending much more buys volume rather than skill. After two or three successful sets, you will know which single upgrade matters to you, and you can spend then with real information instead of guesses.
How long does an acrylic nail set last?
A beginner set that is applied with careful prep usually lasts about two weeks before infills are needed. Early sets may lift sooner while your ratio and prep skills develop, and that is normal rather than a sign of a bad kit. Shorter lengths last longer because they take less force in daily use. Track which nails lift first, since the pattern often reveals a prep step you rushed.
Are expensive acrylic nail sets worth it?
For a true beginner, expensive sets are rarely worth it at the start. The limiting factor in your first sets is technique, not material quality, so premium powders cannot rescue a poor ratio. Mid priced beginner kits give you fair materials while you learn. Upgrade later if you stick with acrylics, when your hands are skilled enough to feel the difference that better brushes and slower liquids provide.
What features matter most when buying acrylic nail sets?
Setting speed, brush quality, and clear instructions matter most for beginners. Together they decide whether your first session feels calm or chaotic. After those, look at practice materials and the number of tip sizes included. If you plan to explore related formats later, the overview of the best acrylic sets can show you how starter kits sit within the broader family of acrylic products.
Final Thoughts
Choose a kit with a forgiving setting speed, a brush that holds a point, and instructions you actually understand. Practise on tips first, protect your skin and natural nails, and keep your first sets short. Compare your shortlist in the product table above, take your time on prep, and the best acrylic nail sets for beginners will give you a calm, confidence building start.


