
Best 4x6 Car Audio Speakers: Everything to Know Before Your First Purchase for 2026
Disclosure: We may earn a commission when you buy through links on this page, at no extra cost to you. As an Amazon Associate I earn from qualifying purchases. Learn more

Shopping for the best 4x6 car audio speakers for the first time? Learn fit, RMS power, materials and install basics in this plain language guide.
Replacing small factory speakers is one of the most satisfying first upgrades you can make to a car, because you hear the result on every drive. If this is your first time shopping for the best 4x6 car audio speakers, the terms can look harder than the job really is. This guide starts with fit and basic terms, then moves to the few specs that change sound.
You do not need an amplifier or a full system rebuild to enjoy clearer voices and cleaner music. Use the comparison table below to check sizes and power ratings, then work through the sections in order before you order anything.

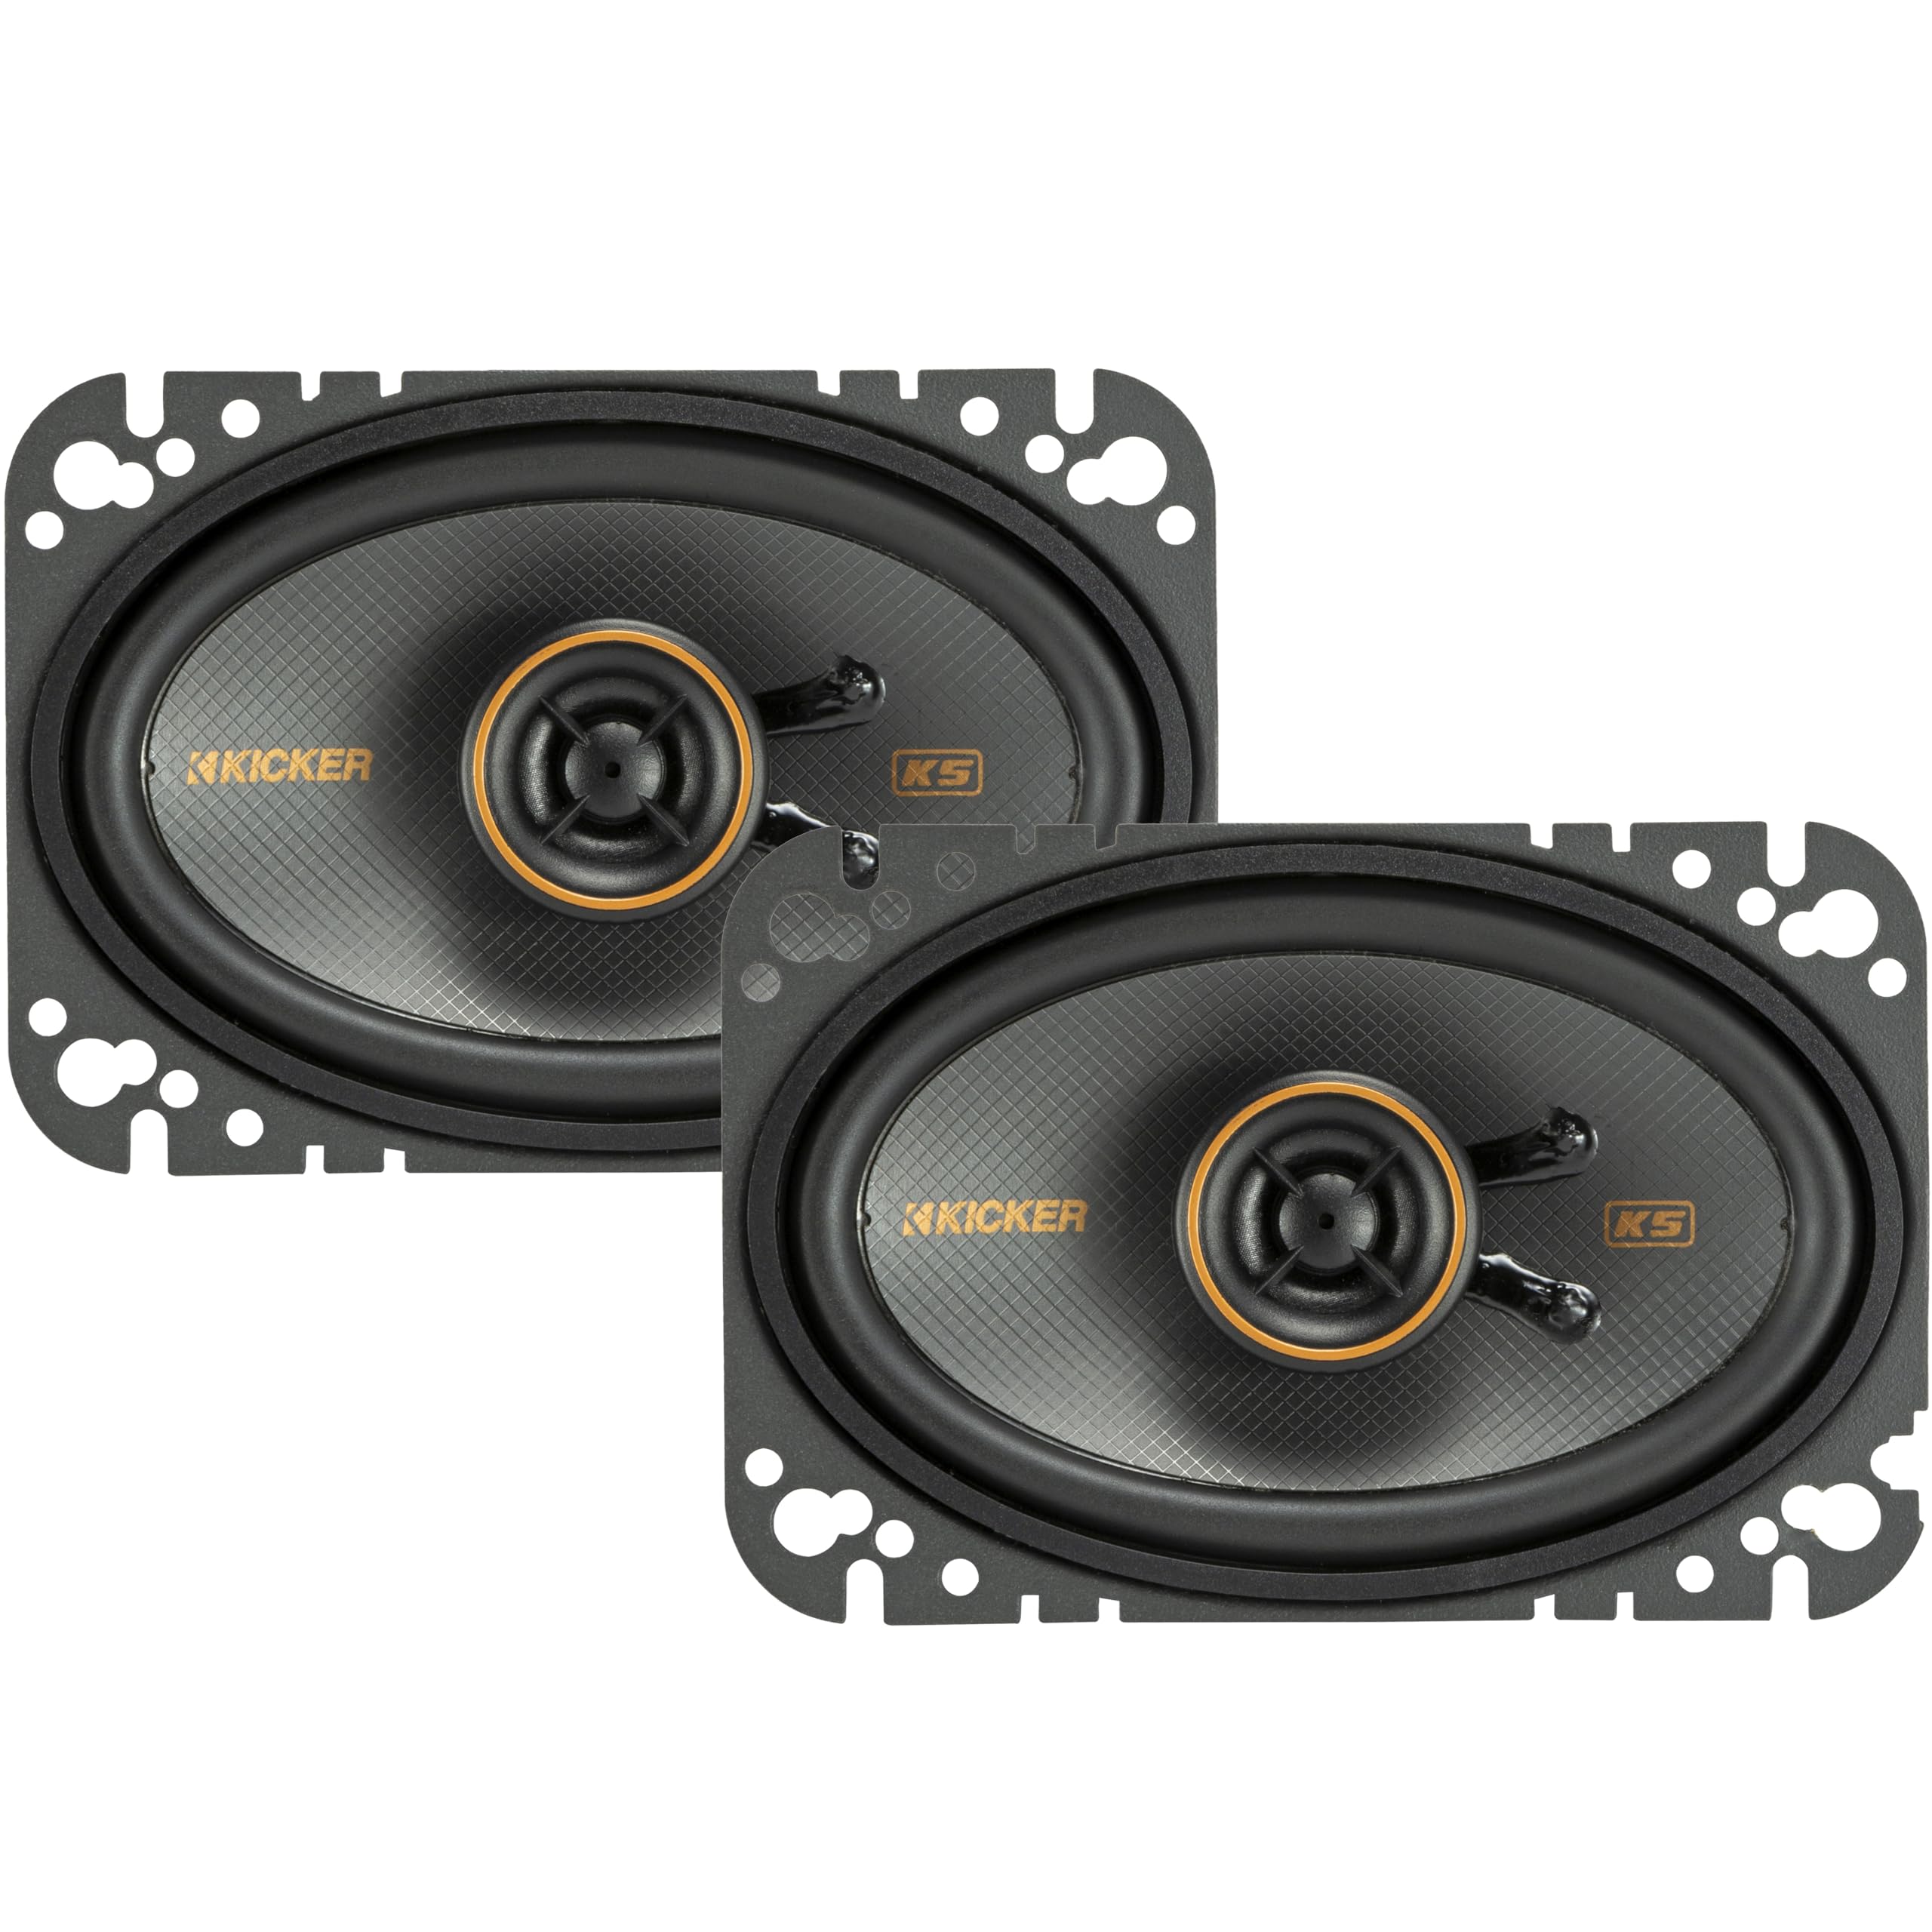


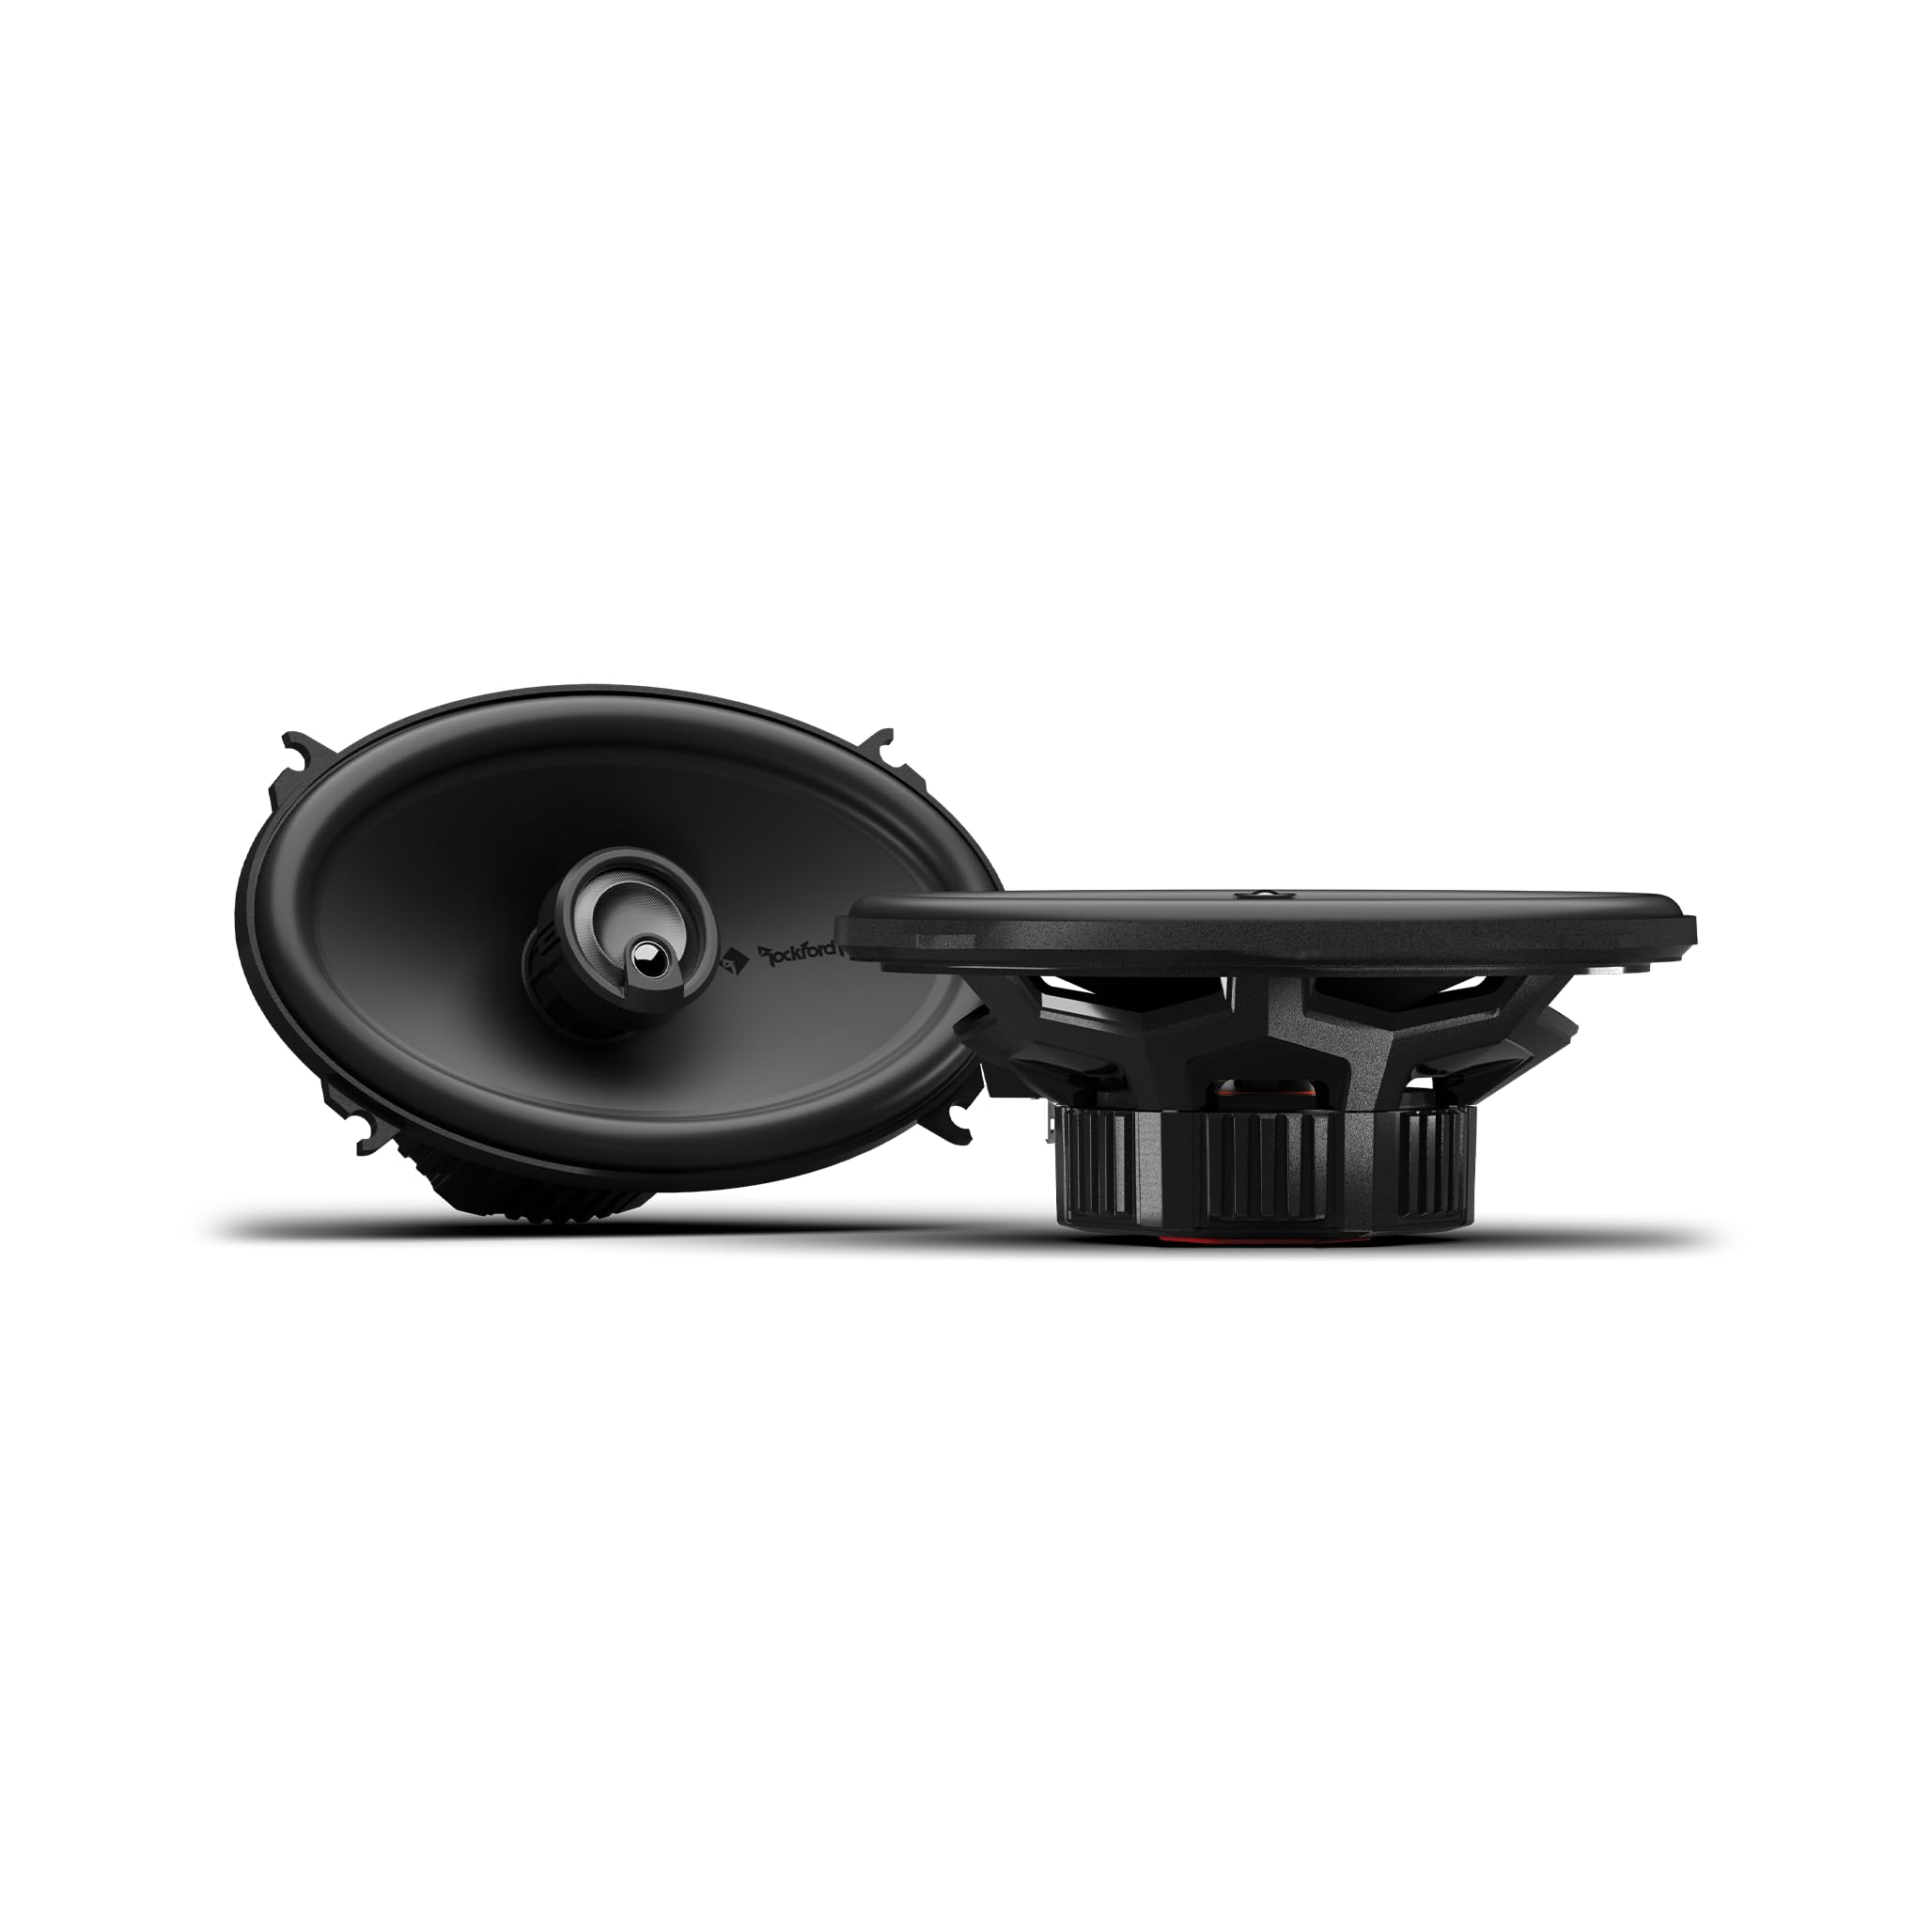
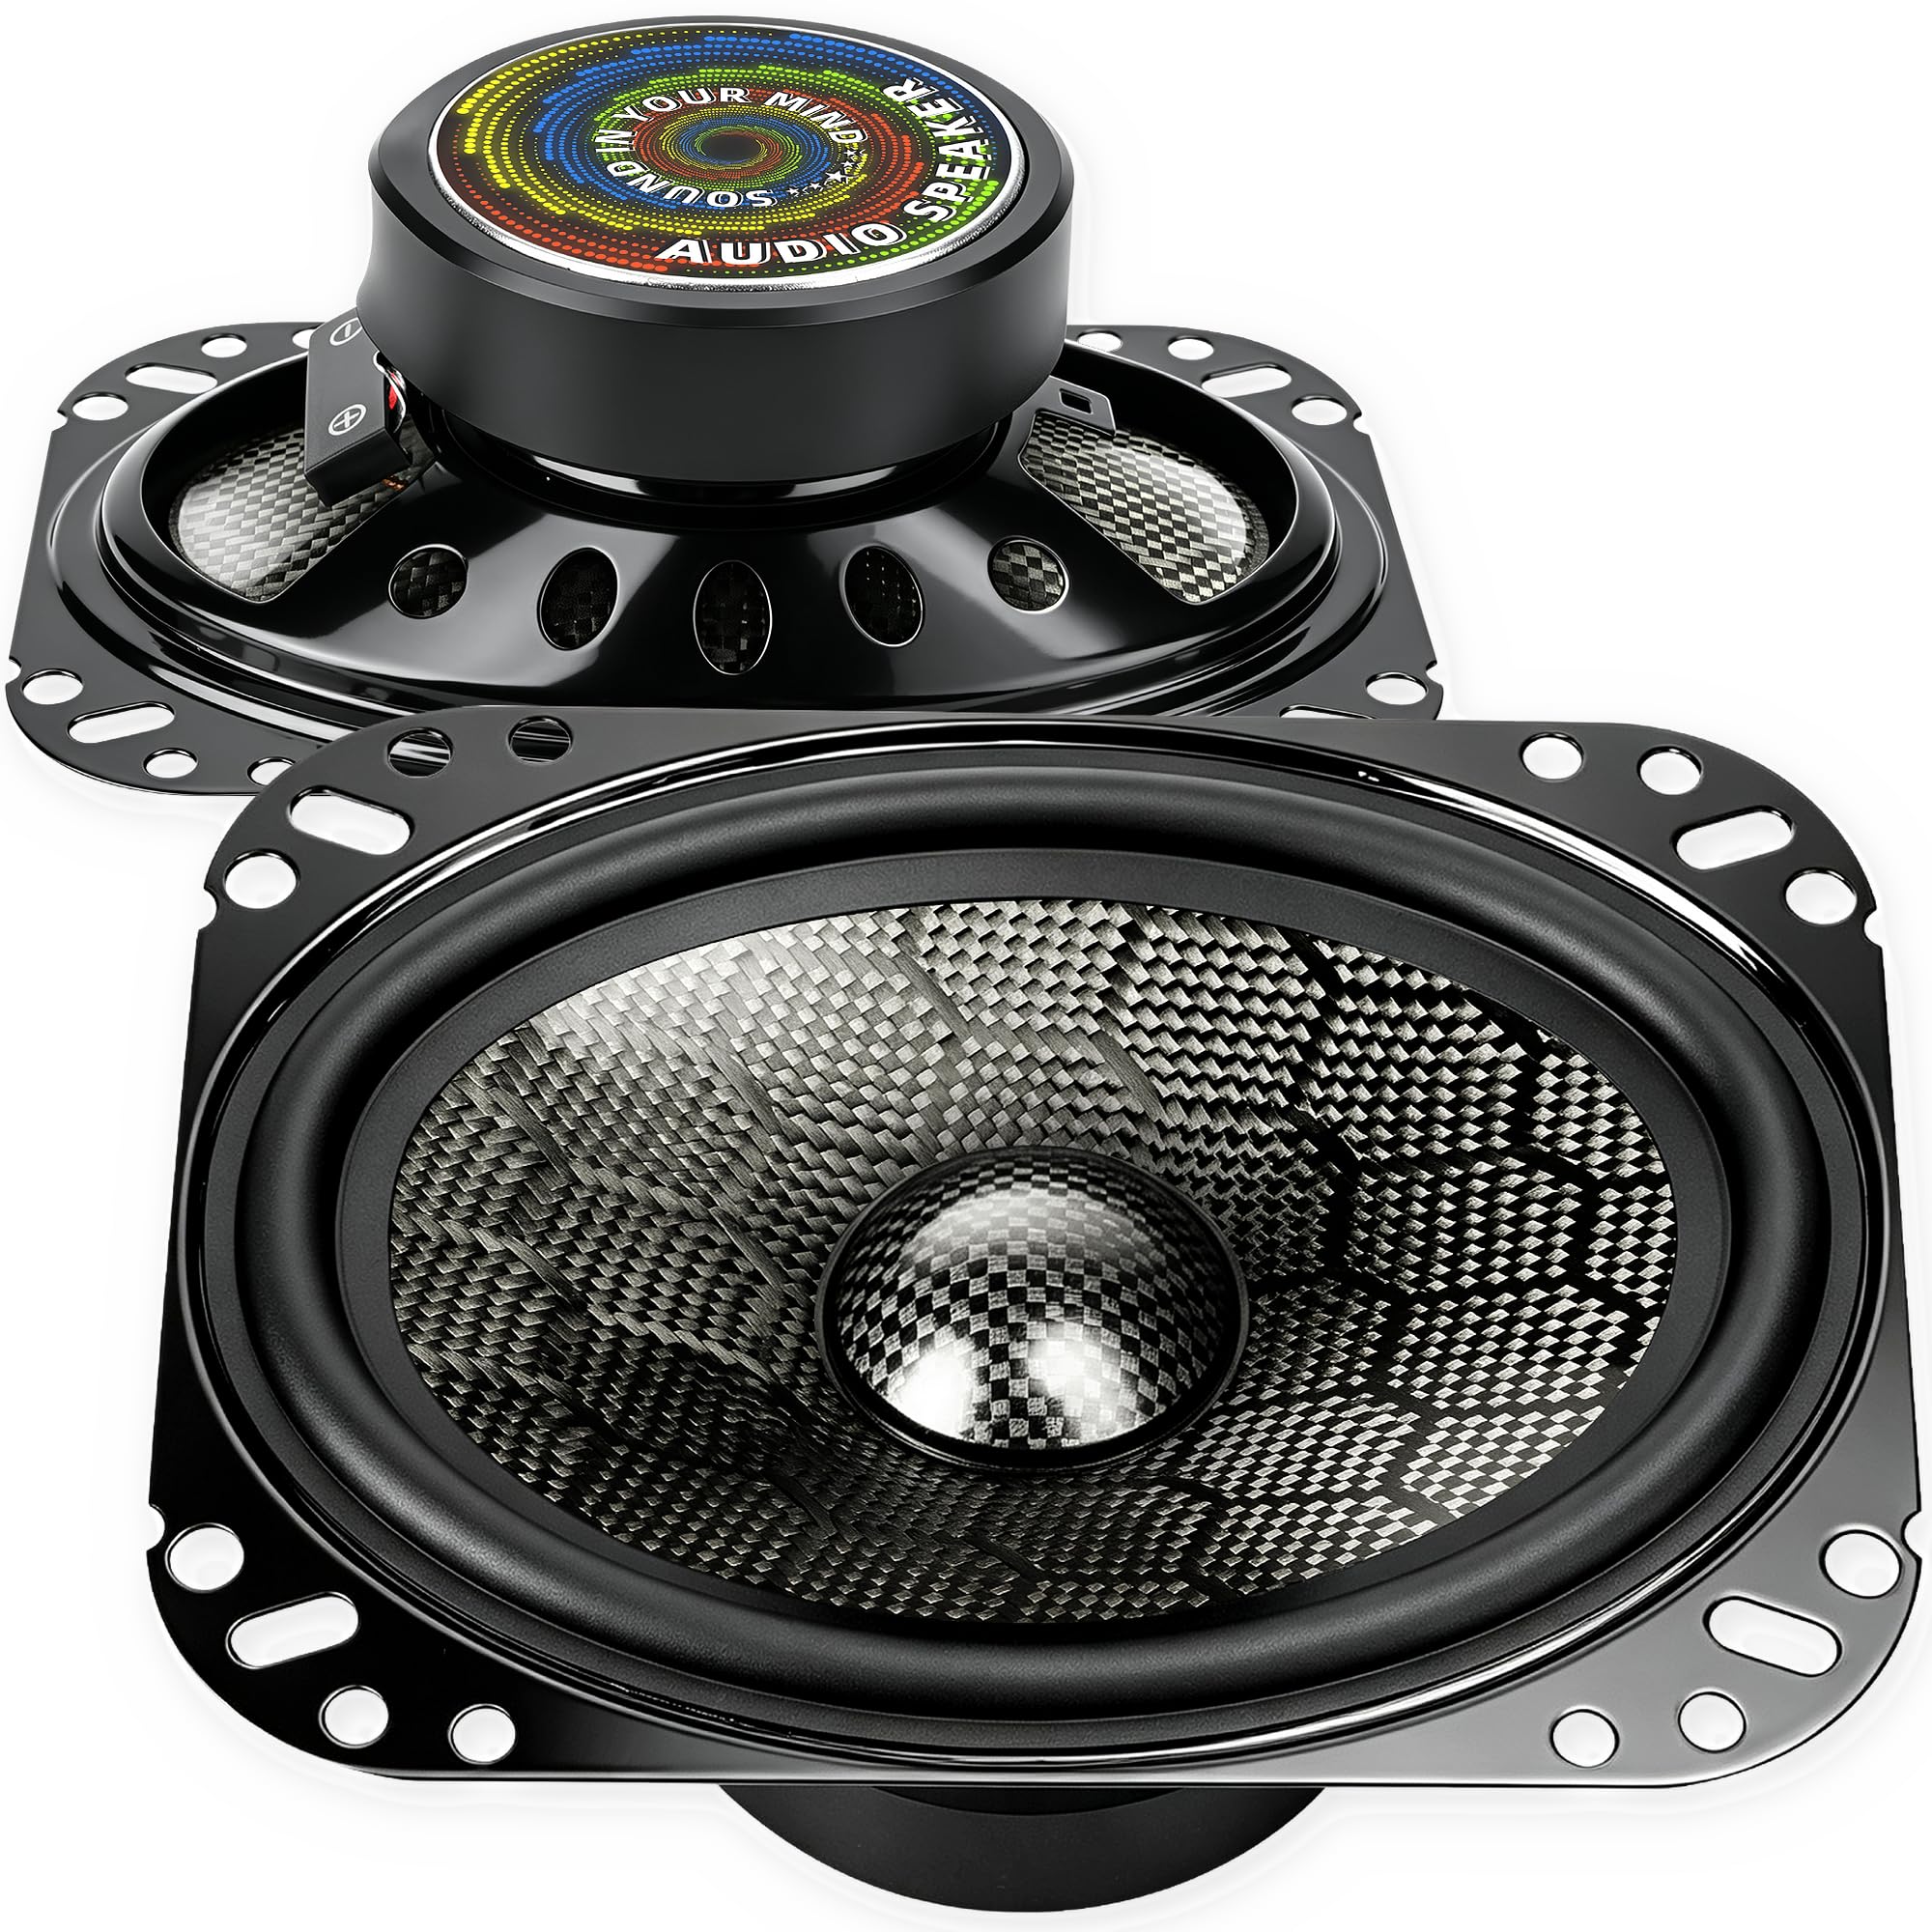
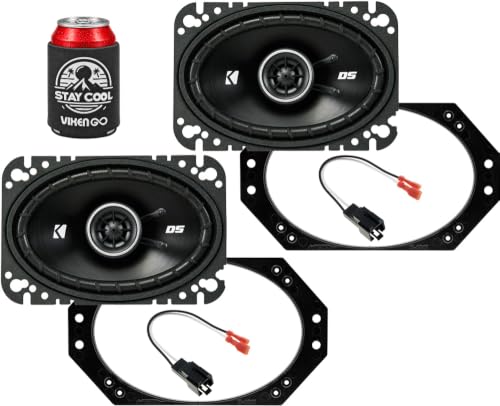


4x6 Car Audio Speakers 101: The Basics
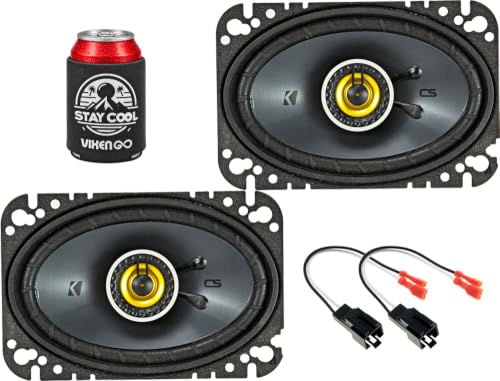
A 4x6 speaker is an oval speaker about 4 inches by 6 inches, a size used in the doors, dash, or rear panels of many older trucks, vans, and cars, and in some newer vehicles with tight spaces. Most are coaxial designs, meaning a small tweeter sits in the center of the main cone so one speaker plays both low and high sounds. Component designs separate the tweeter for better placement, but in this small size most buyers choose coaxial models for simple installation.
Your head unit or amplifier sends an electrical signal that moves the cone back and forth, and that movement makes sound. Two numbers describe the partnership between speaker and power source: impedance, measured in ohms, and power handling, measured in watts. Most car speakers are 4 ohm, which matches most factory and aftermarket head units. Match the size, the impedance, and a sensible power rating, and the speaker will work safely and sound as intended.
For a wider starting point across sizes, see our guide to the best car audio speakers before you narrow to this exact fit.
Key Specs Explained in Plain English
Vehicle Compatibility
Fit comes first, because a great speaker that does not fit has no value. Confirm that your vehicle actually uses 4x6 speakers in the location you plan to upgrade, using a fit guide for your exact year, make, model, and trim, since the same model can use different sizes by trim. Check mounting depth as well as the oval size, because door panels hide window parts and wiring that limit depth. Note the screw pattern too, since some factory openings use tabs or adapters. Measure your current speaker if listings disagree.
Safety Features
For speakers, safety means correct and secure wiring. Keep positive and negative terminals matched at every connection, because reversed polarity on one speaker makes bass thin and voices unfocused. Disconnect the vehicle battery before you remove door panels or cut wires, and route new wiring away from sharp metal edges and moving window parts. Use proper connectors or solder and insulation rather than twisted bare wire, which can loosen and short. If your car uses airbags in the doors or pillars, follow the service manual guidance or leave that panel to a professional installer.
Warranty and Brand Support
A clear warranty of at least one year is a reasonable baseline, and longer coverage signals confidence in a small speaker that lives with heat, cold, and vibration. Check what the warranty requires, such as proof of purchase and installation within rated power limits, because a speaker damaged by a badly distorted signal may not be covered. Good support also means available wiring adapters, clear manuals, and replacement grilles. Keep your receipt and note the install date, and test both speakers at moderate volume as soon as they are fitted so any defect shows up inside the return window.
Build Quality and Weather Resistance
Door speakers live in a harsh spot, with moisture from window seals, dust, and wide temperature swings. Cones made from polypropylene or treated materials resist moisture far better than untreated paper, which can soften and tear over time. Rubber surrounds last longer than foam surrounds, which can crumble in hot climates. A sturdy basket and secure terminals matter because the door slams thousands of times. If your vehicle leaks or you drive with windows down often, favor moisture resistant materials even if they cost a little more, around $60 to $120 for a solid pair.
Performance Specs
Read RMS watts first, because RMS states the power a speaker can handle continuously, while peak watts only describe a brief moment and should never drive your choice. Match RMS handling to your source: a factory head unit often sends about 10 to 20 watts RMS per channel, so a speaker rated around 30 to 50 watts RMS with high sensitivity suits it well. Sensitivity, measured in decibels, tells you how loud a speaker plays on a given power, and higher is better on low power systems. Frequency response hints at range, but in a 4x6 size expect modest bass by design.
If your vehicle uses a close variant of this size, our guide to the best 4x6 car speakers covers fit notes that overlap with this one.
Rookie Mistakes to Avoid
- Buying by peak watts. Peak numbers are marketing. Compare RMS ratings and sensitivity for a true picture of volume and safety.
- Skipping the fit check. Size, depth, and trim differences decide whether the speaker mounts at all, so confirm before you order.
- Expecting deep bass from a small oval. A 4x6 improves clarity, not low bass. Add a subwoofer later if bass is your main goal.
- Turning volume up into distortion. Distortion damages small speakers quickly. If it sounds harsh, turn it down, because clean moderate volume always beats loud and strained.
- Ignoring rattles. Loose panels and unsecured wires buzz and ruin the upgrade. Add foam tape and secure clips while the panel is off.
Getting Started: Setup and First Use
Start by reading the speaker manual and your vehicle manual for panel removal and speaker specifications. Gather panel tools, the right screwdrivers, wiring adapters for your vehicle, and foam tape before you begin, so the door comes apart once. Disconnect the battery, remove the panel slowly to protect its clips, and swap one side at a time so you can compare sound and copy the wiring from the untouched side.
After fitting, reconnect the battery and test at low volume first, checking that left, right, and balance controls send sound to the correct side. Play a familiar song with clear vocals, then raise volume gradually and listen for rattles or harshness. Set bass and treble near flat at first, because a clear speaker often needs less correction than the worn factory unit it replaced. Keep the factory speakers until you are fully satisfied, in case a return is needed.
Drivers who care most about vocal clarity can read our guide to the best voice speakers for car audio for tuning ideas that apply after installation.
FAQs
Will 4x6 car audio speakers fit my vehicle?
They will fit only if your vehicle lists 4x6 as the speaker size for that location and trim, and if the mounting depth clears parts behind the panel. Use a fit guide for your exact year and trim, then confirm depth and screw pattern. Some openings accept this size with a simple adapter plate, which the better listings mention by vehicle.
Do I need professional installation for 4x6 speakers?
Most owners can install coaxial 4x6 speakers with basic tools in about an hour per pair, especially with vehicle specific wiring adapters that avoid cutting wires. Choose a professional if door airbags are involved, if panels are brittle, or if you plan to add an amplifier at the same time. A fair install quote is often around $75 to $150 for a straightforward pair.
What specs matter most for 4x6 speakers?
Fit, RMS power match, and sensitivity matter most, in that order. A speaker that fits, handles your head unit power safely, and plays efficiently on that power will sound clear and last. After those three, choose moisture resistant cone materials for door locations. Frequency charts and peak watt claims tell you the least, so give them the least weight in your decision.
How long do 4x6 car speakers last?
A good pair typically lasts about 5 to 10 years, depending on climate, moisture in the doors, and how often it plays at distorting volume. Rubber surrounds and synthetic cones sit at the long end of that range, while foam surrounds in hot regions age faster. Keeping volume clean and fixing window seal leaks are the two habits that extend speaker life most.
If sound quality across the whole system is your priority, our guide to the best car audio speakers for sound quality explains how speaker upgrades fit into a larger plan, and our guide to the best car audio component speakers covers the next step if you later want separate tweeters.
Our Verdict
Confirm the fit for your exact trim, match RMS handling and high sensitivity to your head unit power, and choose materials that survive door moisture. Compare your short list in the product table above with those three checks in hand. That is how first time buyers end up with the best 4x6 car audio speakers for their car, clear sound, a clean install, and no parts to return.


