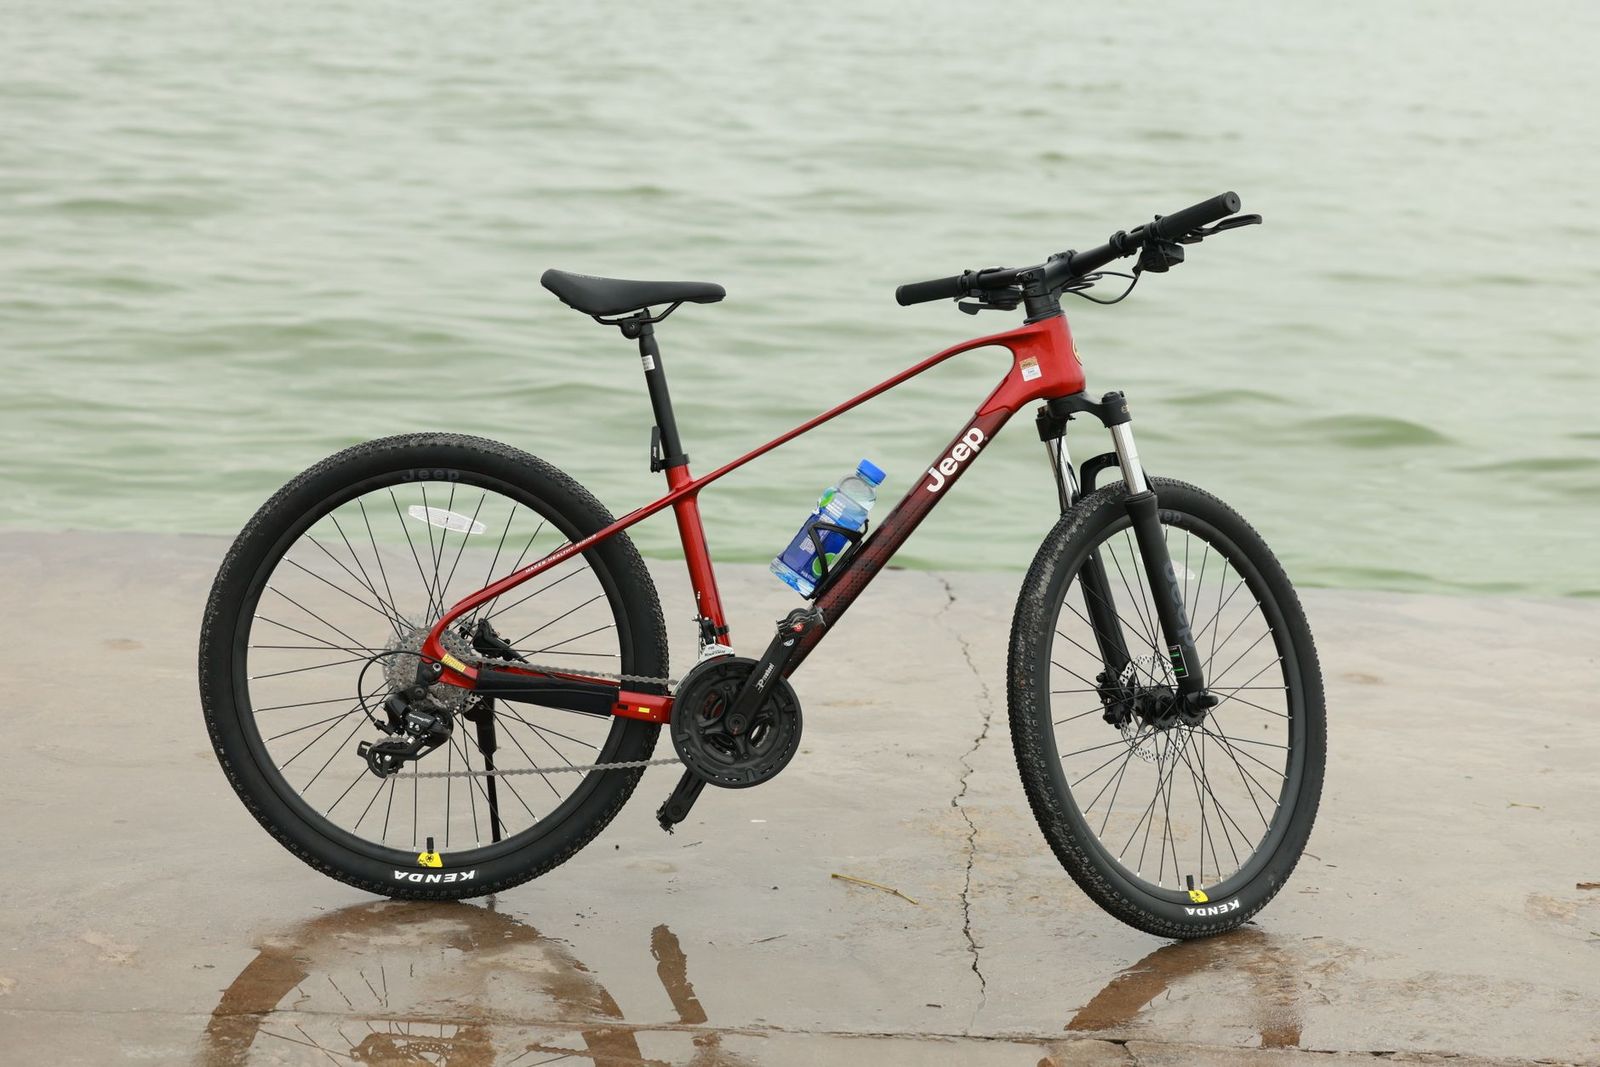
Best 26 Inch Mountain Bike Inner Tube for Every Need in 2026: How to Pick the Right One
Disclosure: We may earn a commission when you buy through links on this page, at no extra cost to you. As an Amazon Associate I earn from qualifying purchases. Learn more

Choose the best 26 inch mountain bike inner tube by tire width, valve type, and wall thickness, with sizing, fitting, and care tips for fewer trail flats.
An inner tube looks simple, yet the wrong one can fold, stretch thin, or leak at the valve on your first climb. The best 26 inch mountain bike inner tube for you is the one that matches your tire width, your rim, and the trails you ride most. Use it to match tube weight and protection to the flats you actually meet.
Sellers sort inner tubes by price and pack size, but those lists rarely tell you which valve your rim takes. Work through width, valve, thickness, and material first, then check the picks in the product table. If you ride several wheel sizes, see our guide to the best inner tube for mountain bike for the wider sizing picture.




Who Should Buy Which 26 Inch Mountain Bike Inner Tubes?
Start with the flats you get and the miles you ride, not the cheapest box. There is no single best 26 inch mountain bike inner tube for every rider, since a light spare for smooth trails and a thick tube for desert thorns solve different problems.
Weekend Riders Learning Easy Local Trails
Choose a standard weight butyl tube in the middle width range for your tire, and buy two, so one lives in your pack. Standard tubes cost little, patch with any basic kit, and hold air well between weekly rides. The lightest rubber can wait, since one thorn or one pinched fitting mistake is more likely to end your ride than a few saved grams.
Riders on Rocky Trails With Thorns and Sharp Stone
Pick a thorn resistant or sealant filled tube with thicker walls, even though it packs heavier. On sharp rock and cactus country, thin tubes puncture at the tread and at the sidewall, and a walk out can be long. Extra rubber slows small punctures and gives sealant time to plug a hole before the tire goes soft.
Daily Riders and Tourers Who Cannot Afford Roadside Delays
If your 26 inch bike covers town miles and loaded weekend trips, favor durable midweight tubes and carry a spare plus a patch kit. Daily use rewards tubes that hold pressure for a week and patch cleanly at the roadside. Keep the spare in its own bag, so pack tools cannot rub a hole in it.
Key Features to Compare
Five checks decide fit and life: width, valve, thickness, protection, and material. Work through them in order, since a tube that fails the first two will not work at all.
Tire Width Range the Tube Must Cover
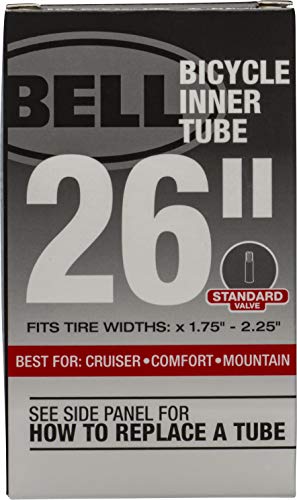
The box prints a range, such as 26 by 1.75 to 2.125 or 26 by 1.9 to 2.35, and your tire width must sit inside it. A tube that is too narrow stretches thin as it fills a wide tire, so punctures tear more easily. A tube that is too wide folds inside a narrow tire, and the fold can chafe through. If your tire sits near the top of one range, choose the next range up.
Valve Type, Stem Length, and the Rim Hole
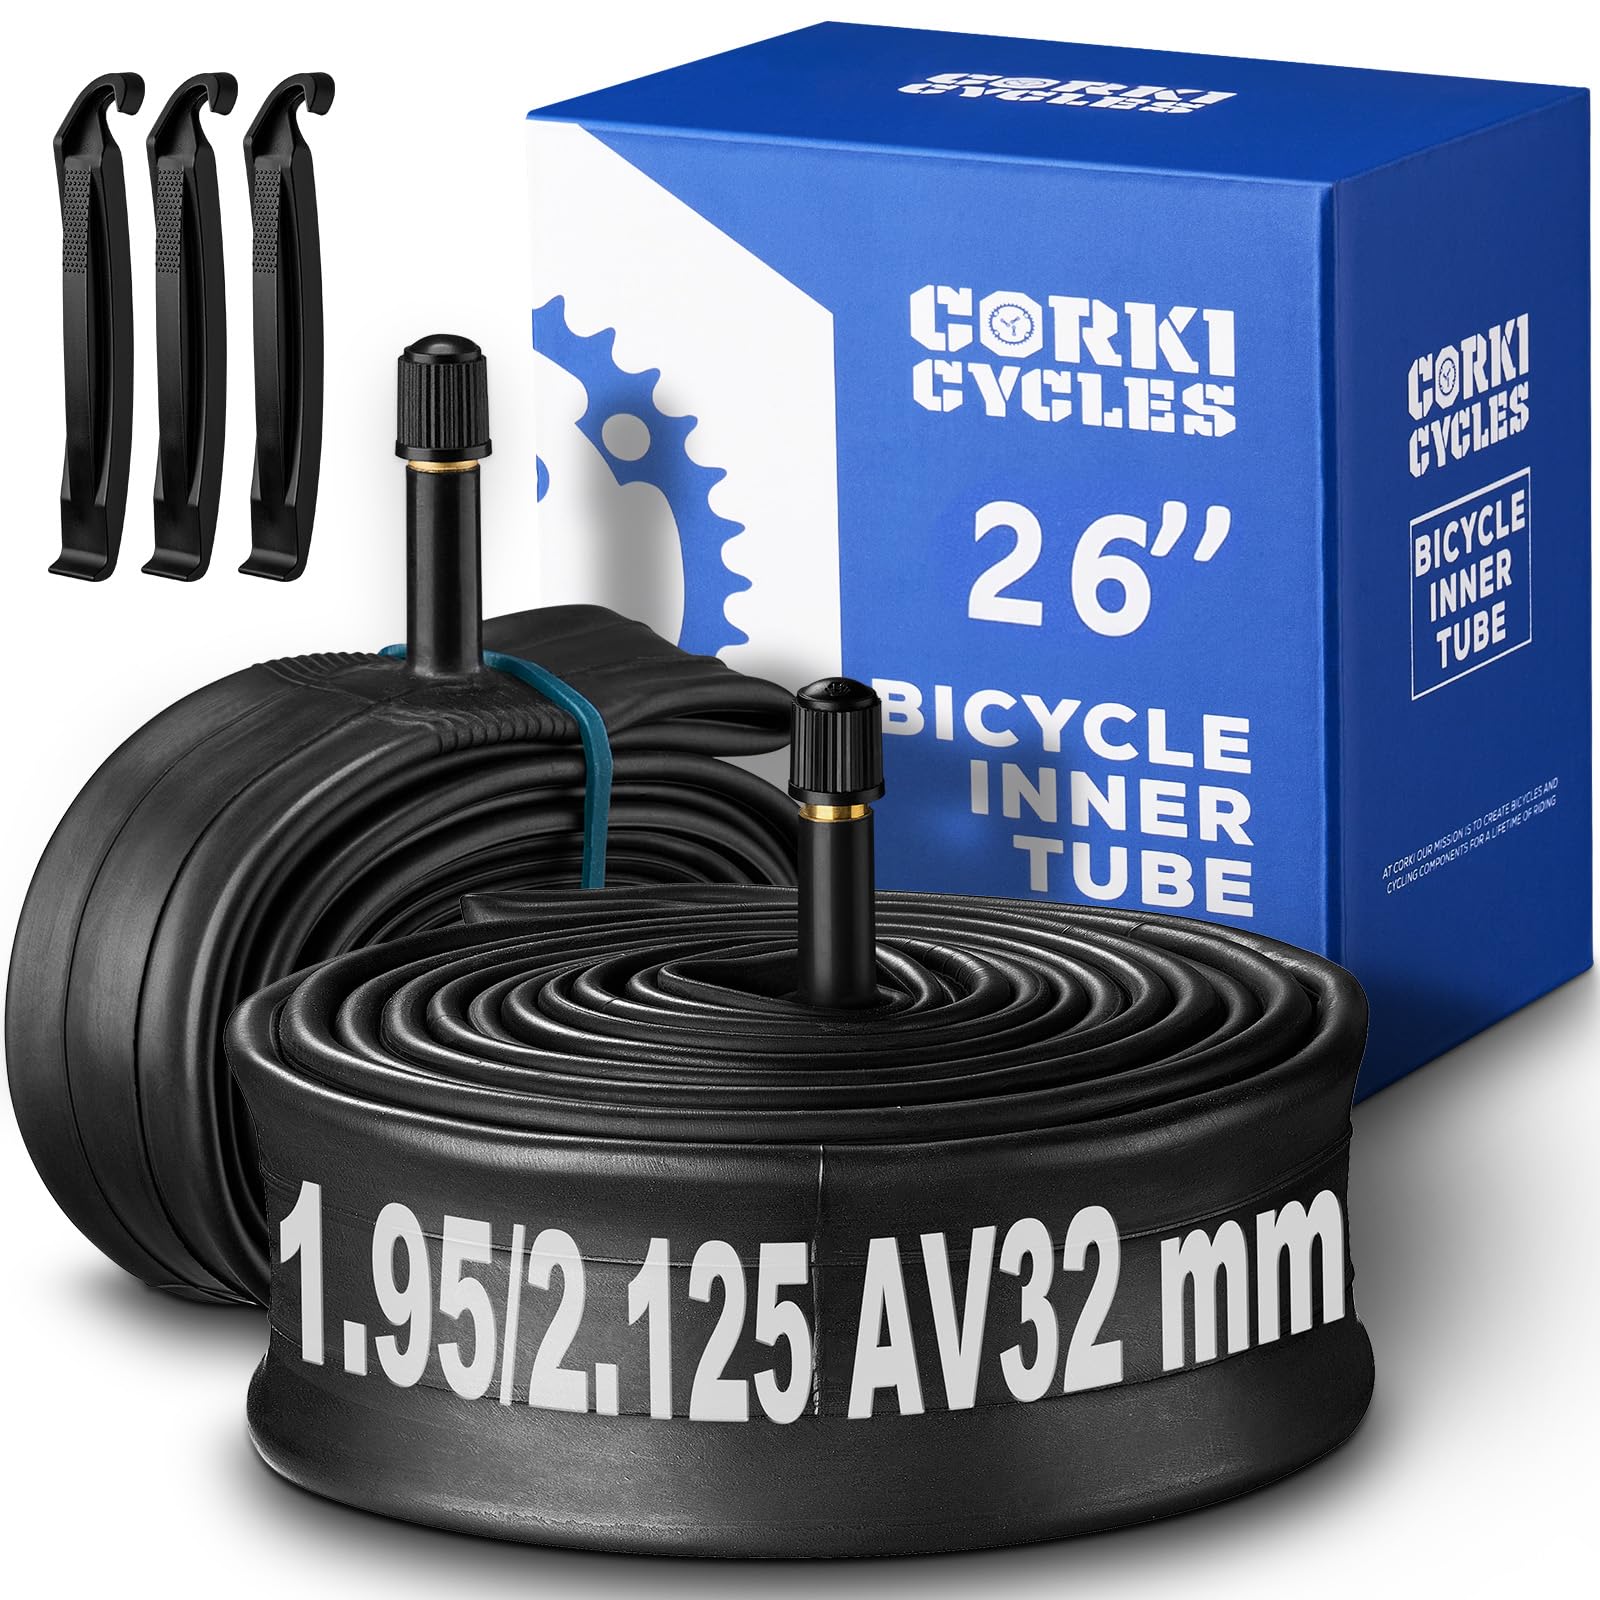
Presta valves are slim metal valves with a small top nut you loosen before inflating, while Schrader valves are the wider spring type found on car tires. Your rim decides which fits, since a Presta stem sits loose in a Schrader drilled rim and a Schrader stem will not pass a Presta hole. On deep rims a short stem can hide below the rim edge, so choose a longer stem there. See our guide to the best 26 inch mountain bike rims.
Wall Thickness and the Weight the Tube Adds
Standard butyl tubes balance low cost, steady air retention, and easy patching. Lightweight tubes shave grams and pack smaller, but their thin walls tear faster at a puncture. Heavy duty tubes use much thicker rubber and shrug off rough handling, yet you notice the weight on long climbs. Pick thickness by flat history: riders who flat monthly gain more from thick walls than from saved weight.
Puncture Protection From Thick Rubber and Sealant
Protection comes in two forms: extra thick rubber over the tread area, or liquid sealant already inside the tube. Sealant filled tubes can plug tiny thorn holes as you ride, since the spinning wheel carries sealant to the leak. The trade off is weight, a messier valve, and sealant that dries out over time. Riders on clean forest trails often skip both and rely on a spare and a patch kit.
Tube Material, Pack Size, and Patching
Butyl rubber is the default material because it holds air well and accepts patches with simple vulcanizing fluid. Latex tubes resist pinch flats well, but lose air quickly and need topping up before most rides. TPU tubes pack very small and light, which suits a pocket spare, yet they need their own patch type and cost far more. For a first spare, butyl remains the easiest material to live with.
How to Match a 26 Inch Tube to Your Tire and Rim
Two numbers and one hole decide fit: bead diameter, tire width, and the valve hole in the rim. These checks take a minute at home and prevent most early tube failures. Riders rebuilding an older bike can also see our guide to the best 26 inch mountain bike.
Read the Tire Sidewall Before You Read the Box
Your tire sidewall prints an inch size, such as 26 by 2.1, and a number pair like 54 to 559, where 559 is the bead seat diameter for a 26 inch mountain bike wheel. Match that 559 number first, then the width range on the tube box. If the print has worn away, measure the tire width with a ruler. For more on rim width and tire fit, see our guide to the best mountain bike 26 inch wheels.
Fit the New Tube Without Pinching It
Seat one tire bead on the rim, push the valve stem through the rim hole, and tuck the tube inside the tire with enough air to hold its shape. Work the second bead on with your thumbs, starting opposite the valve, and keep the tube clear of the bead. Push the valve up into the tire and pull it down again, so no rubber stays trapped under the bead. Inflate slowly, check the line near the bead sits even on both sides, and keep pressure in the middle of the range printed on the sidewall.
Common Mistakes to Avoid When Buying 26 Inch Mountain Bike Inner Tubes
Each mistake below wastes money or causes an early flat.
- Buying by wheel diameter alone and ignoring tire width leaves a tube stretched thin or folded, and both faults cause early flats.
- Choosing a valve type without checking the rim hole means the stem either will not fit through or sits loose enough to tear at its base.
- Picking the lightest tube for thorny trails saves a few grams and then ends rides with punctures a thicker tube would have shrugged off.
- Fitting a fresh tube without searching the tire for the thorn that caused the last flat guarantees a second puncture in the same spot.
- Running too little pressure on rocky trails lets the tire bottom out and pinches the tube against the rim in two neat cuts.
Care and Maintenance
Store tubes cool, dark, and away from electric motors and solvents, since heat, sunlight, and ozone age rubber until it cracks. Dust a spare lightly with talc before rolling it into its own small bag, and wipe grit away from the valve area. Check spares once a season by inflating them gently overnight; one that sags should be patched or replaced at home, not on a trail.
A patch holds well on clean, dry butyl away from the valve and any seam, so roughen the area, apply vulcanizing fluid, let it turn dull, then press the patch on firmly. Replace the tube when the valve base tears, when a cut sits on a seam, when patches start to overlap, or when the rubber bulges in one section.
FAQ
Why does a new 26 inch mountain bike inner tube lose air overnight?
A new tube that loses air overnight usually leaks at the valve core, or was folded or damaged during fitting. Tighten a removable core gently, then hold the tube in a bowl of water and watch for bubbles. Bubbles near one rim side point to a pinch from fitting. Also run a cloth inside the rim to feel for a sharp spoke end or a shifted rim strip.
How many times can a 26 inch mountain bike inner tube be patched?
There is no fixed limit, and a tube with three or four sound patches away from the valve can still ride well. Retire it when patches begin to crowd each other or a new hole lands on an old patch. Many touring riders mark each patch on the tube, a habit that shows when a spare has had a hard life.
Can sealant be added to a 26 inch mountain bike inner tube that came without it?
Yes, sealant can be added at home if the valve core comes out. Remove the core, squeeze the dose in through the stem, refit the core, and spin the wheel so the liquid coats the inside. Shake the wheel monthly on a stored bike, since standing sealant pools at the bottom and coats only one side.
Can a 26 inch mountain bike inner tube work in a tire wider than its printed range for one ride home?
Yes, an undersized tube can get you home, since butyl stretches well beyond its printed range. Treat it as a short term fix: inflate just enough to keep the rim off the ground, and ride gently. The stretched rubber is thinner than intended, so it punctures more easily. Fit the correct width range before your next full ride.
Our Verdict
Match width and valve first, then choose wall thickness for your ground, and the rest is minor. Smooth trail riders do well with standard butyl, thorn country riders should pay for protection, and everyone should carry a sound spare. Compare your shortlist in the product table to land on the best 26 inch mountain bike inner tube for your bike without overspending on rubber you do not need.