
Best 135 Inch Projector Screens (2026): Buying Guide
Disclosure: We may earn a commission when you buy through links on this page, at no extra cost to you. As an Amazon Associate I earn from qualifying purchases. Learn more

What to check before you buy the best 135 inch projector screen: format, gain and wall fit, and which type fits your home.
A 135 inch image changes how a family room feels. Movie night stops being a television event and becomes the main event, yet the screen still has to share space with sofas, lamps, toys, and daily life. Choosing the best 135 inch projector screen is mostly about fit. Your wall, your seating distance, and your room light matter more than a long list of features, and the comparison table below helps you weigh the main formats side by side.
This guide focuses on real homes rather than dedicated cinema builds. It covers who this size suits, which materials handle family room light, and what each format costs to own. If you are still deciding between sizes in general, start with our overview of the best projector screen options, then come back here for the 135 inch specifics.



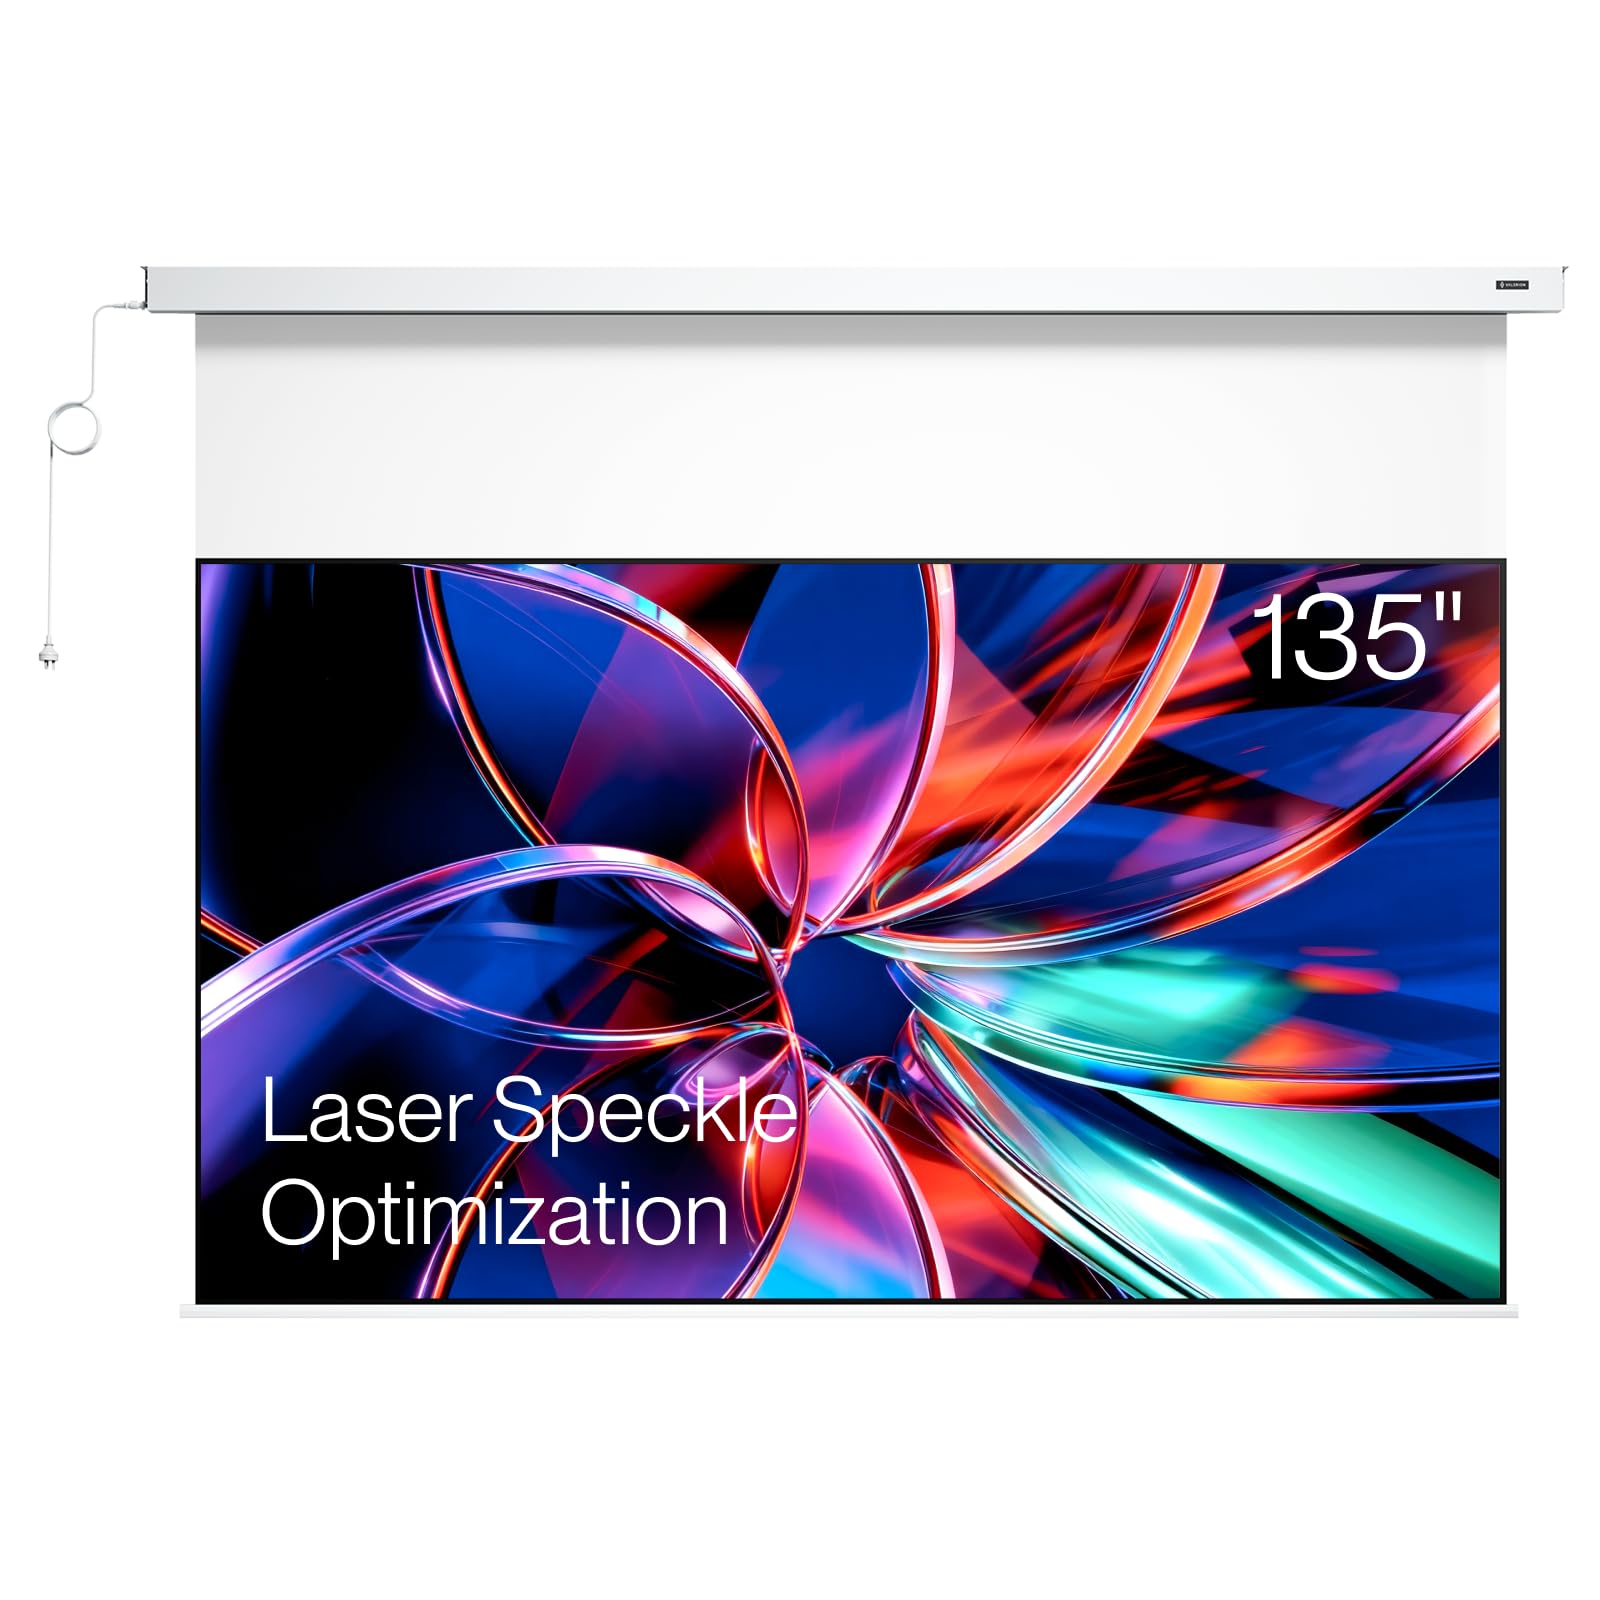
Quick Answer: What Most Homes Should Choose
For most households, a matte white screen with a gain near 1.0 in a motorized or manual pull down format is the safest starting point. It gives you a large, even image for films and sports, and it disappears when the room returns to everyday use. Choose a fixed frame instead if nothing else competes for that wall. Choose a gray or light rejecting material only when lamps and windows regularly stay on during viewing.
Who Should Buy a 135 Inch Screen?
Families Sharing a Living Room
You watch films, sports, and streamed shows together, and the room returns to normal life the moment the credits roll. A retractable screen suits you because the image arrives when you want it and vanishes when you do not. Wide seating matters here, since a sofa and side chairs spread viewers across the room. Look for a material with an even image from angled seats, and plan speaker placement so dialogue stays clear for everyone, not just the center seat.
Households With a Dedicated Media Room
If one room is set aside for viewing, a fixed frame gives you a permanently flat surface and a clean, finished look that suits the decor. You can control the light, paint the wall a darker shade, and leave the projector aligned for months at a time. This is also the setup where a woven material that lets sound pass can help, since the center speaker can sit behind the screen. Our guide to the best projector screen for home theater builds use covers that dedicated layout in more depth.
Renters and Rooms That Change Roles
You may need the wall for work calls by day and films by night, or you may not be allowed to drill many holes. A portable or tripod format avoids permanent mounting, though at 135 inches these models are bulky to store and slower to set up. A ceiling mounted retractable model is the middle path when your lease allows a few anchors. If the screen will travel to a yard or a relative's house, compare the best portable projector screen formats before you commit to this size.
Key Features to Compare
Viewing Area, Wall Fit, and Seating Distance
A 135 inch diagonal in the common 16:9 shape means a viewing area of about 118 inches wide and about 66 inches tall. The frame, border, or casing adds size beyond that, and a retractable housing is wider than the viewing area itself. Measure the full wall, including baseboards, outlets, and nearby doors that swing open. Most viewers sit comfortably about 11 to 16 feet from a screen this size. Closer than that, your eyes travel across the image and picture flaws grow easier to spot. Farther back, the image loses the immersion you paid for.
Gain and Material for Your Room Light
Gain describes how much light the surface sends back toward your seats. Matte white, usually around 1.0 to 1.1, spreads light evenly and keeps colors accurate, which suits dark or dim rooms. Gray material, often around 0.8 to 1.0, deepens black levels when some light is present, at the cost of a slightly dimmer peak image. Light rejecting material reflects the projector beam toward you while turning away light from above or the sides, which helps in bright family rooms. It costs more and narrows the good viewing zone, so it pays off only when light control is truly limited.
Fixed Frame, Pull Down, Motorized, or Portable Format
A fixed frame holds the material under constant tension, so the surface stays flat and the picture stays sharp at the edges. A manual pull down costs less and needs no wiring, though repeated pulling can wear the mechanism over the years. A motorized model lowers the screen evenly at the touch of a remote, which reduces handling and helps the material stay smooth. If that convenience appeals to you, the best motorized projector screen guide explains casing and control options. Portable formats fold or roll for storage, but their surfaces rarely sit as flat as the other three.
Aspect Ratio, Borders, and Sound Placement
Most home projectors send a 16:9 image, so a 16:9 screen avoids empty bands at the top and bottom during shows and sports. Films shot wider will still show black bars, and that is normal. A black border around the viewing area does real work. It sharpens perceived contrast and hides slight misalignment, since a small overshoot lands on the border instead of the wall. If your center speaker must sit behind the screen, choose a woven sound transparent material. Solid vinyl blocks that placement, and putting the speaker far below the screen makes dialogue feel detached from faces.
Flatness, Tension, and Edge Sharpness
A screen can have the right size and material and still disappoint if the surface waves. Waves bend straight lines, soften focus at the edges, and show up most in slow camera pans across skies or playing fields. Tab tensioned retractable models pull the sides outward to fight curl, while basic pull down models rely on a weighted bottom bar alone. Fixed frames avoid the issue by design. When you shop, look for clear statements about tension and backing, since a stiff backing helps the surface hang straight.
Measure Your Room Before You Order
Work through these steps on paper before any box arrives at your door.
- Measure the wall width and height, then subtract space for speakers, shelves, and doors that open into the room.
- Mark the viewing area outline with painter tape at the full size, frame included, and live with the outline for a day.
- Sit in every seat and check that nobody leans forward or cranes upward. The center of the image should sit near eye level.
- Confirm the projector can fill the screen from its planned spot. Multiply the image width in feet by the throw ratio in the projector manual to get the needed distance.
- Decide how the screen mounts and where a power outlet sits if you chose a motorized model.
The tape outline step catches more problems than any spec sheet. It shows whether a light switch lands behind the frame and whether the image center sits too high above a low sofa. If the outline reveals a wall full of obstacles, you might weigh a painted surface instead, and our walkthrough of a diy projector screen explains that route.
Common Mistakes to Avoid
- Ordering by diagonal alone. The casing or frame makes the full unit wider than the viewing area, so a screen that fits on paper can crowd your speakers in the room.
- Ignoring daytime light. A matte white surface in a sunny room looks washed out at noon, no matter how strong the projector is.
- Mounting the image too high. A screen placed above a tall stand forces tilted heads and sore necks through a full film.
- Skipping the tape test. Guessing at scale leads to returns, and a 135 inch box is awkward and costly to send back.
- Pairing a wavy surface with a short throw projector. Short throw and ultra short throw beams strike at a steep angle, so even small waves distort the picture badly.
Cost of Ownership and Care
Budget beyond the screen itself. A motorized model may need an electrician if no outlet sits near the ceiling, and a fixed frame may need wall anchors or lumber for a mounting ledge. Retractable models add a remote and a motor that can wear out years before the material does, and replacements for those parts vary by maker. Expect the format to shape the total more than the material does. Simple manual models can fall under $100 on sale, family room motorized models often land at about $300 to $500, and large light rejecting fixed frames can run over $500.
Care is gentle work. Dust the surface with a dry microfiber cloth, moving in one direction, and never scrub a coated material with household cleaners. Keep hands off the viewing area, since skin oil leaves marks that show during bright scenes. Let a retractable screen dry fully before rolling it away after cleaning, because trapped moisture can stain the layers. Store portable models in their case away from heat vents.
FAQ
How long does a 135 inch projector screen last?
The viewing material itself can serve for many years when it stays clean, dry, and out of constant sunlight. The parts that age first are moving ones, such as the motor, the remote, and the retraction spring on manual models. One point buyers miss is that smoke and cooking grease slowly yellow a surface in open plan homes. If your kitchen shares air with the viewing wall, a retractable model that stays rolled away between uses will age more gracefully.
How do you hang a 135 inch projector screen safely?
Start by locating the studs or using anchors rated well above the full weight of the unit, casing included. Level the housing or frame before you tighten anything, then have a second person lift with you, since a unit this wide flexes and is hard to hold steady alone. Keep mounting hardware slightly loose until the projected image sits square inside the borders, then finish tightening. Our step by step guide on how to hang a projector screen covers bracket types and spacing in detail.
What size projector screen do you need if your seating is close?
If your main seats sit closer than about 11 feet, a 135 inch image may feel too wide even though the wall can hold it. Here is the part many guides skip. A smaller screen viewed from a shorter distance can fill the same share of your vision, so moving the sofa closer to a 120 inch screen often feels identical. Choose the size that matches your seating first and your wall second. Comfort across a two hour film is the real test, not the largest diagonal that fits.
Can a 135 inch projector screen look good during the day?
Yes, with the right pairing of material and light control. Curtains on the windows that face the screen matter more than curtains on walls the image never sees, since direct glare on the surface is what flattens the picture. A gray or light rejecting surface helps further, and raising the projector brightness mode for daytime sports is normal practice. Expect deep black levels only after dark, though. Daytime viewing favors bright, colorful content such as games and shows over dark film scenes.
Can a 135 inch screen work with an ultra short throw projector?
It can, but the pairing is strict. Ultra short throw models sit inches from the wall and aim upward at a steep angle, so the surface must be very flat, which points you toward a fixed frame or a tensioned model. Standard light rejecting material made for ceiling beams can reject the projector beam by mistake, because the light arrives from below. Look for material made for ultra short throw use, where the textured surface is oriented to accept light from beneath and turn away light from above.
Final Thoughts
The right choice is the one that fits your wall, your seats, and your light, in that order. Get the size and format right, and any best 135 inch projector screen contender on your list will look far better than a pricier model squeezed into the wrong room. Use the product table above to compare formats against the measurements you took, and let your tape outline make the final call.


