Best Curling Iron Made Simple: A Clear Buying Guide
Disclosure: We may earn a commission when you buy through links on this page, at no extra cost to you. As an Amazon Associate I earn from qualifying purchases. Learn more

A beginner guide to the best curling iron: barrel materials and sizes, heat settings, safety features and how to curl on day one.
If you have never bought a curling iron before, the choices can feel overwhelming: ceramic or titanium, clamp or wand, one inch or one and a half, manual or automatic rotating. The good news is that only a handful of decisions really matter. This beginner friendly guide explains them in plain English so you can choose the best curling iron for your hair type, your skill level and the look you want.
We start with the basics of how curling irons work, translate the specs you will see on product pages, point out the rookie mistakes that cause frizz or heat damage, and walk you through setup and first use. The product table above lists popular options at every price, from simple drugstore irons to salon favorites.







Curling Irons 101: The Basics
A curling iron is a heated barrel that shapes hair into curls or waves as you wrap a section around it. Heat temporarily breaks the hydrogen bonds in hair, and as the hair cools in its new shape, those bonds reform, holding the curl. That is why letting curls cool before touching them makes such a difference to how long they last.
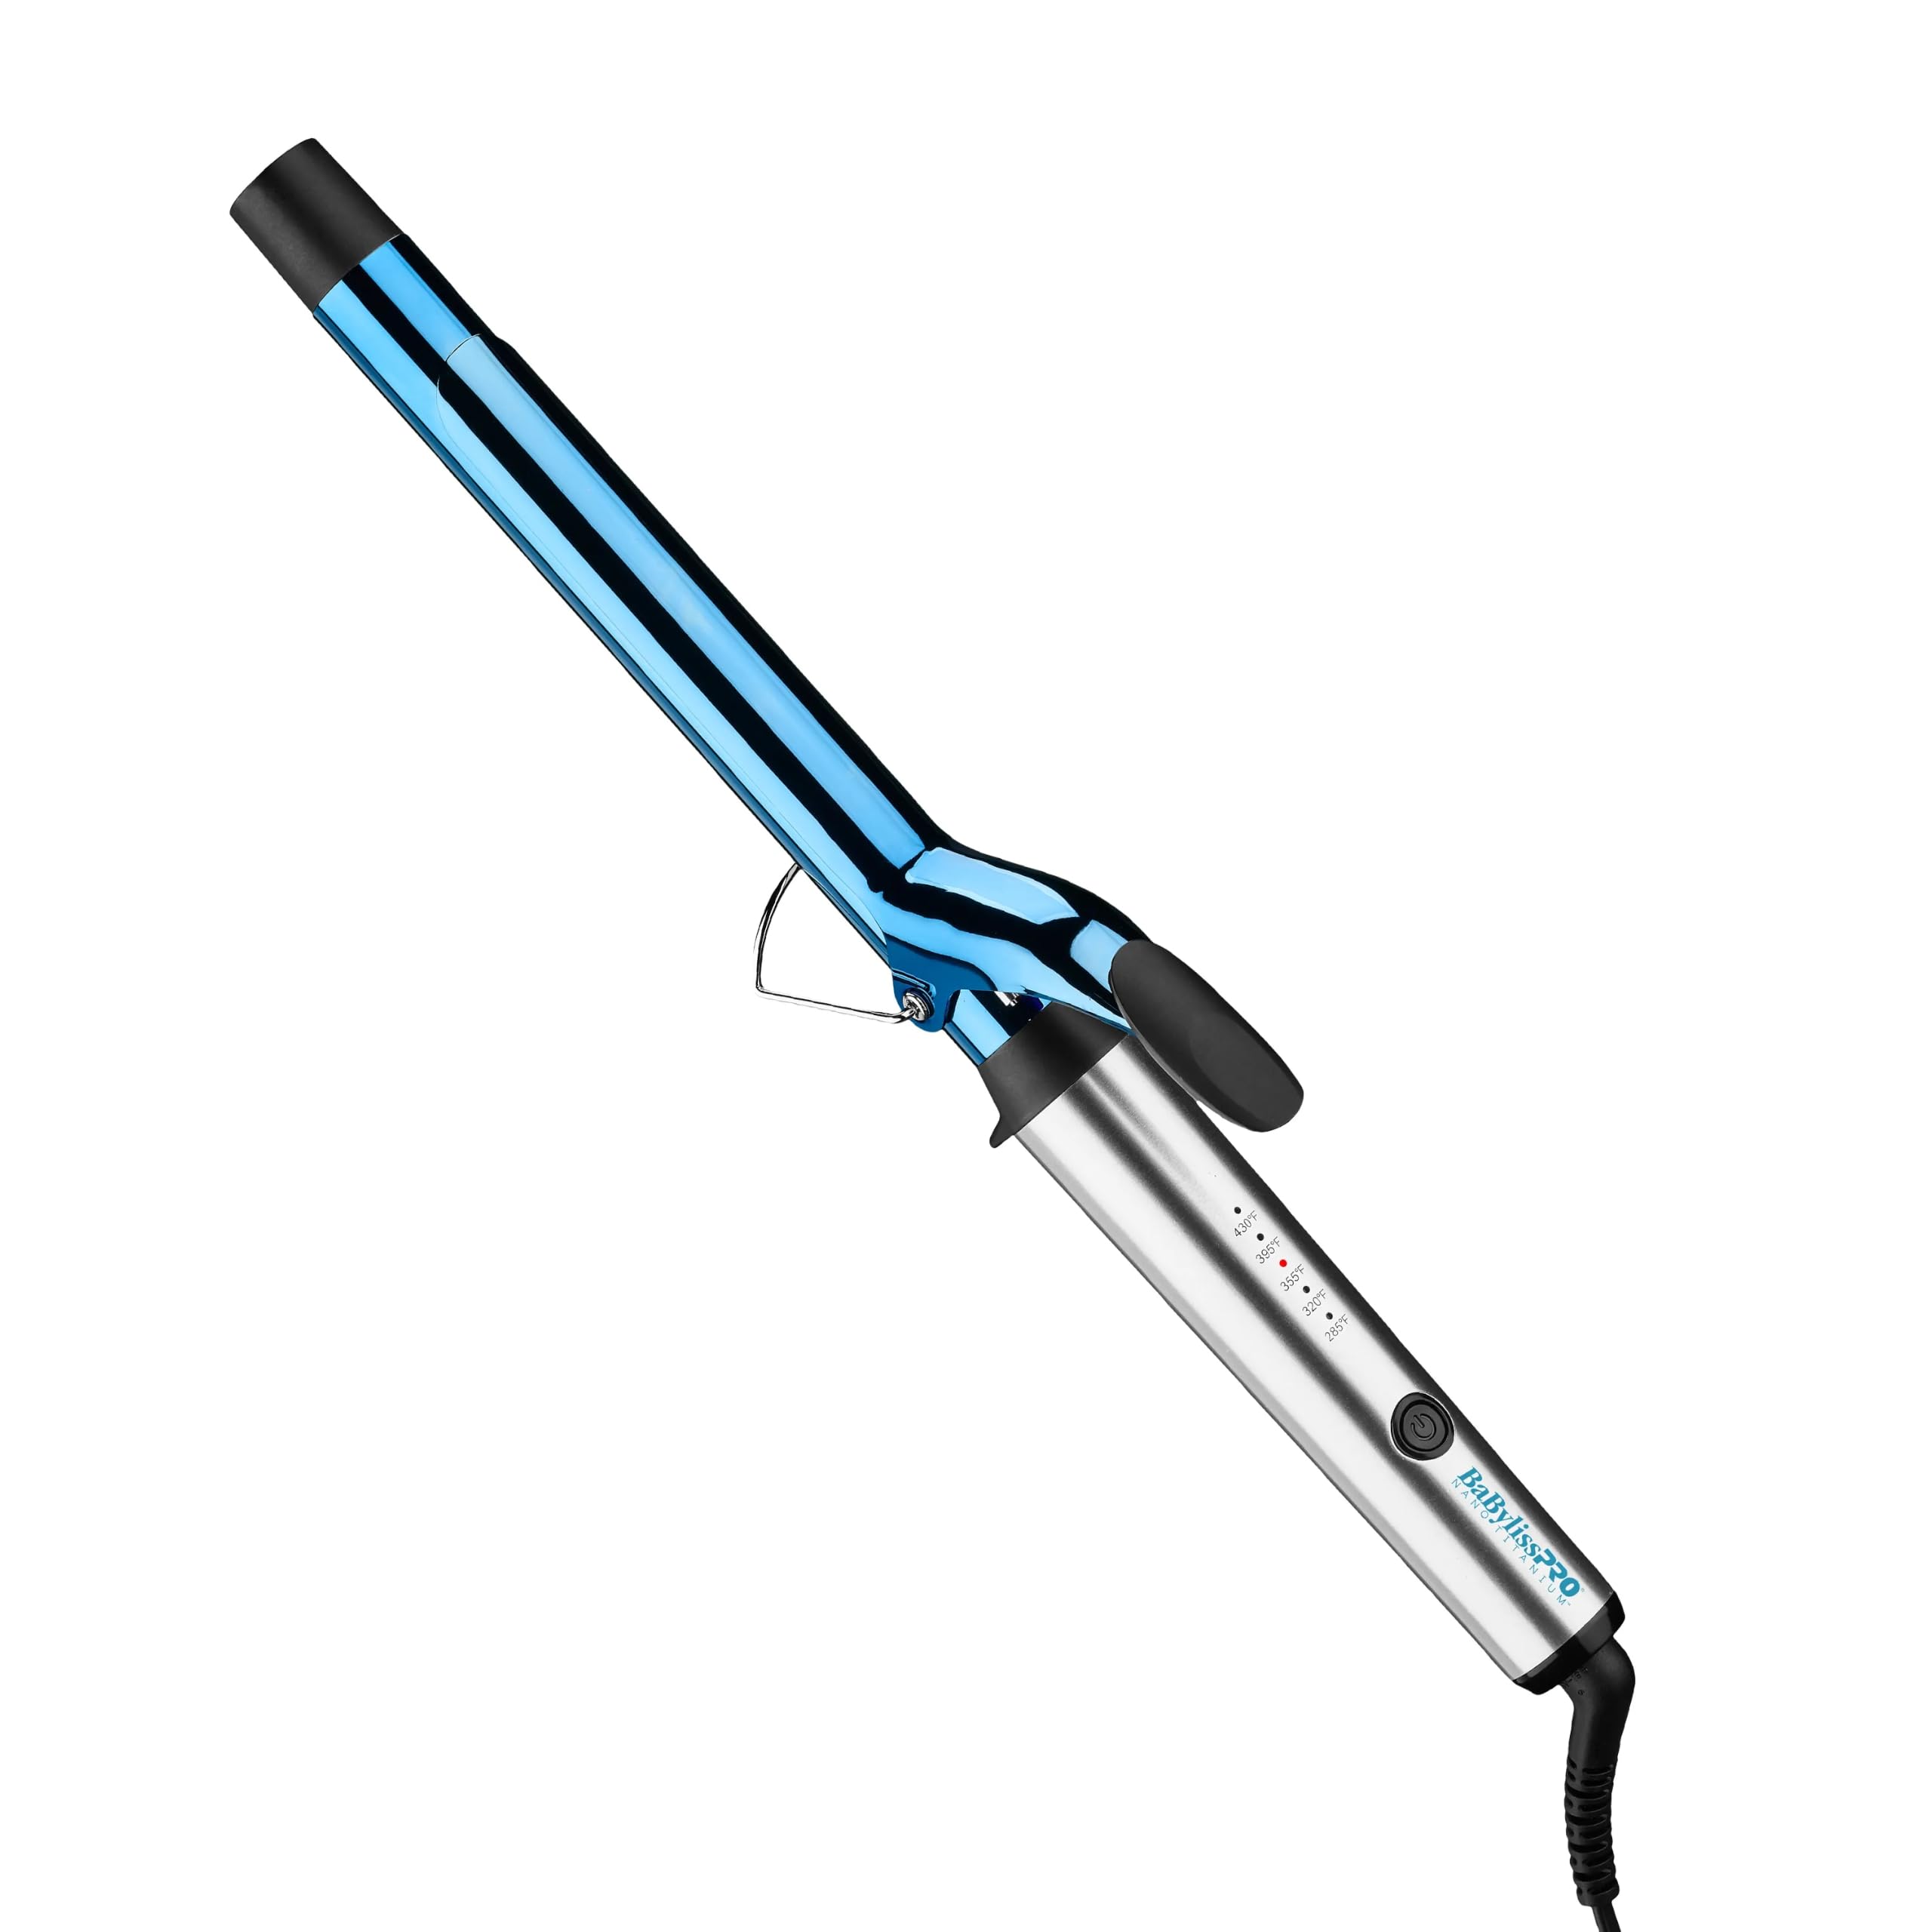
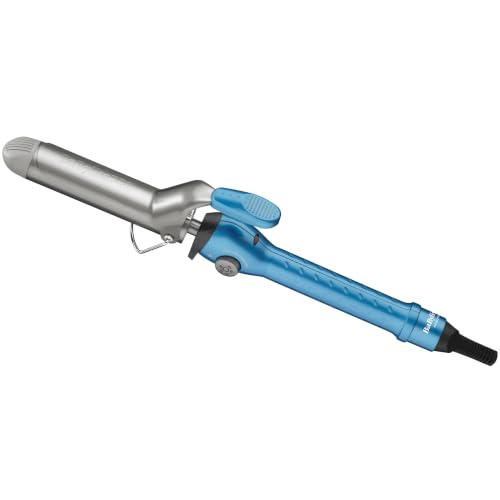
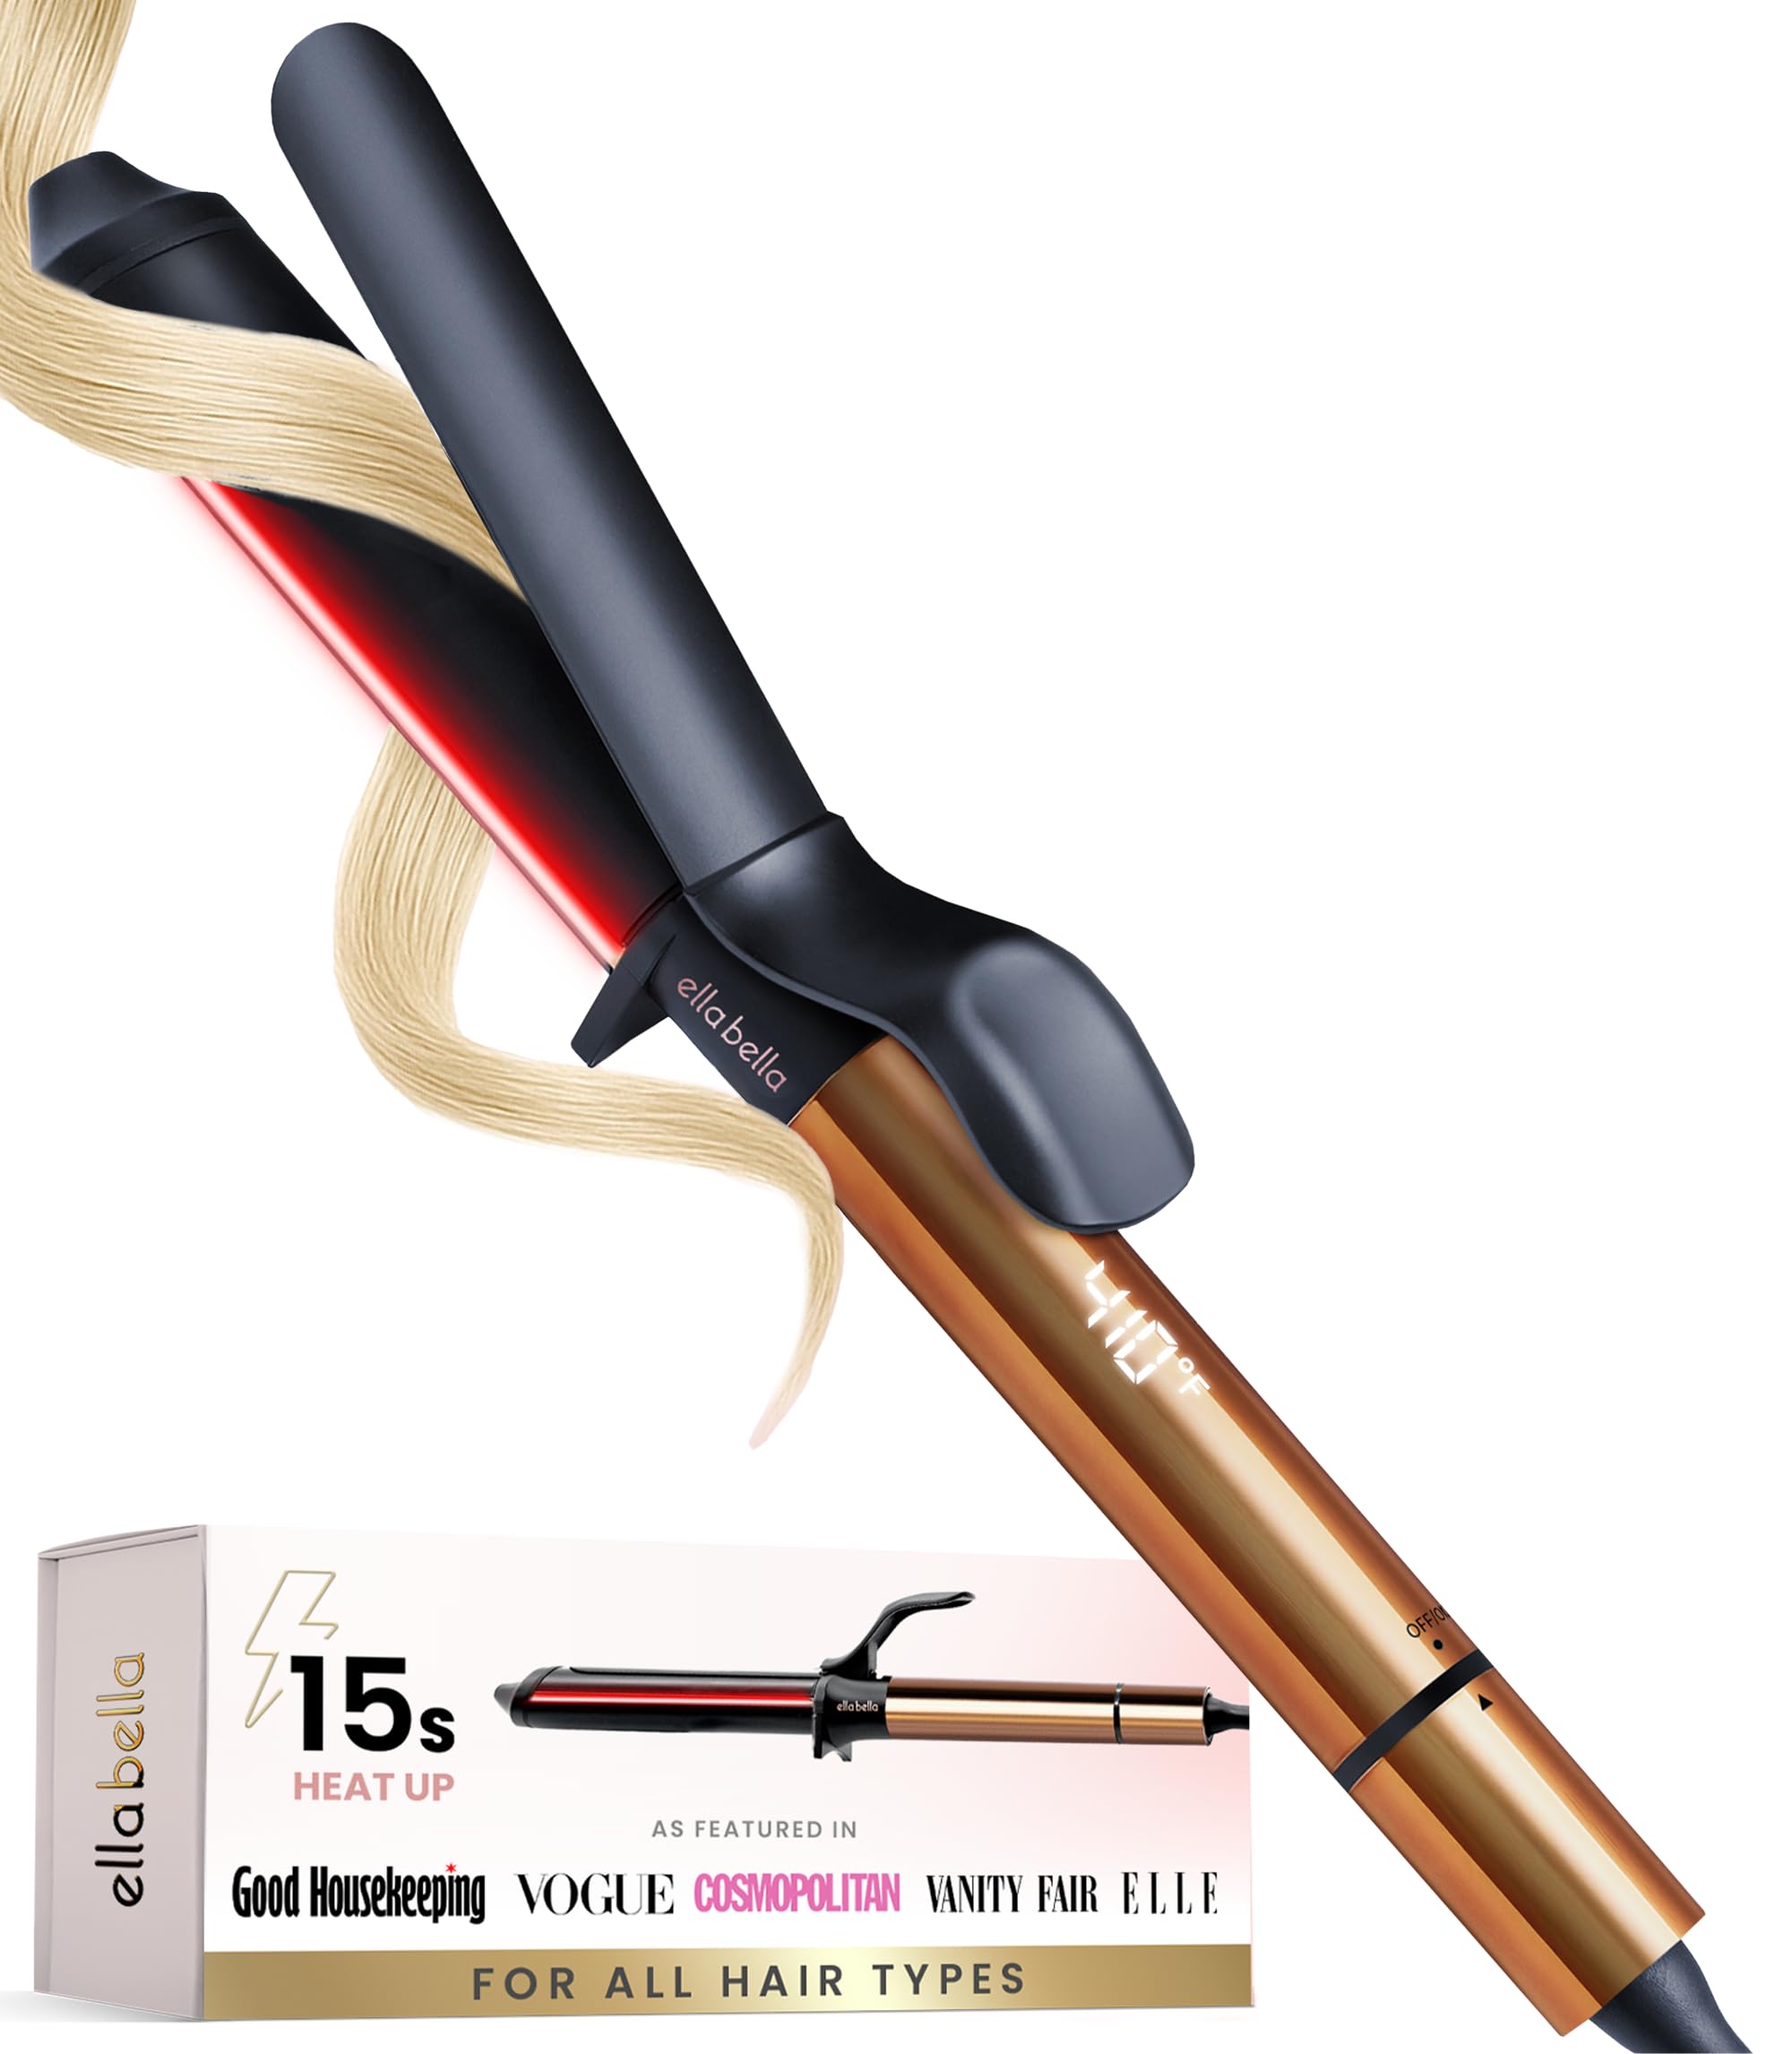
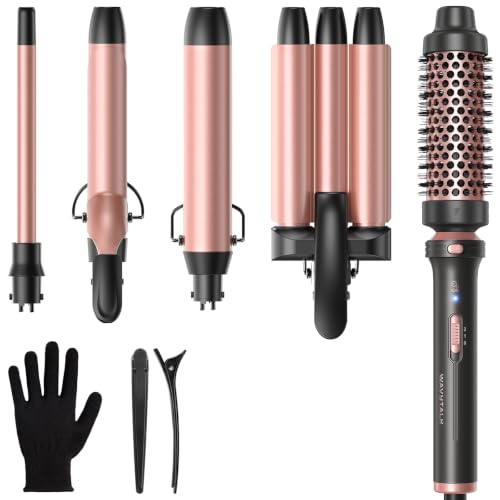
There are three main styles. Classic clamp irons have a spring loaded clip that holds the hair end against the barrel, which makes them easy for beginners and great for defined, bouncy curls. Clipless wands have no clamp; you wrap hair around the barrel while wearing a heat glove, which creates looser, more natural waves. Automatic rotating irons pull hair into a chamber or spin the barrel for you, which helps people who find wrapping difficult.
Barrel size decides the curl size. Small barrels around 3/4 inch create tight curls, 1 inch barrels make classic curls that suit most lengths, 1 1/4 inch barrels create looser curls, and 1 1/2 inch or larger barrels give soft waves and volume, especially on long hair.
Curling irons sit alongside other hot tools. Flat irons can curl hair with a twisting technique, and hot air brushes add volume with less direct heat. If you are completely new to heat styling, a 1 inch clamp curling iron is the simplest place to start.
Your hair type changes the ideal setup. Fine, straight hair holds curls poorly, so it benefits from smaller barrels, a little texturizing spray before curling and a firm hold spray afterward. Thick or coarse hair holds curls well but takes longer to heat through, so it needs smaller sections and slightly higher heat. Naturally curly or wavy hair often needs only a few pieces touched up around the face to smooth and define existing texture.
Hair length matters too. Short hair, around chin length, works best with 3/4 inch to 1 inch barrels, since larger barrels cannot wrap short sections fully. Shoulder length hair suits 1 to 1 1/4 inch barrels, and long hair can handle anything, with larger barrels creating the popular loose, beachy waves.
Key Specs Explained in Plain English
Product pages are full of technical terms. Here is what each one means and why it matters for a first purchase.
Barrel Material and Technology
The barrel material shapes how heat reaches your hair. Ceramic barrels heat evenly and gently, which suits fine, thin or damaged hair. Tourmaline is often added to ceramic coatings and is marketed for producing negative ions that help reduce frizz and add shine. Titanium heats quickly and holds high heat, making it a favorite for thick, coarse or hard to curl hair.
Some premium irons add proprietary technology, such as moisture infused barrels or sensors that adjust heat as you style. These can be helpful, but the barrel material and temperature control matter far more than marketing names for most beginners.
Barrel length is worth a look as well. Extended or long barrels fit more hair per wrap, which speeds up styling on long hair, while standard barrels feel easier to control for beginners with shorter hair. Tapered wands, thicker at the base and thinner at the tip, create natural looking curls that are bigger at the root and tighter at the ends.
Styling Products to Use and Avoid
The products you use with a curling iron matter almost as much as the iron. A heat protectant spray or cream is the most important companion purchase, since it helps shield hair from high temperatures. Apply it to dry hair before styling, or to damp hair before blow drying.
Avoid heavy oils or wet products right before using a hot iron, which can sizzle and cause damage. A light hold hairspray after curling, sprayed from a distance once curls cool, helps them last. If you have sensitive skin or scalp concerns, choose fragrance free styling products and ask your dermatologist if you notice irritation.
For fine hair that refuses to hold a curl, a light mousse or texturizing spray applied before blow drying gives curls something to grip. Thick hair often benefits from a smoothing cream to reduce frizz. Keep the routine simple at first: heat protectant, curl, then a light hairspray is enough for most people.
Safety Certifications (UL, ETL, Dual Voltage)
For hot tools, the certifications that matter are electrical safety listings such as UL or ETL, shown on the plug or packaging. They indicate the iron meets North American electrical safety standards.
Dual voltage certification matters if you travel internationally, since many curling irons work only on US 120 volt outlets. Cruelty free status applies to hair products rather than the iron itself, but many beauty brands highlight it across their lines.
Useful safety extras include a cool tip at the end of the barrel, an insulated heat glove in the box and a built in stand that keeps the barrel off surfaces. Families with children should store hot tools out of reach and unplug them right after use, even if the iron has auto shutoff.
Heat Settings and Modes
Adjustable heat is the most important feature for beginners. Fine or damaged hair usually needs lower temperatures, around 250 to 350 degrees Fahrenheit, while thick or coarse hair may need 350 to 410 degrees. Very high settings near 450 degrees are mostly for professionals and very resistant hair.
Digital displays show exact temperatures, while dials with numbered settings are less precise. Auto shutoff, which turns the iron off after a set time, is a valuable safety feature for anyone who has ever wondered if they left the iron on.
A simple way to find your ideal temperature is to start low and increase in small steps until curls hold through the day. If curls drop within an hour, raise the heat slightly or hold each section a little longer. If hair feels crispy or smells scorched, the setting is too high.
Corded vs Cordless Power
Most curling irons are corded, which gives steady, high heat for full styling sessions. Cordless curling irons run on rechargeable batteries and suit touch ups at work or while traveling, but they usually heat to lower temperatures and run for a limited time before recharging.
For a first curling iron, choose corded for reliable performance. Look for a long, swivel cord of around 8 feet or more, which lets you move freely without tangling. Add a cordless model later if you want quick touch ups on the go.
Travelers should also check plug type and voltage. A dual voltage iron with a simple plug adapter works abroad, while a single voltage US iron can overheat or fail on 220 to 240 volt outlets even with an adapter, so buy a dedicated travel model if you style hair on international trips.
Ease of Use and Long Term Cost
Ease of use comes from a comfortable grip, a cool tip you can hold safely, a clamp with smooth tension and a stand or rest that keeps the hot barrel off your counter. Fast heat up, often under a minute, saves time on busy mornings.
Long term cost includes heat protectant, a heat resistant mat and glove, and eventually a replacement iron. Budget irons under around $30 work well for occasional styling, while salon brands around $60 to $130 often last longer with daily use and offer more precise heat control. A good iron plus heat protectant costs less over time than repeated trims to repair heat damage.
Automatic rotating irons deserve a mention for beginners. They do the wrapping for you, which helps people who struggle with technique or have limited wrist mobility, but they work best on detangled hair and can tangle if sections are too large. Read the instructions carefully and start with small, smooth sections.
Rookie Mistakes to Avoid
- Using the highest heat setting. More heat is not always better; it increases the risk of damage, especially on fine hair.
- Skipping heat protectant. Styling without protection leaves hair dry and brittle over time.
- Curling damp hair. Hair should be completely dry, since water trapped under a hot barrel can damage strands.
- Taking sections that are too large. Thick sections do not heat evenly and fall out quickly; use sections about one to two inches wide.
- Touching curls while hot. Let curls cool fully before brushing or styling, so they set and last longer.
Another common mistake is curling every section in the same direction. Alternating directions, toward and away from your face, creates more natural, voluminous curls that blend together instead of forming one solid ringlet. For the most modern look, leave the last inch or so of each section uncurled.
Getting Started: Setup and First Use
Set up a safe spot first: a heat resistant mat or tray, an outlet near a mirror and your heat protectant and clips within reach. Plug in the iron, choose a low to medium setting for your first session and let it heat fully while you apply heat protectant to dry, detangled hair.
Divide hair into sections and clip the top layers out of the way. Start at the back or sides, wrap a one to two inch section around the barrel away from your face, hold for about five to ten seconds, then release gently. Let each curl cool in your hand or pin it while it sets. Work up to the top layers, then finish by loosening curls with your fingers and a light mist of hairspray.
Practice a few times on non important days before a big event. Most people find their rhythm after two or three sessions, and you will quickly learn the right heat and hold time for your hair.
After styling, unplug the iron immediately and let it cool on its stand or heat mat before storing. Wipe the cool barrel with a damp cloth occasionally to remove product buildup, which can cause uneven heating and sticky curls. Store the iron away from water, with the cord loosely coiled rather than wrapped tightly around the barrel.
FAQs
Does it really work as advertised?
Most curling irons work well when you choose the right barrel size and heat for your hair. Claims like "salon results" depend on technique, preparation and products as much as the tool. Start with dry, protected hair, small sections and moderate heat, and practice a few times to get results similar to the photos.
How often should I replace it?
Replace a curling iron when the barrel coating chips or peels, it stops heating evenly, the cord frays or the clamp loses tension. With regular use, budget irons often last a few years and salon quality irons longer. Never use an iron with a damaged cord or exposed wires; replace it immediately for safety.
Is it safe for my hair?
Curling irons are safe for most hair when used with heat protectant and appropriate temperatures. Fine, color treated or damaged hair needs lower heat and less frequent styling. Give hair breaks from heat, use deep conditioning treatments and trim regularly. If you notice breakage or a sensitive scalp, ask a stylist or dermatologist for advice.
Is it worth paying more?
Paying more is worth it if you style daily, have thick or hard to curl hair, or want precise digital heat control and long lasting build quality. For occasional styling, a well reviewed budget iron with adjustable heat works well. Premium irons often heat more evenly and last longer, which reduces damage and replacement costs.
Which barrel size should I buy first?
For most beginners, a 1 inch barrel is the most versatile first curling iron. It creates classic curls on shoulder length hair and looser waves on long hair, and it is easy to control. Choose 3/4 inch for short hair or tight curls, and 1 1/4 to 1 1/2 inch for long hair when you mostly want soft, loose waves.
Can I use a curling iron on wet hair?
No, always use a curling iron on completely dry hair. Water trapped under a hot barrel turns to steam and can damage the hair shaft, causing breakage and frizz. Blow dry fully first, apply a heat protectant, and let any styling products dry before curling for the safest, longest lasting results.
Final Thoughts
Choosing the best curling iron as a beginner comes down to three things: a barrel material that suits your hair, a barrel size that matches the curl you want and adjustable heat so you can style safely. Start with a 1 inch ceramic or tourmaline clamp iron with auto shutoff, use heat protectant every time, and upgrade later if you want different curl sizes or faster styling.
For related tools, see our guides to the best curling iron sets and the best clothing iron, plus our picks for the best iron sets and the best lighted makeup mirrors. Then compare current prices in the product table above.