
Best Clear Coat for Headlights: Everything to Know Before Your First Purchase for 2026
Disclosure: We may earn a commission when you buy through links on this page, at no extra cost to you. As an Amazon Associate I earn from qualifying purchases. Learn more
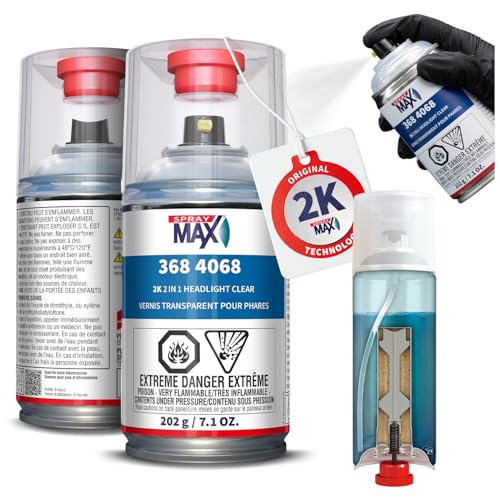
Shopping for the best clear coat for headlights for the first time? Learn key terms, compare formulas, and avoid common mistakes with this simple guide.
Cloudy, yellowed headlight lenses make a car look tired, and they scatter light that should be reaching the road ahead of you. Sanding and polishing can restore the plastic, but the restored surface needs protection, or the haze returns within months. Choosing the best clear coat for headlights is mostly about matching a formula to your lenses, your workspace, and your skill level, and this guide walks first time buyers through each step in plain language.
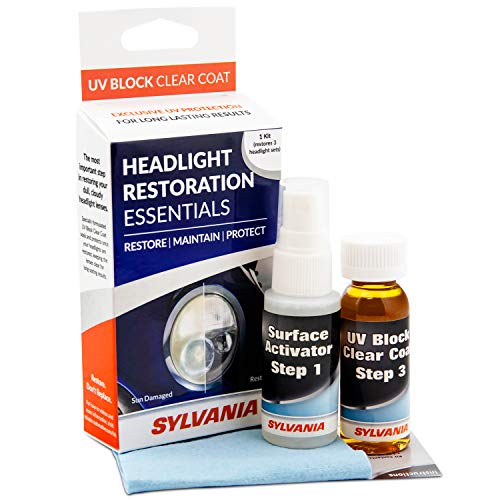
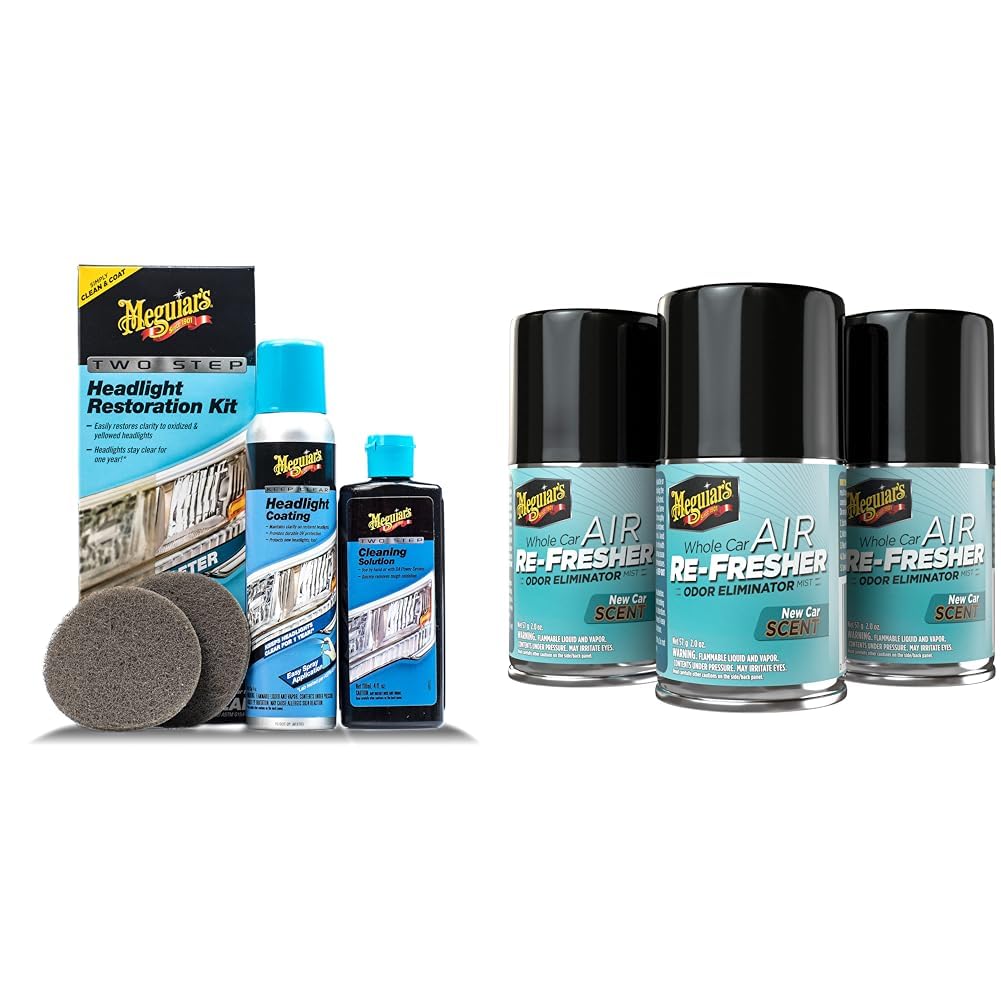
You do not need shop experience to get a good result. You need the right formula type, honest expectations about how long the finish lasts, and careful surface preparation. Keep the comparison table below open as you read, because the sections that follow explain what each product claim in that table actually means for your car.
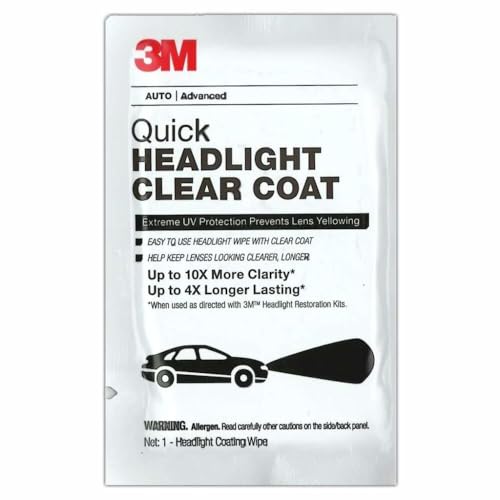
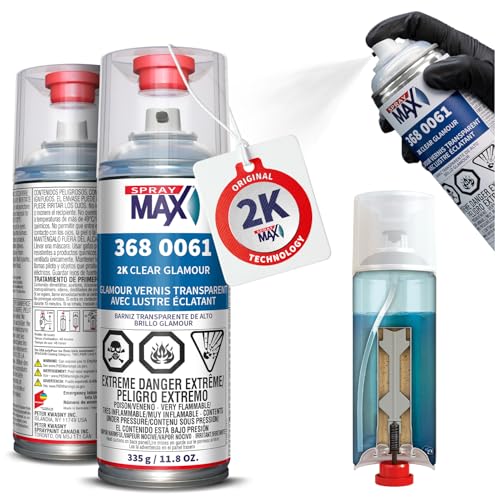
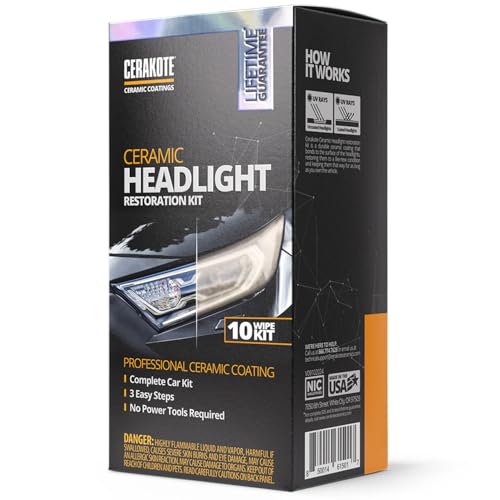



Clear Coats 101: The Basics for New Buyers
A clear coat is a transparent protective layer that you apply over a cleaned and sanded headlight lens. Modern headlight lenses are made of polycarbonate plastic, and the factory coating that protects them breaks down after years of sun exposure, road grit, and washing. Once that factory layer fails, the bare plastic oxidizes, which is the chalky yellow haze you see on older cars.
A replacement clear coat does two jobs at once. It seals the freshly restored plastic against ultraviolet light and moisture, and it fills the fine scratches left by sanding, which restores the smooth, glossy look of a new lens. Without that sealed surface, even a perfectly polished lens clouds again quickly, because nothing stands between the plastic and the sun.
Clear coats reach you in three broad forms. Aerosol sprays lay down a thin, even film and suit larger lenses. Wipe on liquids come on a saturated cloth and are forgiving on small areas. Brush on and two part formulas, which you mix before use, build a thicker film but demand faster, more confident work.
Who Should Buy a Headlight Clear Coat?
Owners of Cars With Hazy or Yellowed Lenses
If your lenses look foggy in daylight and your low beams seem dimmer than they used to, you are the core buyer for this product. A clear coat belongs at the end of a restoration that includes wet sanding and polishing, and it locks in that work. Measure your expectations by the lens itself: a coat can seal and gloss sound plastic, but it cannot repair cracks, melted spots, or moisture trapped inside the housing.
Do It Yourself Drivers Restoring a Car on a Budget
Replacement headlight housings for many cars cost far more than a restoration kit, so do it yourself owners often restore first and replace only if the plastic is damaged. If that is your plan, a forgiving wipe on or aerosol formula suits a first attempt, and most kits cost under $40. Leave yourself a dry, mild afternoon, because rushing the preparation stage is where most budget restorations go wrong.
Sellers and Detailers Refreshing a Car for Photos
Clear lenses change how a whole car reads in listing photos, so sellers and hobby detailers often restore headlights before a sale or a deep clean. For this group, gloss and clarity matter most, along with a coat that levels smoothly without visible cloth marks. If you plan to restore several cars over time, a larger aerosol can or a two part formula usually gives more consistent coverage per car than single use wipes.
Key Specs Explained in Plain English
Labels throw around terms like 2K, UV cured, and high solids, and none of them helps until you know what each one changes on your lens. The six factors below are the ones that separate the best clear coat for headlights from a coat that fades, cracks, or peels within a season, and each one maps to a line you will see in the product table above.
Features That Matter for Headlights
Headlights ask more of a clear coat than painted body panels do. The coating sits directly in the path of the beam, so it must dry optically clear, without orange peel texture or streaks that scatter light. It also expands and contracts with a plastic lens that heats up every time you switch the lamps on. Projector lenses are especially sensitive to surface texture, so if your car uses that style, read our notes alongside the guide to the best headlights for projectors before you choose a finish.
Formula and Material Types
Most consumer clear coats are acrylic or urethane based. Acrylic formulas are affordable, easy to spray, and dry fast, but they tend to give a thinner protective film. Urethane formulas build a harder, more chemical resistant surface and usually last longer outdoors, though they may cost more and need stricter attention to ventilation. Two part products, often labeled 2K, mix a resin with a hardener in the can and cure into the toughest film of the three, but once activated the can has a limited working life, often about a day.
Ultraviolet Protection and Resistance to Yellowing
Sunlight is what destroyed your original coating, so ultraviolet resistance is the single most important spec on the label. Look for language about UV inhibitors or UV blockers, and treat vague claims of a crystal clear finish with caution if the label never mentions the sun at all. A coat with weak UV protection can itself turn yellow, which tints the beam and forces you to sand and recoat far sooner than planned.
Application Method and Ease of Use
Your workspace should decide the application method. Aerosol cans give the smoothest finish but create overspray, so you must mask the surrounding paint and work away from wind. If spraying suits you, compare formats in our guide to the best spray can clear coat before you buy. Wipe on products need almost no masking and suit garage corners and apartment parking spots, but they can leave lap lines on large lenses if you work slowly. Brush on coats sit between the two, with good control and a moderate risk of visible strokes.
Drying Time, Cure Time, and Coat Count
Dry to the touch and fully cured are different things, and confusing them ruins finishes. Many coats feel dry within about 10 to 30 minutes yet need about 24 hours, sometimes longer, before washing, rain, or highway driving. Follow the label for the wait between coats as well, because spraying a second coat too early can wrinkle the first. Most lenses need two or three thin coats, and thin coats level better and run less than one heavy coat.
Durability and Finish Quality
Longevity claims on clear coat packaging range from about one year to several years, and real results depend heavily on preparation and on how much sun your car faces. A garage kept car in a mild climate keeps a finish far longer than a car parked outside in strong southern sun. Judge durability together with finish quality: a coat that stays clear and glossy but needs renewal every couple of years may serve you better than a harder coat that dries with a visible texture you see every day.
Rookie Mistakes to Avoid
- Skipping the sanding steps: clear coat sticks poorly to a glossy, unsanded lens, so the new film can peel away in sheets within a few months.
- Coating over a dirty or damp lens: trapped moisture and residue turn into cloudy spots and fisheye craters that show through the finished surface.
- Spraying one heavy coat: thick coats run, sag, and trap solvent, so you end up sanding off drips instead of admiring a smooth lens.
- Working in direct sun or strong wind: hot plastic makes the coat dry before it can level, and wind carries dust and overspray onto the wet film.
- Ignoring the safety label: solvent fumes irritate lungs and eyes, so skipping a respirator, gloves, and ventilation can leave you with headaches and a ruined finish.
- Expecting a coat to fix damaged plastic: cracks, deep pitting, and water inside the housing stay visible under any clear coat, no matter how good the formula is.
Getting Started: Preparation and First Use
Start by setting up a clean, shaded, and ventilated workspace. Wash the car or at least the front end, then mask around each lens with painter tape and paper or plastic sheeting so overspray and sanding slurry stay off the paint.
Work through the sanding grits in order, keeping the lens wet, and rinse and dry it fully between steps. Wipe the lens with the surface cleaner or alcohol prep your kit provides, then let it dry completely, because the product table above lists several kits whose final wipe doubles as an adhesion promoter. Put on gloves, eye protection, and a respirator rated for paint fumes, and shake or mix the product exactly as the label directs.
Apply the first coat in light, even passes, moving at a steady pace and overlapping each pass slightly. Wait the full interval on the label before the next coat, and inspect the lens from an angle under good light to spot dry patches or runs early. Once the final coat is on, leave the car undisturbed for the full cure time, and keep it out of rain and car washes during that window.
How to Make Your Headlight Clear Coat Last Longer
Longevity is mostly decided after the coat cures. Wash lenses gently with regular car wash soap and a soft mitt, and skip abrasive polishes and harsh degreasers, because they strip the very film you applied. A plain spray wax or sealant made for plastic adds a sacrificial layer you can renew in minutes, and renewing that layer every few washes is far easier than recoating the lens itself.
Park in shade or a garage when you can, since ultraviolet exposure never stops working on the coating. Inspect the lenses every few months for early signs of failure, such as a dull patch at the top edge where sun hits hardest, fine cracking, or an edge starting to lift. Catching a small dull patch early lets you polish and recoat one lens in an afternoon instead of redoing both from the coarsest sanding grit.
Frequently Asked Questions
What features matter most in a clear coat for headlights?
Ultraviolet protection matters most, followed by compatibility with polycarbonate plastic and a finish that dries smooth and clear. After those three, weigh application method against your workspace. One point many buyers miss is shelf life: two part cans and opened wipes lose strength with age, so check the printed date code and buy fresh stock if your restoration is still weeks away.
How long does a clear coat for headlights last before it needs renewal?
Most consumer clear coats last about one to three years before haze starts returning at the edges. Premium two part formulas can last longer on a garage kept car. Watch for the earliest warning sign, a faint dull band along the top of the lens, because recoating at that stage takes far less sanding than waiting until the whole lens turns yellow again.
Can you apply a clear coat to headlights without sanding first?
You can, but the finish rarely lasts, because smooth oxidized plastic gives the new film almost nothing to grip. At minimum, clean the lens thoroughly and scuff it lightly with a fine grit pad so the surface feels evenly matte. Also note that coating over existing oxidation seals the yellowing in place, so the lens may look glossy yet still appear tinted at night.
Is a spray clear coat or a wipe on clear coat better for headlight lenses?
A spray usually wins on large, flat lenses where its even film avoids lap lines, while a wipe on product wins in tight spaces and on small, curved lenses. Skill matters as much as format: a careful wipe on job looks better than a rushed spray job with runs. If you choose wipes, work panel by panel and keep a wet edge so each pass blends into the last.
Why did a headlight clear coat turn cloudy or start peeling?
Cloudiness usually traces back to moisture, either a lens that was not fully dry or humid air during application, while peeling usually means the surface was too smooth or still carried wax or silicone residue. The fix in both cases is to let the coat cure, sand it back to sound material, clean the lens again, and recoat on a dry day with low humidity.
Final Thoughts
For a first purchase, keep your decision simple. Choose a formula with stated UV protection that is made for polycarbonate, pick the application method your workspace can handle, and give the preparation steps more time than the coating itself. Scan the product table above one last time with those three filters in mind, and the best clear coat for headlights for your car should stand out clearly. A careful afternoon of work brings back bright lenses, cleaner night visibility, and a front end that looks years younger.


