
Best Carpenter Square in 2026: Which Type Is Right for You?
Disclosure: We may earn a commission when you buy through links on this page, at no extra cost to you. As an Amazon Associate I earn from qualifying purchases. Learn more
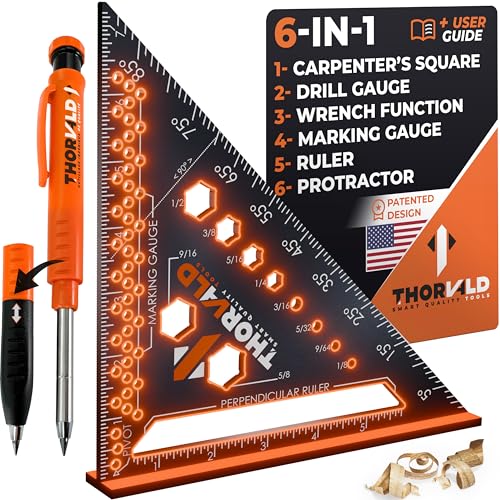
Compare the best carpenter square types, sizes and materials before you buy, and learn which one suits framing, layout and fine woodwork.
Choosing the best carpenter square can feel confusing, because several tools share a similar name yet serve very different jobs. This guide compares each type clearly, explains the specs that matter, and helps you match a square to the work you actually do. Use the comparison table below to see the main types side by side, then read the sections that fit your projects.
A good square should give you true right angles, clear markings you can read in low light, and an edge that stays straight after months in a tool bag. The right choice depends on whether you frame walls, lay out stairs, build furniture, or check small joints. The sections below explain those differences in plain language, so you can buy with confidence.

Types of Carpenter Squares Compared
| Type | Best For | Pros | Cons | Typical Price |
|---|---|---|---|---|
| Framing square | Large layout and framing | Long edges, rafter tables | Bulky to carry | around $20 to $50 |
| Speed square | Quick cuts and angles | Compact, easy to use as a saw guide | Short edge for large work | around $10 to $30 |
| Try square | Checking small joints | Simple, accurate, light | Limited marking range | around $10 to $25 |
| Combination square | Measuring and marking | Sliding rule, depth gauge, level | More parts to maintain | around $20 to $60 |
Framing Squares
A framing square is a large L shaped tool with a long body and a shorter tongue, and it is the classic choice for framing and large layout work. Its long edges let you mark wide boards and check large corners in one pass, and many versions carry rafter tables for roof work. The size is also its main drawback, because a framing square is awkward in a small shop and heavy to carry all day. Choose this type when you frame walls, build decks, or lay out stairs, and when you have room to store a large tool.
Look for thick, flat stock that does not flex when you press it against a board. Clear, etched markings last longer than printed markings, which can wear away with use. If you work outdoors, a coated or stainless finish resists rust better than bare steel. A framing square suits builders who need long, straight references and who value rafter tables for roof layout.
Speed Squares
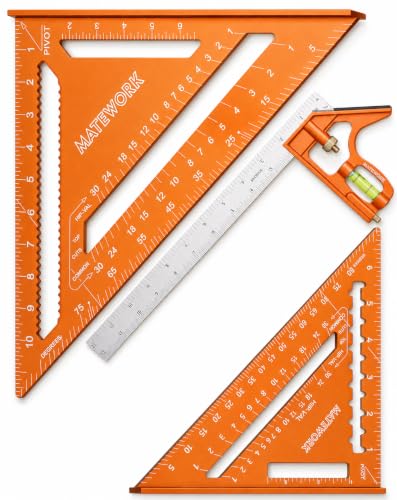
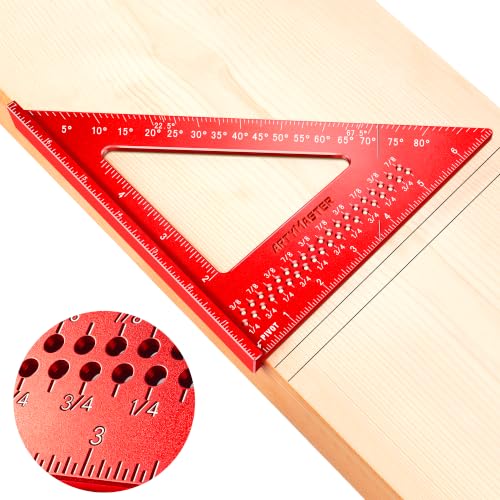
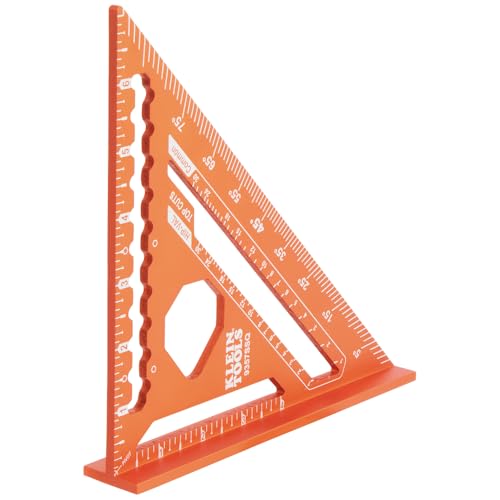
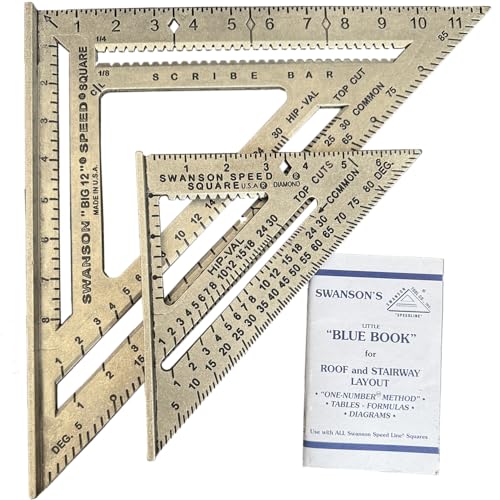
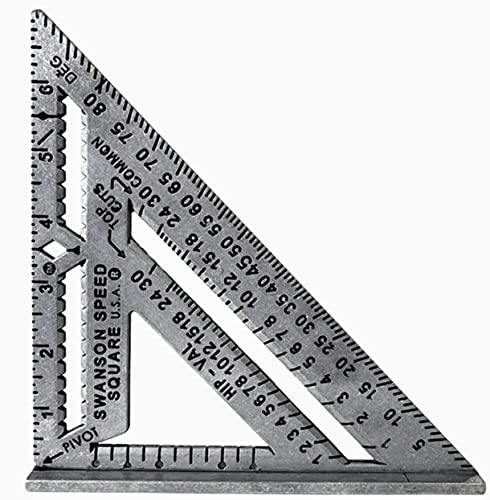
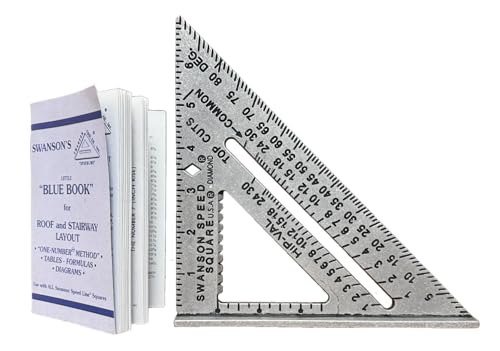
A speed square is a compact triangular tool that marks angles quickly and doubles as a guide for a circular saw. Its small size makes it easy to carry in a pouch or a pocket, and its built in angle markings let you mark common cuts without a protractor. The short edge limits its use on wide boards, so it is less suited to checking large frames. Choose this type when you make repeated crosscuts, mark rafter angles, or need a fast, portable layout tool on a job site.
Look for a thick body that sits flat and a lip that hooks firmly over the board edge. A clear pivot point and readable degree markings make angle work faster and more accurate. Some speed squares include scribe notches for marking parallel lines, which help with rip cuts and layout. This type suits carpenters who value speed and portability over long edge length.
Try Squares and Combination Squares
A try square has a short blade fixed at a right angle to a stock, and it excels at checking small joints for squareness. It is light, simple, and easy to read, which makes it a favorite for furniture work and trim. A combination square adds a sliding rule that moves through a stock, plus a level and a depth gauge on many versions. That flexibility makes it useful for measuring, marking, and checking depth in one tool.
Both types suit fine work, and the combination square adds measuring range for shop tasks.
Look for a blade that stays square after drops and daily use, and a stock that sits flat against the work. On a combination square, check that the rule slides smoothly and locks firmly without slipping. Clear markings matter here, because fine work often involves small measurements. Choose a try square for simple checking, and a combination square when you also need to measure and mark with one tool.
Mid Range Options vs Compact Options: Which Should You Choose?
Mid range squares usually offer thicker stock, clearer markings, and better finishes than the cheapest options, while compact squares favor portability and low weight. Compare accuracy first, because a square that is not true wastes time and material. Next, compare edge length against your usual work: large framing needs a long edge, while trim and furniture work needs only a short edge. Then compare durability, including how the markings hold up and how the tool handles drops.
Price and portability come next. A mid range framing square costs more and takes more space, but it serves large work well. A compact speed square costs less, fits in a pouch, and handles most quick cuts. Choose the mid range option when you work on large projects often, and choose the compact option when you move between tasks and value a light tool bag.
Many carpenters own both, using each where it fits best.
How to Choose the Right Carpenter Square
The factors below help you narrow the choice to one square that fits your work, your budget, and your tool bag.
Key Performance Specs
Accuracy is the most important spec, and it means the square forms a true right angle along its full edge. Check the stated accuracy if the maker provides it, and test the square against a known straight edge when you first receive it. Edge length matters next, because a longer edge checks larger work in one pass. Marking clarity matters too, especially in low light or dusty conditions.
Etched or engraved markings last longer than printed ones, and high contrast numbers reduce reading errors.
Intended Use and Who It's For
Framers need long edges and rafter tables, while trim carpenters need a compact square that checks small joints quickly. Furniture makers benefit from a try square or a combination square, which suit fine measurements and small parts. DIY users who tackle varied projects may prefer a combination square, because it measures, marks, and checks in one tool. Match the square to your most common task, not to the rarest job, and you will reach for it more often.
Price vs Value
Budget squares cost around $10 to $25 and suit light, occasional use, though their markings may wear faster. Mid range squares cost around $20 to $50 and usually offer thicker stock and clearer markings, which suit regular use. Premium squares cost around $50 to $80 and often use stainless steel or machined edges, which suit daily professional work. Spend more when accuracy pays for itself in saved material and rework, and spend less when the square sees only occasional use.
See our guide to the best shoes for carpenters when you plan long days on site, since comfortable footwear matters as much as a good layout tool.
Ease of Use and Setup
A good square needs no setup beyond a quick accuracy check, but ease of use still varies by type. A speed square hooks over a board edge and marks angles in seconds, while a framing square needs two hands and a flat surface. A combination square needs a moment to set the rule and lock it, but it then marks repeat measurements quickly. Choose a type you can use without fumbling, and keep it clean and dry.
Store it flat or in a pouch, since a bent square loses its main value. For keeping layout tools close at hand, see our guide to the best carpenter pouches.
Tips to Get the Most From Your Carpenter Square
Read the maker guidance before first use, and check the square for true angles with a simple flip test on a straight edge. Clean the tool after use, especially after work in dust, mud, or rain, and inspect the edges for nicks. Store the square in a dry place, flat or protected in a pouch, so it does not bend under heavy tools. Avoid using the square as a hammer or a pry bar, since that can knock it out of true.
Follow maker tool safety guidance, wear eye protection when cutting, and keep the work area clear.
Frequently Asked Questions
How do I maintain a carpenter square?
Keep the square clean, dry, and protected from heavy tools that could bend it. Wipe off dust and moisture after use, and check the edges for nicks that could affect accuracy. Oil bare steel lightly if the maker suggests it, and store the square flat or in a pouch. A quick accuracy check every few months catches problems early, before they ruin a project.
If the square no longer forms a true right angle, replace it rather than trying to bend it back into shape.
How long does a carpenter square last?
A well made square can last many years when it is stored flat and not abused. Stainless and thick aluminum versions resist rust and dents better than thin stamped versions. The markings often wear before the body, so etched markings extend useful life. Drops onto concrete and use as a pry bar shorten life fast, since they can bend the blade.
With basic care, a quality square often outlasts several other layout tools in the same bag.
What features matter most when buying carpenter squares?
Accuracy, edge length, and marking clarity matter most, followed by material and durability. A square that is not true is useless, no matter how many extra features it carries. Match edge length to your work, since large framing needs a long edge and fine work needs only a short one. Check that the markings suit your eyesight and your lighting, and that the stock sits flat against a board.
Extra features help only after those basics are right, so judge them last.
Are expensive carpenter squares worth it?
A higher price often buys machined edges, stainless steel, and etched markings that stay readable longer. For daily professional use, that durability can save time and material, which justifies the cost. For occasional DIY use, a mid range square often gives the same practical accuracy at a lower price. Compare the edge quality and the marking durability before you compare prices.
Spend more when the square earns its keep every day, and spend less when it comes out only a few times a year.
How much should I spend on a carpenter square?
Most buyers do well with a square in the range of about $15 to $50, depending on type and size. A simple try square or speed square sits at the lower end, while a large framing square or a combination square sits higher. Add a little to the budget when you need stainless steel, etched markings, or a longer edge. Avoid the cheapest options when you need reliable accuracy, since a bent or untrue square wastes material.
Buy the square that matches your most common task, and add a second type later if your work changes.
Wrapping Up
The best carpenter square for you is the one that matches your work size, your accuracy needs, and your budget. Framing squares suit large layout, speed squares suit fast cuts, and try and combination squares suit fine checking and measuring. Check accuracy first, then edge length, markings, and durability, and compare the options in the product table above before you buy. With the right square and basic care, your layout work will be faster, cleaner, and more reliable.


