
Best Camping Coffee Makers: The 2026 Checklist
Disclosure: We may earn a commission when you buy through links on this page, at no extra cost to you. As an Amazon Associate I earn from qualifying purchases. Learn more

Use one checklist to compare the best camping coffee makers by heat source, weight, brew method and cleanup, with budget bands and safety rules included.
Coffee at camp can taste better than coffee at home, but only when the maker survives the trip, suits your heat source and cleans up without a sink. The best camping coffee makers are rarely the fanciest machines; they are the ones that match how you actually camp. This checklist works through heat, weight, brew method and cleanup in order, and the comparison table below gathers the main classes side by side.
Work through the boxes in sequence. Heat comes first because it rules out half the field at once, then weight, then serving size, then the small running costs that follow a maker home. A choice that passes every box will keep passing them trip after trip.
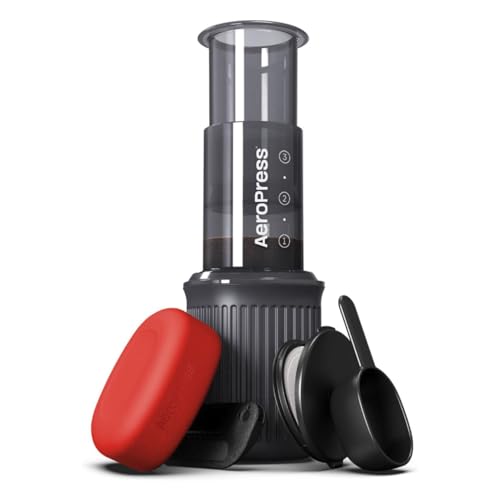


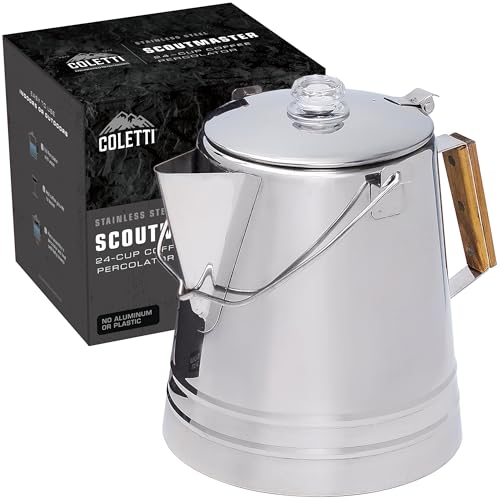
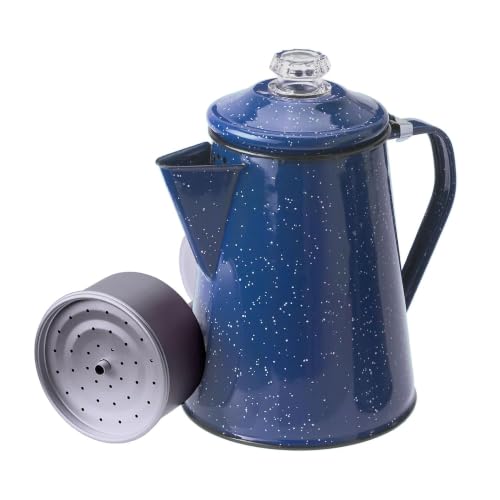
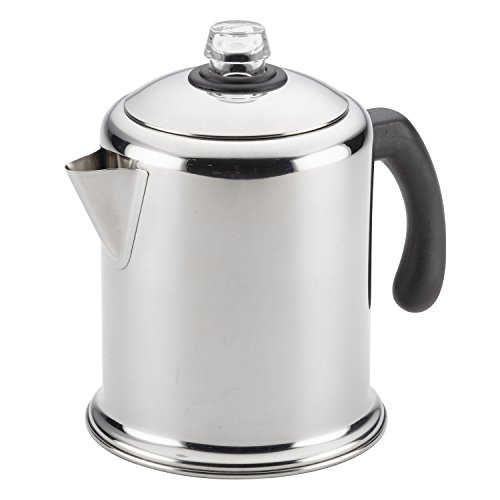
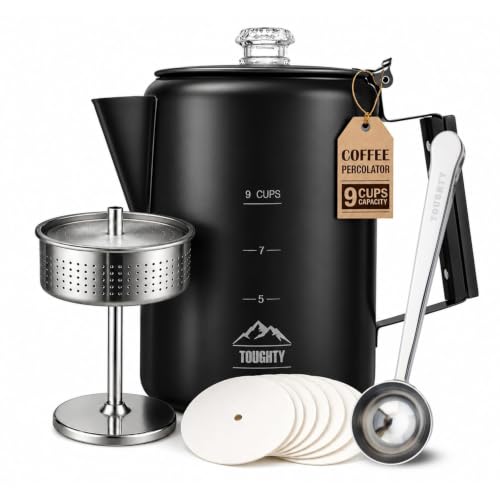
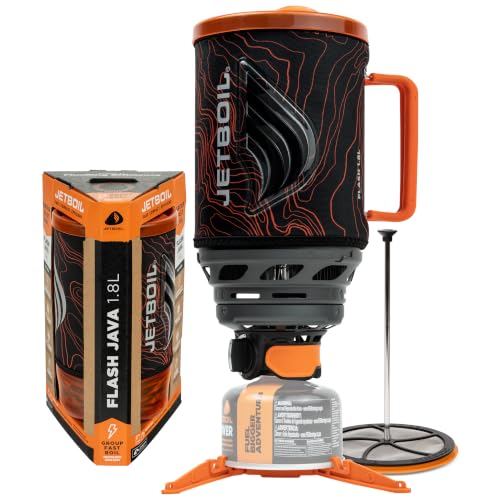
The Camping Checklist: Seven Boxes That Decide the Choice
Box One: Heat Source
Every camping brewer belongs to a heat class, and the class decides where it can work. Stove top brewers such as percolators and moka style pots need a camp stove or a grate, and they brew for a group with no power at all. Manual pour over and press brewers need only a kettle of hot water, so any heat that boils water serves them. Battery and powered brewers draw from a vehicle, a power station or a site hookup, which ties them to car camping, so cross off any class whose heat you will not reliably have.
Box Two: Brew Method and Coffee Style
Method decides flavour more than price does. Pour over gives a clean cup and full control, a french press gives a heavy cup with almost no parts, and a percolator gives a strong traditional brew that forgives rough measuring. Stove top espresso style pots make a small, intense coffee that stretches with hot water for a longer drink. Our guides to best brewing coffee makers and best coffee pot makers cover the wider method family and the stove top shelf in more depth, and the style you drink at home is the style to pack.
Box Three: Brew Temperature and Extraction
Water between about 195 and 205 degrees Fahrenheit is the accepted brewing window, and camp methods reach it by simply starting from a fresh boil and waiting a brief moment. Water straight off a rolling boil can scorch fine grounds, while water that sat too long brews thin and sour. Preheating the brewer with a splash of hot water keeps the brew in range on cold mornings. A medium grind suits most camp methods, since very fine grinds clog presses and strainers outdoors where rinsing is slow.
Box Four: Capacity and Serving Size
Count drinkers before you count features. Solo campers are best served by single cup brewers and small presses, which heat little water and wash in seconds, a point the guides to best single coffee makers make for home use as well. Groups need carafe capacity in the 8 to 12 cup class, where a thermal carafe keeps a second round hot without a flame under it. Brewing two small batches back to back often beats hauling one huge brewer, so match capacity to the biggest morning of your normal trip, not the biggest morning of the year.
Box Five: Weight and Packed Size
Weight decides the backpacking class outright: every gram of brewer is a gram carried up the trail, so trail brewers are measured in grams and chosen like tent parts. Car campers can ignore grams and judge packed size instead, because the real limit is the crate or the boot of the car. Look for brewers that nest inside a mug or a cook pot, since dead space in a pack is wasted twice. A maker that looks light but needs a separate kettle, filters and a case is heavier than its label claims.
Box Six: Build Materials
Plastic brewers are light and cheap, and food grade marks and BPA free labels are the ones to look for. Stainless steel dents rather than breaks, shrugs off stove heat and lasts for years, at the cost of extra weight. Glass tastes clean and shows the brew, but one knock on a rock ends it, which rules glass carafes out of rough trips. Enamelled steel sits between the two for car camping, so choose the material your transport can protect, not the one that photographs best.
Box Seven: Cleanup and Packing Out
Cleanup is where camp brewers truly separate, and used grounds stay packed out with your rubbish, never scattered at the site or buried, because they are food waste that draws animals. Rinse water goes well away from streams and lakes, and a brewer that needs a full sink wash will not get one at camp. Presses and pour over cones wipe clean with a cloth, while percolators trap grounds in their baskets and stems. If a design cannot be cleaned with a cup of water and a cloth, leave it for home.
Pots, Pods and Milk: The Running Cost Box
Ground coffee is the cheap fuel of camp brewing, costing a fraction per cup of any pod, and it packs flat. Pods belong to a different system entirely: pod machines are built for powered home counters and assume a socket, and none of them travels off grid without a power station doing the heavy lifting. Milk frothing at camp means a small manual frother or shaken hot milk, and most campers happily skip it. Price your coffee per trip, not per box, and grounds win by a wide margin.
Three Budget Levels and What Each Buys
Under About $30: Simple, Light and Hard to Break
This level buys pour over cones, small presses and basic percolators in plastic or steel, and it covers most campers completely. What you give up is insulation and polish: coffee cools at the speed of the morning, and finishes are plain. What you gain is a maker you can lend, drop and replace without a thought. For a first camping brewer, start here and learn your style before spending more.
About $30 to $80: The Camp Kitchen Middle
The middle level buys stainless builds, insulated presses, thermal carafes and better seals and strainers. Brews stay hot through a slow breakfast, and parts feel made to be opened a thousand times. Group sized percolators and stove top pots also live here, where one brew serves the whole table. This is the value centre of the class for car campers and regular tent campers alike.
Over About $80: Power, Capacity and Comforts
Above this line sit powered brewers for vehicles and power stations, large insulated systems and stove top sets in heavy stainless. You are paying for convenience and volume rather than better coffee, since a skilled hand matches the cup with a $20 cone. Buy here when your camp has power by default or your group is big enough that brewing twice wastes the morning. Otherwise the middle level already holds the quality.
Quick Buyer Checklist
Answer these against the product table above before you order:
- Does its heat class match the stove, fire or power I will actually have?
- Can I lift and pack it happily at the weight my trip allows?
- Does one brew serve my whole group, or am I content brewing twice?
- Can I clean it fully with a cup of water and a cloth?
- Are the grounds easy to keep and carry out with my rubbish?
- Is every part replaceable or tough enough to survive being dropped on rock?
- Have I priced the coffee it uses across a whole season of trips?
Red Flags to Watch For
- Weight listed without the kettle, filters or case the brewer needs to work at all.
- Proprietary pods or parts that lock you into one seller and one price.
- Glass carafes and thin plastic hinges sold as trail gear, where one knock ends the trip coffee.
- Brew claims with no stated capacity, no stated heat source or no cleaning instructions.
- Seals and strainers with no spares available, since those small parts fail first.
Camping Coffee Makers for Specific Needs
Best Camping Coffee Makers for Backpacking
Backpacking narrows the field to the lightest manual class: small pour over cones, compact presses and collapsible drippers that weigh grams and nest inside a mug. Weight decides first, packed size second, and everything else follows, because the brewer competes with food and shelter for space. These brewers ask only for hot water, so the stove you already carry for meals does the heating. Skip carafes, powered parts and anything with glass, and carry grounds in a sealed bag measured per day.
For Groups and Base Camps
A fixed camp with many drinkers wants capacity and a thermal carafe, so the first brew of the morning is still warm when the last sleeper surfaces. Large stove top percolators earn their bulk here, and a second small brewer covers the one decaf or tea drinker without a full second batch. Set the coffee station on a stable, level surface away from tent doors and guy lines. Morning order matters more than morning speed when eight cups are wanted at once.
Safety Rules for Brewing Outdoors
Handle stove fuel outdoors and well away from tents, and store it sealed and upright outside sleeping spaces. Never use a stove inside a tent or an enclosed vehicle: burning fuel makes carbon monoxide, an odourless gas that can kill in an enclosed space without warning. Treat every fresh brew as a scald risk, and keep the pot stable and out of the path of children and dogs. Let ash from any fire go fully cold before you deal with it, and check the park and site rules before the trip, since fire and stove rules change with conditions.
How to Make Your Camping Coffee Maker Last Longer
Rinse and dry the brewer before packing it away, because a damp press or pot stored sealed will taste of the last trip. At home, descale metal brewers every one to three months depending on your water hardness, and check seals, strainers and handles for wear while you do it. Store the maker dry with its parts loosely assembled so seals keep their shape. A steel brewer cared for this way outlasts several tents.
Frequently Asked Questions
What grind size works best with a camping coffee maker?
A medium grind works best across most camping methods, from presses to percolators. The camp specific catch is water: without a sink, a too fine grind clogs strainers and turns a quick rinse into a long project at the water point. Grind at home before the trip if your maker is fussy, and store the coffee airtight. Coarser grinds forgive both rough water heat and rough cleaning.
Can I use regular coffee in a camping coffee maker?
Yes, ordinary ground coffee works in every manual and stove top camping brewer. Pre ground coffee loses aroma faster than beans ground fresh, and camp air and warmth speed that up, so pack only what the trip needs in a sealed container. Instant coffee is a separate option that needs no brewer at all, which some walkers choose for the lightest days. Pods, by contrast, fit only their own powered machines.
How long does a camping coffee maker usually last?
A simple steel or sturdy plastic brewer lasts for years of trips, often a decade. What ends their life is rarely the body: it is lost strainers, perished seals and cracked handles, which is why spare parts matter at purchase. Glass parts shorten the story to a single unlucky knock. Powered camp brewers follow appliance lifespans instead, and their batteries age whether you travel or not.
How often should I descale my camping coffee maker?
Descale metal camping brewers every one to three months of regular use, sooner in hard water areas. The field sign is a brew that runs slower and tastes sharper or more bitter than it did, because scale insulates the metal and steals heat. Manual plastic and silicone brewers need no descaling at all, which is one quiet reason they suit hard water regions. Always descale at home, never at a site water point.
Is a more expensive camping coffee maker really worth it?
It is worth it for build, insulation and capacity, not for a better tasting cup by itself. Blindfolded, most campers cannot rank a careful budget brew below an expensive one made from the same beans. Pay more when you camp often, brew for a group or need coffee held hot for hours. Spend the savings on better beans first if the budget forces a choice.
Is a camping coffee maker with a built in grinder worth it?
For car camping with power, a built in grinder saves a separate tool and gives fresh grounds each morning. For backpacking it is rarely worth it, since the mechanism adds the weight of a whole second device and one more thing to clean and break. A small hand grinder serves walkers better and works when batteries die. Fresh grinding matters, but at camp it should never cost you shelter space.
The Bottom Line
Match the heat class to your camp, let weight rule the trail choices, and pick a brewer you can clean with a cloth and a cup of water. The best camping coffee makers pass those three tests before they impress anyone with features. Check your shortlist against the product table above, keep the grounds packed out, and the first cup of the morning will look after itself.


