Best Camelbak for Mountain Bike Racing: A Buyer Checklist for 2026
Disclosure: We may earn a commission when you buy through links on this page, at no extra cost to you. As an Amazon Associate I earn from qualifying purchases. Learn more

Use this checklist to choose the best camelbak for mountain bike racing, covering reservoir size, fit, ventilation, storage, and bite valve flow on race day.
Racing changes what a hydration pack must do. It has to stay put on rough descents, deliver water without breaking your breathing rhythm, and carry only what the course demands. The best camelbak for mountain bike racing is the one you stop noticing after the first climb, because fit and flow simply work.
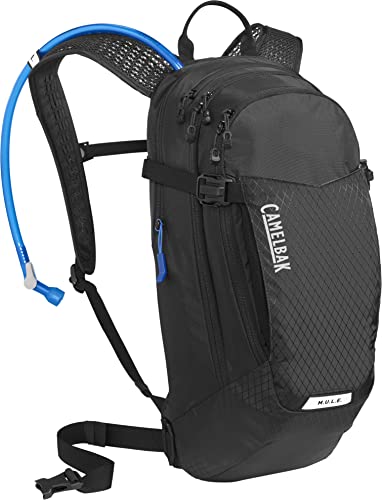
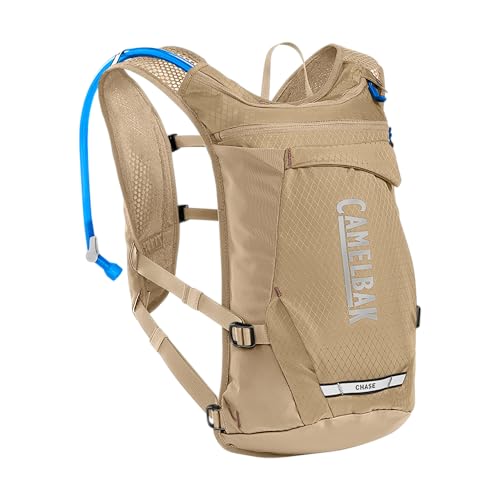
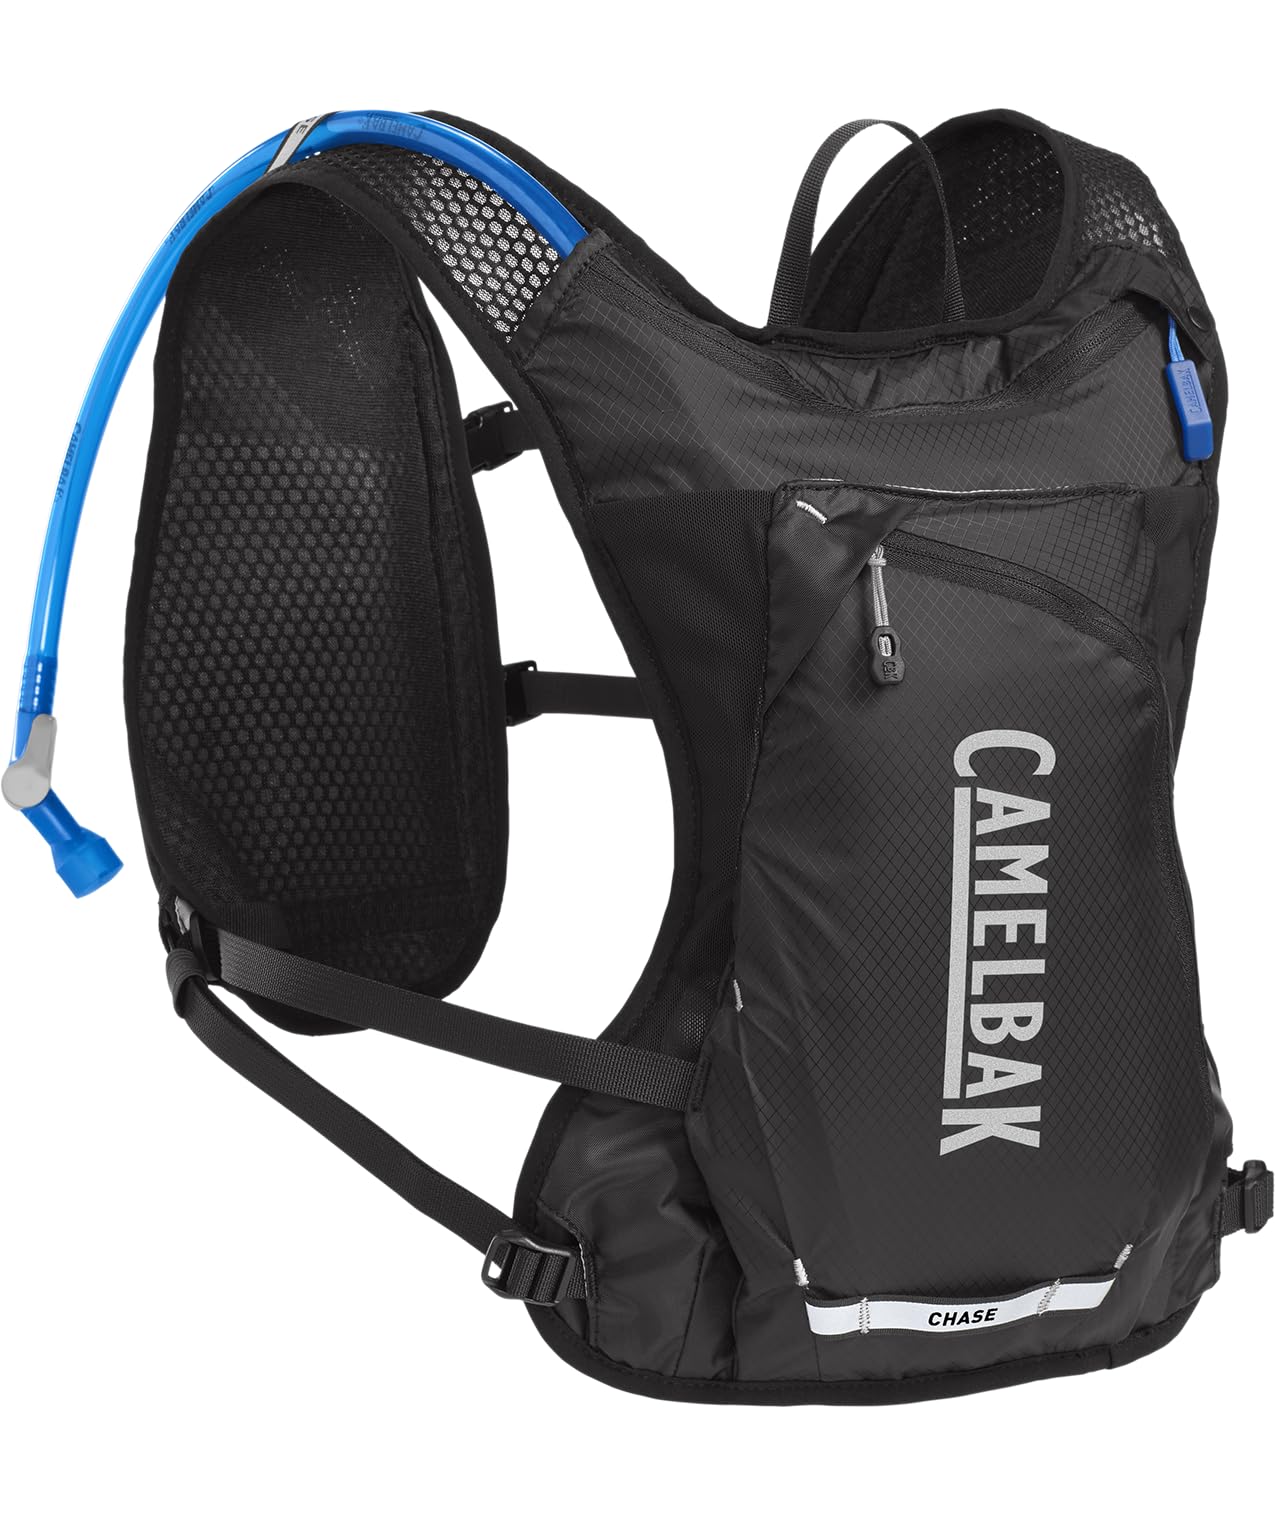
This guide uses a clear evaluation checklist, so you can score any pack against race needs. Use the comparison table below to compare capacity and weight, then test fit with the gear you plan to carry.



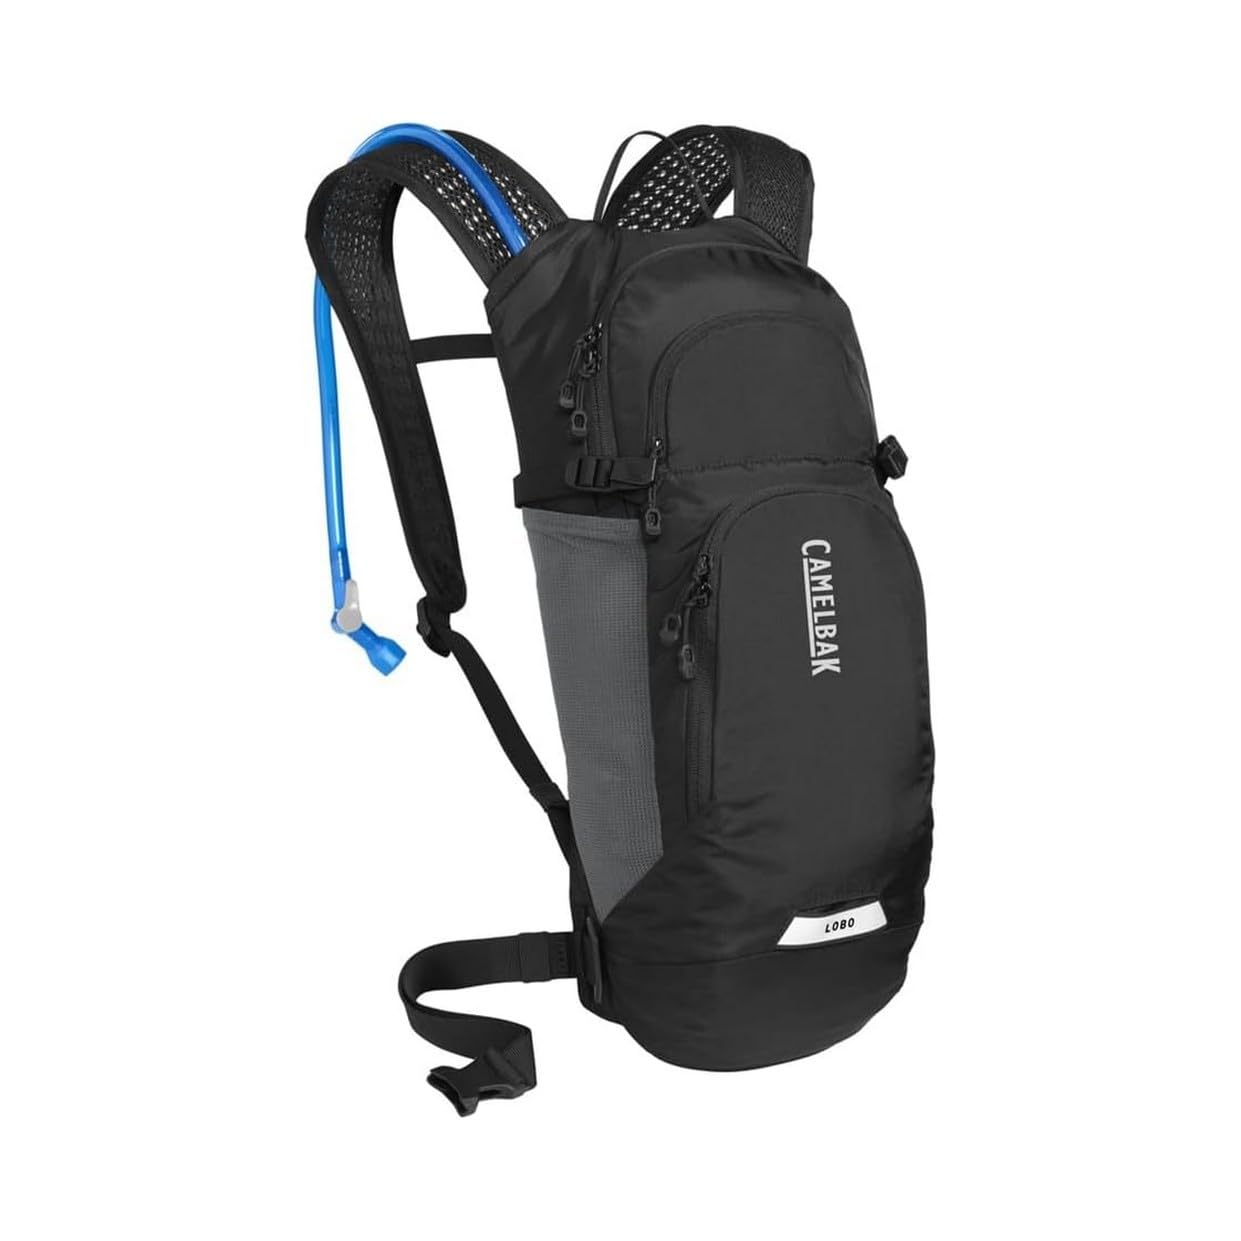


How to Evaluate Camelbaks
Features That Matter for Mountain Bike Racing
Prioritize a stable fit, fast bite valve flow, and a reservoir that does not slosh. Look for reservoir sizes around 1.5 to 3 liters depending on race length and aid stations, plus a sternum strap and a fitted hip belt or harness on larger packs. Ventilated back panels reduce heat buildup on climbs. Quick access pockets for gels and a small tool matter more than large cargo space, because extra volume invites extra weight you must carry up every hill.
Bike Type and Riding Style
Cross country racing favors low profile packs that sit high and clear a jersey pocket line, while trail and enduro racing may need more fluid and tool storage for longer stages. Your bike type affects posture, since an aggressive cross country position tilts the torso forward and changes how a pack rests. If you mainly ride short races with feed zones, choose minimal capacity. For marathon events with sparse support, size up and confirm the pack still feels balanced when the reservoir is full.
Materials and Construction
Pack fabrics must resist abrasion from crashes, brush, and repeated zipping with gloved or dirty hands. Reinforced panels at the base, strong zippers, and bar tack stitching at strap points are good signs. The reservoir material should be taste neutral and easy to dry, with a wide opening for cleaning and ice. Check that hose routing keeps the tube secure without kinks. A pack that leaks or a valve that drips on your frame can cost focus and fluid you cannot afford to lose.
Weight and Upgrade Path
Weigh the full system, not the empty pack. Water weighs about 2.2 lb per liter, so a 3 liter fill dominates total load. Choose the smallest reservoir that safely covers your longest gap between aid stations. Later upgrades are simple here, since you can swap reservoirs, add a sternum strap magnet for the hose, or carry a separate bottle for sports drink. Avoid buying a large pack for a rare long event if a bottle plus a small pack covers your normal races.
Sizing and Fit
Fit the pack to your torso, not just by total capacity. Adjust shoulder straps so the pack sits high on your back, tighten the sternum strap at chest level, and confirm the reservoir does not fold or bunch. Ride a short loop with a full fill before race day and note any bounce, neck rub, or lower back pressure. Women and smaller riders should check strap shaping and narrower harness options. A pack that shifts on descents will distract you and can chafe badly over several hours.
Hydration Delivery and Gear Access
Test bite valve flow while breathing hard, because a valve that needs strong sucking will discourage drinking on climbs. The hose should reach your mouth without pulling and park securely after each sip. Pockets should open with one hand for gels, salt, and a multitool. Separate wet and dry storage helps if you carry a phone or food. Think through your race sequence, from start line to feed zone, and confirm each item you need sits where your hand expects it.
For a broader pack short list beyond racing, see our guide to the best mountain bike camelbak options and general features. Racing models trim storage, so that comparison helps you see what you are giving up for lower weight.
Price Tiers That Pass the Checklist
Lean Race Tier
Lean race packs, often about $60 to $100, focus on a 1.5 to 2 liter reservoir, minimal pockets, and low weight. They suit short cross country races with regular aid stations. Strengths are simplicity and a close fit. The limit is flexibility, since there is little room for a jacket, extra food, or tools beyond the basics. Choose this tier if your races are short, supported, and run in mild weather where you rarely need spare layers or a large repair kit.
Versatile Mid Tier
Mid tier packs, about $100 to $150, add better ventilation, more stable harnesses, and smarter pockets while keeping weight reasonable. Reservoirs around 2 to 2.5 liters cover most marathon and trail races. This is the sweet spot for most racers because you gain comfort and access without hauling an oversized bag. Check that added features solve real problems for you, such as a tool roll or a fleece lined pocket, rather than adding straps and buckles you will never adjust after the first ride.
Endurance Tier for Heavy Use
Endurance packs, often above $150, carry 3 liters plus food, tools, and a light layer for long unsupported races. Stronger fabrics and structured back panels handle heavy loads better and resist wear across a full season. The trade off is heat and weight on short events, where the extra structure feels like overkill. Choose this tier for remote courses, hot climates, or stage races where self support is part of the challenge and a missed drink stop carries real consequences for health and performance.
Quick Buyer Checklist
- Does the reservoir size match your longest gap between aid stations, with a small safety margin for heat?
- Does the pack stay stable at full weight on a rough descent without bouncing or sliding sideways?
- Can you drink easily while breathing hard, and does the hose park securely after each sip?
- Can you reach gels, salt, and a basic tool with one hand while riding at an easy pace?
- Does the back panel ventilate enough for your usual climate and race duration?
- Can you open, clean, and fully dry the reservoir without special tools or narrow brushes?
- Does total loaded weight feel acceptable on a climb late in a training ride, not just in your kitchen?
Red Flags to Watch For
- Vague capacity claims that do not separate reservoir volume from total cargo volume, making comparisons misleading.
- No clear cleaning guidance or a narrow reservoir opening that traps moisture and invites stale taste.
- Thin straps with little stitching reinforcement, which can stretch or fail under a full water load.
- A short or unclear warranty with no spare parts for valves, hoses, or caps that wear out first.
- Unusually glowing praise with no mention of fit limits, since pack comfort varies strongly by torso shape.
How to Make Your Camelbak Last Longer
Rinse the reservoir after every use, wash it with mild soap weekly during race season, and dry it fully with the cap open before storage. Store it dry and out of heat, or keep the empty reservoir in a freezer between uses if the maker allows it to limit stale odors. Inspect the bite valve and hose connection for leaks before each race.
Frequently Asked Questions
What features matter most in camelbaks for mountain bike racing?
Stable fit, reliable bite valve flow, and the right reservoir size matter most. A pack that bounces or is hard to drink from will leave you dehydrated even if it carries plenty of water. Ventilation and one hand pocket access come next. Test all three on a hard training ride, not just in a store. If you finish that ride with even drinking and no chafing or shifting, the core features are working for your body and bike position.
How much should I spend on my first race pack?
Most first time racers do well around $80 to $130, where fit, valve quality, and cleaning access improve noticeably over basic models. Spending less can mean weak straps and poor taste from the reservoir. Spending more mainly buys lower weight, better ventilation, and endurance storage. Borrow or test sizing if you can, because an expensive pack in the wrong torso fit is worse value than a mid priced pack that disappears on your back.
What size reservoir do I need for a race?
Match size to time between aid stations and heat, not to total race distance alone. Many riders drink about 500 to 750 ml per hour in warm conditions, though personal needs vary widely. A 1.5 liter reservoir suits short supported races, while 2.5 to 3 liters suits long gaps. Practice your drinking plan in training and talk with a clinician if you have health conditions that affect fluid or salt needs, especially for hot endurance events.
Can I use a race hydration pack for regular trail rides?
Yes, and most riders do. A race pack works well for everyday rides if its storage covers your usual tool, food, and layer needs. You may want a second larger pack or a hip pack for long exploratory days. Using one pack often has a benefit, since fit and pocket habits become automatic. Just clean the reservoir after each use rather than leaving sports drink to sit, which quickly creates taste and hygiene problems.
How do I stop a hydration pack from bouncing?
Tighten fit in the right order and reduce load first. Fill the reservoir, remove air, then set shoulder straps, sternum strap, and any hip belt so the load sits high and close. Bounce often comes from an oversized pack half full rather than from weak straps alone. Move heavy small items low and central. If bounce persists on a test descent, try a smaller size or a vest style harness that spreads contact across your torso.
Final Thoughts
Fit, flow, and the right capacity decide race day hydration more than extra pockets or bold graphics. Run the checklist on a full training ride and adjust before the start line. Review the product table above with your race distance and aid station plan in mind. Choosing the best camelbak for mountain bike racing this way gives you steady drinking, less distraction, and one less problem to solve when the course gets rough.