Best Cameras for Mountain Biking: Matching the Right Camera to Your Routine for 2026
Disclosure: We may earn a commission when you buy through links on this page, at no extra cost to you. As an Amazon Associate I earn from qualifying purchases. Learn more

Compare camera types, mounts, stabilization and battery life for trail riding, and pick a rugged camera that matches your rides, your pack and your budget.
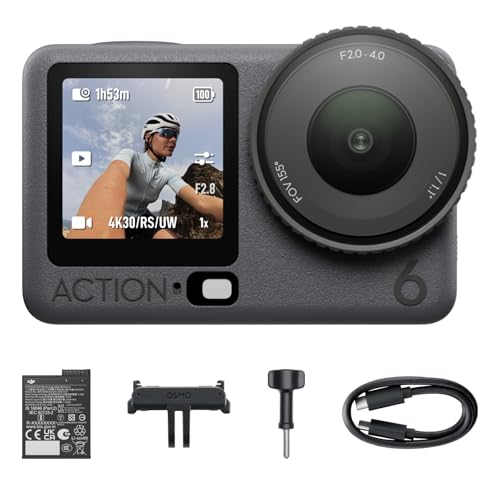
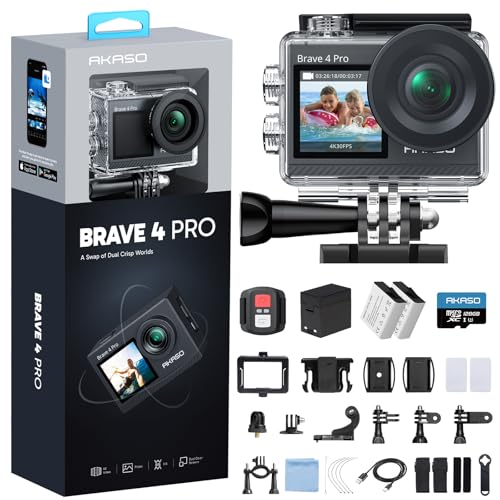
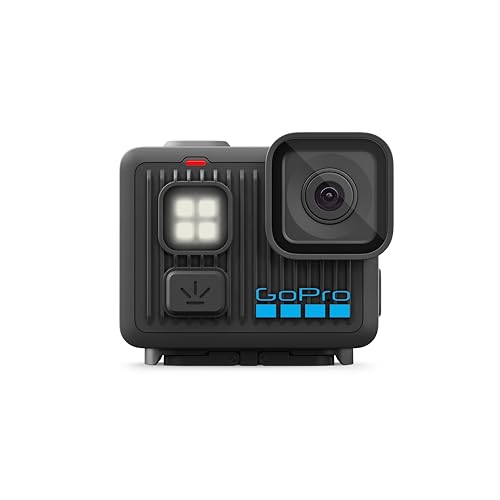
Trail riding shakes, splashes and surprises any camera you bring along, so the best choice is rarely the camera with the longest specification list. Best cameras for mountain biking need to survive dust and mud, stay steady over rough ground and keep recording when your hands are busy riding. This guide matches camera types and features to real riding routines, and the comparison table below lays out the main options side by side.
No single camera fits every rider, since a weekend trail rider, a bikepacker and a rider who edits ride films all need different strengths. Some riders want a small camera fixed to a helmet for hands free footage, while others want a larger camera for still photos at viewpoints. Read the sections below with your own rides in mind, and let your most common ride decide your priorities.





Who Should Buy Which Camera?
Start by naming your ride. Short local loops, all day epics, travel to new trail centers and social rides with friends each place different demands on a camera. The groups below cover the most common patterns, so find the one closest to your riding and note the features it calls for. Our guide to best bike for mountain biking can help if you are still choosing the bike itself.
Riders Who Film Weekend Trails
Weekend trail riders usually want simple, tough video of their local loops without a complicated setup. A small action camera on a helmet or chest mount captures the ride while leaving both hands on the bars, and strong stabilization keeps rough descents watchable. Long battery life matters less on short rides, but quick start and one button recording matter a great deal. Choose a camera you can operate with gloves and muddy fingers.
Riders Who Travel to New Trails
Traveling riders need a camera that packs small, charges easily and handles varied light, from dark forest to bright open ridges. Light weight matters when every gram rides in a pack or on a frame, and a standard USB C charging cable keeps the kit simple. A camera with good still photo quality earns its place on trips where viewpoints and trail towns matter as much as ride footage. Pack a spare battery and a dry bag for wet days.
Creators Who Edit Ride Films
Riders who edit films need footage that holds up after cutting, color work and slow motion. Higher frame rates give smooth slow motion for jumps and corners, while a microphone input improves voiceovers and trail sound, as covered in our guide to best mountain bike camera. A flip screen helps for piece to camera segments at the trailhead, and reliable focus matters for interviews and still photos. Expect a larger kit and more time spent on settings, and plan for extra storage and batteries.
Fast Riders Who Want Sharp Action
Fast riders need focus and stabilization that keep up with speed, dust and sudden light changes. A camera with strong tracking focus helps for photos of riding partners, while high frame rate video keeps fast sections smooth rather than blurred. Secure mounts matter as much as the camera itself, since a loose mount ruins footage and risks losing the camera. Test mounts on easy trails before trusting them on technical descents.
Key Features to Compare
Trail cameras face conditions that indoor cameras never meet, so judge features by how they perform on a rough ride. Vibration, dust, water, cold and impacts all shape the right choice, and the features below translate directly to better footage and fewer ruined rides.
Battery Life and Charging
Check rated shots or recording time per charge, but expect cold weather and stabilization to reduce it on the trail. A camera rated for about 90 minutes of video may deliver less on a cold morning ride, so carry a spare battery for longer outings. Charging over USB C from a power bank at a lunch stop extends the day without extra chargers. Removable batteries beat built in batteries for multi day trips, since you can swap rather than wait.
Features That Matter for Mountain Biking
Stabilization is the defining feature for trail cameras, because rough ground shakes every frame. Electronic and optical stabilization both help, and a gimbal style mode helps most on fast descents. Water and dust resistance matter on muddy rides and stream crossings, while a tough body survives the inevitable drop onto rock. Mounting options matter too, since helmet, chest, handlebar and frame mounts each give a different view of the trail, and our guide to best action cameras for mountain biking compares mount friendly models.
Size, Weight, and Ergonomics
Weight on a helmet changes how a ride feels, especially on long climbs, so keep helmet cameras small and light. A larger camera rides better in a pack or on a chest mount, where weight sits closer to your center. Check that buttons are large enough to use with gloves and that the screen stays readable in bright sun. A camera that feels awkward on the first ride will stay in your pack, so comfort deserves as much weight as image quality.
Autofocus and Stabilization
Focus systems need to track a moving rider through trees, dust and changing light without hunting. Eye and subject detection helps for photos of riding partners, while continuous focus modes help for video of fast sections. Stabilization works with focus to keep footage usable, and the two should be judged together rather than alone. Test both on a rough local trail if you can, since showroom tests rarely reveal how a camera behaves at speed.
Sensor Size and Image Quality
Sensor size affects low light performance under tree cover and detail in bright highlights on open ridges. A one inch sensor gives a clear step up from a phone sized sensor, while larger APS C and full frame sensors give cleaner results still at the cost of size and weight. Megapixel count alone tells you little, since stabilization and lens quality shape trail footage more. Judge image quality by forest light performance and highlight control, not by the headline number, and our guide to best digital cameras explains sensor basics in more depth.
Common Mistakes to Avoid When Buying Cameras
These mistakes show up often among new trail camera buyers:
- Choosing by price alone, which can leave you with weak stabilization that ruins every rough descent.
- Ignoring battery life and charging, which ends rides with a dead camera halfway through the best section.
- Buying a camera too large for your mount, which adds helmet weight and vibration to every clip.
- Skipping warranty and support checks, which matters when a camera meets mud, rock and rain regularly.
- Forgetting storage, since high frame rate video fills cards fast on long rides.
How to Make Your Camera Last Longer
Trail use is hard on cameras, but simple care extends their life a great deal. Use a lens cloth, not your shirt, since grit on fabric can scratch coatings. Carry a spare battery, and charge batteries the night before a ride. Store the camera in a dry, padded bag, away from mud and tools in your pack.
Check mounts and screws before each ride, since vibration loosens them over time. Rinse mud off sealed cameras with clean water after wet rides, and dry them fully before storage. Never adjust a mount or a camera while riding, since a moment of distraction on technical ground can cause a crash.
Wear a helmet on every ride, and remember that a helmet reduces risk but carries no guarantee of protection. Follow local trail rules, yield to other trail users and stay on marked trails.
Cameras: Your Questions Answered
What features matter most in cameras for mountain biking?
Stabilization, toughness and battery life matter most, because rough trails punish weak cameras quickly. Strong stabilization keeps descents watchable, sealed bodies handle mud and stream crossings, and a spare battery covers long rides. Mounting options come next, since helmet, chest and frame mounts each give a different view. Focus speed and low light performance matter for forest sections, while resolution matters less than steady, well exposed footage.
Which is better for low light?
A larger sensor with a bright lens performs better under tree cover and at dusk than a small sensor camera. Look for clean high sensitivity performance rather than a headline megapixel number, and check sample footage shot in forest light. Stabilization also helps in low light, since it allows steadier footage without raising sensitivity too far. For riders who often finish rides near sunset, low light strength deserves a high place on the priority list.
How much should I spend on my first one?
Most first time trail camera buyers do well spending about $250 to $600, which buys a capable action camera with strong stabilization and a mount or two. That range covers rough trail video, wet weather use and decent still photos. Spending less still works for smooth trails and daylight clips, while spending more buys larger sensors and better low light results. Set aside part of your budget for mounts, a spare battery and memory cards.
Is a smartphone enough instead?
A smartphone works for smooth trails, viewpoints and social clips, especially when mounted securely. A dedicated trail camera pulls ahead on rough descents, in mud and rain and for long recording sessions, thanks to stronger stabilization, tougher sealing and swappable batteries. Many riders use both, keeping a phone for photos at stops and a trail camera for ride footage. If you ride technical trails often, a dedicated camera earns its place quickly.
What specs matter most for beginners?
Beginners should focus on stabilization strength, battery life and ease of use rather than resolution alone. A camera that records steady footage and starts with one button will produce better ride films than a complex camera with higher resolution but shaky output. Check whether the camera charges over USB C and whether mounts for your helmet or bars are available. Simple automatic modes with room to learn manual controls give the best path forward.
How do I mount a camera safely for mountain biking?
Use a mount made for your camera and check that every screw and clip is tight before each ride. Helmet mounts give a view that follows your head, while chest and handlebar mounts give steadier footage. Add a short tether so the camera cannot fall on the trail, and set up the mount at a stop, never while riding.
Wrapping Up
Start with your ride, then match features to it. Stabilization and toughness help every trail rider, while sensor size, battery life and mounting options matter more for specific routines. Compare the types in the product table above, test mounts on easy trails first and choose the camera you will actually carry on rides. Best cameras for mountain biking are the ones that survive the trail and keep recording, so pick the camera that fits your helmet, your pack and your riding.