Best Browning Trail Cameras: A First Time Buyer's Guide for 2026
Disclosure: We may earn a commission when you buy through links on this page, at no extra cost to you. As an Amazon Associate I earn from qualifying purchases. Learn more

Best Browning trail cameras for a first season: trigger speed, recovery time, battery life, and flash type explained in plain English.
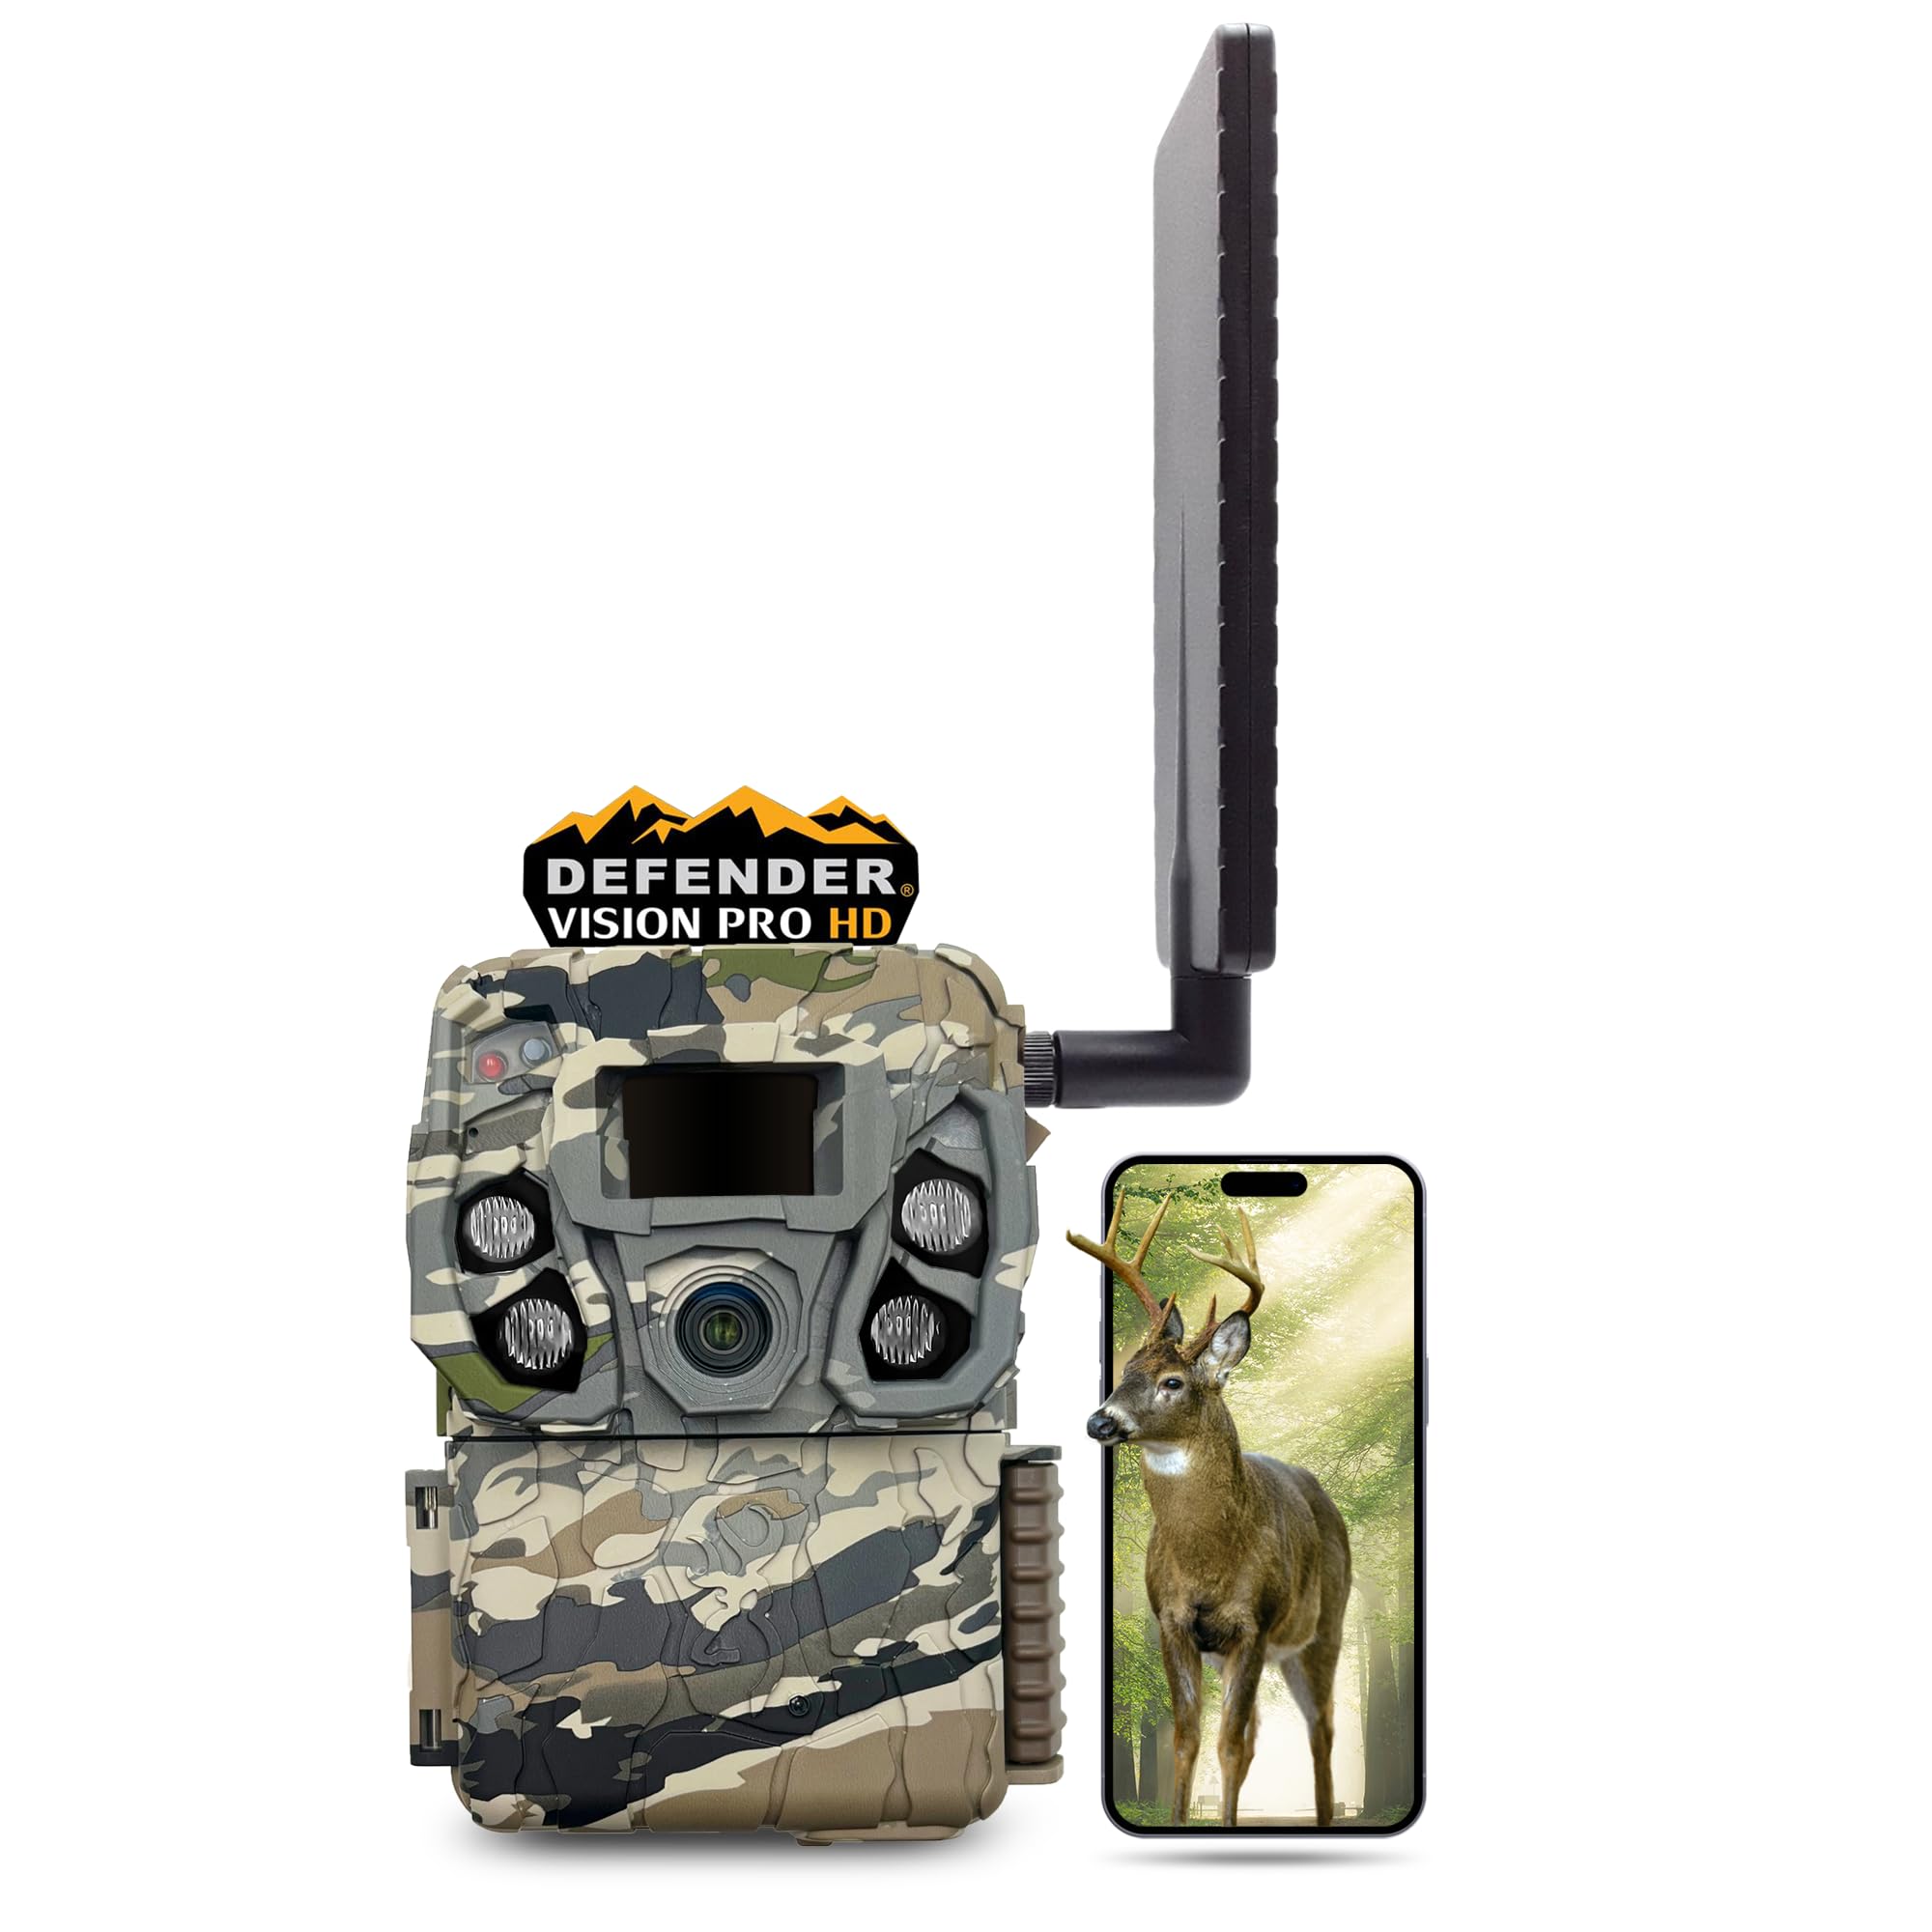
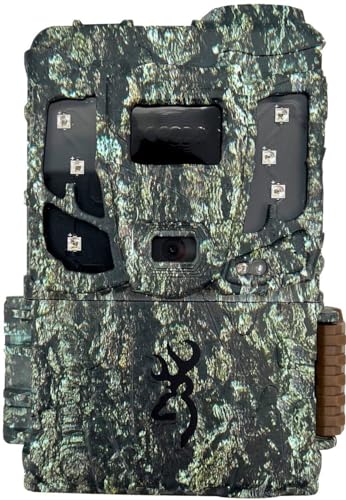
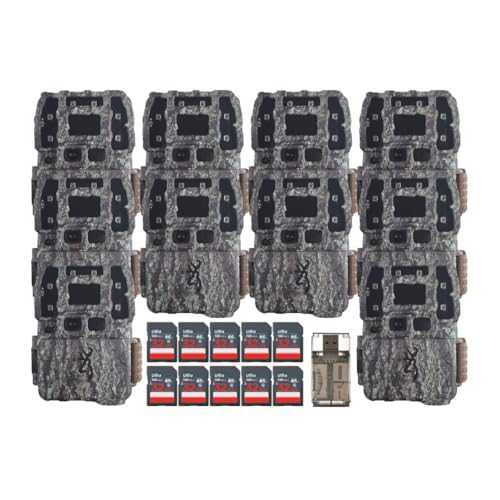
Buying your first trail camera from one maker can feel easier than facing the whole market at once, and in some ways it is: you learn a single menu system, a single battery standard, and a single style of spec sheet. The trade is that you still have to choose well inside that one range, because the best browning trail cameras for watching a deer trail are not the same cameras you would choose for a back garden or a feed station. This guide starts with the basics, then explains each spec in plain English, and the comparison table below collects the current options for matching as you read.
No camera background is needed: every term is explained when it first appears, with a sensible level to aim for. By the end, you will know which specs decide your results and which mistakes ruin a first season.
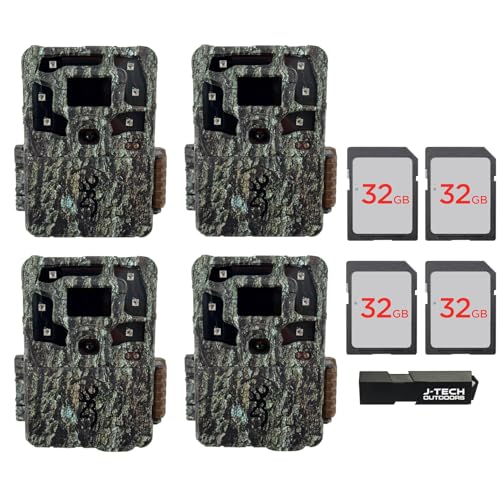

Browning Trail Cameras 101: The Basics
A trail camera is a weather sealed camera that watches a place while you are not there. A passive infrared sensor, usually shortened to PIR, notices heat moving across its detection zone and wakes the camera, which records a still photo or a short video clip. By day the images are in color, and after dark an infrared flash lights the scene for black and white night shots. Everything is stored on a removable memory card until you visit and swap the card or the batteries.
Staying with one maker is a reasonable shortcut, since menus, mounts, and battery trays stay familiar as you add cameras later. If you would rather survey every brand side by side, our guide to the best trail cameras covers the whole category. One point of orientation helps here: a trail camera is a fixed watching tool, not a camera you hold and aim, so guides to best digital cameras describe a different purchase for a different job.
Some first time buyers plan to watch a gate or a driveway rather than wildlife, and guides to best trail cameras for security focus on that use, but treat any such camera as a monitoring aid that records what happened, because it prevents nothing by itself.
Key Specs Explained in Plain English
Spec sheets for this maker class run long, so the six factors below are the ones that change what lands on your memory card. Use the product table above to check each model against them.
Trigger Speed and Recovery Time
Trigger speed is the delay between the sensor noticing movement and the camera taking the picture, and recovery time is the pause before the camera is ready for the next shot. Read this pair first, because a slow trigger photographs tails and empty trails, and a slow recovery misses the second and third animals in a group. Stated plainly, the figures on the box are best case figures, so treat them as a way to rank models inside the range rather than as a promise for your woods. A trigger under one second, with a recovery of a few seconds, is a workable level for most first setups.
Battery Life and Memory Cards
Batteries and cards look like small print, but they are the running cost of the purchase. Most cameras in this class run on AA cells, often eight or twelve, and a hungry model can work through a set in weeks when nights are cold or video mode is on. A larger card, plus a spare for swaps, costs little and ends the frustration of a full card in the best week of the season. Add it up before you buy: a cheap camera with heavy battery and card habits can cost more over one season than a thriftier model priced higher on day one.
Detection Zone and Flash Type
The detection zone is the area the sensor watches, described by its range in feet and its width in degrees. A wider zone catches animals that pass off center, while a longer range helps on open ground but can also trigger on moving brush at the edge. Flash choice shapes your night photos: white flash gives color at night and can startle game, red glow flash shows as a faint red light, and no glow flash stays invisible to most eyes at the cost of reach and sharpness. Match the flash to your goal: invisible for wary game, brighter for identification at a feeder.
Photo and Video Settings
Megapixel numbers on trail cameras deserve suspicion, because many models reach their headline figure by enlarging a smaller image in software. Judge likely sharpness by the sensor and flash pairing instead of the biggest number on the box. Video length and frame rate matter if you want behavior clips rather than stills, and a hybrid mode that takes a photo then a clip is a friendly default for beginners. Keep settings modest at first, since very long video drains batteries and fills cards fast.
Cellular and WiFi Options
A cellular model sends thumbnails of each photo to your phone over a mobile network, which saves trips and lets you react while a pattern is still current. The honest catch is that the sending runs on a paid plan, so the plan is effectively a second purchase that continues every month you use the feature. Coverage also decides a great deal, since a camera on a weak signal retries often and drains its batteries. If the idea appeals, compare plan prices and coverage maps alongside the cameras in our guide to best cell trail cameras before you commit.
WiFi models take a middle path: no plan and no network fees, but you must stand near the camera to connect and collect photos, which suits yards better than remote land. Our guide to best wifi trail cameras explains that shorter range trade in detail. For a first camera on land you visit weekly, plain card swapping remains the cheapest and most reliable of the three options.
Housing, Mounting, and Weather Sealing
Trail cameras live outdoors for months, so the housing matters more than the finish. Look for a case that seals against rain behind a latch, a strap or bracket mount that holds the camera steady, and a lock loop if other people walk your land. Sealing quality varies inside one maker range just as it does across brands, so check the door seal and gasket on the exact model.
Rookie Mistakes to Avoid
- Buying on megapixels alone: headline numbers are often enlarged in software, so judge the sensor and flash pairing instead of the biggest figure.
- Mounting the camera straight across a trail: animals cross the zone before a slower trigger fires, so angle the camera along the path to buy reaction time.
- Checking the camera too often: every visit leaves scent and disturbance, so use longer intervals and swap cards quickly.
- Leaving the factory settings for a whole season: video length, delay, and sensitivity all need one adjustment after your first card of results.
- Skipping the walk test: walk past the camera at animal height, or your first week may be framed on boots and sky.
Getting Started: Setup and First Use
Start at home, not in the woods. Load fresh batteries of one type, insert a card, and format the card in the camera so its filing system matches what the camera expects. Set the date and time before anything else, since the stamp on each photo is what turns loose pictures into a usable pattern.
At your spot, strap the camera firmly so it cannot shift in wind, and clear grass and twigs away from the sensor. Take a few test shots from where animals will pass, aiming at the center of the crossing with the sun behind the camera where you can. Note the battery and card levels in a note, so the next visit is planned rather than hopeful.
Browning Trail Cameras: Your Questions Answered
How much should a first time buyer spend on a trail camera?
Most first time buyers land between about $80 and $180 for a single camera in this maker class. The lower end covers stills, a red glow flash, and basic video. Paying more should buy a faster recovery, a no glow flash, or cellular sending rather than a bigger megapixel number. Spend the difference on spare cards and batteries first.
Which flash type is best for night photos of wary game?
A no glow flash is the usual choice for wary game, because its infrared light stays invisible to most animals and to people. The trade is reach: no glow images fade sooner with distance, so place the camera closer to the crossing than you would with a brighter flash. Red glow sits between the two, lighting farther while showing a faint shine that some animals notice.
What does detection range mean on a trail camera?
Detection range is the distance at which the sensor can notice heat in motion and wake the camera. It is not the same as flash range, which is how far the night light reaches, and a shot can trigger yet come out dark if the animal stands past the flash. Warm weather shrinks detection because the sensor reads contrast against the background, so summer ranges are often shorter than the box suggests.
Can a smartphone replace a trail camera for watching wildlife?
No, because a phone cannot sit awake in the woods for weeks, watching through rain and darkness for the moment something passes. A phone is still useful in the system: it reads your cards in the field with a small adapter, stores your best clips, and hosts the app if you choose a cellular model. Think of the phone as the screen and the camera as the patient watcher.
What should a beginner check first when a trail camera takes empty photos?
Start with aim and sensitivity, because most empty frames come from moving grass or a zone pointed across fast traffic. Lower the sensitivity one step, clear the growth in front of the lens, and angle the camera along the movement instead of across it. Also check the delay setting, since a very short one lets one swaying branch fill the card.
Final Thoughts
Keep your order simple: trigger and recovery first, battery and card costs second, flash type third, and everything else after that. The product table above lets you line up the models that meet those three checks inside your budget. Choose the best browning trail cameras for the place you will actually watch, set them up with a walk test, and let the first card of photos teach you the rest.