
Best Bottom Bracket Mountain Bike Made Simple: A Clear Buying Guide for 2026
Disclosure: We may earn a commission when you buy through links on this page, at no extra cost to you. As an Amazon Associate I earn from qualifying purchases. Learn more

First time buying a mountain bike bottom bracket? Learn how shell standards, spindle sizes, bearings, and price bands decide the part that actually fits.
A creaking, grinding, or stiff turning crank almost always ends at one small part buried in the middle of your frame. The bottom bracket is the bearing set that lets the cranks spin, and the best bottom bracket mountain bike riders can buy is simply the one that matches their frame exactly. This guide starts with fitment, walks through the specs in plain English, and finishes with installation and care.
You do not need to be a mechanic to choose well. You need a few facts about your frame and crank, plus a rough budget. The comparison table below lists current options by standard, so you can shop once you know which standard your frame takes.


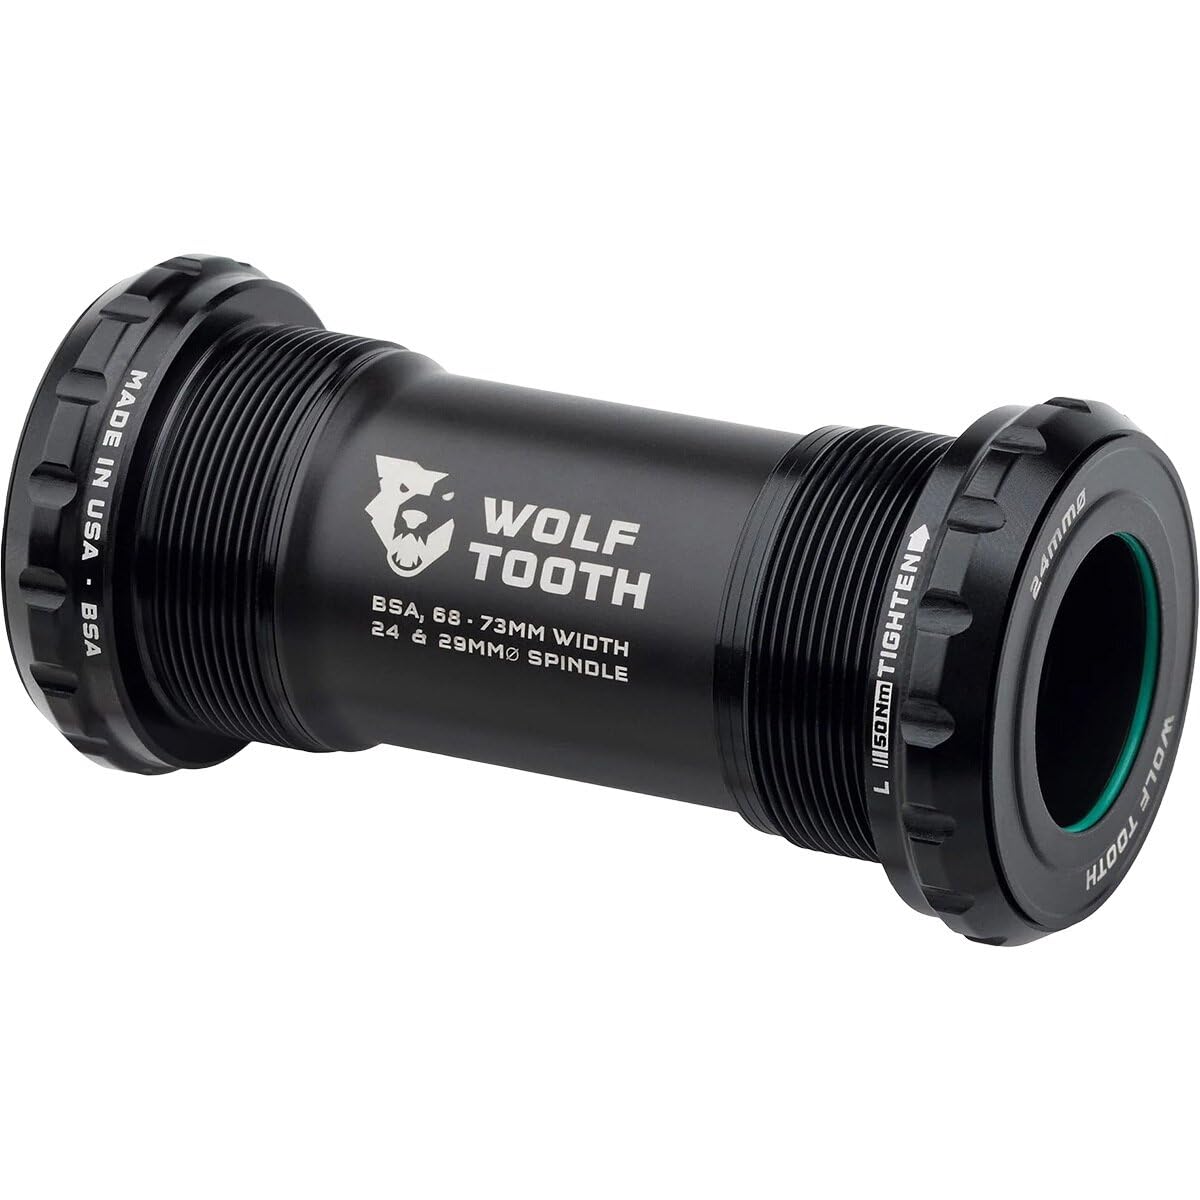

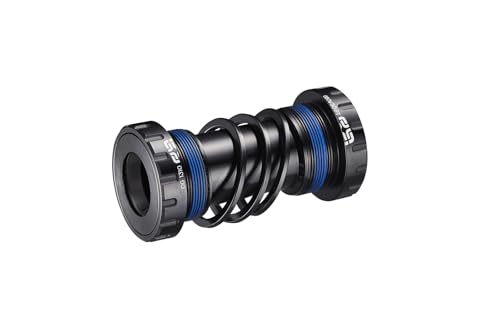

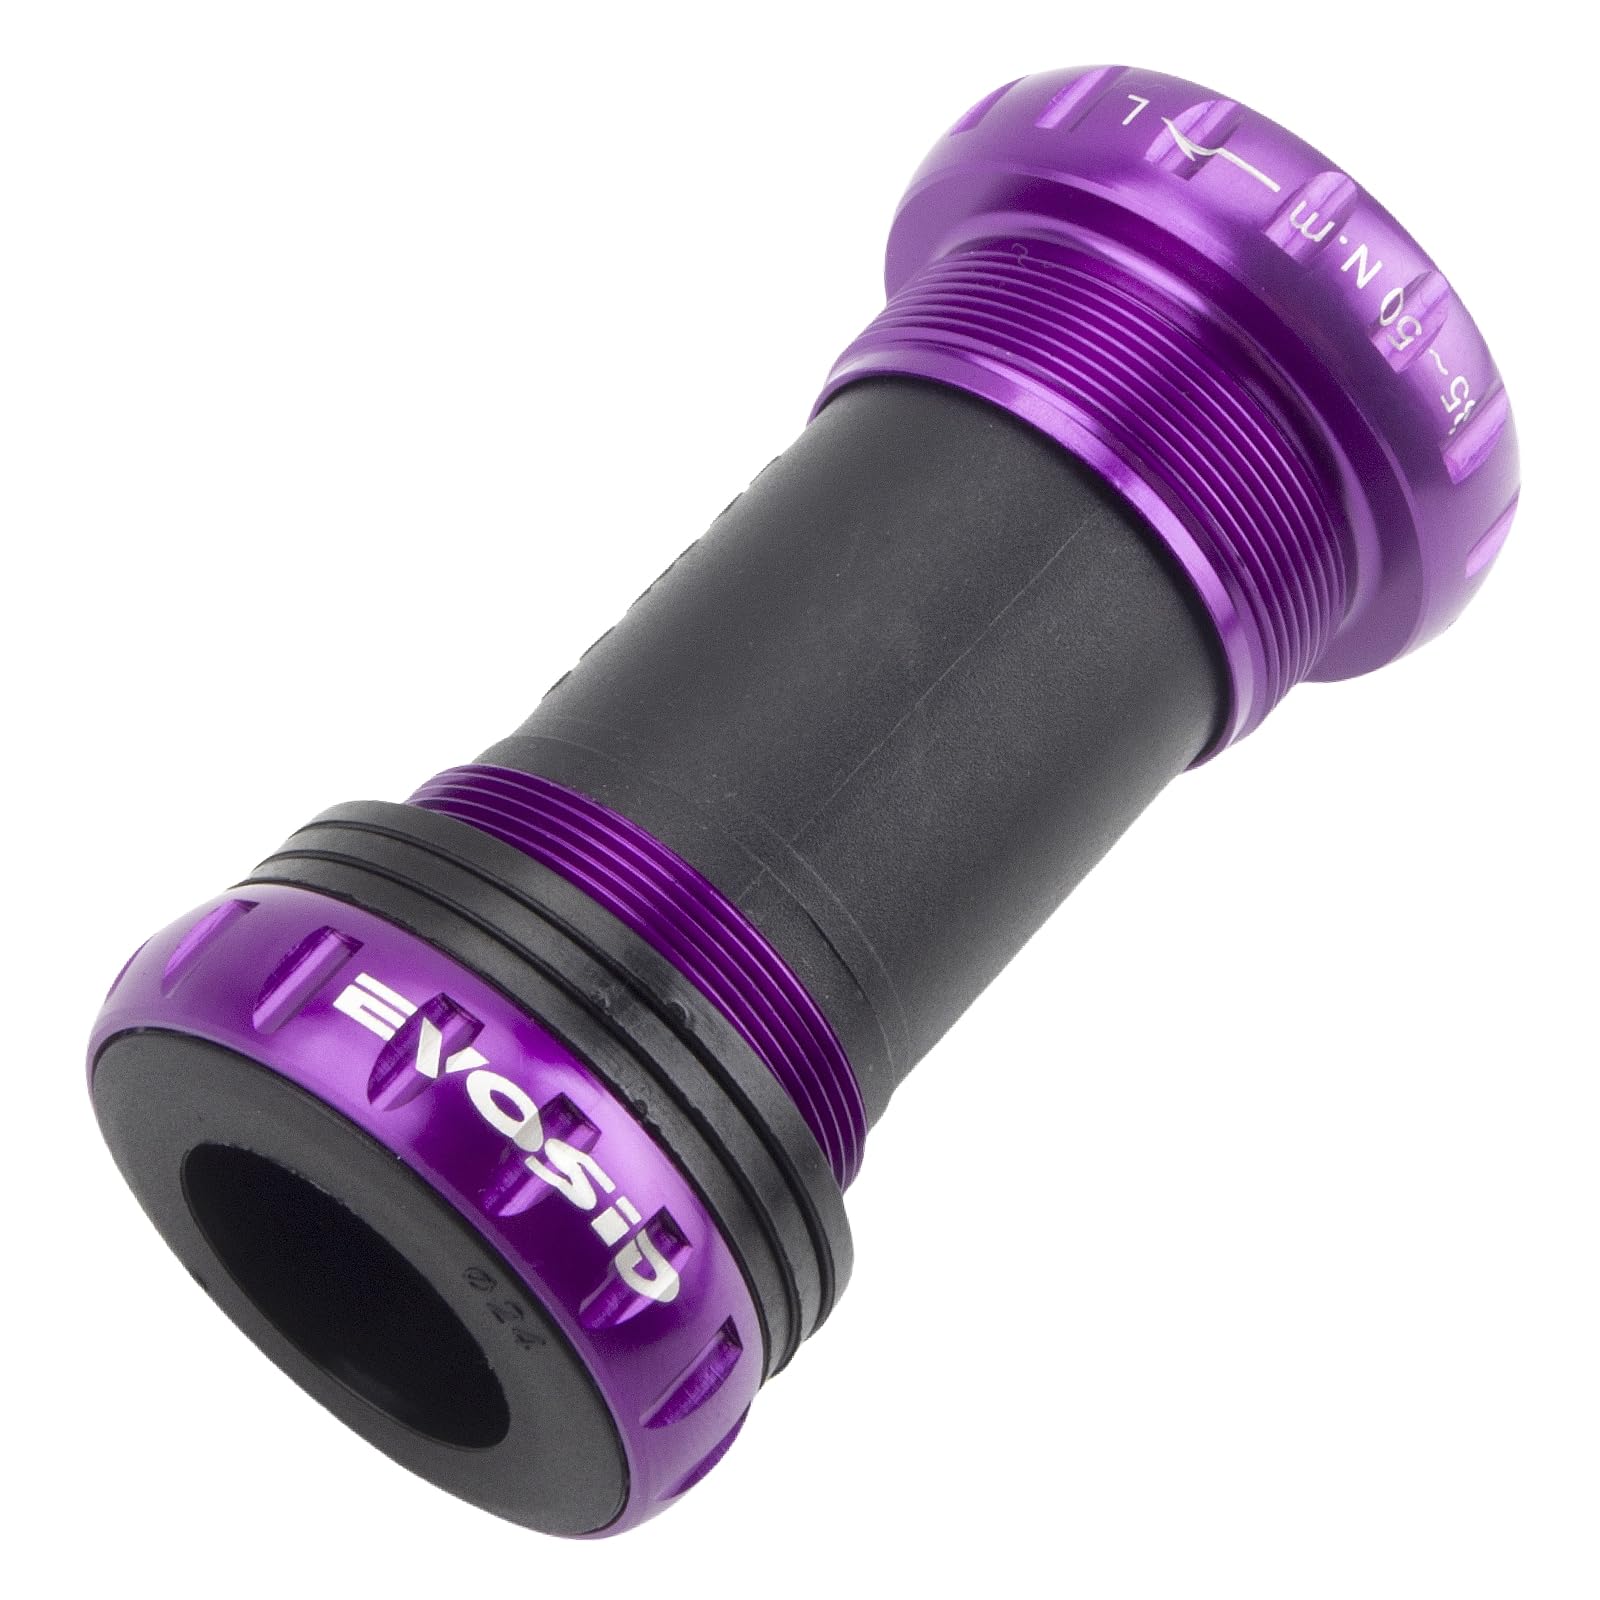


Bottom Bracket Mountain Bike 101: The Basics
The bottom bracket sits inside the shell, the short tube at the bottom of the frame where the down tube, seat tube, and chain stays meet. A spindle passes through the bearings, a crank arm bolts to each end, and every pedal stroke turns on this one part. When the bearings wear, you feel it as play, grinding, or a creak with every revolution.
Two mounting standards cover nearly every mountain bike frame. Threaded brackets screw into a threaded shell, much like a jar lid. Press fit brackets use smooth cups that press into a plain bore and stay put through a tight fit. State it plainly: a bottom bracket is a component, and the frame shell decides the standard before any feature matters. The wrong standard fits nothing at all, so a premium bearing set in the wrong shell is a return, not an upgrade. This article assumes the bike itself is already chosen. If you are still shopping for a complete machine, our guide to the best bike for mountain biking covers whole bikes, while this page covers only the crank bearing part.
Key Specs Explained in Plain English
Start With the Shell: Threaded or Press Fit
Threaded and press fit classes split the purchase, because their tool and creak behavior differ. Threaded cups wind into a threaded shell, commonly 68 or 73 mm wide on mountain frames, and a single splined cup tool services them at home. Creaks are rare because the threads lock the cups in place. Press fit cups press into a wider, smooth bore, often around 92 mm between the frame faces, which leaves room for larger bearings. That style saves weight and suits carbon frames, but its quiet running depends on tight bore tolerances and careful pressing, and it needs a press tool plus a removal tool for service.
| Spec | Threaded | Press Fit |
|---|---|---|
| How it mounts | Cups screw into a threaded shell | Cups press into a smooth bore |
| Common shell width | 68 or 73 mm | About 89 to 92 mm |
| Home service | One splined cup tool | Press tool and removal tool |
| Creak tendency | Low, threads stay locked | Depends on bore fit and install care |
Shell Width and Spindle Diameter
Once the standard is set, two numbers finish the fitment question. The first is shell width, measured across the frame faces, because cups and spacers are packed out to suit it. The second is spindle diameter. Many cranks use a 24 mm steel spindle, while lighter cranks use an aluminum spindle of about 29 to 30 mm, and each needs bearings with a matching bore. A bracket that matches the shell but not the spindle is still the wrong part, so confirm both numbers from your frame and crank paperwork before ordering. The spacers in the box then set the crank position so the chainring lines up with the cassette.
Bearings Are a Service Decision
The bearing class is a service class, so replacement and tool access are the real ownership questions. Standard steel bearings are cheap, widely stocked, and easy to swap when they roughen. Ceramic balls roll a little freer, yet on a mountain bike the seals matter more than the ball material, because mud and wash water kill more brackets than mileage does. Look for strong rubber seals and grease you can refresh. Some designs let you change the bearings alone and keep the cups, which cuts the cost of every future service. If a press fit unit needs a shop press each time, price that labor in.
Materials, Weight, and What They Change
Cups come in machined aluminum or molded nylon composite. Aluminum feels solid and suits threaded shells well, while composite can quiet a press fit bore because the material gives a little as it seats. Weight differences are small, usually a few dozen grams, so treat weight as the last tiebreaker. Sealing, bearing quality, and correct fitment change your riding far more than grams.
What E Bike Frames Change
Mid drive e bikes are the one exception to everything above. Their motor unit carries its own spindle and bearing arrangement inside the motor housing, so a standard mountain bike bracket does not fit and there is nothing to upgrade in the usual sense. On a motor frame, wear parts come through the motor maker.
Picking the Right Bottom Bracket for Different Uses
Complete bike guides sort machines, while this choice follows the frame you already own. Readers comparing a best all mountain mountain bike are choosing a frame class, and the bracket standard is fixed by that choice. Shortlists of the best mtb mountain bike group whole bikes by travel and price, a different decision from this one part. The best bicycle mountain bike guides rank complete machines for new riders rather than replacement components. And a best starter mountain bike usually ships with a threaded bracket, which is why many first upgrades start with the threaded class below.
Best Threaded Bottom Brackets Mountain Bike
Choose the threaded class when your shell has threads and you want painless home service. Look for outboard cups sized for a 24 mm spindle on a 68 or 73 mm shell, with sealing strong enough for wet trails. Three criteria matter most: a standard cup tool interface, replaceable bearings, and spacers for both shell widths. This class is the forgiving first buy, because a mistake costs minutes with a wrench, not a shop press trip.
Press Fit Choices for Modern Frames
If your frame has a smooth bore, the smartest press fit designs thread their two cups together inside the shell. That layout pulls the cups tight against each other, removing the tiny movement that causes most press fit creaks. Pair it with careful pressing and clean, square bore faces. Carbon frame riders gain the most, because the frame cannot be converted to threads later.
Matching the Bracket to How You Ride
Racers on dry courses can value low drag bearings and accept shorter seal life, while wet region trail riders should buy sealing first. Everyday riders should pick the class their local shop stocks bearings for, because the fastest service is the one with parts on the shelf. The product table above groups current options by standard, which makes matching quick once your shell type is known.
Rookie Mistakes to Avoid
- Buying by crank brand alone. The shell standard rules first, so a bracket that matches your crank but not your frame still fits nothing.
- Mixing spindle diameters. A spindle of about 30 mm cannot run in bearings bored for 24 mm, and forcing the fit damages both parts.
- Guessing the shell width. An unmeasured shell leads to the wrong spacer stack, which shifts the chainring and spoils shifting.
- Pressing cups in crooked. A cup that enters at an angle can score the bore and creak from the first ride.
- Blaming every creak on the bracket. Pedals, chainring bolts, and the seatpost all creak too, so swapping the bracket first can waste money.
Getting Started: Installation and First Rides
For a threaded bracket, clean the shell threads, grease them, and wind the cups in by hand before the cup tool comes out, because cross threading a shell is an expensive slip. Tighten to the torque range printed on the cup. For press fit, clean the bore, press one cup at a time, and confirm both cups sit flush. Fit the spacers per the chart in the box, mount the cranks, and spin them by hand: they should turn freely with no side play.
After the first two or three rides, check the cranks for play again, since new parts settle. For care, keep high pressure wash water aimed away from the seals, wipe grit off the cup faces after muddy rides, and listen for grinding when you spin the cranks with the chain dropped off. Catching rough bearings early protects the spindle.
Bottom Bracket Mountain Bikes: Your Questions Answered
What tools do I need to replace a mountain bike bottom bracket?
A threaded unit needs one splined cup tool matching its cup pattern, plus a torque wrench and grease. A press fit unit needs a bearing press for installation and a removal tool that drives the old cups out evenly. Tool patterns vary between cup designs, so check the pattern before buying the bracket. Owning the right tool once costs less than two shop visits.
Why does my mountain bike bottom bracket creak when I pedal?
The bracket itself is only one suspect, and often not the guilty one. Pedal threads, chainring bolts, and even the seatpost can tick under pedaling load in the same rhythm. Work from the cheap end: remove, grease, and retighten the pedals and chainring bolts first, then clean the seatpost. If the noise survives, remove the bracket, clean every interface, and refit it with fresh grease or the correct retaining setup.
Can I convert a press fit frame to a threaded bottom bracket?
No, the frame shell itself decides the standard for life. A threaded shell has cut threads, and a press fit bore is smooth and wider, so there is nothing for threaded cups to grip. What you can buy is a thread together press fit unit, whose cups screw against each other inside the bore and behave much like a threaded setup for service and creak resistance. It solves most press fit complaints without touching the frame.
How long should a mountain bike bottom bracket last?
Life depends on water and grit more than miles. A well sealed unit on a dry climate bike can spin smoothly for several seasons, while a lightly sealed one on a muddy trail bike may roughen within a single wet winter. Pressure washing shortens life fastest, because it drives water past the seals. Spin the cranks with the chain off every few weeks. Smooth and silent means ride on, while gritty or notchy means plan a swap soon.
Does an expensive bottom bracket make a mountain bike faster?
Not in any way you can measure on a trail. Bearing drag differences between a sound budget unit and a ceramic race unit are tiny next to tire pressure, chain condition, and your own legs. Spend extra for better seals, replaceable bearings, and the thread together design if your frame is press fit. Those buys return quiet, long service. A costly unit with weak seals is worse value than a modest one that keeps mud out.
The Bottom Line
Three checks decide this purchase: the shell standard first, the spindle diameter second, and the sealing third. Get those right and almost any unit in the right class will serve you well, as the product table above shows across the price bands. When you order the best bottom bracket mountain bike part for your own frame, measure twice and buy once.


