
Best Bottom Bracket For Mountain Bike 2026
Disclosure: We may earn a commission when you buy through links on this page, at no extra cost to you. As an Amazon Associate I earn from qualifying purchases. Learn more

Learn how to choose a mountain bike bottom bracket, from threaded and press fit standards to spindle size, shell width, and durability. Compare options first.
best bottom bracket for mountain bike is a search for the small but vital part that lets your cranks spin smoothly under pedalling load. A good match depends on your frame shell, your crank spindle, and the riding you do, not on a single universal best option. This guide explains the standards in plain language so you can buy with confidence.
The comparison table below gives an overview of the main types, while the sections that follow explain compatibility, durability, and fitting. Getting the standard right matters more than chasing a light or exotic part, since a mismatched bracket will creak, wear quickly, or simply not fit.


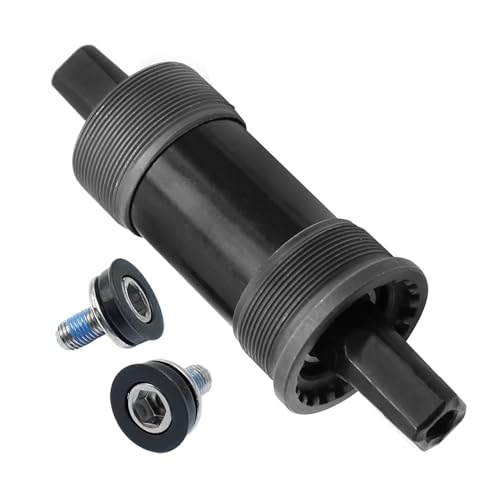
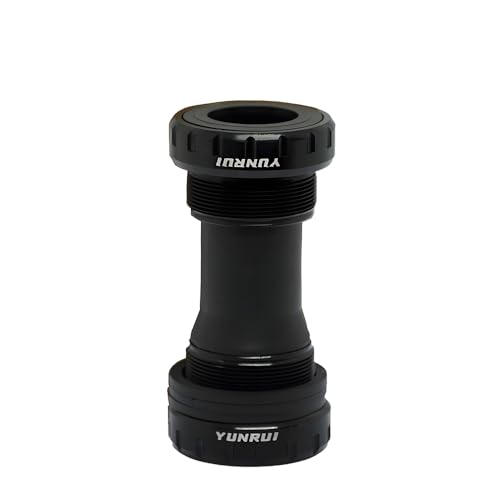

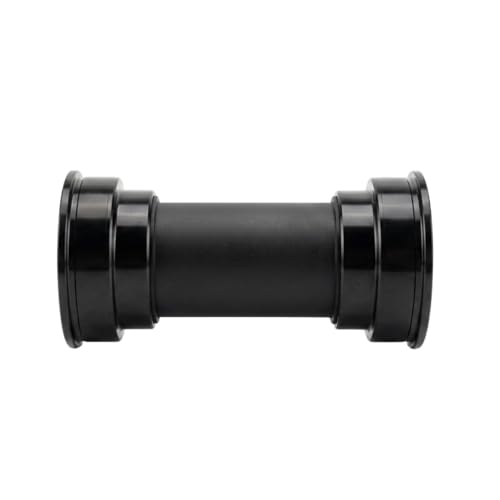


Who Should Buy Which Type
For Everyday Trail Riders
Everyday trail riders should prioritise a durable, well sealed bracket that shrugs off mud and water. Threaded options are often easier to service at home, while sealed bearings keep grit out between services. Choose a proven standard for your frame rather than an unusual design, since spares and tools will be easier to find.
For Riders Chasing Low Weight
Weight focused riders may look at lighter brackets with smaller bearings or ceramic options, but the savings are small and durability can suffer. If you ride in wet conditions, the extra maintenance may erase any benefit. A light bracket makes most sense for dry riding and for riders happy to service parts often.
For Home Mechanics
Home mechanics should weigh tool needs alongside price, since some standards need specific presses or extractors. Threaded brackets usually need simpler tools and are more forgiving to fit. If you lack the press for a press fit shell, budget for shop fitting or choose a thread together design made for that shell.
Key Features to Compare
Threaded or Press Fit Shells
Your frame decides the shell type, and you cannot change it without major work. Threaded shells screw in from each side and are generally easier to remove, while press fit shells push bearings directly into the frame. Measure or check your frame specification carefully, since guessing the shell is the most common cause of a wrong purchase.
Spindle Diameter and Length
Crank spindles come in several diameters, and the bracket must match the spindle exactly. A 24 mm spindle needs a different bracket from a 30 mm spindle, and some cranks use a stepped design. Check the crank maker guidance for your model, and confirm spindle length as well, since it affects chainline and clearance.
Sealing and Bearing Quality
Seals keep water and grit away from bearings, which matters more than bearing brand for most riders. Look for full contact seals on wet weather bikes and for brackets that can be serviced or replaced without frame damage. Larger bearings can last longer under load, but only if the seals and fit are also sound.
Chainline and Clearance
Chainline describes how the chainring lines up with the rear gears, and the bracket width and spacers influence it. A poor chainline can cause noisy shifting and faster wear, so follow the crank and frame guidance for spacer placement. Also check clearance around the frame and chainstay, especially with wider tyres or boost spacing.
Types Worth Knowing
Threaded Bottom Brackets
Threaded brackets screw into the frame and are widely regarded as the simplest to fit and remove. They suit many steel and aluminium frames and some carbon frames with threaded inserts. Their main weakness is thread damage from cross threading, so start threads by hand and use the correct torque.
Press Fit Bottom Brackets
Press fit brackets press bearings into a smooth shell, which lets frame makers use larger shell diameters. They can creak if tolerances are loose, and fitting needs care and the right press. Thread together versions add threaded cups that lock together inside the shell and often reduce creaking.
Outboard Bearing Designs
Outboard designs place bearings outside the shell, which allows a stiffer spindle and larger bearings within a given shell width. They are common on threaded frames and are straightforward to service. The wider stance can affect ankle clearance on some frames, so check fit if you ride with your feet close to the cranks.
Budget, Fitting, and Common Mistakes
Prices for mountain bike bottom brackets usually range from about 25 dollars to about 120 dollars, with most durable options in the middle of that range. Higher prices may buy better seals or lighter materials, but a correctly fitted mid priced bracket often outlasts a poorly fitted premium one. Budget for tools or shop labour if your standard needs a press.
Common mistakes include ordering by crank brand alone, ignoring shell width, and reusing worn spacers that shift the chainline. Another is forcing a bracket that feels tight, which can damage threads or crack a press fit shell. Clean the shell, check faces for damage, and follow torque guidance rather than tightening by feel alone.
Before you order, write down your frame shell type and width, your crank model and spindle size, and your current spacer layout. Compare those notes with the bracket specification line by line, and keep the old bracket until the new one is fitted and tested. A short test ride with attention to creaks will reveal most fitting problems early.
A Closer Look at Compatibility Checks
Start every bottom bracket purchase by writing down three facts from your bike: the shell type, the shell width, and the crank model with its spindle size. These facts live in frame and crank specifications, and a bike shop can measure them if documents are missing. Ordering without them is guesswork that often ends in a return.
Spacers deserve attention because they set chainline and bearing preload, and reusing a worn or incorrect spacer stack can cause noise or poor shifting. Photograph your current spacer layout before removing the old bracket, and keep spacers in order during the job. Small parts like these have an outsized effect on how the drivetrain feels.
Thread preparation matters for threaded shells, where clean threads and correct grease prevent creaks and seized cups. Chase damaged threads carefully and start cups by hand to avoid cross threading. For press fit shells, use a proper press and support the frame correctly rather than improvising with hammers.
Bearing preload should feel smooth without play or roughness when you spin the cranks by hand. Too much preload causes drag and wear, while too little allows movement that feels like a loose crank. Follow the crank maker guidance for preload adjustment rather than tightening until resistance disappears.
Wet weather riders should inspect brackets more often, since mud and water accelerate bearing wear even with good seals. Rinse the area gently after muddy rides and avoid pressure washers aimed directly at seals. Early checks catch roughness before it damages cranks or the frame shell.
Finally, keep the old bracket and its spacers until the new one has survived several rides without noise. That backup lets you compare measurements if a problem appears and avoids a second order under time pressure. Patience during fitting pays off in quiet miles afterwards.
Frequently Asked Questions
How do I know which bottom bracket my bike needs?
Start with your frame shell type and width, then match your crank spindle diameter and model. Frame makers list shell details in specifications, and crank makers list compatible brackets. If either detail is unclear, a bike shop can measure the shell and spindle quickly and save you a wrong order.
Why does my bottom bracket creak?
Creaks often come from a loose fit, worn bearings, dirty threads, or movement between cups and shell. Cleaning, correct torque, and fresh grease or retaining compound often help, depending on the standard. If creaking persists after a careful refit, the bearings may be worn and replacement is the sensible next step.
Are ceramic bearings worth the extra cost?
Ceramic bearings can spin with slightly less friction, but the gain is small for most trail riders and durability depends heavily on seals. Steel bearings with good sealing often last longer in mud and wet weather. Choose ceramic only if you ride mostly in dry conditions and accept more frequent servicing.
Can I fit a bottom bracket at home?
Many threaded brackets are straightforward with basic tools and careful technique, while press fit brackets need a proper press and more care. If you lack the right tool, shop fitting is cheaper than frame damage. Always start threads by hand, follow torque guidance, and test ride before a long outing.
How often should a bottom bracket be replaced?
Lifespans vary with weather, washing habits, and mileage, so there is no single interval that fits every rider. Roughness, play, or persistent noise after cleaning are the usual signs of wear. Regular checks during other maintenance help you catch problems before they damage cranks or the frame.
Final Thoughts
Choosing best bottom bracket for mountain bike starts with your frame shell and crank spindle, not with a brand name or a weight claim. Match those details first, then weigh sealing, serviceability, and price for the riding you actually do. A correctly fitted bracket will spin quietly and last far longer than a mismatched premium part.
Use the product table above as a starting point, then double check shell width, spindle size, and spacer layout before ordering. With those details confirmed, fitting becomes a straightforward job and your drivetrain will feel smoother on every ride.


