Best Bike Light Sets under 50: Our 2026 Checklist and Buying Guide
Disclosure: We may earn a commission when you buy through links on this page, at no extra cost to you. As an Amazon Associate I earn from qualifying purchases. Learn more

Use this buying checklist for the best bike light sets under 50 to compare brightness, mounts, battery life, weather sealing, and lasting value.
A cheap light set that dies mid ride or slips on its mount is not a bargain at all. This guide gives you a simple scoring checklist for the best bike light sets under 50, so you can judge any set on brightness, mounting, battery life, and weather sealing before you spend a dollar.
You will learn what this budget can honestly deliver, which corners are safe to cut, and which ones put you at risk after dark. Compare any set you are considering against the comparison table below, then work through the red flags and the buyer checklist before you order.
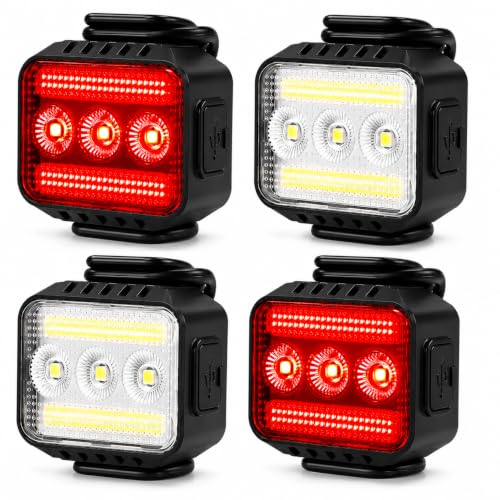

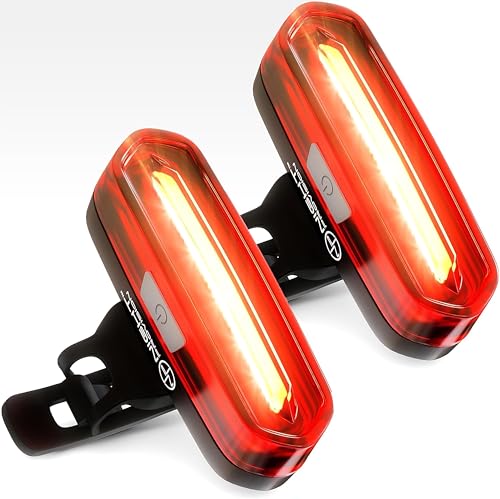

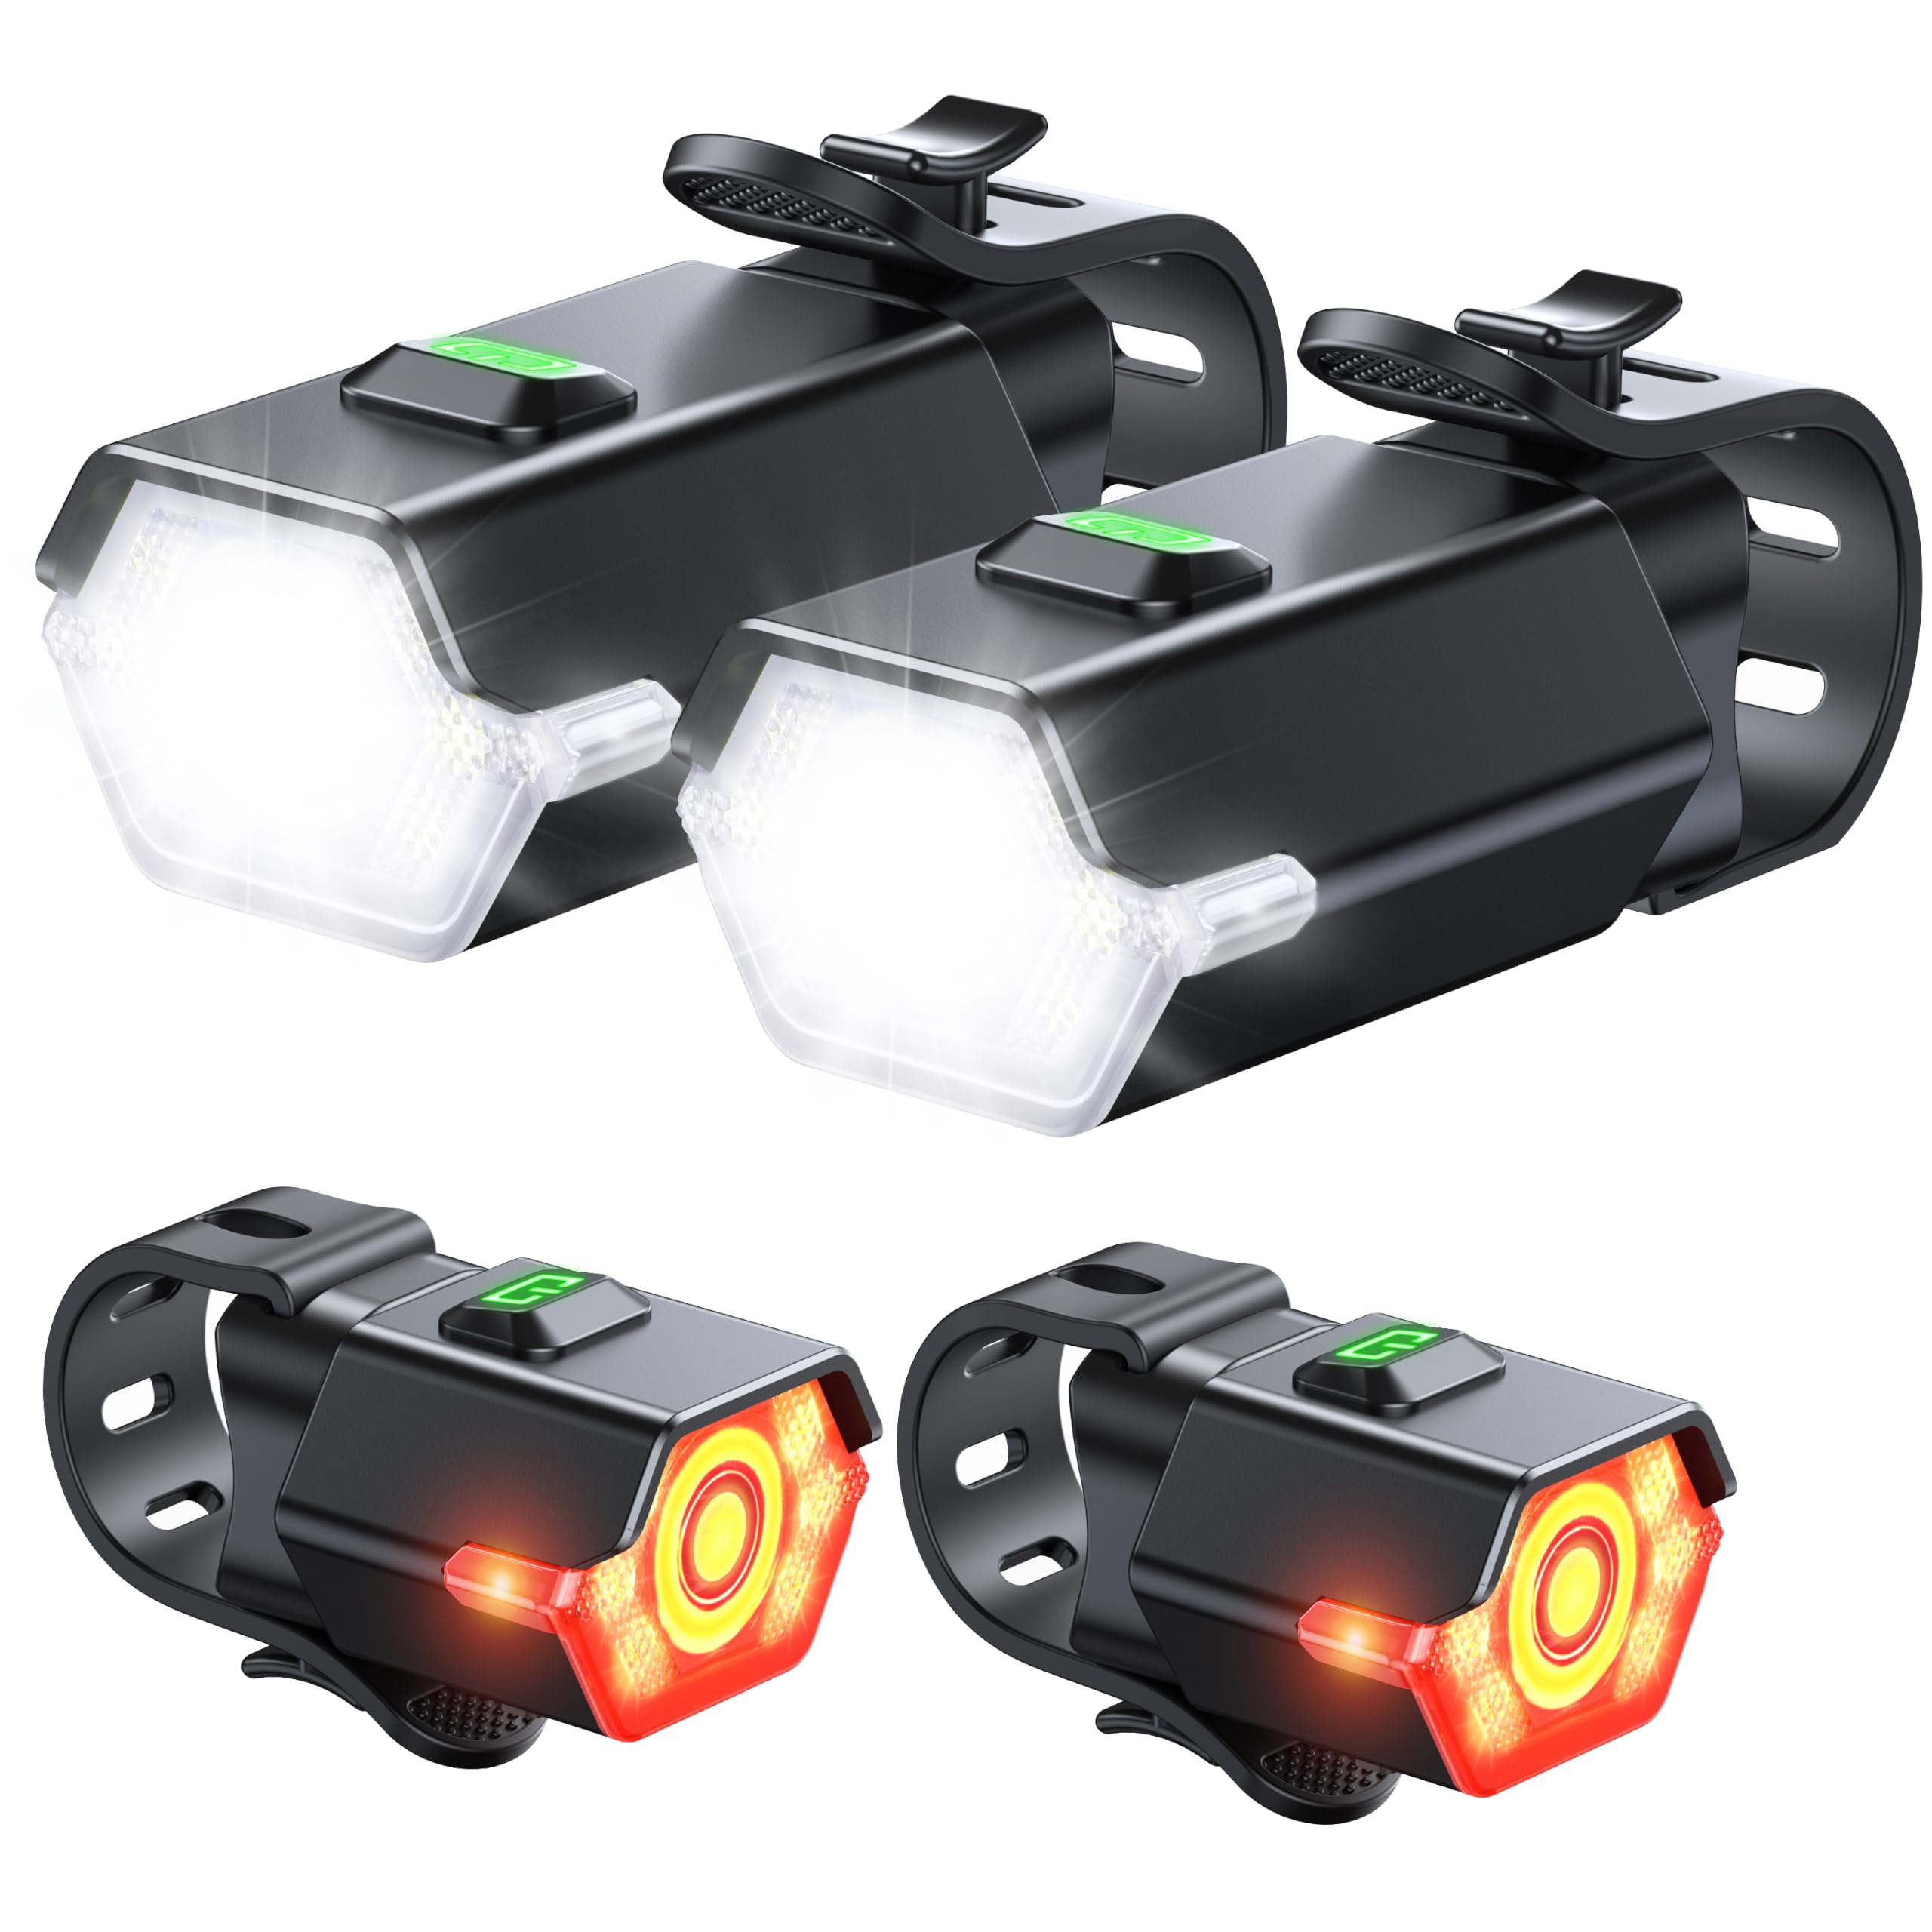


How We Evaluate Bike Light Sets
Think of this section as a scorecard you can reuse for every set you find. A set earns a pass when it clears the minimum mark in each area, not when it shines in one area and fails in another. A very bright front light paired with a dim rear light is still a weak set, because drivers approach you from behind far more often than from the front.
Score each candidate in writing if that helps you stay honest. Write down the stated lumens, the run time on the mode you will actually use, the water resistance rating, and the mount style. Sets that hide any of those four facts are telling you something, and it is rarely good news.
What You Can Realistically Get Under $50
At around $50 or less, expect a front light in the range of about 200 to 600 lumens, a basic rear light, and run times of a few hours on steady modes. That is plenty for lit streets and short commutes. What usually gets cut is beam shaping, metal housings, and long run time on the brightest setting. Do not accept cuts to the mount or to basic water sealing, because those decide whether the light works at all on a wet night.
Compatibility With Your Bike or Gear
Check your handlebar diameter before you buy, since most strap mounts fit standard bars but some aero bars and very thick bars need a different strap. Confirm the seat post mount clears your saddle bag if you carry one. If you run a rack or fenders, make sure the rear light has a mounting point that is not blocked. A quick practical step is to measure your bar and post with a tape and compare those numbers with the mount range in the listing.
Charging access matters too. A light you must remove fully to charge will sometimes stay home, and a light left at home keeps nobody safe. Sets that charge in place or pop off with a quick release base make the daily routine much easier to keep.
Safety Certifications
Look for brightness measured under the FL1 standard, which tests lumens and run time in a consistent way. A set that states FL1 figures is easier to trust than one quoting a huge lumen number with no test method behind it. Some regions also expect lights to meet local road rules for color and flashing patterns, so check your local rules if you ride on public roads. White at the front and red at the rear is the universal pattern, and side visibility is a welcome bonus.
Weather Resistance and Durability
Aim for an IPX4 rating at the very least, which means the light resists splashing water from any direction. IPX5 or IPX6 is better if you ride through real rain often. Sealed charging port covers matter just as much as the housing, because a loose rubber flap lets water straight in. Plastic housings at this price are normal, but the lens should feel firm, the buttons should click with a clear action, and the mount should not flex when you shake the light by hand.
Performance Specs
Lumens tell you total light output, but the beam pattern decides where that light lands. A focused center spot with a softer wide spill helps you see the road surface and lets drivers spot you early. For city riding, about 200 to 400 lumens up front is a sensible target, while unlit roads call for more. Run time claims usually refer to the lowest or flashing mode, so read the figure for the steady mode you plan to use and treat anything under two hours as a warning sign for longer rides.
Rear lights need far fewer lumens to do their job, often about 20 to 50, but a daylight visible flash mode is valuable on bright days. Battery indicators are another small spec with big value, since a tiny warning light gives you time to charge before the set fades on a dark street.
Fit, Sizing, and Comfort
Fit for a light set means the beam points where you need it and stays there. The front light should angle slightly down toward the road so it lights the surface without blinding oncoming riders. The mount should hold that angle over bumps, curbs, and rough pavement. Check also that the light body does not crowd your hands, your brake levers, or a bar mounted computer. On the rear, the light should sit vertical rather than tilted toward the ground, so following drivers see the full lens.
Three Price Tiers for the Best Bike Light Sets under 50
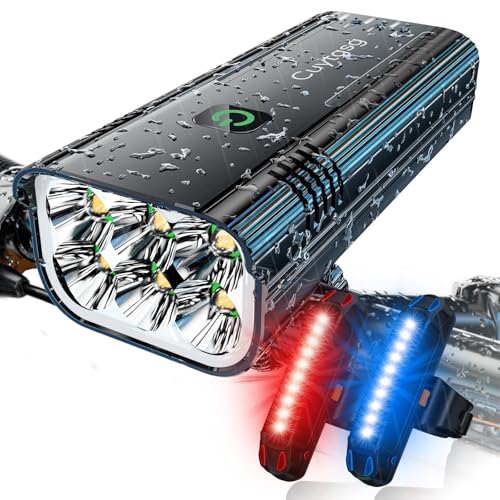
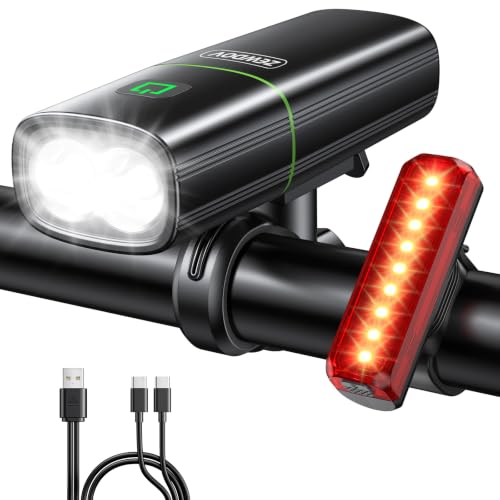
Instead of chasing names, sort sets by the tier they fall into and what that tier usually delivers. The product table above shows the sets currently listed, and this breakdown helps you judge which tier matches your riding. Price alone does not guarantee quality, but each tier has a realistic floor for brightness, run time, and build.
The Balanced Tier for Most Riders
Sets in the middle of the budget, roughly around $30 to $50, usually offer the best balance for commuters and regular evening riders. Expect honest lumen figures, a rear light with several flash modes, and mounts that stay put. This is the tier to pick if you ride several nights a week and want one set that handles rain, rough streets, and a full work week between charges. If you also want charging convenience, compare these sets with our guide to the best rechargeable bike light sets before you decide.
The Value Tier for Short Trips
Sets around $15 to $30 suit short, well lit trips where the main job is being seen rather than lighting the road. You trade away run time, beam shaping, and housing quality, so inspect the mount and the port cover with extra care. Many riders in this tier pair a modest set with sensible route choices, sticking to lit streets. If your routes are mostly lit roads, our guide to the best road bike light sets covers the beam shapes that suit pavement riding.
The Upper Tier Near $50
Sets close to the top of this budget should give you more than a bigger lumen number. Look for longer steady mode run time, a metal or reinforced housing, a battery indicator, and a spare mount or a second strap in the box. This tier makes sense for riders on unlit roads who still want to stay under the budget line. Trail riders asking more of a budget set should also read our guide to the best mountain bike lights under 50, since rough ground punishes weak mounts quickly.
Quick Buyer Checklist
Run through these questions for any set before you buy. A no on the first four is a reason to walk away.
- Does the front light state at least about 200 lumens with an FL1 figure or a clear test method?
- Does the steady mode you will use last at least two hours on one charge?
- Is the water resistance rating IPX4 or higher, with a snug charging port cover?
- Does the mount fit your handlebar and seat post sizes as listed?
- Can you remove the light quickly for charging and theft prevention?
- Does the rear light offer a daylight flash mode and a battery warning?
- Is the warranty at least one year, with a clear return window?
- Does the full set, with mounts, stay within your budget without extra required parts?
If a set passes those checks, it sits comfortably in the same class as the broader options covered in our guide to the best bike light sets, even at this lower price.
Red Flags to Watch For
Certain warning signs show up again and again on weak sets. Spotting them early saves you a return and a dark ride home.
- Huge lumen claims with no test standard, no beam photo, and no run time per mode.
- No stated water resistance rating, or vague words like rain proof with no IP code.
- A mount made from a thin strap with no locking notch, which lets the beam drift downward.
- Reviews that repeat the same phrases and praise brightness without mentioning run time or rain.
- A warranty of only a few months, or a seller with no clear contact or return path.
One more subtle flag is a set sold with disposable batteries at this price when rivals include rechargeable cells. Battery costs add up fast, and dimming output as cells fade makes judging your remaining light very hard.
How to Make Your Bike Light Set Last Longer
Check the mount tightness and beam angle before each ride, because a strap that felt firm in the garage can loosen after a week of bumps. Charge the lights after every long ride rather than waiting for a full drain, which is gentler on lithium cells. Store the set indoors away from heat, wipe road grit off the lens with a soft cloth, and dry the housing before charging after a wet ride. Replace a cracked lens or a torn strap right away, since both invite water damage.
Frequently Asked Questions
Can you get a good bike light set under $50?
Yes, you can, as long as your riding matches what this budget does well. Lit streets, commutes under an hour, and being seen by drivers are all well covered. What you give up is very long run time and premium housings. Spend the savings on a good mount fit and keep a small backup light in your bag for unplanned late rides.
How do I choose the right size?
Size here means mount fit rather than the light body itself. Measure your handlebar diameter at the mounting spot and your seat post diameter, then match those numbers to the strap range in the listing. If you are between sizes, choose the mount style with rubber shims included, since shims take up slack and stop rotation on rough roads.
How many lumens do I need for night riding?
For lit city streets, about 200 to 400 lumens up front is enough to see the road and be seen clearly. On unlit roads or paths, aim higher, around 600 lumens or more, and slow down, because no budget light turns night into day. Beam shape matters as much as the number, so favor a set with a clear center spot and wide spill.
How often should I replace it?
Replace a set when the battery no longer holds a useful charge, the lens cracks, or the mount can no longer hold its angle. For most riders that point arrives after a few seasons of regular use. A simple test is to run the light on your usual mode indoors and time it. If the run time has fallen well short of the original figure, plan a replacement before the dark months.
What certifications should I look for?
Look first for FL1 testing, which gives comparable lumens, run time, and water resistance figures. After that, check that the colors and flash patterns suit the road rules where you ride, since some places limit flashing front lights. A stated IP rating such as IPX4 or IPX5 confirms the sealing claim. If a listing offers none of these, treat its headline numbers as marketing rather than measurement.
The Bottom Line
Judge every set on honest brightness, a mount that fits and holds, and sealing that survives real rain. Those three checks matter more than any single headline number. Match the tier to your routes, run the checklist, and the best bike light sets under 50 become a straightforward buy rather than a gamble. Look back at the product table above and pick the set that passes each check for the riding you actually do.