Best Bicycle Light Sets of 2026: Complete Buying Guide
Disclosure: We may earn a commission when you buy through links on this page, at no extra cost to you. As an Amazon Associate I earn from qualifying purchases. Learn more

Lumens, beam shape, mounts and runtime explained, so you can match the best bicycle light sets to the rides you actually do.
Riding after dark with a weak front light or no rear light at all leaves you hard to see and unsure of the road ahead. Choosing best bicycle light sets means matching brightness, beam shape, mounting and battery life to the rides you actually do. This guide walks through each decision in plain terms, and the product table above pulls current options together in one place.
You do not need the brightest set on the market for every ride. You need a front light that shows the road, a rear light that makes you visible from behind, and mounts that stay put on your bike.


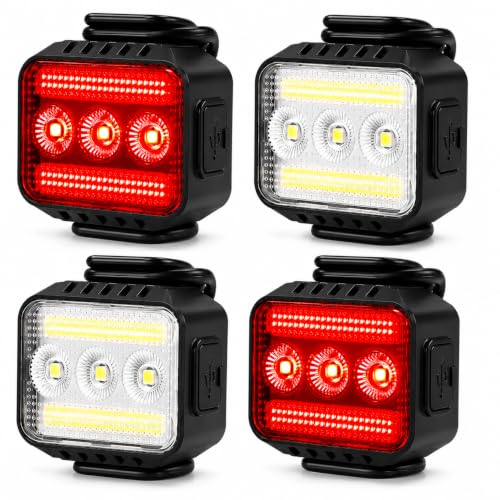

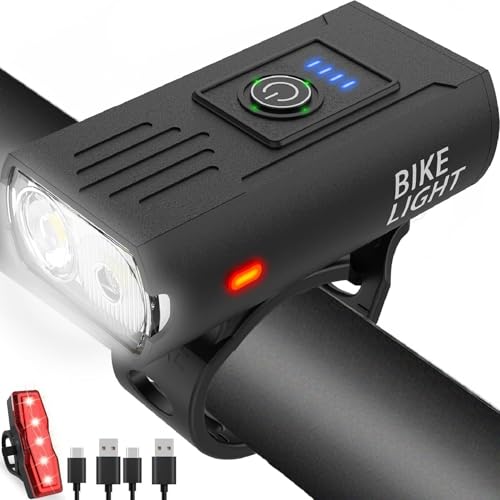
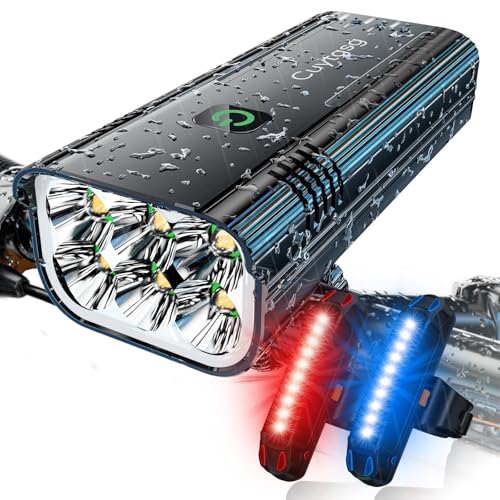
What a Good Set Gives You at Each Price Level
Mid Range Sets
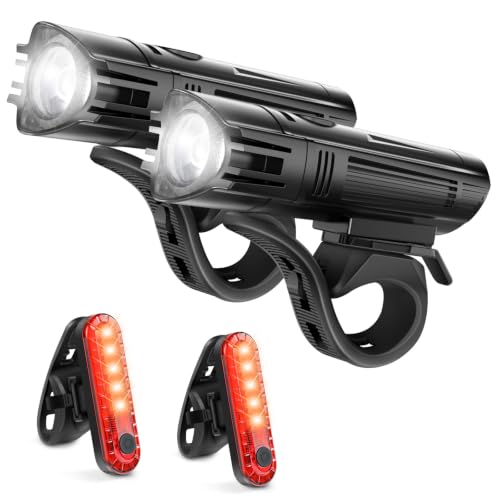
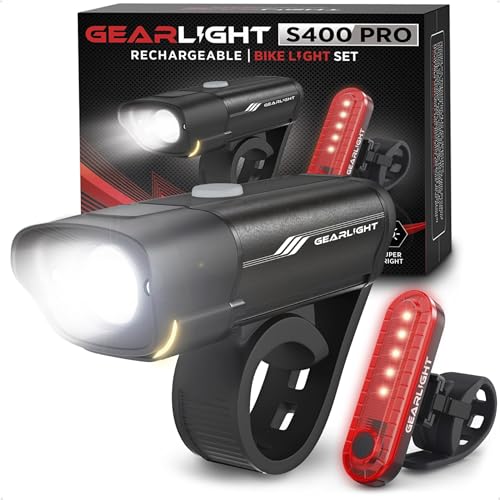
The mid range is where most regular riders should shop, usually around $50 to $120 for a matched front and rear set. You get a front light in the 400 to 800 lumen range, a rear light bright enough for daytime use, USB C charging and mounts that swap between bikes without tools. Runtime on a medium setting often reaches four to eight hours, which covers a week of commuting for many people.
The trade off at this level is size and extra features. Lights are compact rather than huge, and advanced modes such as automatic brightness changes may be limited. For road riding, gravel and most city use, that balance is usually the smart place to spend.
Value Sets
Value sets, often around $25 to $50, focus on the basics done well. Expect 200 to 400 lumens up front, a simple rear light with steady and flashing modes, and rubber strap mounts that fit most handlebars and seat posts. Battery life is shorter, often two to four hours on high, and charging may use an older connector on some sets.
This tier suits short commutes, campus riding and backup lights you keep in a bag. The limitation to accept is beam quality. The light may be bright in the center but fade at the edges, which matters more on dark roads than on lit streets.
Premium Sets
Premium sets, often around $120 to $250 or more, add output, runtime and build quality. Front lights can reach 1000 lumens or more with shaped beams that put light on the road instead of into the eyes of drivers. Housings are often aluminum, seals are stronger, and some sets link the front and rear lights so one button controls both.
Pay for this tier if you ride unlit roads, train at night or ride trails where you must see roots and ruts at speed. If your rides are short and well lit, the extra output will spend most of its life on a low setting you could have bought for less.
How to Choose the Best Bicycle Light Sets: Buying Guide
Compatibility With Your Bike or Gear
Start with bar and post diameters, because a mount that does not fit is useless no matter how bright the light is. Most road bars are about 31.8 mm at the center, while older bars and many flat bars are smaller, so check that the strap or clamp covers your size. Seat posts vary too, and aero posts need a mount shaped for a flat back.
Check clearance as well. A front light needs room beside your stem and cables, and a rear light must not be blocked by a saddle bag or rack. If you switch bikes often, quick release mounts let you move the set in seconds and take it with you when you park.
Safety Certifications
Look for lights rated under the ANSI FL1 standard, which gives you a consistent way to compare lumens and runtime between brands. A rating means the numbers were measured the same way, rather than guessed for marketing. Water resistance ratings matter too, and IPX4 or higher means the light should handle rain without failing mid ride.
For lights, the useful checks are honest lumen claims, a visible side beam for crossing traffic, and a rear light that can be seen in daylight. Brightness you can trust beats a big number you cannot verify.
Performance Specs
Lumens measure total light output, but beam pattern decides how useful that light is. A focused beam throws far down a road, while a wide beam shows the edges, signs and side streets. For most road riding, 400 to 800 lumens on the front is plenty, and a rear light of 50 to 100 lumens is easy to spot without blinding riders behind you.
Think about the best bicycle light sets as a visibility system, not just a headlight. Side visibility from the front light, a wide rear angle and a flashing daytime mode all help drivers place you on the road. At night on unlit routes, steady light shows distance better, so a set that offers both steady and flashing modes gives you options.
Mounting and Ease of Installation
Good mounts go on without tools, hold firm over rough pavement and release quickly when you park. Rubber straps are flexible and fit many bars, but they can twist if they are stretched too far. Solid clamps feel more secure for heavy front lights, though they take longer to move between bikes.
Try this practical check before a night ride. Fit the light, ride over a rough block, then confirm it still points where you set it. A front light should aim slightly down at the road about ten to fifteen feet ahead, not straight out at drivers, and a rear light should sit level and clear of bags and tires.
Battery Life and Charging
Runtime claims are usually for the lowest steady mode, so read them with care. A set that claims twenty hours may give you only two hours on high, which is fine for a commute but short for a long night ride. Plan around the mode you will actually use, and keep a margin for cold weather, which shortens battery life.
USB C charging is now the convenient standard, since one cable can charge lights, phones and many other devices. Sets where both lights charge the same way save hassle. A clear battery indicator helps too, because a light that fades without warning on a dark road is a safety problem, not just an annoyance.
Materials and Weight
Aluminum housings shed heat well, and heat control matters because bright LEDs lose output when they run hot. Plastic housings keep weight and cost down and are fine for commuting, but they may feel less solid after many mount cycles. Either way, sealed buttons and charge ports keep grit and rain out.
Weight is rarely the deciding factor for a light set, yet a very heavy front light can slip on a smooth bar. Balance matters more than grams. If you also carry lights for other bikes in the family, you may find our guide to the best bike light sets useful for comparing mount styles across setups.
Types of Bicycle Light Sets
Mountain Bike Options
Trail sets favor wide beams and high output, often 1000 lumens or more, sometimes with a second light on the helmet. That spread helps you read turns and obstacles at slower speeds on uneven ground. The cost is weight, price and shorter runtime on high, so many trail riders carry the main light on the bar and use lower modes on climbs.
Road Cycling Options
Road sets favor a shaped beam, compact size and long runtime on medium modes. A cut off top edge keeps light on the road and out of the eyes of oncoming traffic, which is both polite and safer. Our overview of the best cycle light sets covers similar ground for road focused buyers.
Budget Options
Budget sets are best for lit streets, short trips and as spares. Look for honest runtime, a rear light with a daytime flash and mounts that fit without stretching to their limit. Skip sets that promise huge lumen numbers at a very low price, because the beam, battery or mount usually gives up something important to hit that price.
Setup and Care Tips
- Check fit and tightness before each ride, because a loose front light can dip and leave the road dark where you need light most.
- Charge lights after every long ride, and top them up before a night ride rather than trusting a battery you last charged weeks ago.
- Clean the lens and mount with a soft cloth, since road film cuts output and grit in a strap mount makes it slip.
- Store lights indoors at room temperature and recharge them every few months in the off season to keep the battery healthy.
- Replace a light after a hard crash if the housing cracks or the beam flickers, because water can enter and cause failure later.
- Use the lowest mode that lets you see and be seen, which extends runtime and reduces glare for others on the road.
FAQs
Do I need both a front and a rear light?
Yes. The front light helps you see and be seen from ahead, while the rear light makes you visible to traffic behind you. Many places require a white front light and a red rear light or reflector for night riding, so check your local rules.
How many lumens do I need for night riding?
For lit city streets, 200 to 400 lumens up front is usually enough to see and be seen. On unlit roads, aim for 600 to 1000 lumens so you can spot potholes and debris in time. Trails call for more spread and often more output. More is not always better in traffic, since a very bright light aimed too high can dazzle drivers.
What certifications should I look for?
Look for ANSI FL1 ratings for lumens and runtime, plus an IP water resistance rating of IPX4 or higher for rain use. Those two checks tell you the output was measured consistently and the housing can handle wet rides. Ignore vague claims with no test standard named, and be wary of huge lumen numbers with no runtime listed for the same mode.
How do I choose the right size?
Choose size by mount fit and beam, not by housing size alone. Measure your handlebar where the light will sit and your seat post where the rear light will mount, then confirm the strap or clamp range covers both. A compact light with the right beam beats a large light that points the wrong way or blocks your hands.
How often should I replace it?
Replace a light when runtime drops well below what your rides need, the mount no longer holds firm, or the housing is cracked. Batteries age even with good care, often over three to five years of regular use. If a rear light becomes dim in daylight mode, replace it sooner, because being seen from behind is its whole job.
Our Verdict
Start with beam and runtime for the roads you ride, then confirm the mounts fit your bar and seat post. Use the product table above to narrow your short list. For most riders, the best bicycle light sets in the middle tier deliver the safest balance of light, battery life and price.