Best Airsoft Helmet Setup at Every Price for 2026: What Your Money Really Gets You
Disclosure: We may earn a commission when you buy through links on this page, at no extra cost to you. As an Amazon Associate I earn from qualifying purchases. Learn more

Learn what each price tier of a best airsoft helmet setup actually delivers, which upgrades matter, and how to spend smartly in this buying guide.
A helmet setup can cost less than a single game day pass or more than your rifle, and the price gap is not just branding. Money goes into shell material, padding systems, mounts, and the face protection you pair with it. This guide shows where spending pays off so you can build the best airsoft helmet setup for your budget without waste.
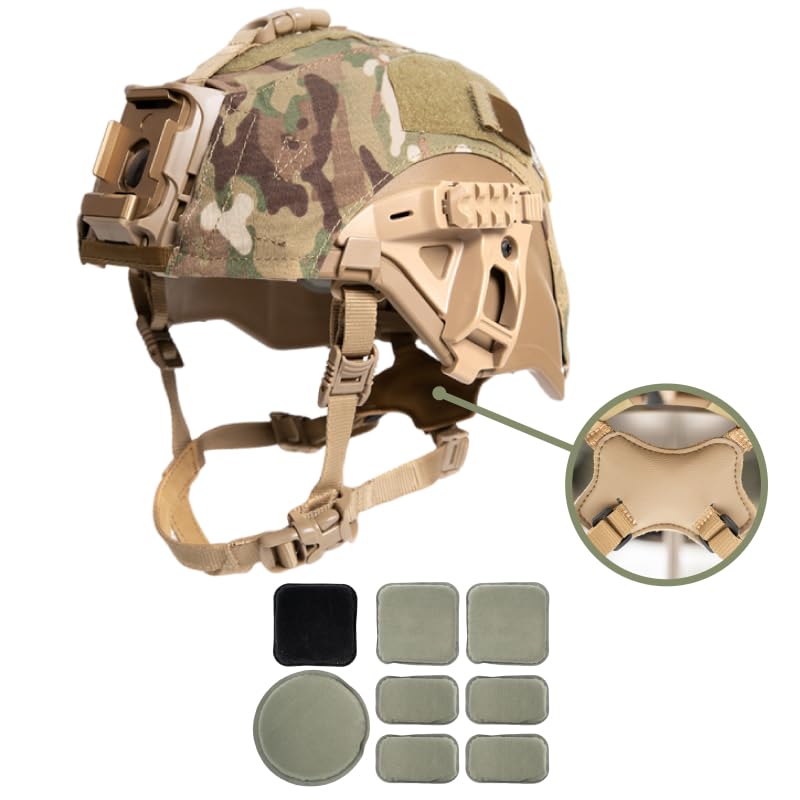
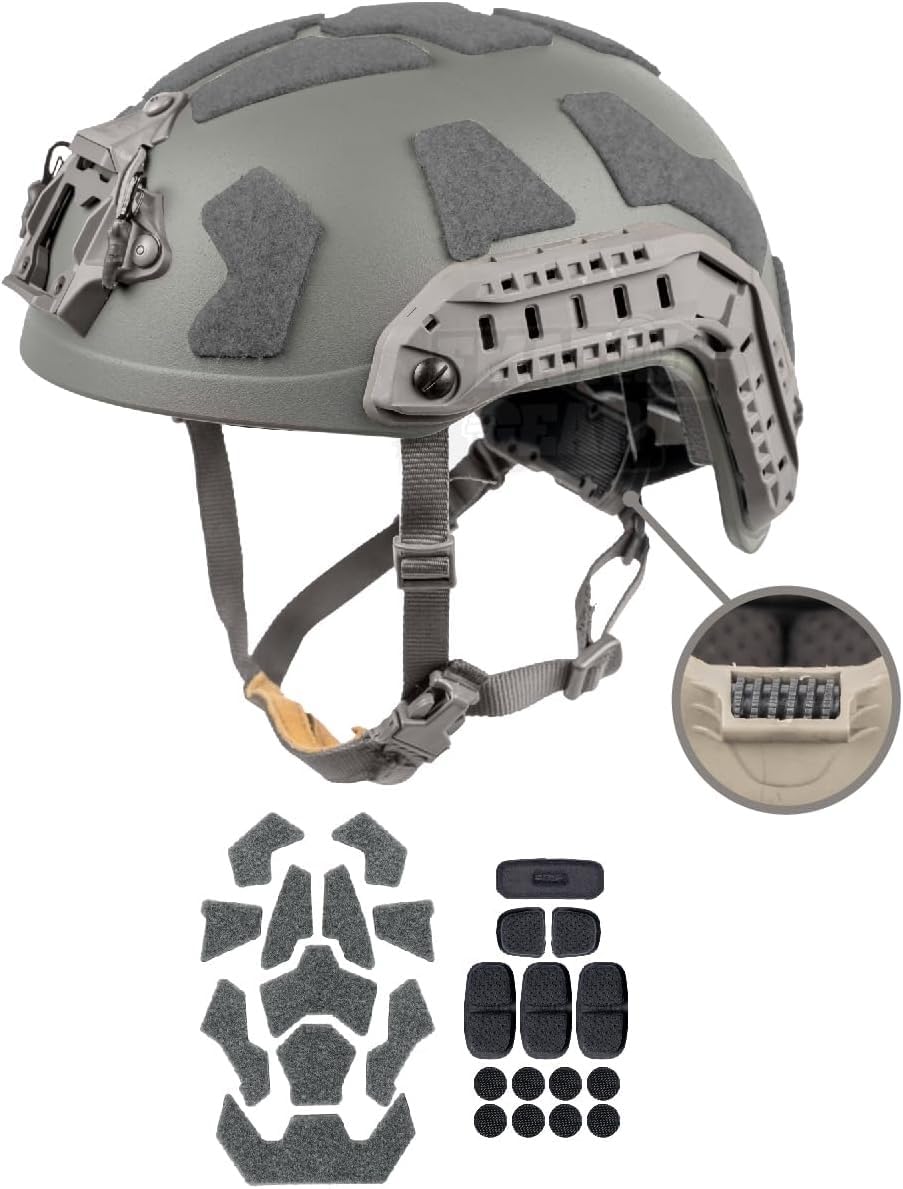
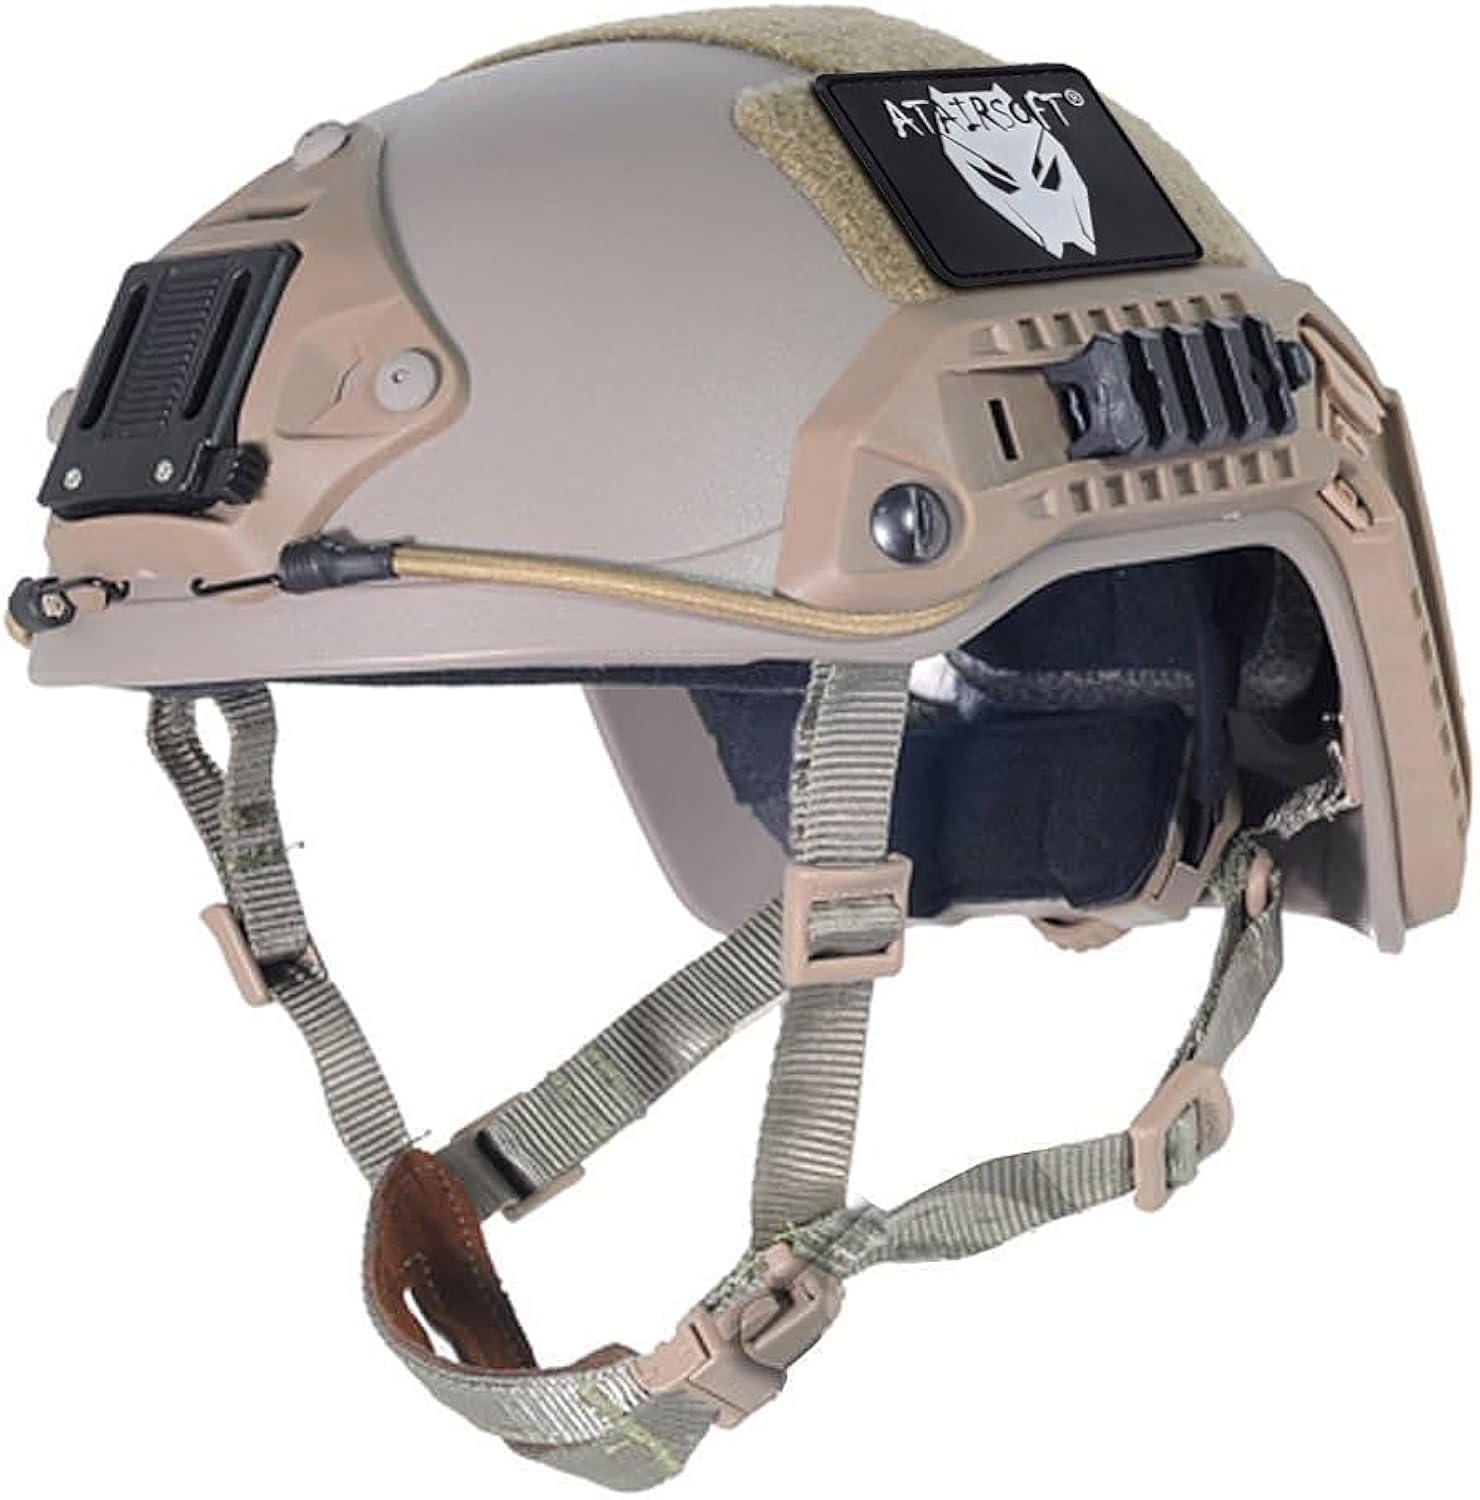
Use the comparison table below to anchor prices, then read the tier breakdown before adding anything to a cart. The smartest builds spend first on fit and eye protection, and only later on accessories.




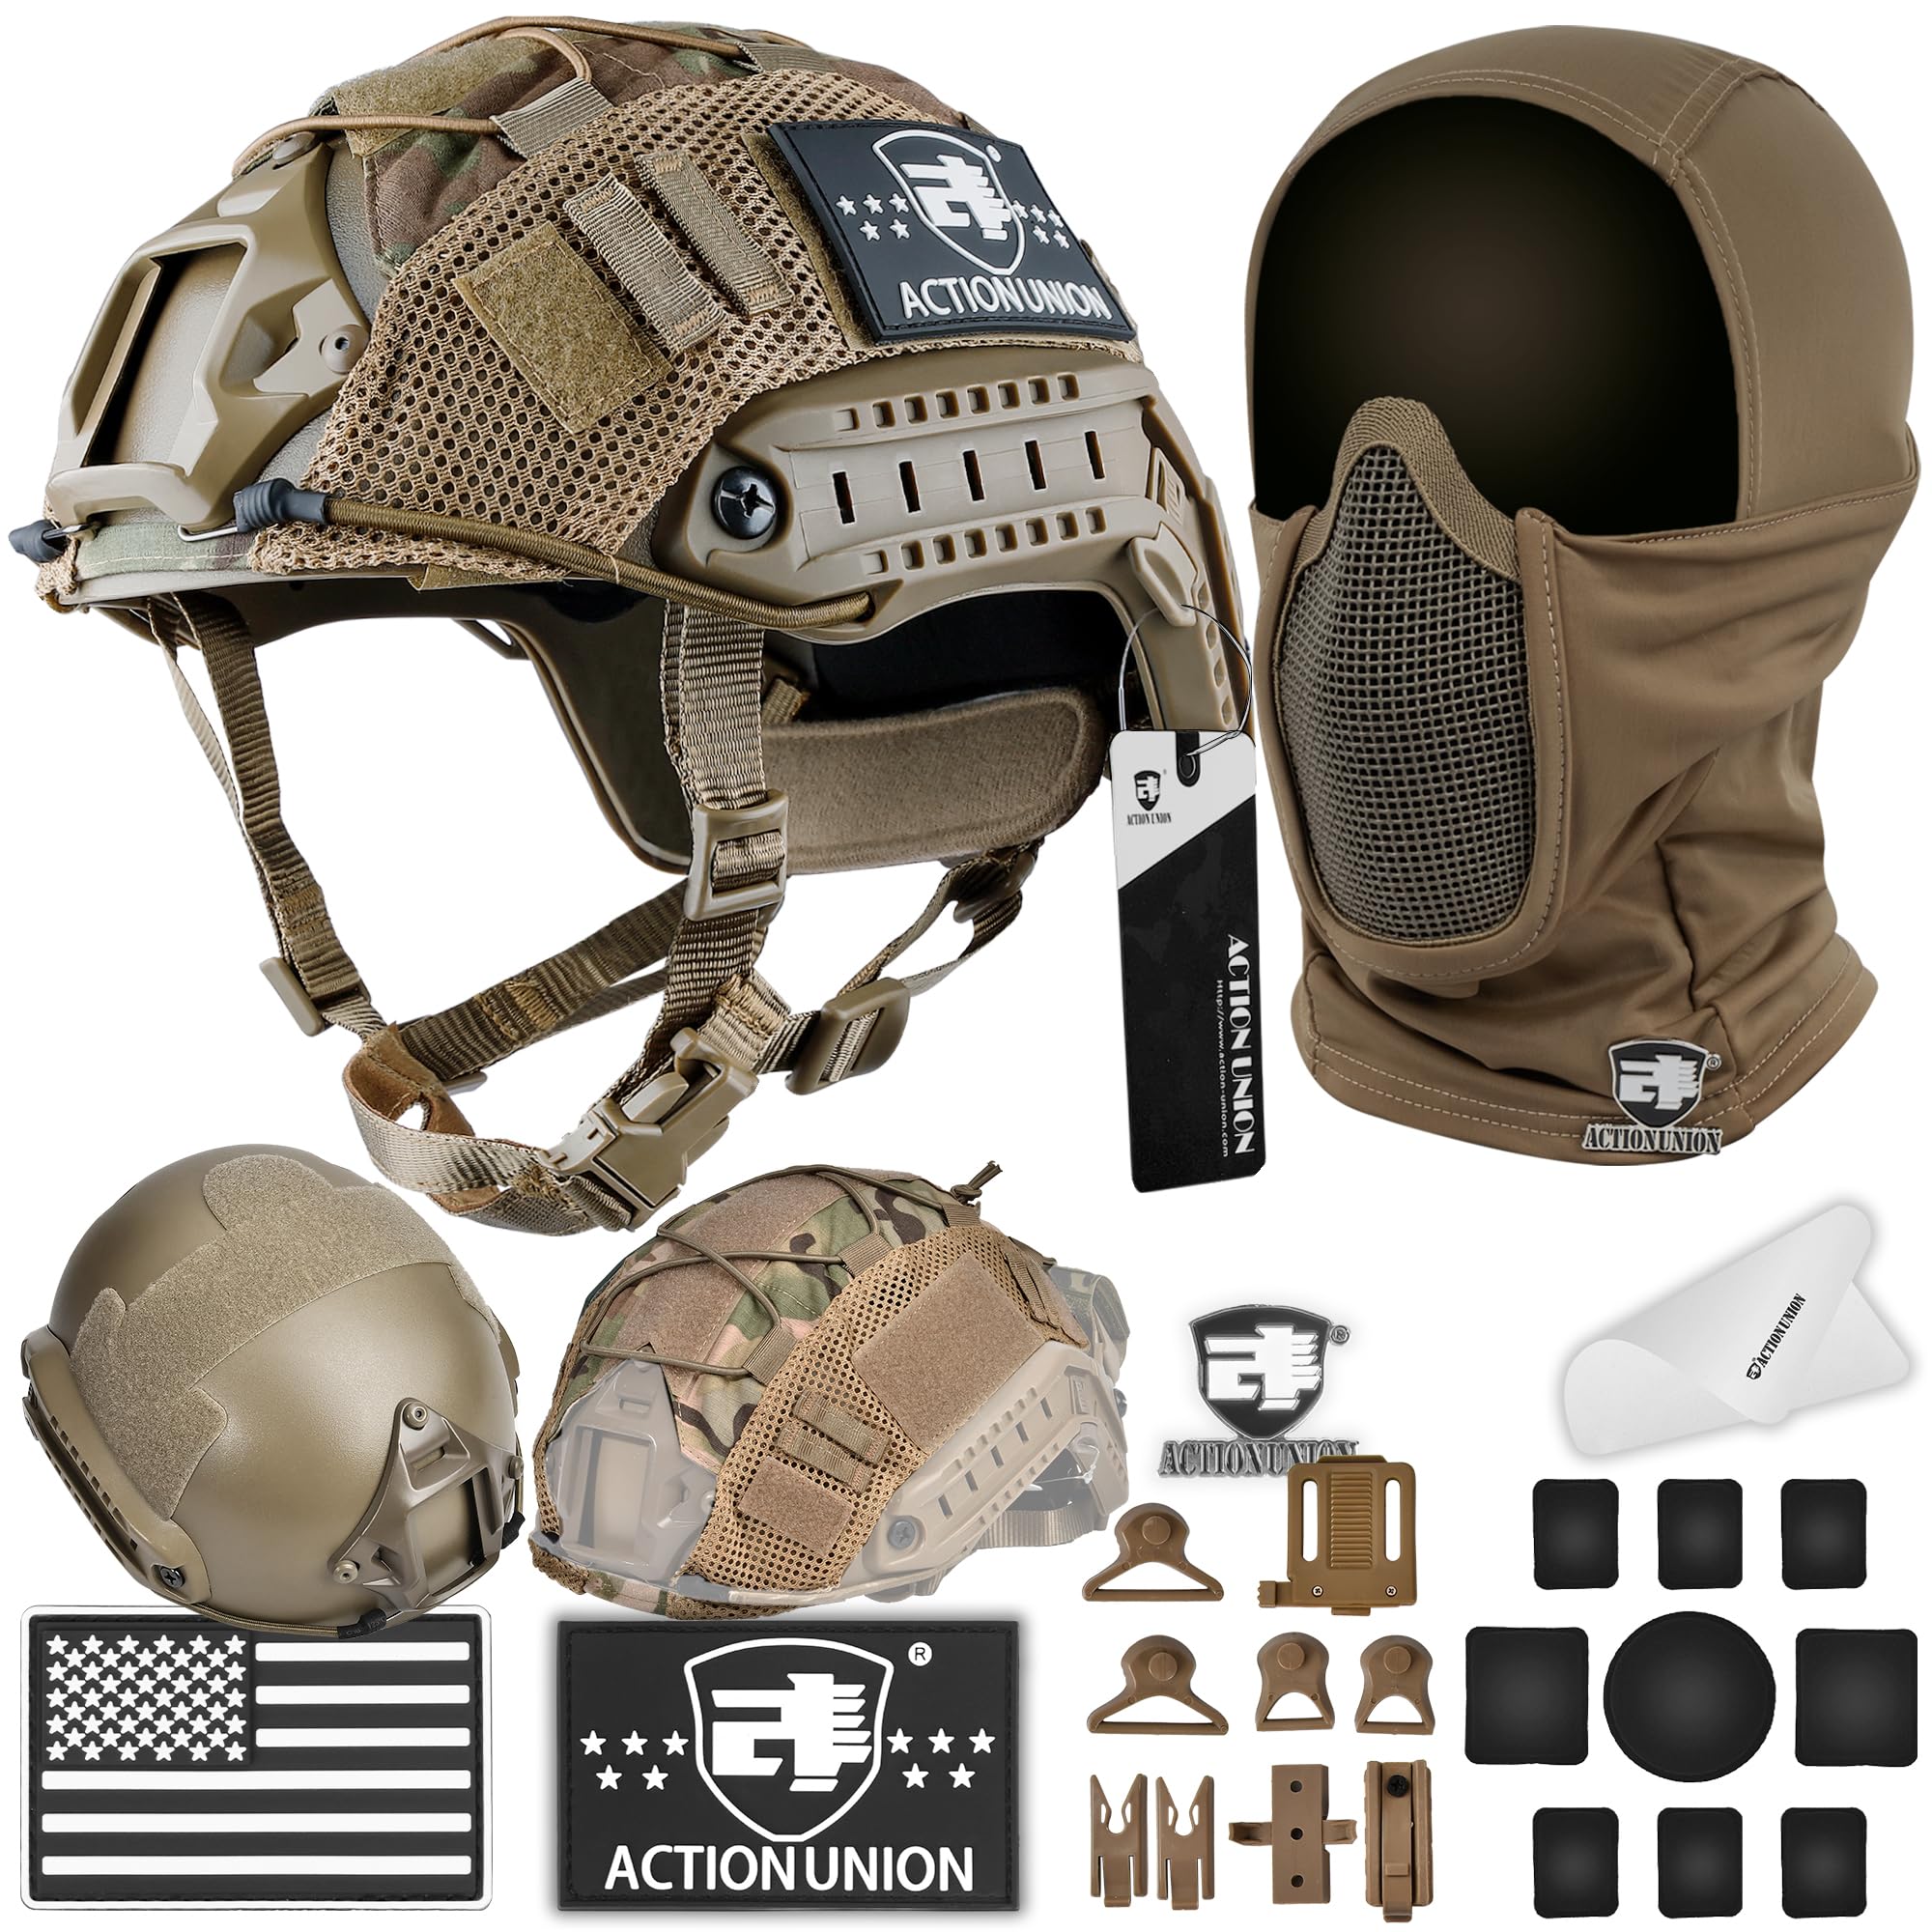
Budget Levels Compared
Budget Level
At the budget level, around $40 to $80 for the core setup, you get a basic bump style shell, simple foam pads, a chin strap, and room to add a basic lower face mask. This level suits new players who want head protection and a tidy look while they learn the game. Fit adjustment is coarse, so expect to experiment with pad placement.
The honest limit is comfort over long days. Thin pads compress and stay compressed, and basic straps stretch. Treat this tier as a starting point you can upgrade pad by pad, and keep your rated goggles as a separate, non negotiable purchase.
Midrange Level
Midrange builds, around $90 to $160, add a better shaped shell, a dial or improved suspension, thicker replaceable pads, and side rails plus a front mount that actually hold accessories steady. This is where most regular players should land. The setup feels balanced, carries a light or camera without wobble, and stays comfortable through a full day.
You also gain real choice in face protection, from mesh lowers to integrated mask systems. Spend the difference over budget tier on padding and fit hardware first. Those parts touch your head all day, while a fancy mount may hold nothing for months.
Premium Level
Premium setups, around $180 and up, buy refined shell composites, low weight, excellent pad systems, and precise mounts that keep night vision style accessories or cameras aligned. Serious milsim players who wear the helmet for eight hours feel the difference in neck fatigue alone.
The trade off is value. Past a point, you pay for small gains and brand ecosystems. Buy premium when you play often, run real accessories, and have already confirmed your size and preferred pad layout on a cheaper shell.
What Your Money Gets You at Each Price Tier
Budget Tier: What to Expect
Expect a molded plastic shell, basic rails that fit common accessories loosely, and a simple strap. Protection against bumps and BB hits to the head is fine for casual play. What you do not get is fine fit control, cool airflow, or long lasting padding.
This tier works for indoor fields and short games. Pair it with a mesh lower mask for around $15 to $25 and rated goggles, and your total stays sensible. Plan to replace pads within a season of regular use.
Midrange Tier: The Sweet Spot for Most Buyers
Midrange shells use tougher composite blends, hold their shape, and accept standard rails and mounts with less play. Padding becomes a system rather than a few foam blocks, with different thicknesses to tune fit. Chin straps gain better buckles and adjustment range.
For most buyers this tier ends the upgrade itch. It supports lights, cameras, and ear protection mounts, and it stays comfortable in heat with swap in mesh pads. If you play twice a month or more, start here rather than buying budget twice.
Premium Tier: When Spending More Pays Off
Premium money buys weight savings, stronger shells, and accessory platforms that stay rigid under load. Pad materials manage sweat better and resist packing down. Details improve too: quieter buckles, cleaner cable routing points, and covers that fit the shell exactly.
This tier pays off for event players, team roles that carry cameras or lights, and anyone with neck sensitivity. It does not make you play better, and it cannot fix a wrong size. Confirm fit on a returnable purchase before committing at this level.
Features Worth Paying For (and Ones to Skip)
Safety and Certifications
Pay for rated eye protection and a secure retention system, and skip any shell that markets itself as protective headgear for real impacts. Airsoft helmets guard against bumps and BBs, not serious falls. Your goggles need an ANSI Z87.1 rating, and your lower mask should use sound steel mesh or solid coverage.
A four point chin strap that keeps the helmet seated during a fall or a doorway knock is worth more than decorative rails. If you add ear protection, check that it mounts without pushing the shell off center.
Skill Level and Intended Use
Beginners should pay for adjustability, because it forgives sizing uncertainty. Occasional players can skip elaborate mounts entirely. Frequent players should pay for replaceable pads and straps, since wear parts decide how long the setup stays comfortable.
Role matters too. A player running a camera or light needs a rigid front mount, while a rifleman who keeps gear minimal gains nothing from it. Buy for the kit you actually carry onto the field this season.
Size, Weight, and Fit
Use the size chart and a soft tape measure around your head above the eyebrows. Most shells come in two sizes with pad kits bridging the gap. Weight spreads from about one pound for a bare bump shell to well over two pounds once masks and accessories mount up.
Fit test at home: shake your head, look up and down, and shoulder your rifle. The shell should stay put without a pressure headache. If you plan a communications headset later, leave room in the fit for it now, or see our guide to the best airsoft radio setup for headset planning.
Indoor vs Outdoor Use
Indoor setups benefit from compact shells and strong lower face coverage for close shots, while hearing stays important in tight rooms. Keep accessories minimal indoors, since snagging on door frames is common. A slim profile also helps when you play in low ceiling spaces.
Outdoors, a cover or matte finish reduces glare, and rails earn their keep with lights for shaded structures. Ventilation and sweat management matter more over long outdoor days. If you mostly play one setting, let that setting drive the build instead of buying for both at once.
Materials and Construction
Shells range from simple molded plastic to composite blends that flex less and shrug off knocks. Check rail attachment: rails molded into the shell or bolted firmly outlast glued additions. Padding foam quality shows in how slowly it rebounds after you press it.
Look closely at stitching on straps and the finish inside the shell, where rough edges rub pads and skin. A clean interior signals care you can trust elsewhere. If you prefer an integrated design instead, our guide to the best airsoft helmet mask covers one piece options.
Long Term Costs to Factor In
The shell is only the first purchase. Budget for replacement pads around $15 to $30 a set, a lower mask or integrated face protection, a helmet cover if you play woodland, and batteries for any light you mount. Straps and buckles wear too, and a spare set in your kit bag can save a game day.
Warranty terms differ, so read them before assuming a crack or broken mount is covered. Total cost of ownership favors midrange shells with available spare parts. A cheap shell with no parts support becomes a full replacement cost at the first failure. Players comparing shell shapes can also read about the best airsoft fast helmet and the best airsoft bump helmet before deciding.
Airsoft Helmet Setups: Your Questions Answered
Is it worth buying premium as a beginner?
For most beginners, no. A midrange shell teaches you your size, pad preference, and whether you even enjoy wearing a helmet all day. Premium features mostly serve accessories and long events you may never attend. Put early money into rated goggles and a comfortable lower mask instead, and upgrade the shell once your habits settle.
How long does an airsoft helmet setup last?
The shell can last for years of play, while pads, straps, and Velcro style panels wear in one to two seasons of regular use. Accessories shorten nothing but add their own battery and mount upkeep. Retire a shell with a visible crack, and replace pads when they stop rebounding, since flat pads quietly ruin fit.
What size should I get for an airsoft helmet setup?
Measure your head circumference above the eyebrows and follow the size chart for the exact shell, because brands split sizes differently. Between sizes, pick the larger shell and tune with thicker pads. Remember to measure while wearing anything you plan under the helmet, such as a thin beanie or headset band.
Indoor vs outdoor: does it matter for a helmet setup?
Yes. Indoor builds stay slim, light, and focused on close range face coverage and hearing. Outdoor builds add covers, lights, and ventilation for long days. A midrange shell with removable accessories bridges both reasonably well, which is one more reason that tier suits most players who split their time.
Wrapping Up
Spend in order: fit and eye protection, padding comfort, then mounts and extras. Most players should build in the midrange and upgrade parts as habits form. Compare shells in the product table above, and remember that the best airsoft helmet setup is the one balanced enough to wear all day.