
Best Affordable Hiking Boots: The Buyer Checklist for 2026
Disclosure: We may earn a commission when you buy through links on this page, at no extra cost to you. As an Amazon Associate I earn from qualifying purchases. Learn more

A practical checklist for choosing the best affordable hiking boots: fit, support, waterproofing, grip, weight, and what to expect on a budget.
Shopping on a budget does not mean settling for sore feet, and the best affordable hiking boots can serve you well when you check the right details before buying. This guide turns that shopping trip into a simple checklist covering fit, support, weather protection, grip, and weight, so you can compare boots with confidence. Use the product table to line up the options side by side and spot the trade offs before you spend.
The best value comes from a boot that fits your foot shape, matches your usual terrain, and keeps you comfortable for the hikes you actually take. Work through the checklist below in order, and you will end up with a boot that earns its place on the trail.
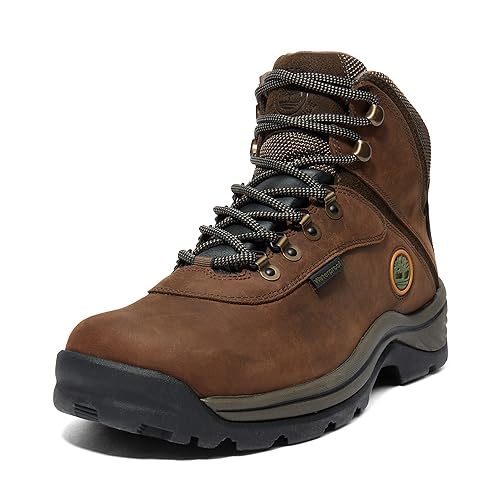
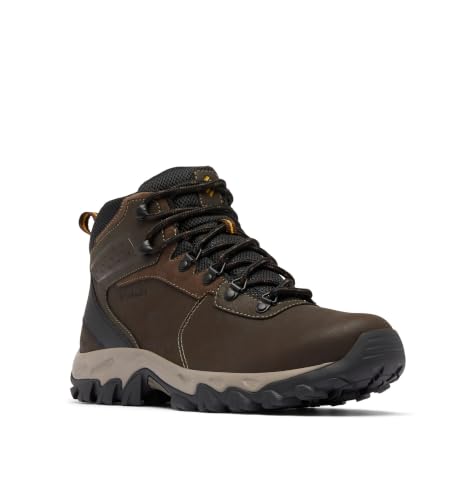


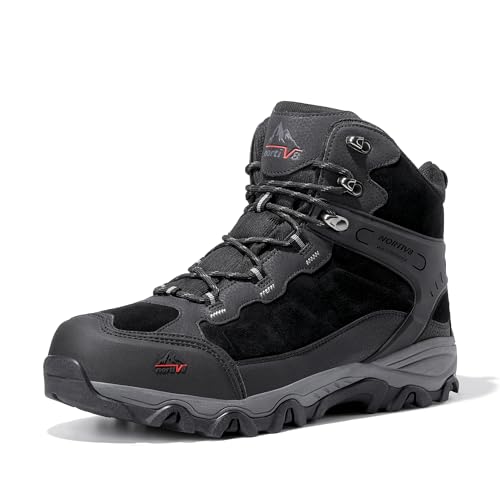
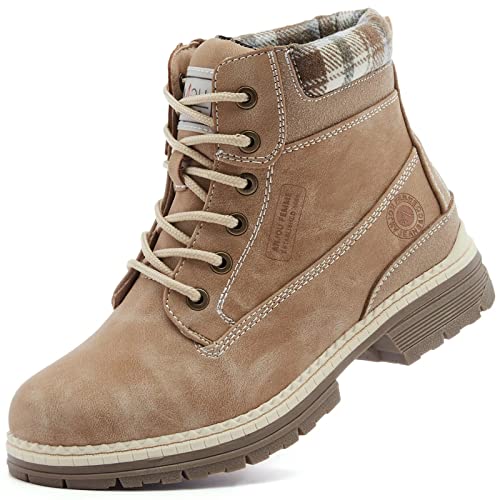

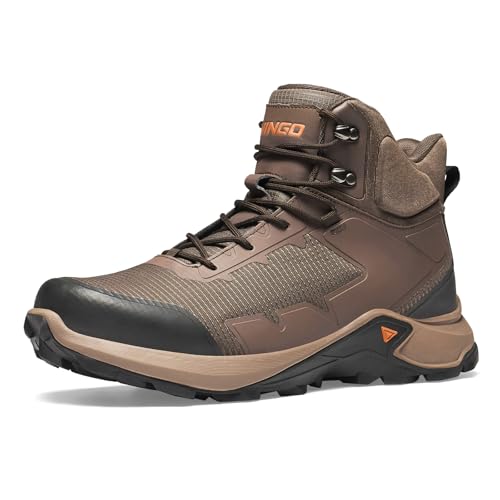
A Practical Checklist for Choosing the Best Affordable Hiking Boots
Each item below is a checkpoint, so use it to judge every boot the same way. If a boot fails on fit, no other feature makes up for it, and if it lacks grip for your terrain, it is still the wrong boot for your hikes.
What You Can Realistically Get on a Budget
On a budget, you can expect solid comfort for day hikes, decent grip on formed trails, and basic weather resistance, usually for about $60 to $120 per pair. You may give up premium leather, advanced cushioning, and the lightest materials, and waterproofing may rely on a simpler membrane. Do not cut corners on fit or outsole grip, because those two factors shape comfort and safety most at this price.
Fit, Sizing, and Toe Box
Fit starts with measuring your feet in the afternoon, when feet are slightly larger, and trying boots with the socks you will hike in. Your toes should have room to wiggle without sliding forward on descents, and your heel should stay put without lifting with every step. A roomy toe box helps on longer hikes when feet swell, while a narrow toe box can pinch and cause blisters even on short walks.
If you feel persistent or worsening foot pain, numbness, or swelling that does not settle after rest, see a doctor rather than trying to break in a boot that hurts. For general fit and comfort guidance only, choose the size that feels good at the end of a fitting session, not just at the start.
Break In Period and Comfort Out of the Box
Most affordable hiking boots need a short break in period of a few short walks before they feel fully comfortable, though many modern boots feel good from the first wear. Start with walks around your neighborhood, then try a short trail, and watch for rubbing at the heel, ankle, and toe joints before you commit to a long hike.
A boot that causes sharp pain in the store is unlikely to improve enough on the trail, so treat early discomfort as useful information. Comfort out of the box matters most when you need boots ready for a trip soon.
Arch Support and Foot Type
Arch support shapes how your foot sits inside the boot and how tired your feet feel after several miles, so match the boot to your foot type. Flat feet often do better with firmer support that limits inward rolling, while high arches often need more cushioning under the midfoot to spread pressure evenly. If you overpronate, meaning your foot rolls inward more than usual, look for a stable midsole and a heel counter that holds the foot steady. Removable insoles are a plus, since they let you swap in one that suits your arch.
Waterproofing and Membranes
Waterproofing keeps feet dry in rain, mud, and stream crossings, but it also reduces breathability, so think about where you hike most. A membrane boot suits wet climates and muddy trails, while a non waterproof boot with good ventilation suits dry, warm hikes and dries faster after a soaking. At a budget price, membrane quality varies, so check whether the boot is described as fully waterproof or merely water resistant, since those terms mean different things. If you hike in mixed weather, compare membrane options in our guide to the best affordable waterproof hiking boots before you decide how much protection you need.
Outsole Traction and Terrain
Outsole traction comes from lug depth, lug spacing, and rubber compound, and the right mix depends on your terrain. Deep, widely spaced lugs shed mud and grip loose dirt, while shallower, closer lugs feel steadier on rock and hard packed paths. A softer rubber grips well on wet rock but may wear faster on pavement, so think about how much road walking your hikes include. Try the feel on a slope if you can, because a boot that slips on a wet incline in the store will not grip better on a muddy trail.
Weight and Flexibility
Weight matters, because every extra ounce adds up over miles of trail, yet the lightest boot is not always the best boot. A heavier boot often gives more ankle support and protection on rocky ground, while a lighter boot feels nimble and tires your legs less on smooth trails. A stiff sole protects against sharp rocks but can feel clumsy on easy paths, so match weight and flex to your usual hike length and terrain.
Spending Levels That Make Sense
Budget tiers show what changes as the price rises, without naming any single boot as a winner. Judge each boot against the checklist above rather than its price tag alone.
Everyday Trail Value
At the lowest tier, around $60 to $80, expect a comfortable boot for easy to moderate trails, basic weather resistance, and an outsole durable enough for regular day hikes. This tier suits new hikers and occasional walkers. Check fit carefully here, since a good fit beats a fancier boot that pinches.
Steady All Round Comfort
In the middle tier, around $80 to $100, you often gain better cushioning, a more reliable membrane, and a sturdier heel counter, which make longer hikes more comfortable. This tier suits hikers who go out most weekends and want a boot that handles varied terrain without fuss.
Step Up Durability
At the higher budget tier, around $100 to $120, expect tougher materials, deeper lugs, and better durability, which pays off if you hike weekly or tackle rougher ground. This tier still costs far less than premium boots. Spend here when your boots take a beating and you want them to last many seasons.
Quick Buyer Checklist
Run through these questions before you buy, and answer each one honestly. A boot that passes most of them is a strong candidate, while a boot that fails on fit or grip deserves a second look.
- Do your toes have wiggle room without sliding forward on a slope?
- Does your heel stay in place when you walk uphill?
- Does the boot match your usual terrain, from smooth paths to rocky trails?
- Is the waterproofing level right for your climate, neither too little nor needlessly hot?
- Do the lugs suit the surfaces you walk on most?
- Is the weight comfortable for the length of your typical hike?
- Can you replace the insole if your arch needs different support?
- Does the boot feel good after a longer fitting session, not just a quick try on?
Red Flags to Watch For
A few warning signs suggest a boot is not worth its price, even when the listing looks appealing. Vague specs that never state materials, weight, or waterproofing level make fair comparison impossible, so favor listings with clear details. Very short or unclear warranty terms can signal weak confidence in durability. Also watch for boots that claim to suit every terrain and every foot type at once, since a boot built for everything is rarely great at any one thing.
Setup and Care Tips
Before your first long hike, wear new boots on short walks to confirm the fit, and lace them snugly without cutting off circulation. After wet hikes, air dry boots away from direct heat, since radiators and open flames can warp materials and weaken glue, and stuffing them loosely with paper helps them hold shape while drying.
Check tread and cushioning regularly, and replace boots when tread wears smooth, support collapses, or discomfort appears that rest and new insoles do not fix. If you hike in warm weather and want a lighter option for easy trails, compare the trade offs in our guide to the best affordable hiking sandals, and keep boots for rougher or colder ground. For everyday trail shoes between sandals and boots, our guide to the best hiking shoes explains where a lower cut shoe makes sense.
FAQs
How Should Affordable Hiking Boots Fit?
Affordable hiking boots should fit with room for toes to wiggle, a heel that stays put, and no pinching across the widest part of your foot. Try them in the afternoon with hiking socks, and check that toes do not hit the front on descents. A boot that feels snug but not tight at the end of a fitting session is usually the right size. If pain, numbness, or swelling persists or worsens, see a doctor rather than assuming the boot will stretch into comfort.
Can I Wear Affordable Hiking Boots All Day?
You can wear affordable hiking boots all day when the fit is right, the weight suits your route, and you have broken them in with shorter walks first. All day comfort depends more on fit and cushioning than on price. Take breaks to air your feet on long days, and change socks if they get damp. If your feet ache every time despite a good fit, check your insoles and consider advice from a foot care professional.
Do I Need Waterproof Hiking Boots?
You need waterproof hiking boots when you hike in rain, mud, snowmelt, or stream crossings often enough that wet feet would cut hikes short. In dry, warm climates, a ventilated non waterproof boot keeps feet cooler and dries faster. Mixed weather hikers can choose a membrane boot and accept slightly warmer feet as the trade off. Your local climate and trail conditions should decide this.
How Long Is the Break In Period for Hiking Boots?
The break in period for most affordable hiking boots lasts a few short walks, usually spread over one to two weeks of regular wear. Start with neighborhood walks, then try a short trail, and increase distance only when no new hot spots appear. Modern materials often shorten this period, but leather lined boots may need longer to soften around the ankle. A boot that still causes sharp pain after several short walks is likely the wrong size or shape, not a boot that needs more patience.
Are Expensive Hiking Boots Worth the Extra Cost?
Expensive hiking boots are worth the extra cost when you hike weekly on rough terrain, need advanced support, or want materials that last through many hard seasons. For occasional day hikes on formed trails, a well chosen budget boot delivers most of the comfort and grip you need at a much lower price. Weigh how often you hike, how rough your trails are, and whether the upgrade changes comfort in a way you will notice. Spending more makes sense when it buys durability or support you actually use, not when it only adds features you never need.
How Often Should I Replace Hiking Boots?
Replace hiking boots when tread wears smooth, the midsole feels flat, the heel counter collapses, or the boot no longer supports your foot on uneven ground. Many boots last about 300 to 500 miles of trail use before grip and cushioning fade noticeably. Inspect boots after muddy or rocky seasons, and retire a pair that leaks or causes new aches. Keeping a second pair for rotation can extend the life of both.
Wrapping Up
Fit, grip, and weather protection matter more than price alone, so judge every boot against the checklist and choose the tier that matches how often and where you hike. A mid tier budget boot with a roomy toe box, steady support, and lugs suited to your trails will carry most hikers happily for seasons. Use the product table above to compare your final options, and let the best affordable hiking boots guide you to a pair that feels good from the first trailhead to the last mile home.


