
The Best Aero Bars for Mountain Bike: Buying Guide for 2026
Disclosure: We may earn a commission when you buy through links on this page, at no extra cost to you. As an Amazon Associate I earn from qualifying purchases. Learn more
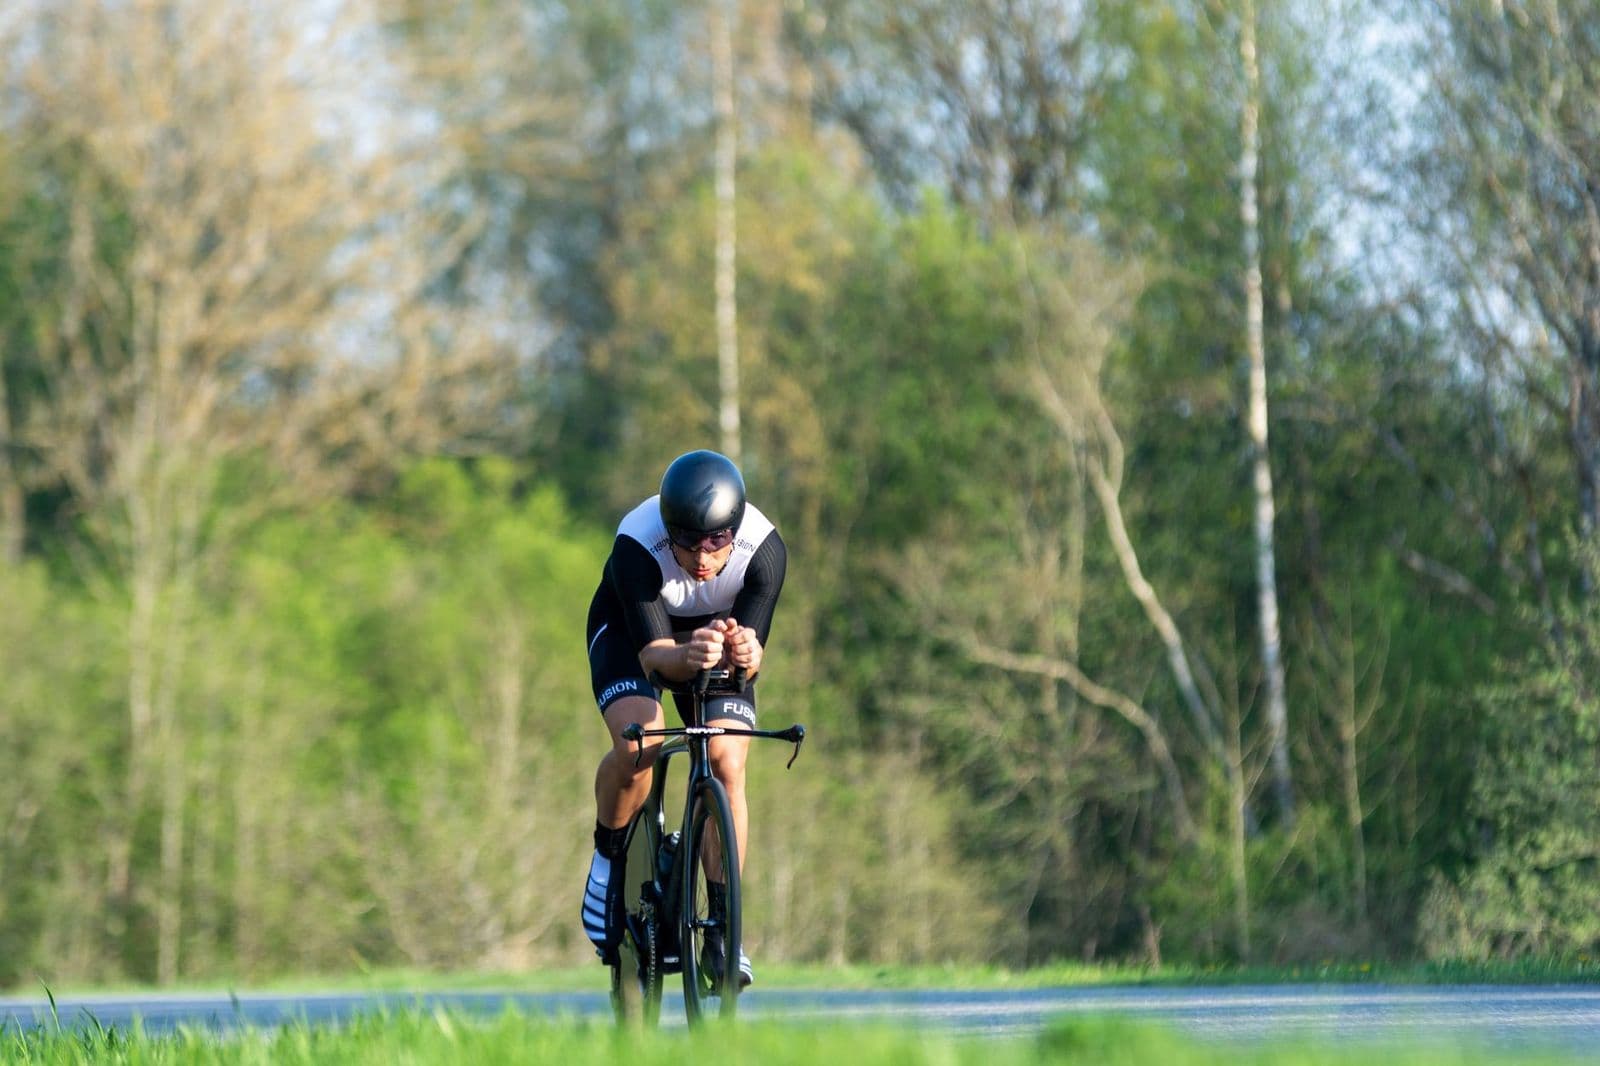
Learn how to choose the best aero bars for mountain bike riding with clear guidance on clamp fit, pad position, extension shape, and safe trail use.
Aero bars on a mountain bike sound like an odd pairing until you face a long gravel road, a windy fire road climb, or a bikepacking day with hours of steady pedaling. Then a second, lower hand position saves your wrists and cuts the wind. The best aero bars for mountain bike setups share three traits: a secure clamp on your handlebar, pads that support your forearms without pressure points, and extensions you can reach and leave quickly. This guide explains each trait in turn, so you can line up clamp sizes and prices first.
Buying Profiles at a Glance
Most riders do not need the lightest or longest extensions made. They need a profile that matches how much smooth ground they ride and how often the bars will come on and off the bike. Use these three profiles to set your budget before you compare details.
Best Overall Profile
Look for aluminum extensions with adjustable length, pads that move fore and aft and side to side, and a clamp that fits common 31.8 mm handlebars. This profile suits riders mixing trail with long connector roads, because the pads tune the position until your elbows, shoulders, and neck all stay relaxed. Prices often sit around $80 to $150. The trade off is weight, since adjustable aluminum parts weigh more than fixed carbon ones. For most riders, that adjustability is worth far more than the grams saved.
Best Value Profile
Value bars keep the design simple: fixed or lightly adjustable extensions, basic foam pads, and a clamp that installs with common hex keys. Prices often sit around $40 to $80. You give up fine pad adjustment, so take time to rotate the extensions and slide the pads until the fit feels neutral before your first long ride. This profile suits a first experiment with an aero position, a spare bike, or a bikepacking trip where the bars spend half the tour in a bag. Simple also means fewer bolts to check.
Best Upgrade Profile
The upgrade profile uses carbon extensions, lighter clamps, and pads with denser foam and wider adjustment, with prices often around $150 to $300. The gains are comfort over rough roads and a cleaner fit for riders who already know their position. Riders curious about lighter front ends can also read our guide to the best carbon mountain bike bars for the handlebar side of the equation. The risk is cost for a part you may use only on select rides, so upgrade after a season on basic bars proves the position works for you.
How to Choose the Best Aero Bars: Buying Guide
Fit and control decide whether the best aero bars for mountain bike riding help you or distract you. Work through clamp fit, pad position, and extension shape first, then weigh the bike and riding style points below. A position you cannot leave in one quick movement is never worth its wind advantage.
Features That Matter for Mountain Bike
Mountain use adds vibration and sudden steering inputs that road riding rarely sees. Prioritize a clamp with even bolt tension, pads wide enough to spread load across your forearms, and extensions that angle slightly upward so your hands stay relaxed. Your base bar still matters, and our guide to the best mountain bike bars explains width and sweep choices that pair well with add on extensions. Keep brake levers and shifters reachable from your normal grip at all times, since the aero position is for steady sections only.
Bike Type and Riding Style
Cross country and marathon riders gain the most, because their races and rides include long smooth stretches where a tucked position pays off. Trail riders who link singletrack with gravel roads also benefit on the road sections. Pure downhill and enduro riding gains nothing, since control matters more than wind drag there. Your base cockpit matters too, and our comparison of the best mountain bike handle bars can help if your current bar is too narrow to share space with a clamp and pads.
Sizing and Fit
Start with the clamp diameter, which must match your handlebar exactly, most often 31.8 mm at the center. Extension length should let your hands rest with a soft bend in your elbows and your upper arms angled slightly down from the shoulder. Pads should sit under your forearms, not under your elbows. If your current bar has a high rise, note that pad height stacks on top of it; our guide to the best mountain bike riser bars explains how rise changes your whole position, aero extensions included.
Weight and Components Upgrade Path
A basic set adds roughly 350 to 550 grams, while light carbon sets can cut that figure by a third or more. On a mountain bike, that weight sits high and forward, so it is noticeable on climbs but rarely decisive. A smarter upgrade path is pads first, then extensions: better pads transform comfort for a small cost, while new extensions mainly change hand angle. Keep the stock bolts and pads as spares, since a lost clamp bolt on a trip can end the aero experiment for the whole ride.
Brakes (Hydraulic vs Mechanical Disc)
Your brake type does not change which bars to buy, but it changes how you use them. Both hydraulic and mechanical disc brakes live on your normal grips, so every second in the aero position is a second away from full braking. Ride in the extensions only where the surface and sight lines are predictable, and return to your grips well before corners, crossings, or rough patches. If your levers feel hard to reach in your normal position, fix that first with lever angle and reach adjustment before adding extensions.
Suspension (Hardtail vs Full Suspension) and Travel
Suspension affects how steady the aero position feels. On a hardtail, rough ground feeds straight into the pads, so save the position for smooth climbs and roads. On a full suspension bike with 100 to 140 mm of travel, the front end stays calmer, yet pedal bob can still rock your shoulders if the shock is fully open. Many riders use a fork lockout or a firmer suspension setting during long aero stretches. Either way, the extensions never replace your grips once the trail turns technical or steep.
Types of Aero Bars by Bike Setup
The same extensions behave differently depending on the bike beneath them. These three setups cover where aero bars make sense on a mountain platform, and where a different cockpit choice serves you better.
Hardtail Mountain Bikes
Hardtails are the natural home for this setup, since marathon and bikepacking hardtails already favor efficient positions for long days. A rigid rear end keeps your pedaling platform steady while you rest on the pads. The limit is comfort on washboard roads, where every bump reaches your forearms. Riders who want a more swept, joint friendly position for very long days sometimes choose a drop bar build instead, a route our guide to the best drop bar mountain bike explores in full.
Electric Mountain Bikes
On an electric mountain bike, aero bars add range in a quiet way: a lower position trims wind drag at cruising speed, which slightly reduces the work the motor and battery must do on open roads. The same control rule applies with extra force, because the bike is heavier and carries more speed into corners. Keep the extensions for smooth, straight sections, and return to your grips early. Also confirm the clamp does not crowd display units or remote controls mounted near the stem.
Road and Gravel Bikes
On road and gravel bikes, aero extensions are common in endurance and ultra distance events, and the bars themselves are often narrower with different clamp shapes. The lesson mountain riders can borrow is position discipline: pads set the comfort, extensions set the reach, and neither excuses riding tucked in a group or in traffic. If you split time between drop bar and flat bar bikes, expect a short adjustment period each time you switch, since steering feel in the aero position differs a great deal between the two.
Care and Maintenance Tips
Aero bars live on bolts and foam, and both need regular attention. A short check before long rides keeps the position safe and silent.
- Check clamp bolts before every long ride. Tighten them evenly to the printed torque value, since a slipping extension changes your position without warning.
- Inspect pads for wear. Compressed or cracked foam stops spreading load, so replace pads once they feel thin or stay flattened overnight.
- Clean sweat and dust off the bars. Salt and grit work into clamp interfaces and cause creaks and corrosion, so wipe the area after hot or dusty rides.
- Inspect after any crash. Bent aluminum or cracked carbon extensions should be replaced, not straightened, because hidden damage can fail under load later.
- Recheck position after any cockpit change. A new stem, bar, or saddle height shifts your reach, so revisit pad placement instead of assuming the old setup still fits.
Aero Bars: Your Questions Answered
What features matter most in aero bars for a mountain bike?
Clamp security, pad adjustment, and extension shape matter most, in that order. A clamp that fits your bar diameter exactly and tightens evenly keeps everything else honest. One detail riders overlook is pad width adjustment: narrower pads pull your elbows in and open your chest for breathing, while wider pads feel steadier at low speed. Choose the range that lets you experiment, because your preferred width often changes as your flexibility and confidence improve over a season.
Can you use aero bars on technical trails?
No, technical trails are the wrong place for the aero position. Steering from the extensions is slow and your brakes are out of reach, so roots, rocks, and tight turns all demand your normal grips. Think of the extensions as a rest position for smooth roads and gentle climbs only. A good habit is to name your exit trigger before you drop into the position, such as the first rock garden, gate, or corner, so the move back to the grips happens early and without debate.
Can you mount aero bars on a carbon handlebar?
Sometimes, but only when the handlebar maker explicitly allows a clamp on that model. Carbon bars can be damaged by uneven clamp pressure, and some are reinforced at the center for accessories while others are not. Use a torque wrench and carbon assembly paste if the maker recommends it, and never exceed the printed torque. If the documentation is silent, treat that as a no and mount the extensions on an aluminum bar instead. The cost of a bar is small next to the cost of a failure.
How much should I spend on my first set of aero bars for a mountain bike?
Around $40 to $100 buys a sound first set with enough adjustment to learn your position. Spending more mainly buys lower weight and finer pad movement, which matter only once you know the position suits your riding. Keep some budget for better pads, since comfort upgrades there change the experience more than lighter extensions do. If the experiment fails, a simple set resells or moves to a commuter bike easily, so the real risk of a modest first purchase is low.
What size aero bars do I need for a mountain bike?
You need a clamp that matches your bar diameter, plus extensions long enough for a relaxed elbow bend with your forearms resting on the pads. Most riders do well with extensions in the common mid length range and adjust the rest with pad placement. A quick home check is to rest your forearms on a table edge at pad height: your shoulders should stay down and away from your ears. If they creep up, shorten the reach or raise the pads before buying longer extensions.
Are aero bars better on a hardtail or a full suspension mountain bike?
Neither bike is clearly better, because surface quality matters more than suspension layout. A hardtail feels direct and steady on smooth climbs, while a full suspension bike softens vibration on coarse gravel. One factor riders forget is saddle position: a slammed forward saddle that suits steep trail climbing can overload your forearms in the aero position. If you share one bike between trail days and long road links, note two saddle positions and swap them with a mark on the seatpost.
Final Thoughts
Match the clamp to your bar, tune the pads until your shoulders relax, and use the position only where the ground is smooth and the view is clear. Compare sizes and prices on each listing before you buy. Chosen and used with that discipline, the best aero bars for mountain bike riding turn long, windy connectors into the easiest miles of your day.


