Best Chelsea Boots for Hiking: A First Time Buyer's Guide for 2026
Disclosure: We may earn a commission when you buy through links on this page, at no extra cost to you. As an Amazon Associate I earn from qualifying purchases. Learn more

Shopping for the best chelsea boots for hiking for the first time? Learn the key terms, compare fit and traction, and avoid common buying mistakes.
Buying trail footwear for the first time can feel confusing, especially when a style you know from town has to work on dirt, gravel, and wet stone. This guide walks you through the best chelsea boots for hiking in plain language, from what the style is to how to choose a pair that fits your feet and your trails.
Use the comparison table below to see how pairs differ at a glance once you know what each spec means. By the final section, you will be able to read a product listing with confidence and spot a fashion boot that only looks ready for the trail.




Chelsea Boots 101: The Basics for New Buyers
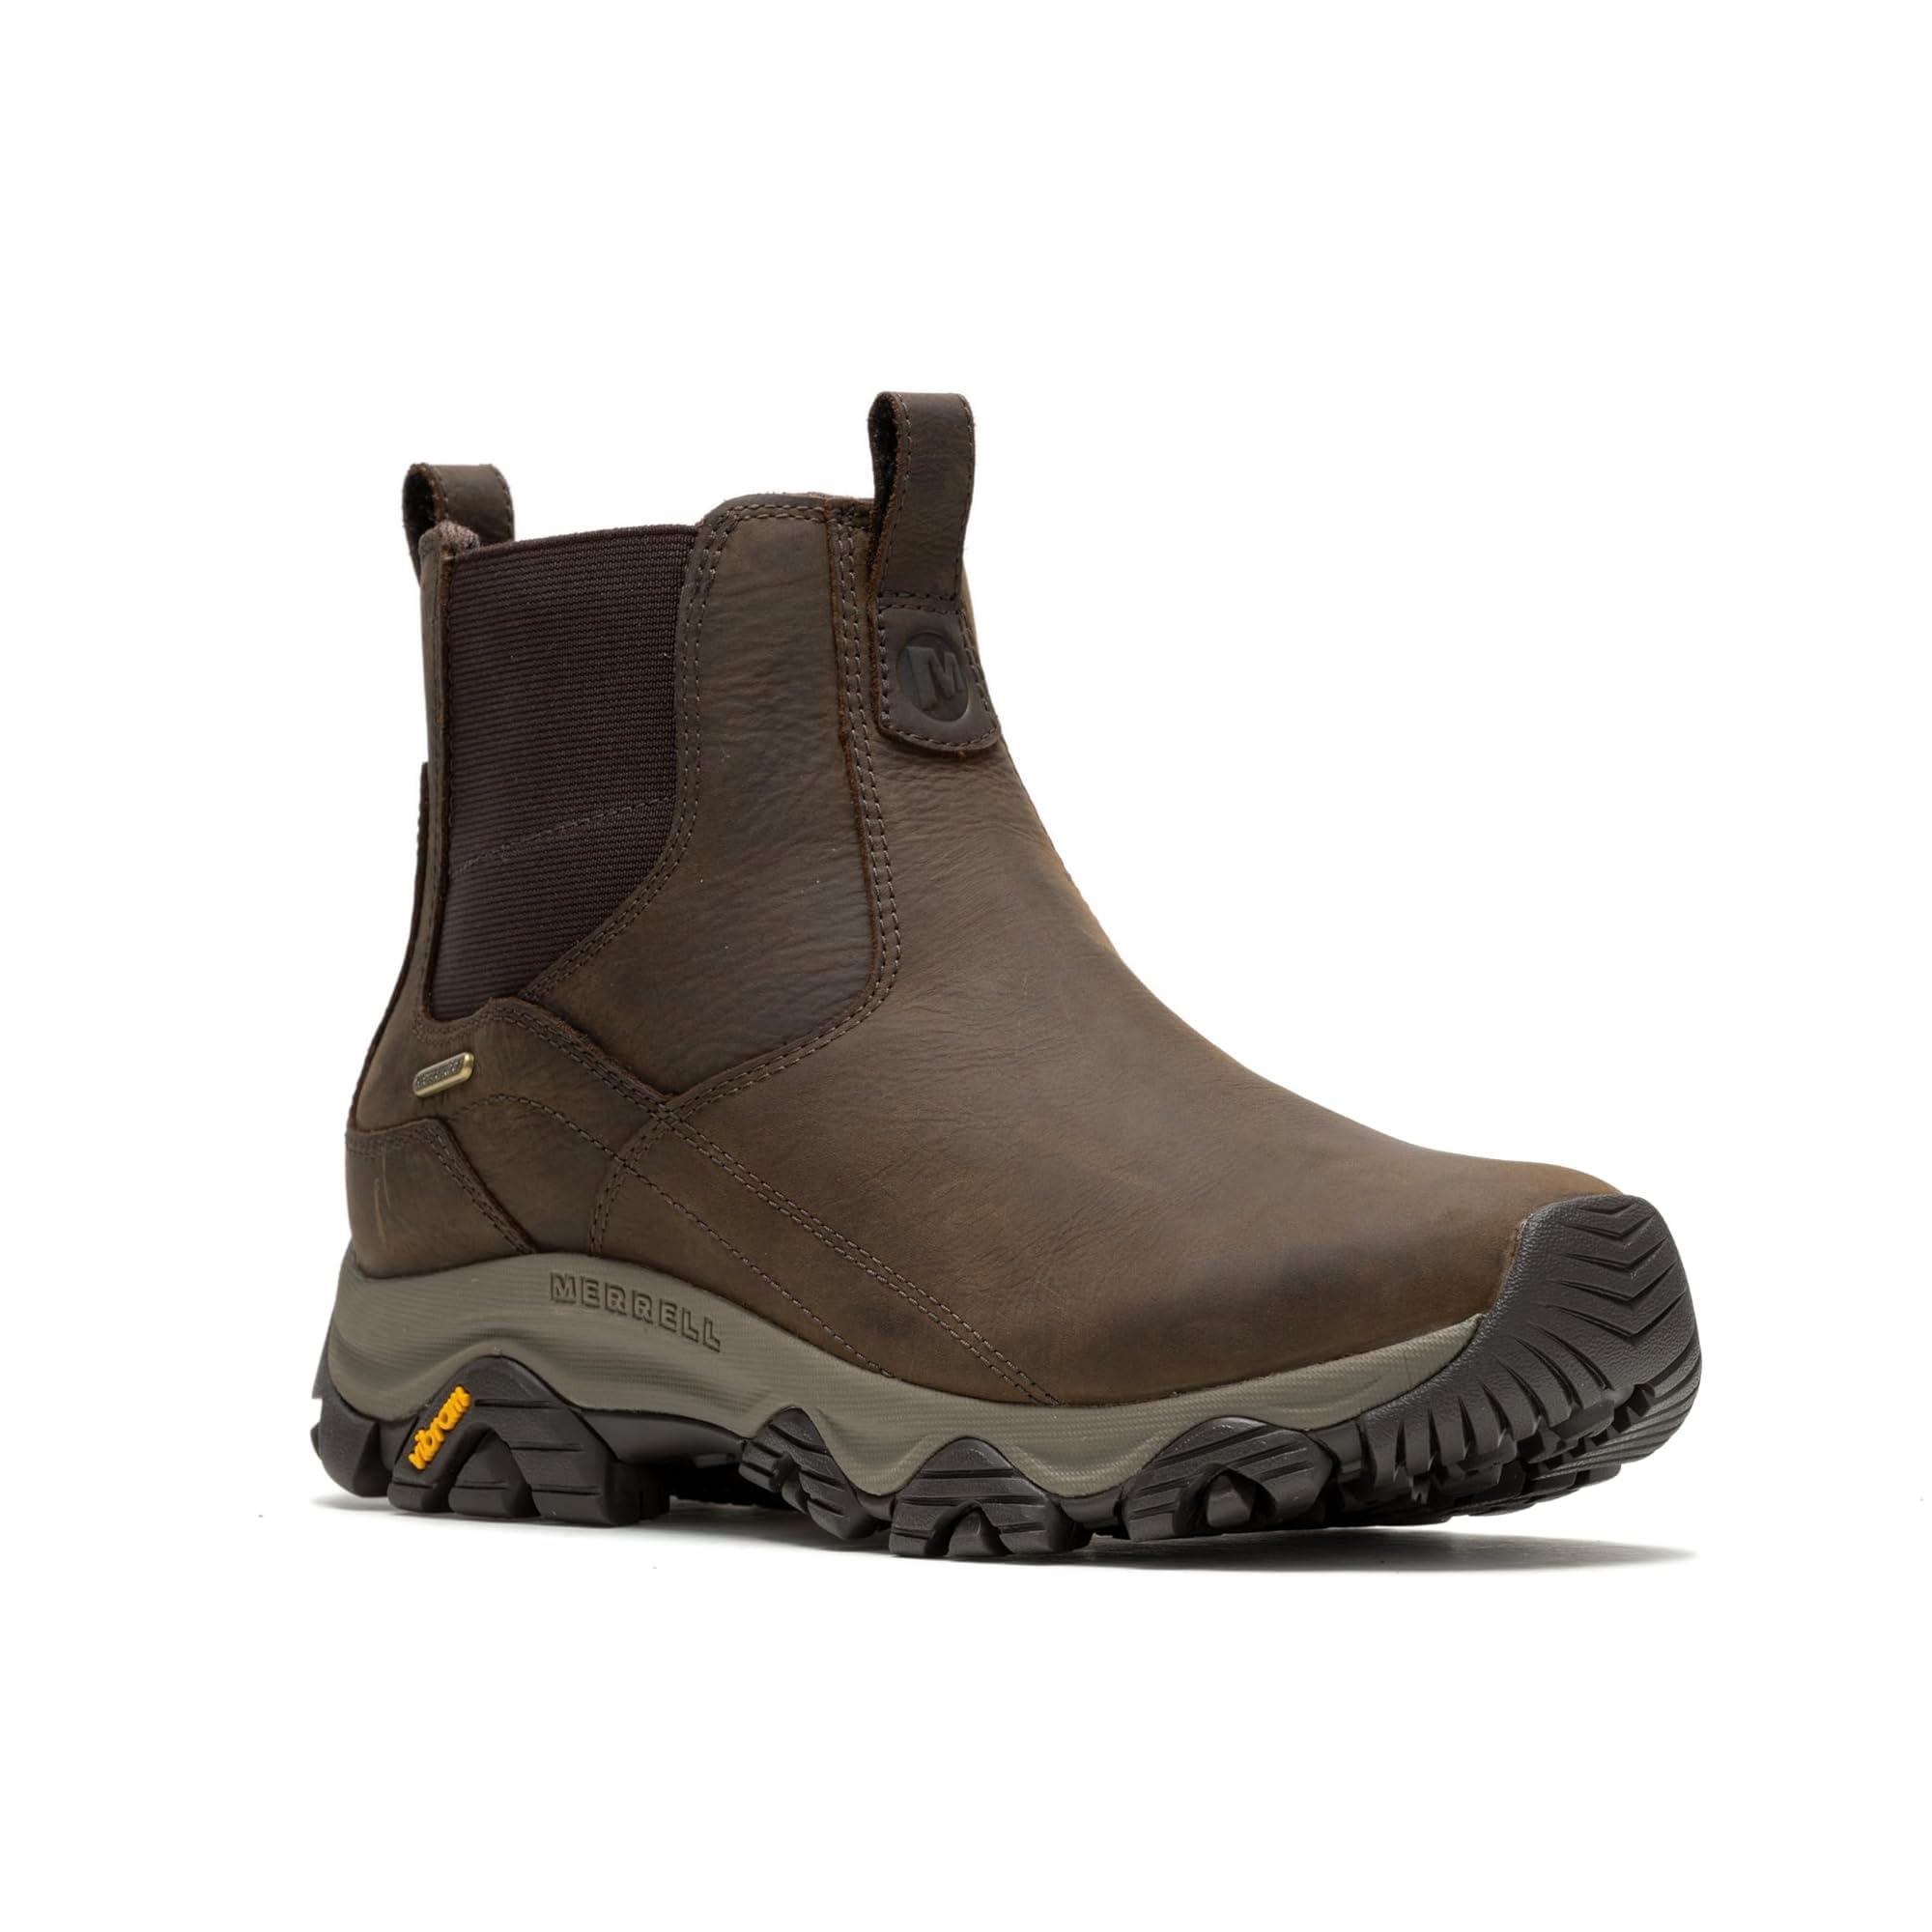
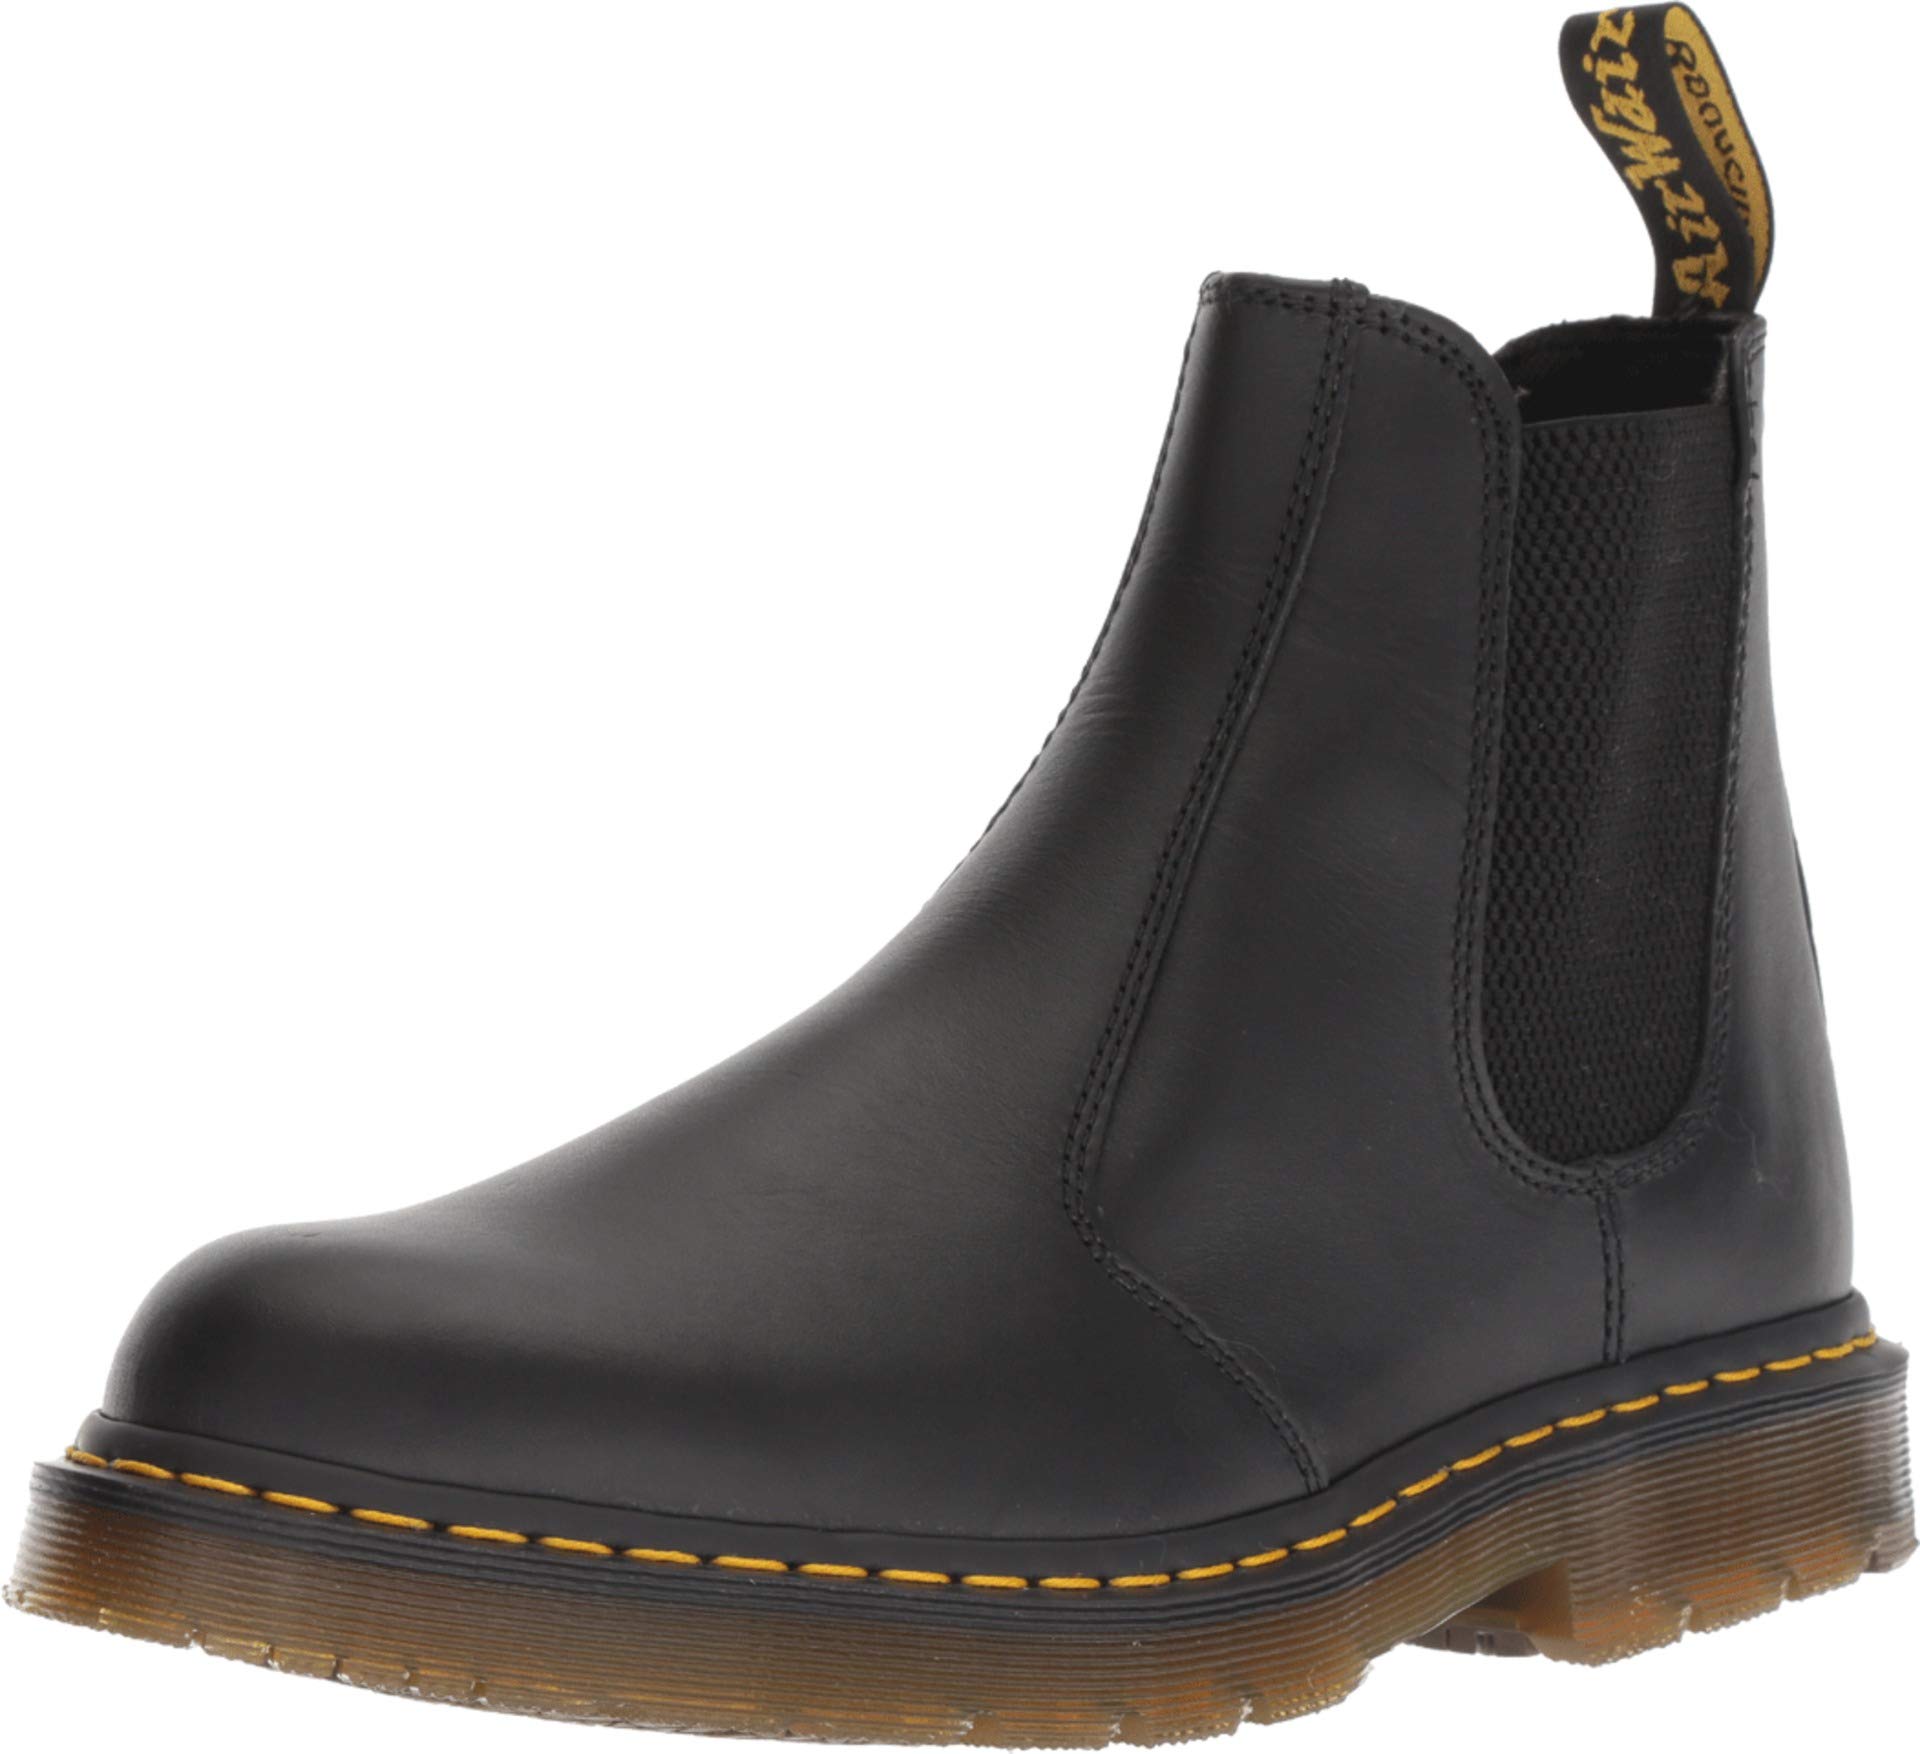
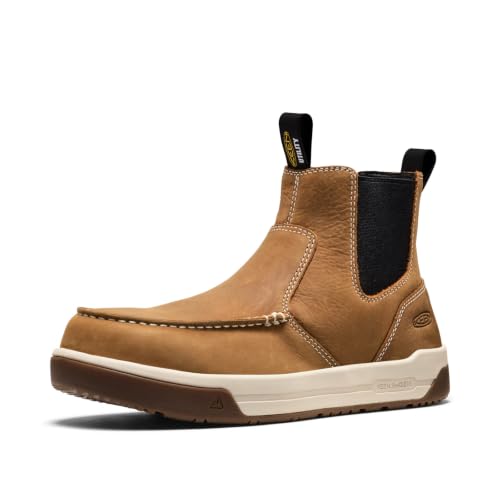
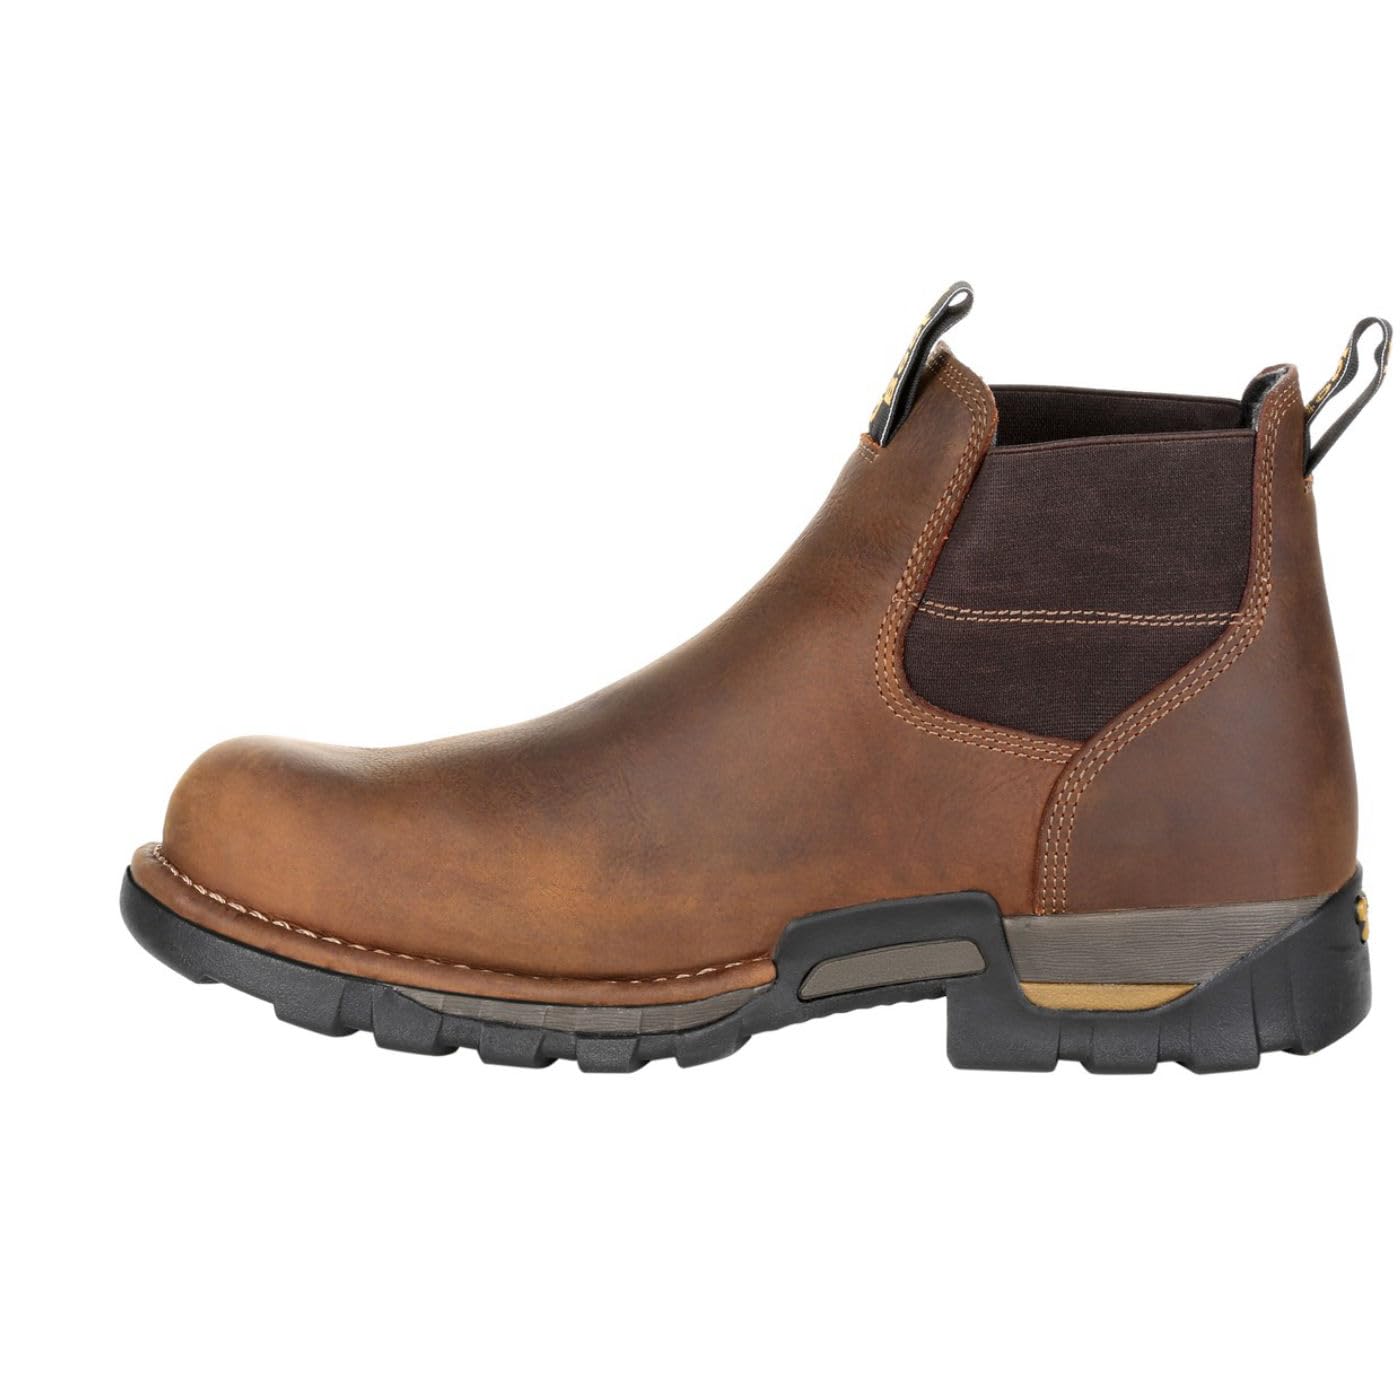
A Chelsea boot is a slip on ankle boot with elastic side panels and a pull loop at the back. There are no laces to tie, adjust, or snap on a branch. You slide your foot in, the elastic stretches to let your heel pass, and then it holds the boot close around your ankle.
That simple design is the appeal and the challenge for hiking. With no laces, you cannot loosen one section and tighten another, so the shape has to match your foot from the start.
Trail ready versions add features that town versions often skip. Look for a lugged outsole for grip, a cushioned midsole for long walks, and an upper that resists water and scuffs. Smooth leather fashion pairs with flat soles belong on pavement, and our guide to the best chelsea boots for everyday wear covers those styles in more depth.
Think about where you will walk before you shop for the best chelsea boots for hiking. Short park trails and gentle forest loops suit this style well. For lighter days, many walkers prefer the flexible feel you can read about in our guide to the best hiking shoes.
Key Specs Explained in Plain English
Product listings throw around terms like outsole, toe box, and heel to toe drop as if everyone knows them. This section explains each one in simple words and tells you what suits most first time buyers.
Features That Matter for Hiking
Start with the outsole, the rubber layer that touches the ground. Deep lugs, the chunky bumps on the sole, bite into loose dirt and help you stop on downhills. Shallow or smooth soles slide on wet roots and polished stone, so tread depth is the first thing to check on any pair.
Water protection matters next, because wet feet chill fast and blister more easily. A waterproof membrane such as Gore Tex keeps rain and puddle water out while letting some sweat vapor escape. Breathable mesh panels help in warm dry weather but let water in quickly, so match the upper to the season you hike most.
A protective toe cap and a firm heel counter round out the trail features. The toe cap guards against stubbing on rocks, and the heel counter cups your heel so it lifts less with each step. If you want to keep leather uppers shedding water for longer, see our guide to the best waterproofing for hiking boots for care options that suit different materials.
Fit, Sizing, and Toe Box
Measure and try on boots in the afternoon or evening, when your feet are at their largest after a day of standing and walking. Feet swell a little on long hikes too, so a fit that feels perfect first thing in the morning may pinch by mile four. Wear your hiking socks for every fitting.
The toe box is the space around your toes, and it should let your toes lie flat and wiggle without pressing the sides. Your longest toe needs about a thumb width of space in front of it. Too little space means bruised toenails on downhills, while too much width lets your foot slide and rub.
Sizing varies a lot between brands, so read the size chart for the exact pair you want. If you fall between sizes, most new buyers do better going up half a size and adding a thicker sock or an insole. Women who find unisex lasts too wide at the heel can compare shaped options in our guide to the best ladies hiking boots before deciding.
Arch Support and Foot Type
Your arch is the curved middle part of your foot, and it works like a spring when you walk. Flat feet roll inward more as they tire, a motion called overpronation, while high arches roll outward and absorb less shock. Knowing your type helps you pick the support inside the boot.
You can get a rough idea at home with wet feet on dry cardboard. A full print suggests flat feet, a narrow middle band suggests high arches, and something in between is a neutral arch.
Flat feet usually feel best with firmer arch support that limits inward rolling late in a hike. High arches often need more cushioning under the arch so pressure spreads out. Removable insoles are a plus, since you can swap the factory insole for one that matches your arch.
Weight and Flexibility
Boot weight adds up over thousands of steps, and heavy pairs tire your legs on long gentle trails. Light pairs feel nimble and dry faster after stream crossings or rain. The tradeoff is protection, because light uppers and thin soles shield your feet less on sharp rock.
Flexibility describes how easily the sole bends at the ball of the foot. A boot that bends where your foot bends feels natural on smooth paths and boardwalks. A stiffer sole spreads pressure on rocky ground and supports you better when you carry a loaded day pack.
For most first hikes on maintained trails, a middle ground works well. Choose a boot that bends with firm hand pressure but does not fold in half.
Cushioning and Support
Cushioning is the soft layer between your foot and the outsole, and it absorbs the impact of each step. Thicker cushioning feels kind on hard packed trails. Too much soft foam can feel wobbly on uneven ground.
Stability describes how well the boot keeps your foot centered and steady. Stability designs use firmer foam on the inner side and a wider base under the heel. Neutral designs use even cushioning throughout and suit walkers whose feet stay aligned on their own, so pick based on your foot type from the section above.
Heel to toe drop is the height difference between the heel and the toes, measured in millimeters. A moderate drop of about 8 to 12 mm suits most new hikers and feels close to everyday shoes. Men who know they need the fine tuning that laces allow for ankle support can compare options in our guide to the best hiking boots for men alongside this style.
Rookie Mistakes to Avoid
New buyers tend to make the same handful of errors, and most of them show up only after the return window closes. Read this list before you order, and check each point against the pair in your cart.
- Buying a smooth soled fashion Chelsea boot for trails, which leaves you sliding on wet dirt and loose gravel.
- Choosing your street shoe size without trying hiking socks, which makes the boot too tight once your feet swell.
- Picking a narrow toe box for a neat look, which causes bruised toes and blisters on downhill sections.
- Ignoring the return policy and wearing new boots outside first, which means you cannot exchange a poor fit.
- Assuming waterproof means dry in all conditions, which fails when water pours over the low ankle opening in deep puddles.
- Skipping a break in period and starting with a long hike, which turns small rub spots into painful blisters.
Each mistake is easy to avoid once you know to look for it.
Getting Started: Setup and First Use
When your boots arrive, inspect them indoors first. Check that both boots match in size, that stitching looks even, and that the elastic panels stretch and recover. Walk around your home on carpet and hard floors, and pay attention to heel lift and toe pressure while you can still exchange them.
Pair the boots with proper hiking socks from the first wear. Cushioned wool or synthetic socks manage sweat, reduce friction, and fill small gaps in fit. Cotton socks hold moisture against your skin and raise your blister risk, so leave them for everyday wear around town.
Break the boots in with short walks that grow step by step. Start around the block, then try a flat park loop, then an easy trail. This lets you spot rub spots while they are still minor.
After each early outing, pull the insoles out and air dry wet boots away from direct heat such as radiators and campfires. Heat can crack leather and weaken glues, while slow air drying keeps the materials sound.
Chelsea Boots: Your Questions Answered
First time buyers ask the same practical questions again and again. Each answer below starts with the direct answer, then adds a detail that the main sections did not cover.
What features matter most in chelsea boots for hiking?
Grip, fit, and water protection matter most in chelsea boots for hiking. Beyond tread depth, look at lug shape, because wide spaced lugs shed mud instead of packing it into a smooth layer. Also check the pull loop strength, since you will tug it twice a day and a stitched loop outlasts a glued one by a wide margin.
Are expensive chelsea boots for hiking worth the higher price?
Chelsea boots for hiking at higher prices are worth it only when the extra cost buys better rubber, a replaceable insole, and stronger stitching. Price alone says little, because some costly pairs spend the budget on fashion leather. Modest pairs often cover gentle trails well, so spend on fit and sole quality first.
Can I wear chelsea boots for hiking all day?
Yes, you can wear chelsea boots for hiking all day if the fit is right and the boots are broken in. For very long days, carry blister care and a spare pair of socks, and swap socks at lunch to reset moisture and friction. Tingling, numbness, or sharp heel pain means the fit needs attention, not endurance.
How should chelsea boots for hiking fit?
Chelsea boots for hiking should fit snugly around the heel and midfoot with clear space in front of your toes. A small amount of heel lift, about a quarter inch or less, is normal in a slip on style. Test the fit on a ramp or stairs if you can, because downhill steps reveal toe crowding that flat floors hide.
How long is the break in period for chelsea boots for hiking?
The break in period for chelsea boots for hiking is usually one to two weeks of short walks for synthetic pairs and a bit longer for stiff leather. Elastic panels soften with use, so a boot that feels firm at the ankle on day one often feels easier by the fifth walk. Hurry the process and you risk hot spots.
How often should I replace chelsea boots for hiking?
You should replace chelsea boots for hiking when the tread wears smooth, the cushioning feels flat, or the elastic no longer holds your ankle. Many walkers reach that point after about 400 to 600 miles of trail use. Keep a simple log of your hikes, because mileage creeps up faster than most people expect across a full season.
Wrapping Up
Choosing well comes down to three things: a grippy lugged outsole, a fit with real toe room in your hiking socks, and support that matches your arch. Get those right and the slip on ease of this style becomes a genuine trail advantage. The product table above pulls the key specs together so you can compare pairs side by side with fresh eyes.
Take your time with fitting, break your pair in gradually, and start on easy trails while you learn how the boots feel. With the best chelsea boots for hiking on your feet, your first hikes can be comfortable, steady, and simple to start, one pull loop at a time.